Home » Cricut » How to Upload a SVG to Cricut Design Space
|

How to Upload a SVG to Cricut Design Space

This post may contain affiliate links that won’t change your price but will share some commission.

 Giant Paper Flower Templates and Cricut SVG upload tutorial 

Two of the main questions I get on a regularly basis is  ‘are my flower templates compatible with Cricut and how do I set up my petal cuts proportionally?’

Well since I love listening to my readers and customers questions, I have set up this quick tutorial to to solve any mysteries you may be stumped on. Bare with me because this post might be a little boring but it will really help! I promise!

I even have a few notes about how to customize your petal sizes if you are hand cutting, so keep reading!

1. The first thing we want to is log into your Cricut Design space and click ‘create new project.’

This is the same as you would do if you were using Cricut’s images.  


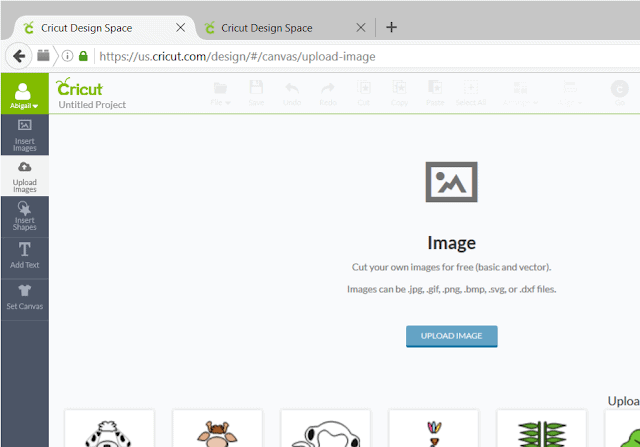
On the left hand side you will see a button that says ‘upload images.’  Go ahead and click on that. 
2. The above screen with pop up asking you to browse your computer for the file you wish to cut. 
Images can be .jpg, .gif, .png, .bmp, .svg, or .dxf files.

I’m using a SVG which is the most commonly known. 
 
3. After your image loads you will see it at the bottom of the screen. 
Click on the image you want to cut so that there is a green check mark. 


4. You image will now pop up on your canvas. 

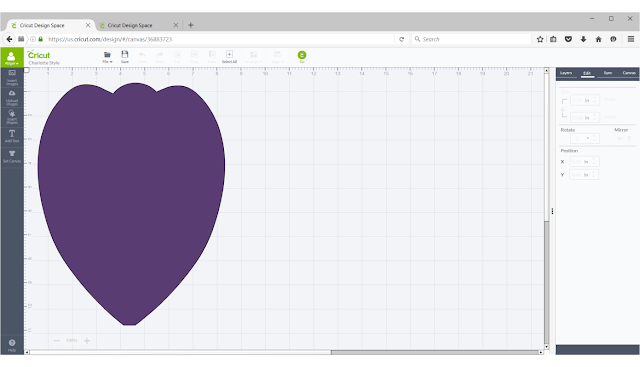
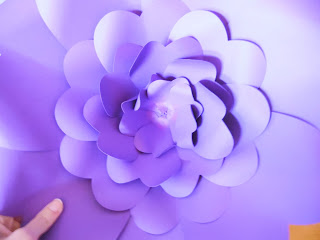
I’m demonstrating here how to set up one of my XL 17 inch paper flowers for cutting (Charlotte style to be exact) 

 If you want the large version (13 inches) then skip to step 5. 

The first cut should be large enough to just fit a 8.5×11 sheet of paper. 
 
Of course you can use 12×12 but I recommend 8.5×11 because you can buy those in large color quantities and it is generally cheaper. 

I use 176 gram weighted/65 lb card stock. My favorite paper sources are..

 
For this paper pretty you will want 7-8 of the largest petals. 
 
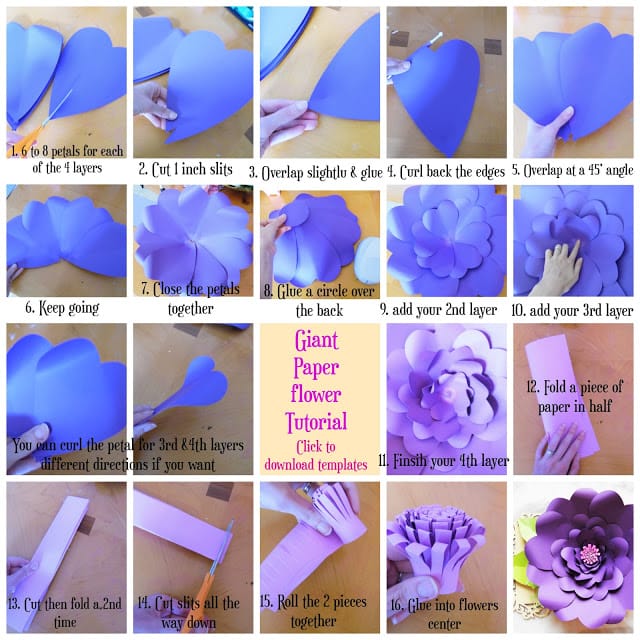
Example of the first layer together. See DIY giant paper flowers post
5. The next layer you will have 2 to a page and  you want the paper to be in landscape position, in other words the 11 inch side of the paper needs to lay so that it is across the top of the mat. Cut out 7-8 of this size. 
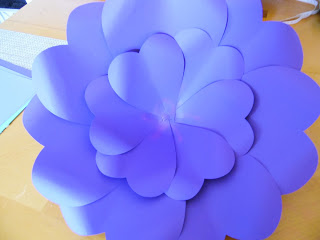
Example of the second layer together. See DIY giant paper flowers post
Example of the third layer together. See DIY giant paper flowers post
6. In this step you will turn the paper back to portrait position and cut 6-7 petals. 
7. Now do 6 petals in landscape layout. I know, writing this post is putting me to sleep too. 
Wait, maybe that was the sleep deprivation  and toddlers that do that?
Example of the 4th layer together. See DIY giant paper flowers post
8. Alright, lastly cut 6-8 petals in landscape layout. I sometimes don’t use all 8 in the layer because it gets a little tight but 6 will be just fine. 
Example of the fifth layer together. See DIY giant paper flowers post

Hand cutting Options

You may be thinking, what if I’m hand cutting? How can I alter the petals if I want to? 
Well that’s super easy too! 
 
In every zip file I include a PNG image of the flower petal with a transparent background. You can open up any simple program like Mircosoft publisher or even just regular Microsoft Word and simply copy and paste in the petal! 
 
Then just arrange to whatever size you like, save as a PDF and voila! You now can print out your new size petal and use that to trace onto your card stock for building paper flowers. 

Bonus Tip: If you are planning to make a lot of flowers for your event take the time to get your print outs laminated and then cut with an xacto knife. This way you will have a much easier time tracing and your templates will be very durable! 
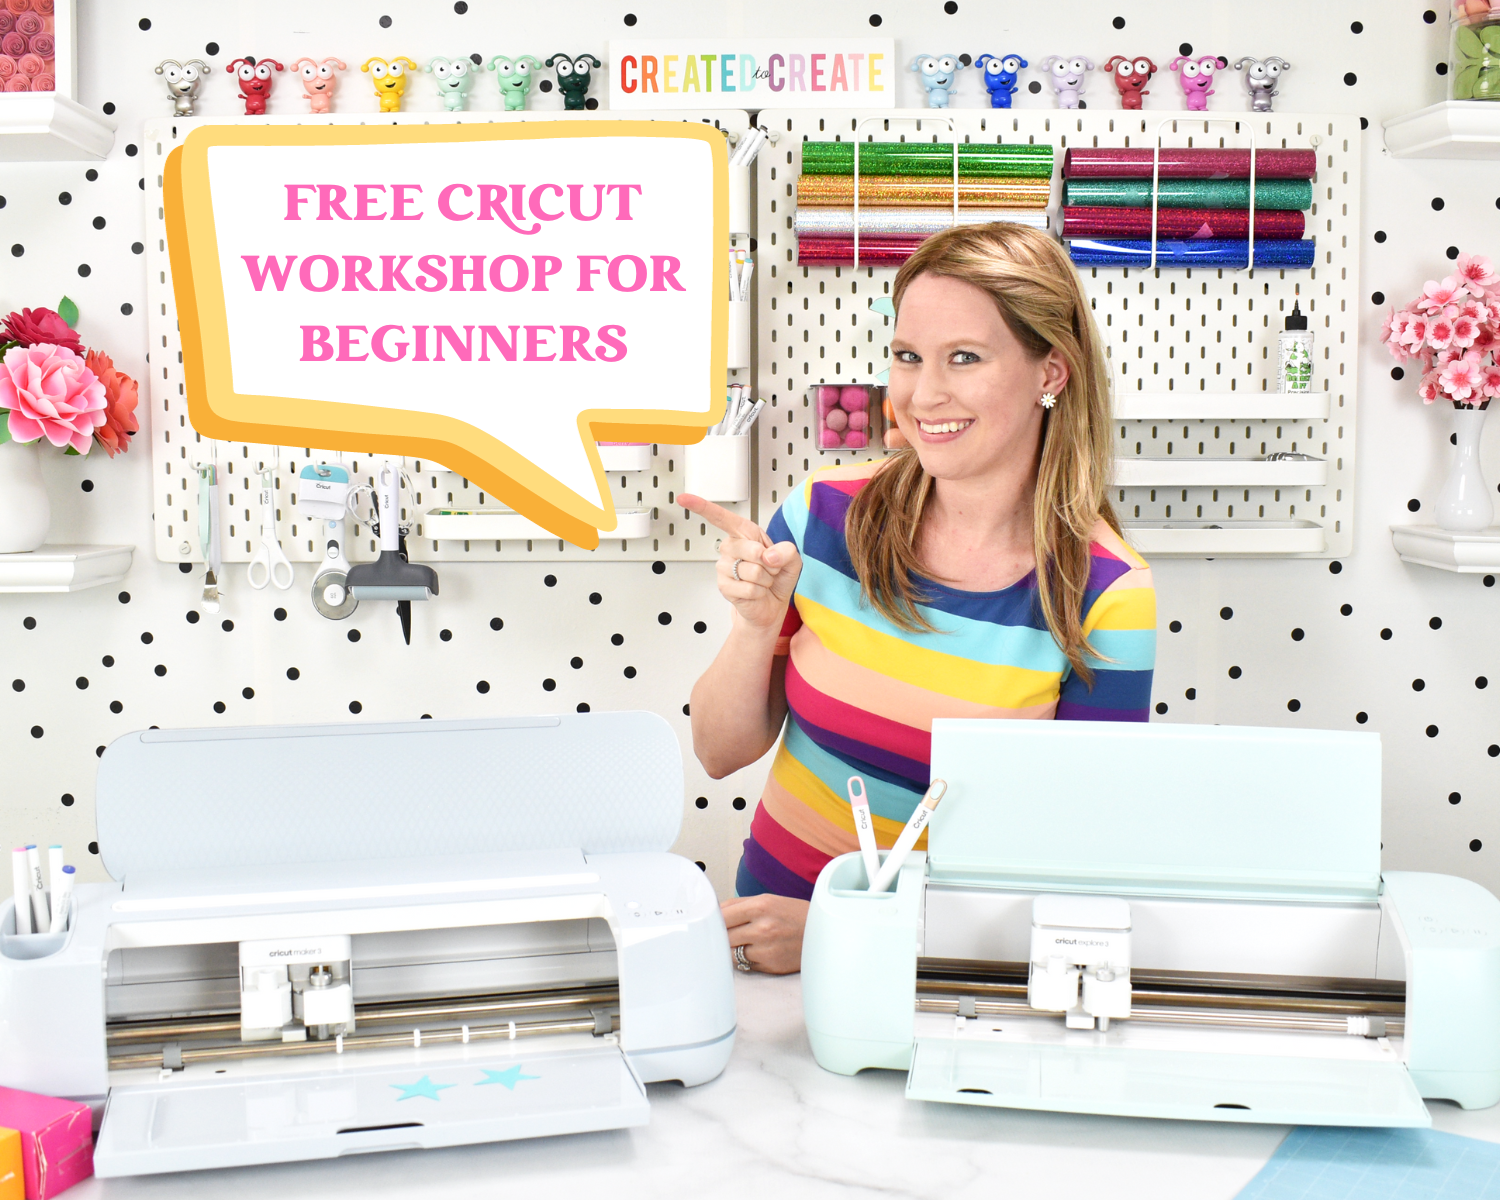
New to Cricut?

Are you ready to Master your Cricut, discover new hobbies and skills, and design for yourself?! Be sure to join my FREE masterclass on the 3 biggest beginner Cricut crafter misconceptions and how to fix them!

This masterclass is for you if you…

…own a Cricut machine but feel like you have no clue what you are doing!

…wish you could design your own project files.

…are tired of searching Pinterest and Google for answers

…craft several times a week, and want to personalize your crafts, home or event decor or maybe even want to sell your crafts!

Join me here right now!

Cutting Edge Crafters Course

Similar Posts

Leave a Reply

Your email address will not be published. Required fields are marked *

4 Comments

  1. Cindy DIYbeautify says:

    What a great idea!

  2. Abigail Gillespie says:

    Thank you. I'm glad you enjoyed it! 🙂

  3. Margo Fontaine says:

    I have to ask how you got to download your SVG files so that you don’t have to print them and they come up on your own file b/c I can’t seem to get there and I noticed your name was over on the left hand side for your Design Space for it. How did you do all that b/c again I can’t seem to get there. I have a Cricut Maker. If you could help that would be awesome.. Margo Fontaine