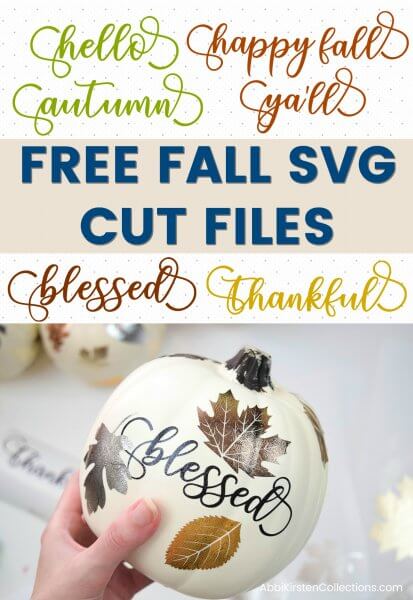
DIY Metallic Leaf Pumpkins: Fall Pumpkin Crafts DIY Pumpkin Decor
This post may contain affiliate links that won’t change your price but will share some commission.
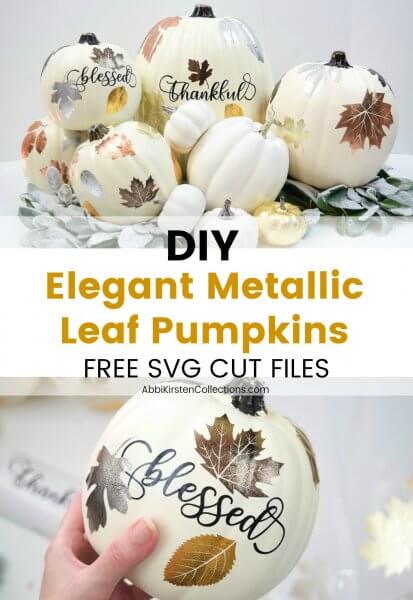
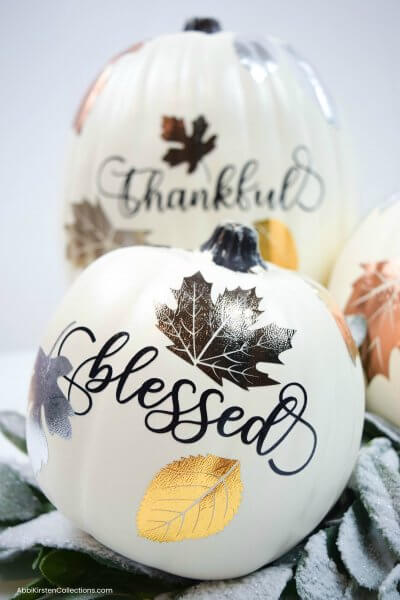
DIY Pumpkin Decor with Metallic Textured Vinyl
Every year I add new Fall pumpkin decor projects to the blog. Usually, I capture some bright colors in a fun or unusual way like last week’s Paint Dump Marble Pumpkins. But for this tutorial, I wanted to go more classic and elegant.
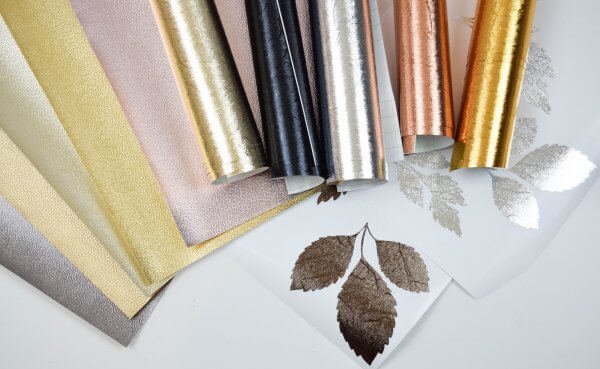
I’ve been pondering how to use some of this gorgeous textured metallic vinyl by Cricut for a while and knew that it would be perfect for some fall home decor. After designing new Fall SVG cut files, I decided to place the phases and autumn leaf designs onto some white faux pumpkins!
Below is a full guide to the exact supplies I used to make this elegant fall pumpkin decor for my home and how to craft them for yourself!
Interested in other pumpkin ideas? Check out last year’s Paper Pumpkin Decor and Velvet Pumpkin Project!

Fall Pumpkin Decorating Supplies
- Cricut metallic textured vinyl
- Faux pumpkins
- Cricut machine (Maker or Explore will work)
- Weeding tools
- Transfer tape
- Scraper
- A place to display your pumpkins proudly!
Download Your Free Fall Word and Leaf SVG Files Here
Before we can get to assembling our pumpkin crafts be sure to download the free Fall SVG cut files inside my Freebie Vault! Of course you can use any SVG files for this project too!
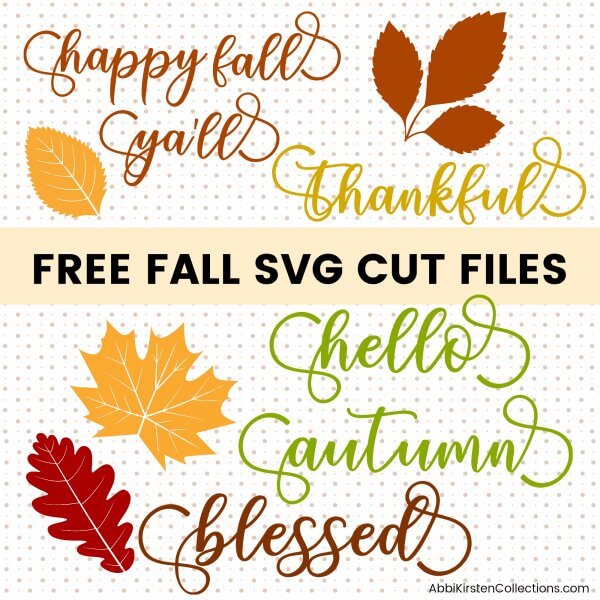
In addition to autumn leaves, I am providing free Fall calligraphy phrases to use on your pumpkins!
Download these free templates by signing up via the form below. If you are already a member, log into your Member account, and search for ‘pumpkins’ or Design #34. Need help entering the vault? Read this helpful Freebie Vault guide.
Elegant Fall Pumpkin Decor Directions
- Gather your supplies and wipe down your pumpkins with a damp cloth to remove any dust, then let dry – this just ensures your vinyl will stick well.
- Load my free Fall SVG phrases into your cutting software or type out your own.
- Cut your vinyl out. Make sure to measure your pumpkins and scale accordingly. For the leaves, vary the sizes so it looks natural.
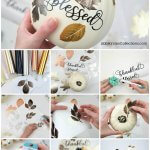
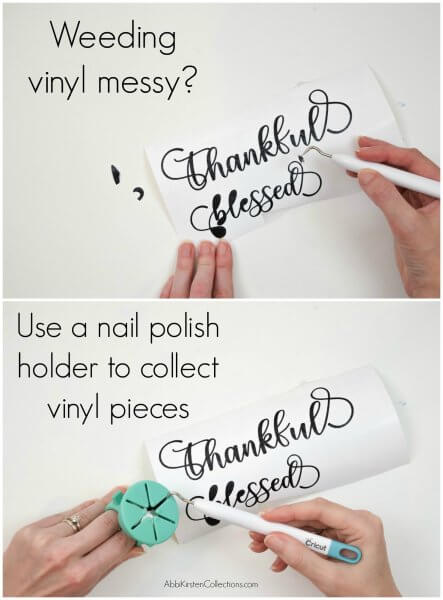
- Weed your vinyl (tip: use a nail polish holder to collect your weeded pieces of vinyl and control the mess. See my image below!)
- Lift the design with transfer tape after burnishing it with the scraper tool. Having trouble with your vinyl read my best Cricut vinyl hacks here!
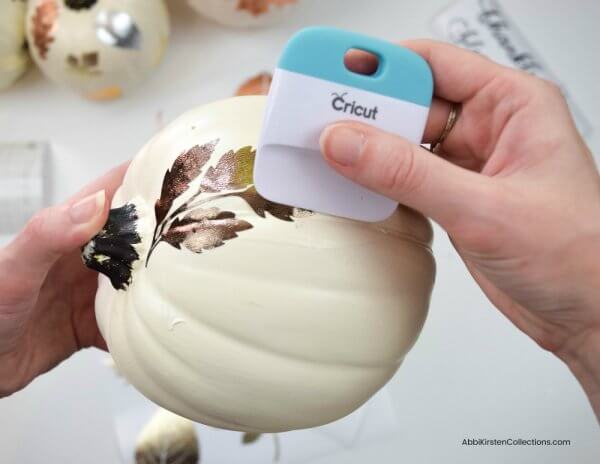
- Place onto your pumpkins. Use the scraper tool to help the vinyl adjust to the curves. It can help to cut slits around your vinyl’s transfer tape to work it onto a curved surface.
- Display your pumpkins!

DIY Metallic Leaf Pumpkins for Fall Crafts and Autumn Décor
Make these classy, elegant faux pumpkin decorations for fun Autumn and Halloween events. Easy to make but they look expensive!
Materials
Tools
Instructions
- Gather all your supplies, including the templates.
- Wipe down your pumpkins with a damp cloth and let them dry.
- Load the free SVG into your cutting machine.
- Cut your vinyl leaves and phrases.
- Weed your vinyl. Apply transfer tape and burnish it.
- Lift the design with transfer tape.
- Place them onto your pumpkins.
- Use the scraper tool to help the vinyl adjust to the curves.
- Display your pumpkins proudly!
About Abbi Kirsten
My mission is to inspire you to nurture the creative magic inside your soul – bringing you fun, easy-to-learn DIY projects, and quality template designs. I share a variety of projects, holiday decor and you will definitely notice my love for paper crafting and paper flowers – all tied up in a sweep of cheerful color.
Interested in paper flowers?! I’ve created dozens of signature designs for you to enjoy – starting with my best seller, The Art of Giant Paper Flowers, the Giant Flower Library, and Catching Colorflies, my shop of endless paper designs and flower templates.
Want to join my Facebook community to share your crafts and learn from the best? Click here to request access to my group, Elite Crafters and Cricut Lovers.
More Crafty Posts!