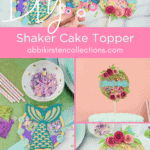
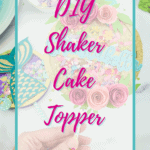
Shaker Cake Topper Tutorial
This post may contain affiliate links that won’t change your price but will share some commission.
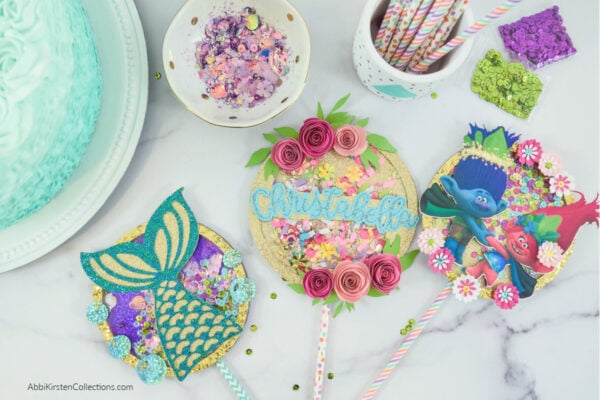
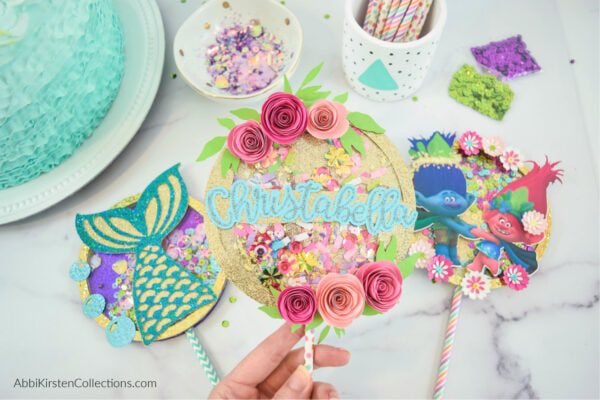
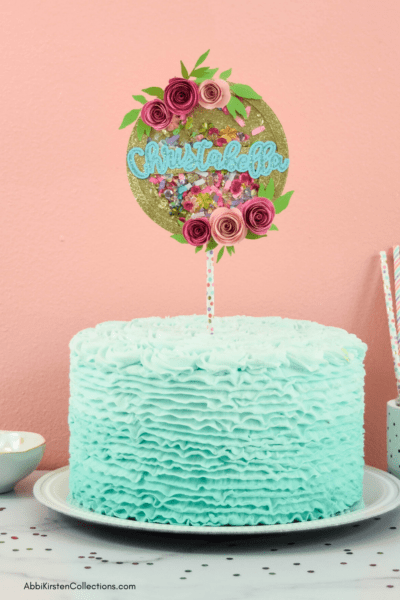
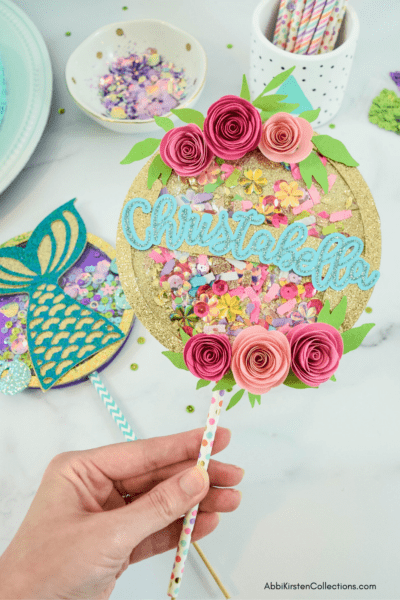
Shaker cake toppers have become a popular new way to decorate the top of cakes in a personal way. I had many requests in my Facebook group to create a tutorial on how to make one. Today I will show you how simple it is to make these toppers – and with so many different unique touches or themes.
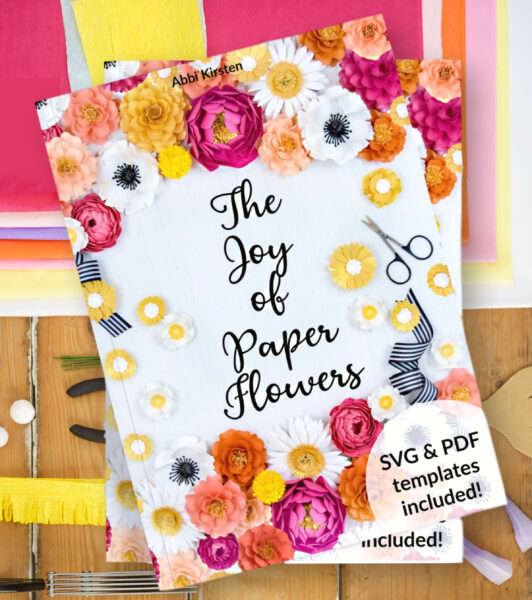
If you are in love with paper flowers like me, then check out my Rosette designs, which are easy and perfect for adorning these toppers.
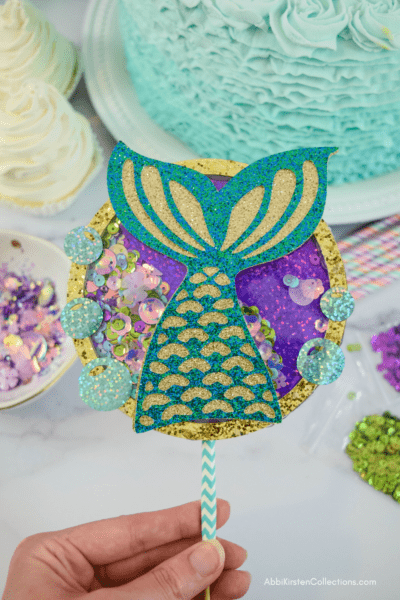
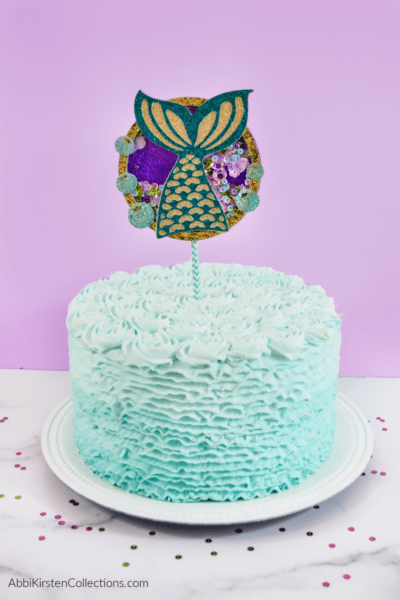
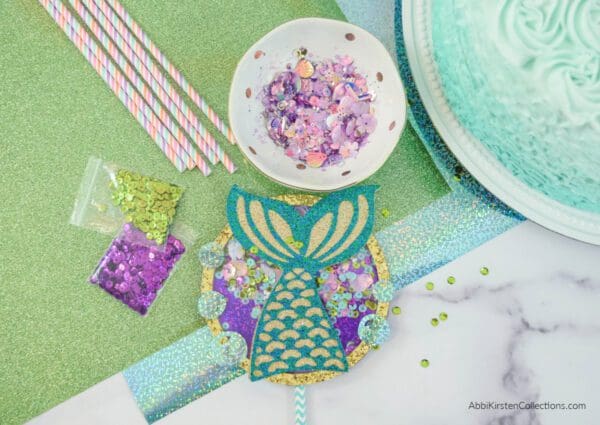
I’m going with a mermaid theme here, and if you want more mermaid party ideas, check out my flower backdrop here!
Supplies & Templates for Shaker Cake Topper
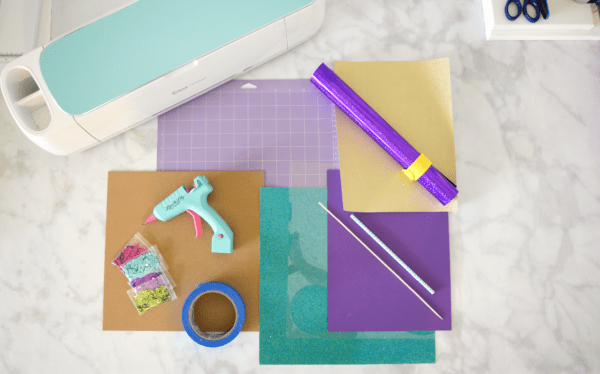
- Shaker topper circle templates (free inside my Freebie Vault. Details to access below). In my photos, you will also notice I used printable vinyl for the Trolls image, paper rosettes, and my mermaid tail file which can be found here.
- Chipboard
- Painter’s tape
- Strong grip mat
- Sequin confetti. I also love this one!
- Glitter cardstock and/or Cricut party foil
- Regular cardstock
- Bamboo skewer
- Paper straw
- Acetate
- Glue gun
Accessing the Free Topper Template
Download these free templates by creating a free account in my Freebie Vault. Search Cake Topper or type in Design #115.
Shaker Cake Topper Instructions
For full details be sure to watch the video below! Here is a quick guide with written instructions.
- Gather your materials and begin by cutting out the acetate circle (use the acetate setting under Custom Materials on your machine).
- Next, cut your chipboard out on the strong grip mat. Be sure to use painter’s tape to secure the mat. Use the thick chipboard setting on your machine.
- Cut out the remaining circle pieces in glitter cardstock or regular cardstock. I also tried using party foil, which was fun for some extra sparkle! Use the corresponding settings for these materials as well – party foil and glitter cardstock.
- Once everything is cut out, mix your sequin confetti to your preference.
- To assemble, start with the chipboard frame and acetate circle. Glue the acetate circle on top of the chipboard frame.
- Next, pour your confetti into the center of your base circle then glue the acetate and chipboard piece on top. Note: make sure to glue the chipboard face down and the acetate side up to create the space we need for the confetti.
- Finally, glue the cardstock frame over the chipboard frame, so you no longer see the chipboard.
- At this point, take your creative freedom to decorate as you wish. In my video below, I used a mermaid tail.
Shaker Confetti Cake Topper Video Tutorial
I loved making these cake toppers because you can personalize them in so many ways! You could also create your recipient’s name in Design Space with flowers (I used Rosettes here).
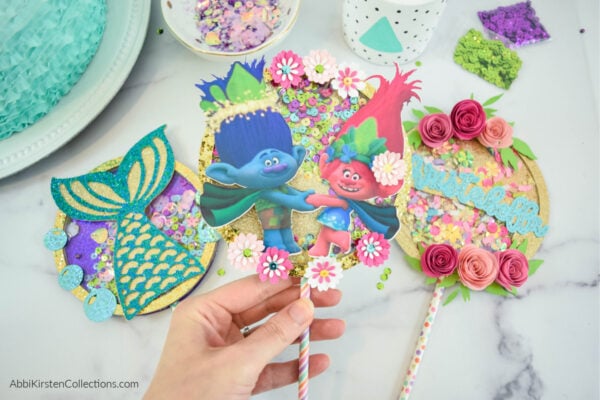
If you are in a time pinch or just don’t want to do a bunch of cutting, you can use printable vinyl to print out any image and stick it to the top of the acetate, which is what I did for the Trolls inspired design.
More Crafts to Love
- Free July 4th Printable – Happy Independence Day Wall Print
- Free Printable Planner Stickers: Tropical Summer
- 9 Best Paper Flowers Crafts: Easy Papercrafts to Brighten Your Day
- The Best Free Summer SVG Files For Cricut And Silhouette Crafts
- Paper Flowers for Baby Showers: A Special Guest Post
About Abbi Kirsten Collections
I have spent the last 10+ years building my creative skills and sharing them with others. My flower designs are created with simplicity, color, and crafty fun in mind. If you haven’t yet, be sure to join the subscriber community to gain access to all my freebies or visit my signature design shop here!
Want to join my Facebook community to share your crafts and learn from the best? Click here to request access to my group, Crafters and Cricut Lovers.
For further color crafts and inspiration, join me on Instagram & Facebook.