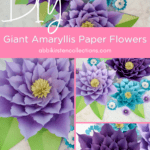
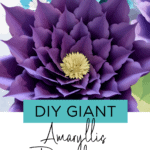
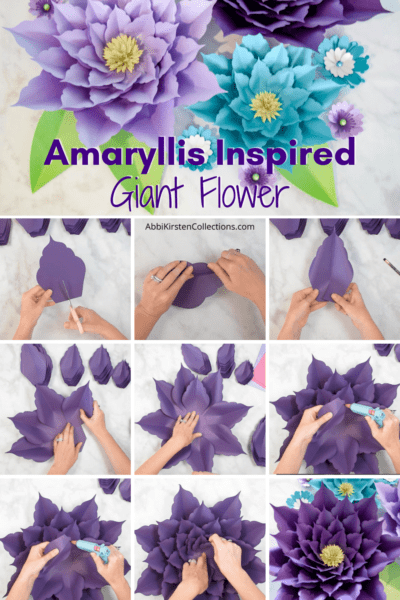
DIY Giant Paper Amaryllis Flowers: Template and Tutorial
This post may contain affiliate links that won’t change your price but will share some commission.
Create Beautiful Giant Amaryllis Paper Flowers!
It’s time for another giant paper flowers tutorial! I have designed many giant flower templates over the last several years, but it occurred to me that I haven’t released a new large flower design in many months! So I set out to create a new faux paper flower project inspired by the amaryllis flower’s vibrant blossoms. These DIY amaryllis paper flowers can be used in decorations for any holiday season or as the best way to tell someone to feel better by gifting them a floral arrangement of amaryllis flower blooms in a glass vase.
Recently I have been a busy bee crafting cactus plants and shaker confetti cake toppers, but I always feel most satisfied with my work after I complete a new design for giant artificial flowers. The faux amaryllis flower petal is unique when compared to my traditional wider petals, and with the use of metallic cardstock, the depth of the petal center turned out better than I imagined.
DIY Amaryllis Paper Flower Tutorial
How To Downsize The Amaryllis Paper Flowers
Like all my large paper flowers, this new Amaryllis flower can easily be made in a variety of sizes. If you wish to downsize the flower by one layer, subtract the use of the extra-large petal to create a large one. Likewise, you can deduct the extra-large and large petals to downsize to a medium and so forth with a small.
You can still create 3 or 4 layers to keep the flower full, but only use 2 or 3 of the smaller petal sizes instead of all five-petal sizes for an overall smaller flower – and I go over this at the end of the full step-by-step video tutorial below!
Pro-Tip: If you are new to the world of Cricut cutting machines, then check out my new guide to the FAQ for machine users when crafting paper flowers!
Amaryllis Paper Flowers Supply List
Optional (if you wish to add color to the center or edges of your blooms)
Necessary
- Cardstock
- Wood dowel or pencil/marker
- Glue gun
- Scissors
- Cricut Maker or Cricut Explore
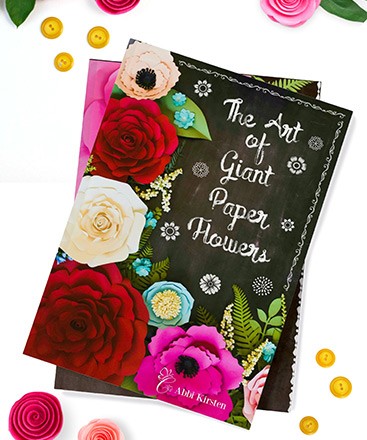
- Giant Amaryllis templates—Download them directly here or in my Etsy shop. The templates include PDF printables, PDF templates, and SVG cut files. These giant paper flower amaryllis templates are also part of my premium membership, where you can access hundreds of flower templates, SVG cut files and printables all at once. If you prefer to access everything and get the best value, join the membership here!
Pro-Tip: Like all my other designs, these templates come in printable PDF files, SVG cut files, and PNG images, so you can easily hand-cut with scissors or use your favorite cutting machine.
How To Make Amaryllis Paper Flowers: Video Tutorial
For a more detailed tutorial, I have created an amaryllis paper flowers tutorial on YouTube. You will get complete instructions as well as helpful tips and tricks, like how to create smaller versions of the amaryllis bloom. Step-by-step written instructions are below.
How To Make Amaryllis Paper Flowers: Step-By-Step Instructions
With all my newer giant flower releases, I always include at least one of my Petal Perfect bases to make achieving an even petal look flawlessly easy, even for a beginner. Amaryllis comes with an 8-sided base, but you can also play around with six or only seven petals per layer. View all my petal bases!
Step 1: Preparing Your Petals And Amaryllis Paper Flowers Center
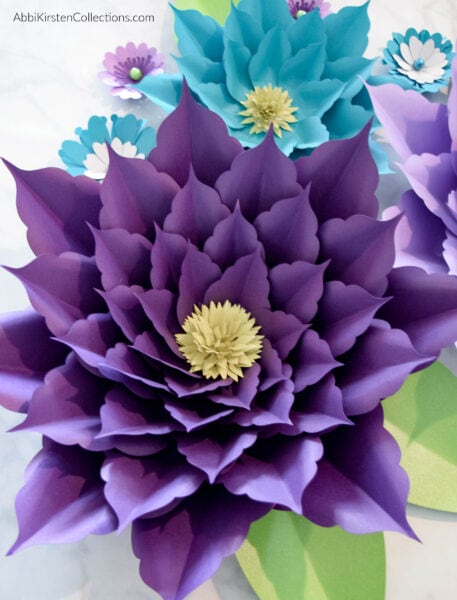
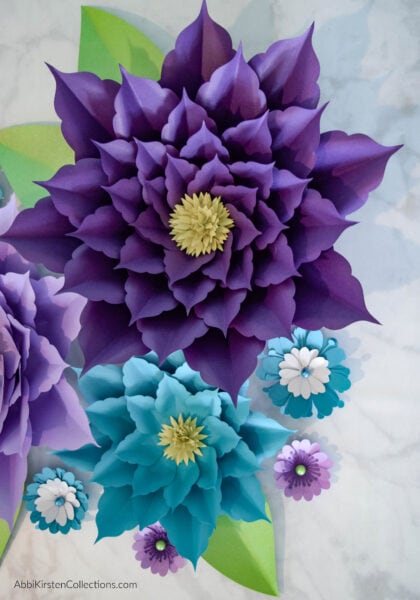
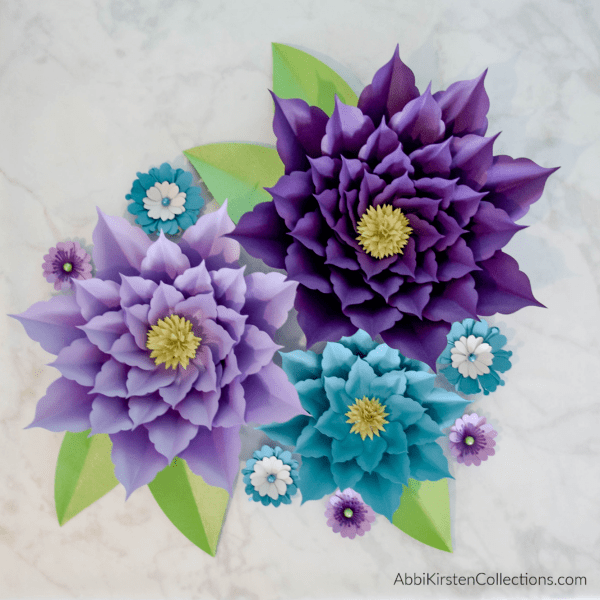
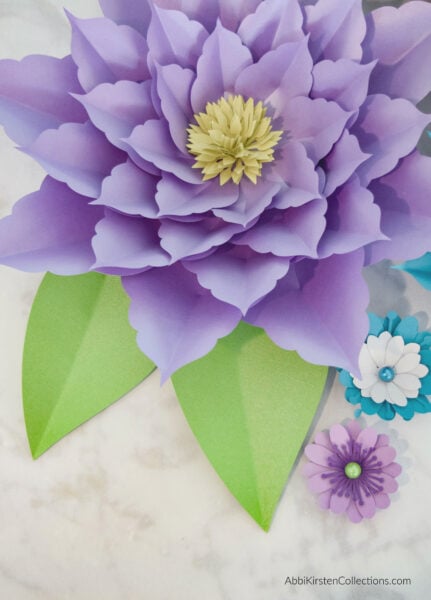
Although white and shades of red amaryllis are more common, I made mine purple. You can choose any color or size you want. These instructions are for a giant (XL) amaryllis bloom.
For each flower, you will cut out eight petals in every size – one for each side of the 8-sided base, and then 4-6 center stamen petals.
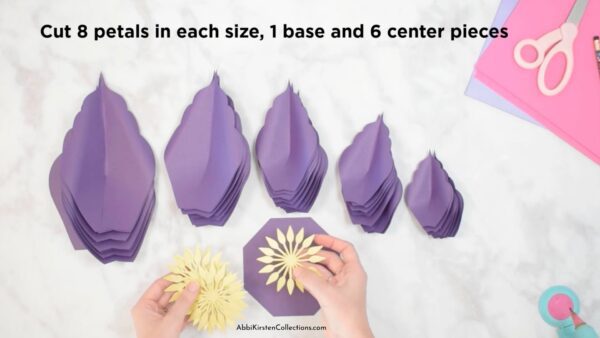
- Extra-Large Petals: 8 petals
- Large Petals: 8 petals
- Medium Petals: 8 petals
- Small Petals: 8 petals
- Extra-Small Petals: 8 petals
- 8-sided base: 1
Pro-Tip: If you choose to add more dimension to your full blooms by adding color to the center of the petals, do this before you begin Step 2.
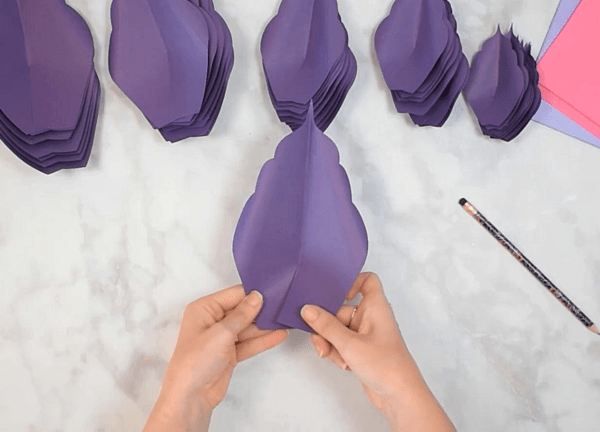
Step 2: Shaping Your Petals
To shape your petal:
- Cut about a 1.5 to 2-inch slit at the very bottom.
- Then crease the petal down the center gently.
- Curl each top edge backward with your wood dowel or pencil.
- Finally, overlap and glue the slit at the base – but only slightly! An overlap of about halfway is good. Using glue and a slit is the perfect way to shape your petals, and it avoids using difficult floral wire.
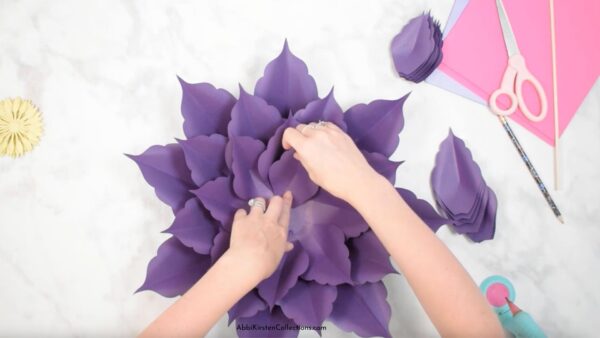
Step 3: Layer Amaryllis Petals On The Base
Once you have prepared your petals all the same way, you will begin adding them around the octagon base, from largest to smallest. I’m using my 8-sided Petal Perfect octagon base. Each side holds an extra-large petal.
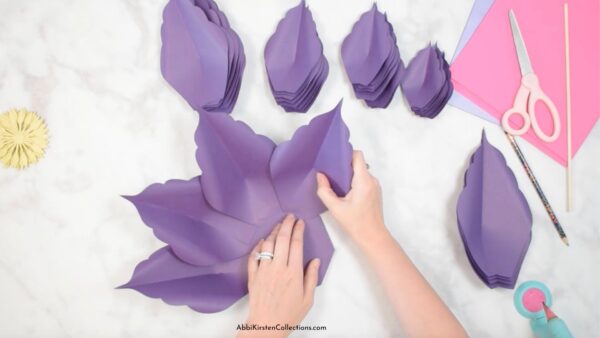
- Add glue to the base of one of your extra-large petals.
- Attach it to the base on one of the 8 sides.
- Add the second extra-large petal next to and slightly overlapping the first petal on the next side of the base.
- Continue going around the base, adding extra-large petals to the base and overlapping the previous petal.
Once the 8 extra-large petals are glued to the base, start the process over with the large petals. You will also overlap the large petals with the large petal next to them.
Place the large petals so that they are above and in between two of the extra-large petals below it so that the petal layers alternate. You’re going to continue exactly the same way that we did with the last layer.
When all 8 of the large petals are glued to the base, begin the third layer of medium petals. Alternate the medium petals over the large petals.
After you glue all the medium petals to the base, continue with the fourth layer of small petals, and after that, add the fifth layer of extra-small petals. Always overlap and alternate the petal position with the two petals beneath it.
Make sure all the Amaryllis flower petals are blooming in the same direction, and their placements look uniform.
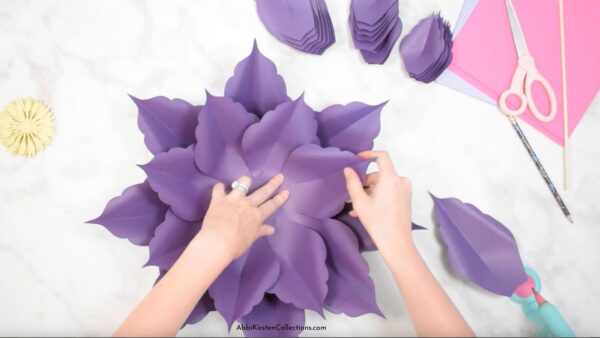
Step 4: Attach The Amaryllis Flower Center
Putting a center in your amaryllis blooms is super easy. I offer many different types of stamen centers on my Youtube channel, like fluffy pompom centers. For these amaryllis paper flowers, I will be using the yellow stamen center that comes with my paper amaryllis template.
- Cut out between 4 and 6 of the stamen centers.
- Add glue to the middle of one stamen cutout, and glue another center cutout on top.
- Do this with four of your layers. Try to place the cutouts in an alternating pattern.
- Gather the array of center cutout petals and fold them upwards.
- Glue the fluffed-up stamen center to the middle of your amaryllis flower.
The center doesn’t have to be symmetrical, but you do want to create some dimension. If you want, you can add more of these. Open the stamen petals up a bit and add one or two more cutouts. I don’t suggest using more than 6 layers for this center design.
Now we have a finished giant amaryllis paper flower!

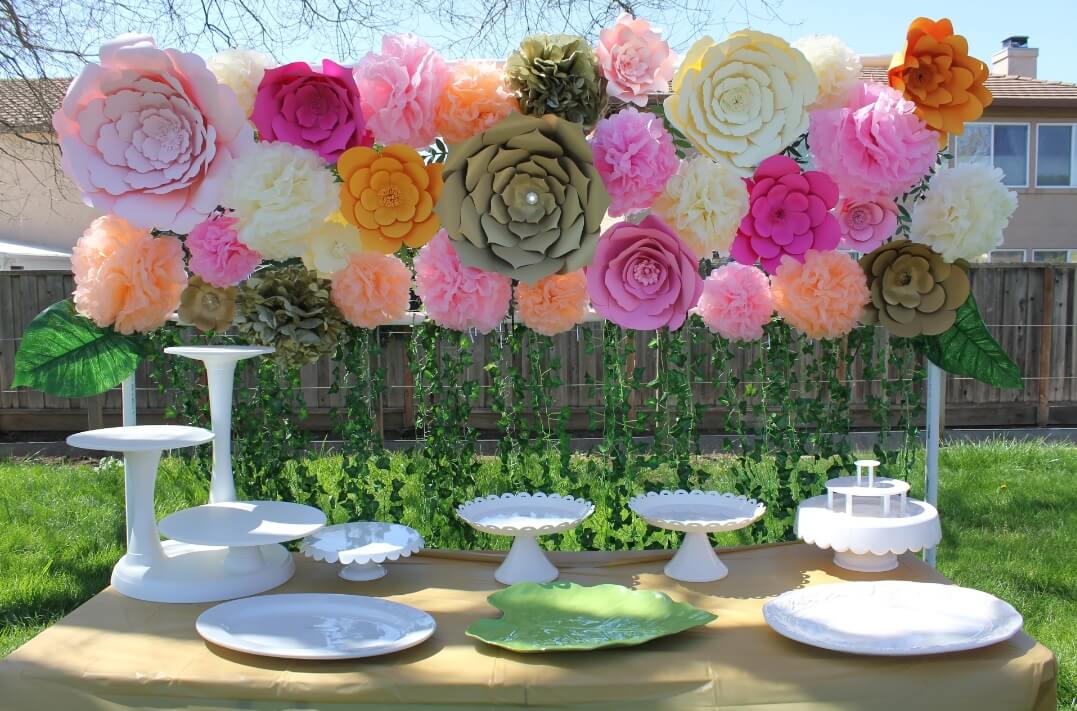
I think this design makes beautiful flowers, and it’s probably going to be one of my top favorites. You can use faux amaryllis flowers for so many things because they truly brighten up a room and make fantastic table centerpieces.
I’d love to see how your amaryllis paper flowers turn out, so be sure to join my community here and show off your talent! If you have any questions, please leave me a comment below!
For more paper flower projects, check out my tutorials here!
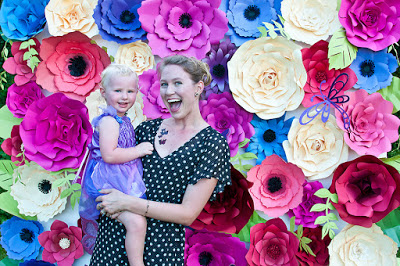
To see how you can use these as a photo backdrop, check out my PVC frame tutorial here!

DIY Giant Amaryllis Paper Flowers
Looking for stunning, exotic DIY faux flowers? Make your own giant amaryllis paper flowers using these free templates and full video tutorial!
Materials
Instructions
Step 1: Prepare Your Petals And Paper Amaryllis Flower Center
- For each flower, you will cut out eight petals in every size – one for each side of the 8-sided base, and then 4-6 center stamen petals.
Step 2: Shape Your Petals
- Cut about a 1.5 to 2-inch slit at the very bottom.
- Then crease the petal down the center gently.
- Curl each top edge backward with your wood dowel or pencil.
- Finally, overlap and glue the slit at the base – but only slightly!
Step 3: Layer Amaryllis Petals On The Base
- Add glue to the base of one of your extra-large petals.
- Attach it to the base on one of the 8 sides.
- Add the second extra-large petal next to and slightly overlapping the first petal on the next side of the base.
- Continue going around the base, adding extra-large petals to the base and overlapping the previous petal.
- Once the 8 extra-large petals are glued to the base, start the process over with the large petals.
- When all 8 of the large petals are glued to the base, begin the third layer of medium petals. Alternate the medium petals over the large petals.
- After you glue all the medium petals to the base, continue with the fourth layer of small petals and after that, add the fifth layer of extra-small petals.
Step 4: Attach The Amaryllis Flower Center
- Cut out between 4 and 6 of the stamen centers.
- Add glue to the middle of one stamen cutout, and glue another center cutout on top.
- Do this with four of your layers. Try to place the cutouts in an alternating pattern.
- Gather the array of center cutout petals and fold them upwards.
- Glue the fluffed-up stamen center to the middle of your amaryllis flower.
More Crafts to Love
- Free July 4th Printable – Happy Independence Day Wall Print
- Free Printable Planner Stickers: Tropical Summer
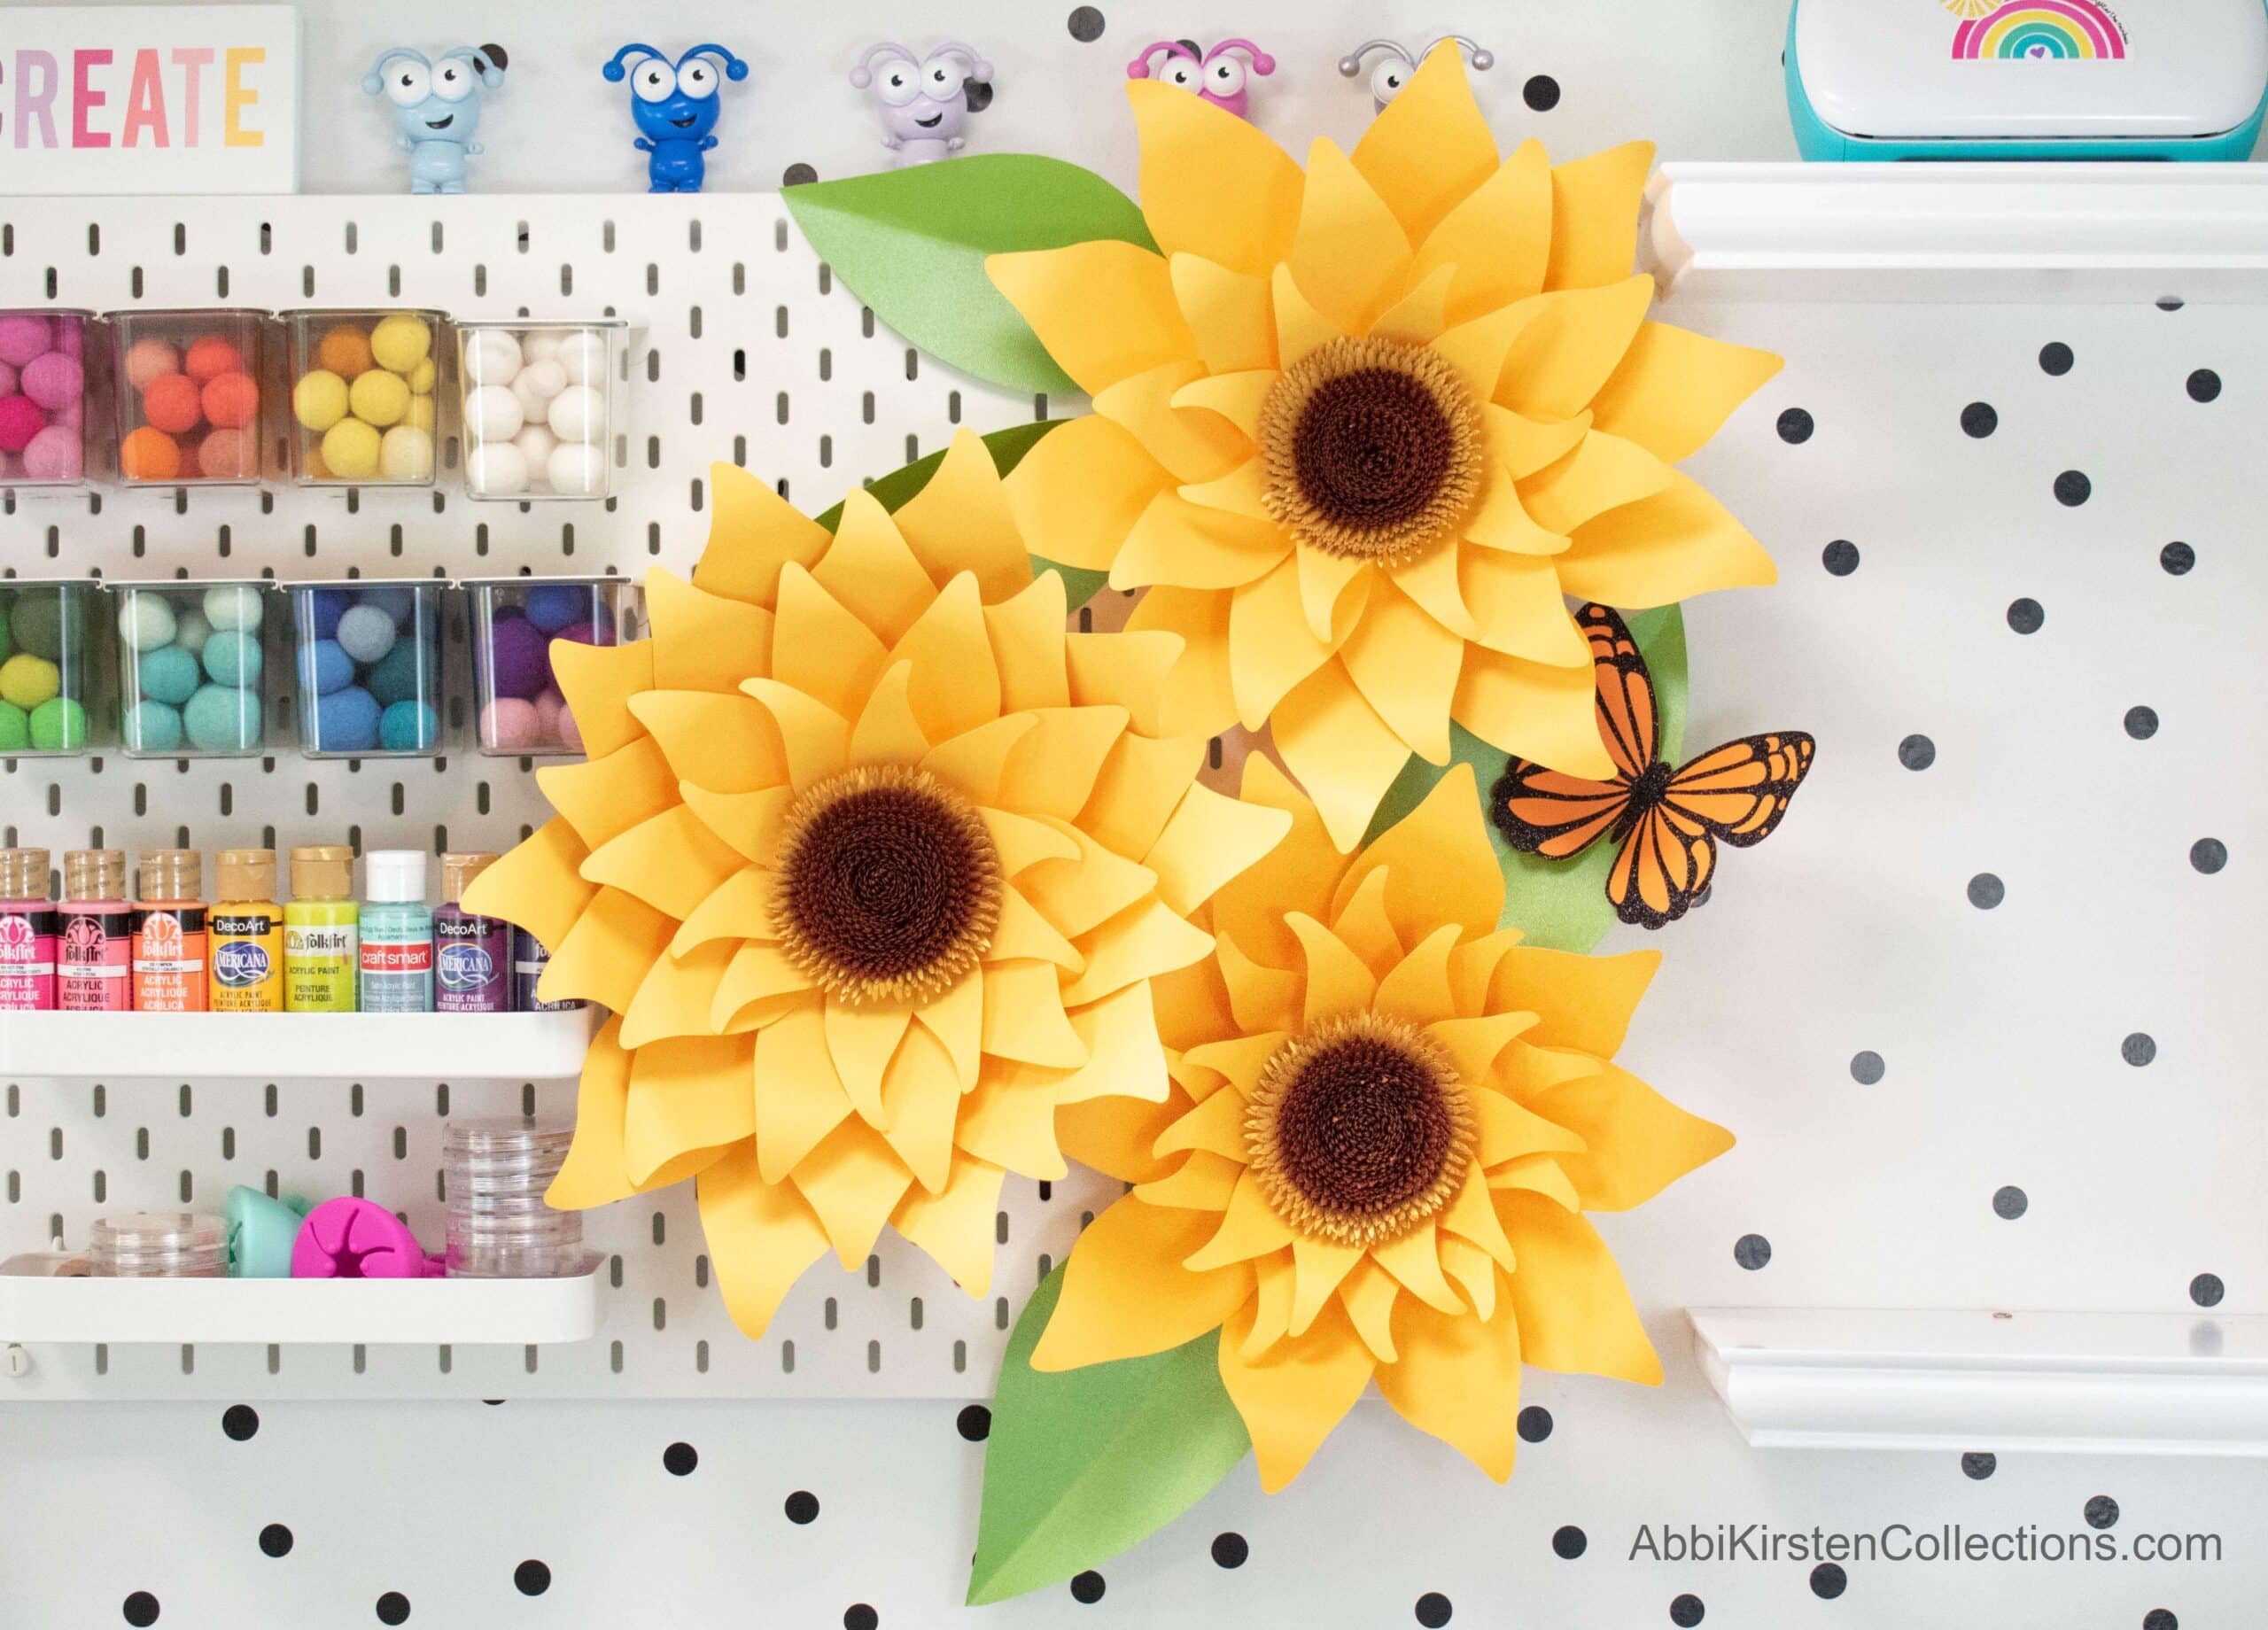
- 9 Best Paper Flowers Crafts: Easy Papercrafts to Brighten Your Day
- The Best Free Summer SVG Files For Cricut And Silhouette Crafts
- Paper Flowers for Baby Showers: A Special Guest Post
Hey, Crafty bestie! I’m Abbi!

I’m thrilled you are here! I have spent the last 10+ years making messes and magic in my home studio to make the world a more colorful place, one craft at a time! I’m on a mission to nurture the creative magic inside your soul and bring that bursting imagination inside you to life with easy-to-learn tutorials. If you haven’t yet, be sure to join the subscriber community to gain access to all my freebies or visit my signature design shop, Catching Colorflies!