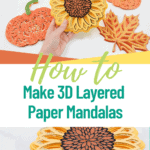
3D Layered Paper Mandala Craft Tutorial – Sunflower Layered Mandala SVG File
This post may contain affiliate links that won’t change your price but will share some commission.

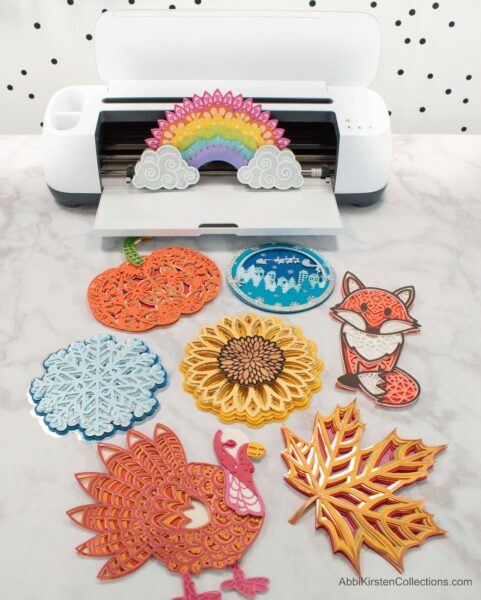
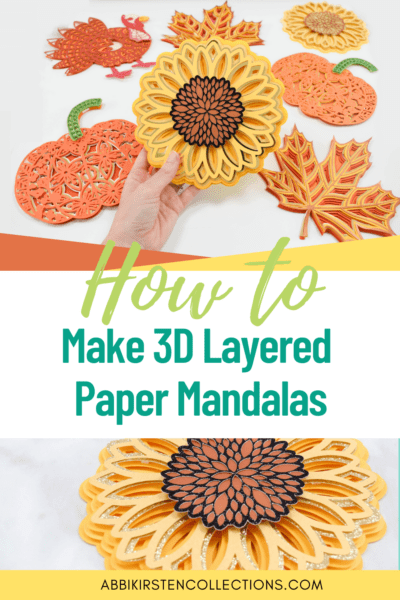
How to Make 3D Layered Paper Mandala Crafts
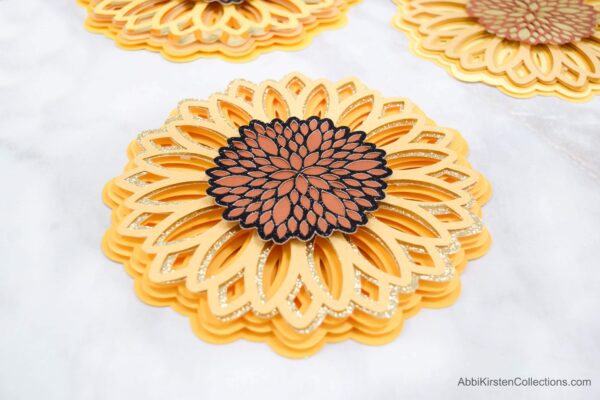
Paper mandalas are a fun and trendy craft that is easy enough any beginner can make them! I think the reason they are so popular is that they look like a lot of hard work but your Cricut machine does all the heavy lifting! Today I am sharing my 3d layered mandala SVG files and a step-by-step Paper Mandala Craft video tutorial below!
In this Paper Mandala Craft tutorial, I will teach you how to layer any mandala together, what supplies you need, and how to get playful with using different papers and colors for your craft.
Today’s step-by-step video tutorial will teach you to layer a sunflower mandala together. What’s better is these fall files are free for a limited time here on the blog!
If you are a lover of sunflowers like myself, you definitely need to view my stemmed paper sunflower tutorial here!
3D Layered Mandala Video Tutorial
I love using layered mandala SVG designs to create a detailed piece of art with my cutting machine. How would you use paper mandalas? Tell me below!
Supplies for Layered Paper Mandalas Crafts
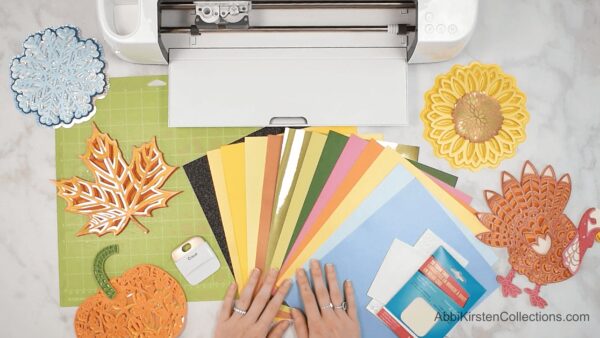
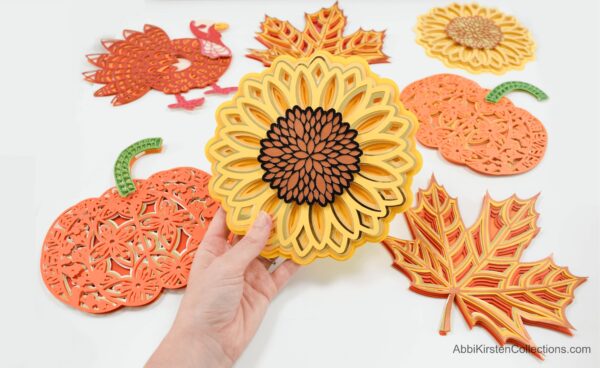
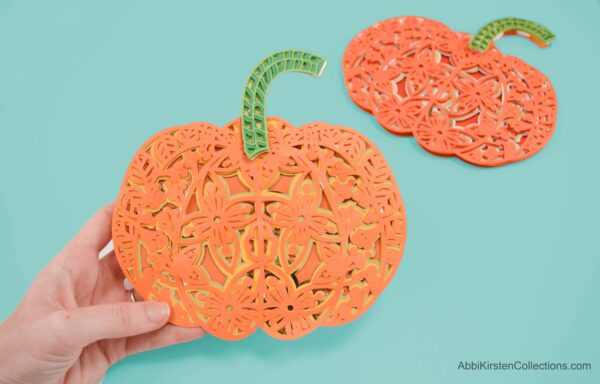
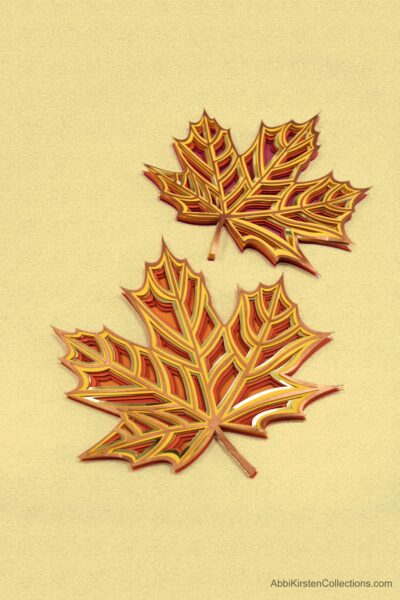
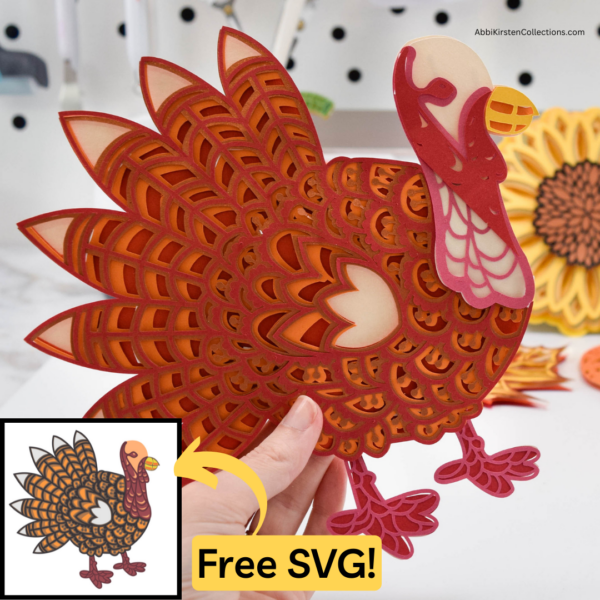
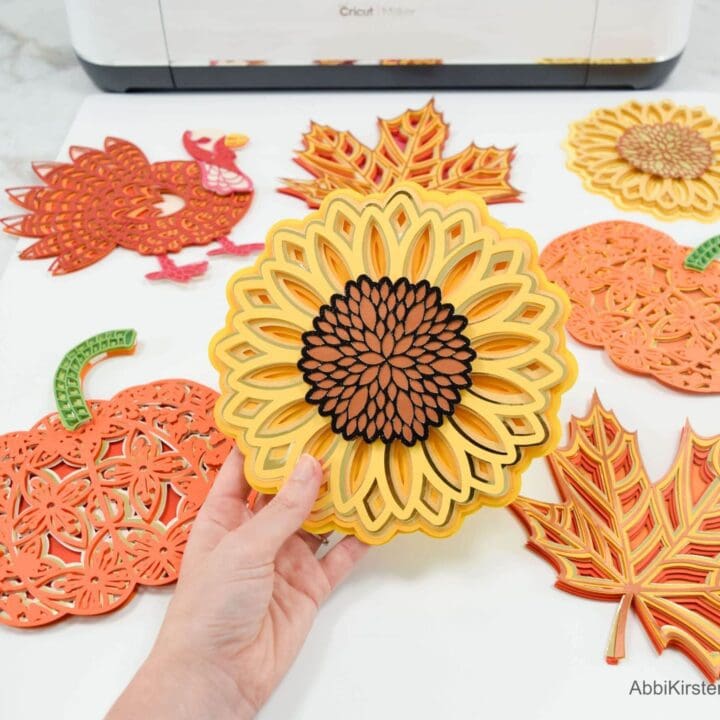
- Sunflower, fall leaf, pumpkin, or turkey mandala templates (free inside my Freebie Vault till the end of November only! Details to access just below this supply list).
- Cardstock, black glitter cardstock, gold glitter cardstock, or metallic cardstock.
- Light grip and/or standard grip Cricut mat
- Foam taps (both large and small)
- Cricut machine
Accessing the Free Mandala Templates
Download these free sunflower, fall leaf, turkey, and pumpkin mandala templates by signing up via the form below. If you are already a member, log in and find it by searching designs, 105, 106, 107, 108, or the keyword “Fall” at the top search bar.
How to Cut a Paper Mandala Using Your Cricut: Quick Guide Instructions
For full details be sure to watch the video below! Here is a quick guide with written instructions.
Step 1: Cut out your mandalas on your cutting machine. I use a Cricut, but any machine that is SVG compatible will work!
- Make sure to use the corresponding setting for your material. For example, 65-pound cardstock is considered medium weight in Design Space. Likewise, if you are using glitter cardstock or light cardstock, be sure to change your pressure accordingly in the Custom settings of Cricut Design Space.
A Note on Your Cricut Machine Settings…
Note: If your cardstock is tearing, try the Cardstock for Intricate Cuts setting. However, if your cardstock is not cutting all the way through, try selecting MORE pressure on the cut screen.
Step 2: Your mandala pieces may or may not cut out in the order you arrange them. But don’t panic; there is an easy way to make sure you layer them correctly. Just make sure to set all the pieces aside and not lose any – I like to use a shallow container or box to collect my mandala layers.
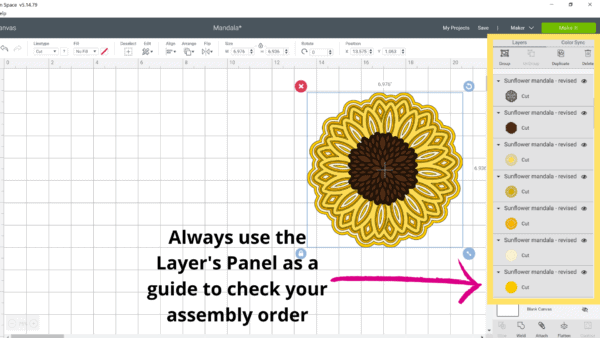
Step 3: After you cut all the mandala pieces, it’s time for assembly. To prep, start by laying all your parts in the correct order. If they did not cut out in the order they are meant to be layered; you can quickly check by returning to your Canvas and viewing your Layer’s Panel to the right. Starting at the bottom of the Layer’s Panel and working up will be the exact way you should assemble any mandala.
Step 4:
- Start with the two bottom-most layers.
- Check your alignment of the two layers.
- Flip over the piece that belongs on top and begins placing your foam tabs.
Usually, on the first two or three layers, the larger foam tabs work great.
Step 5: Continue as in Step 4 with the next layers until you reach the top-most piece. As you work toward the top, you may need to shift to a smaller foam tab.
Step 6: Once you have added all the layers except the most delicate top piece, shift to clear glue or scrapbooking runner tape. Flip over your final detailed full mandala layer, apply glue, and place on top of your mandala masterpiece!
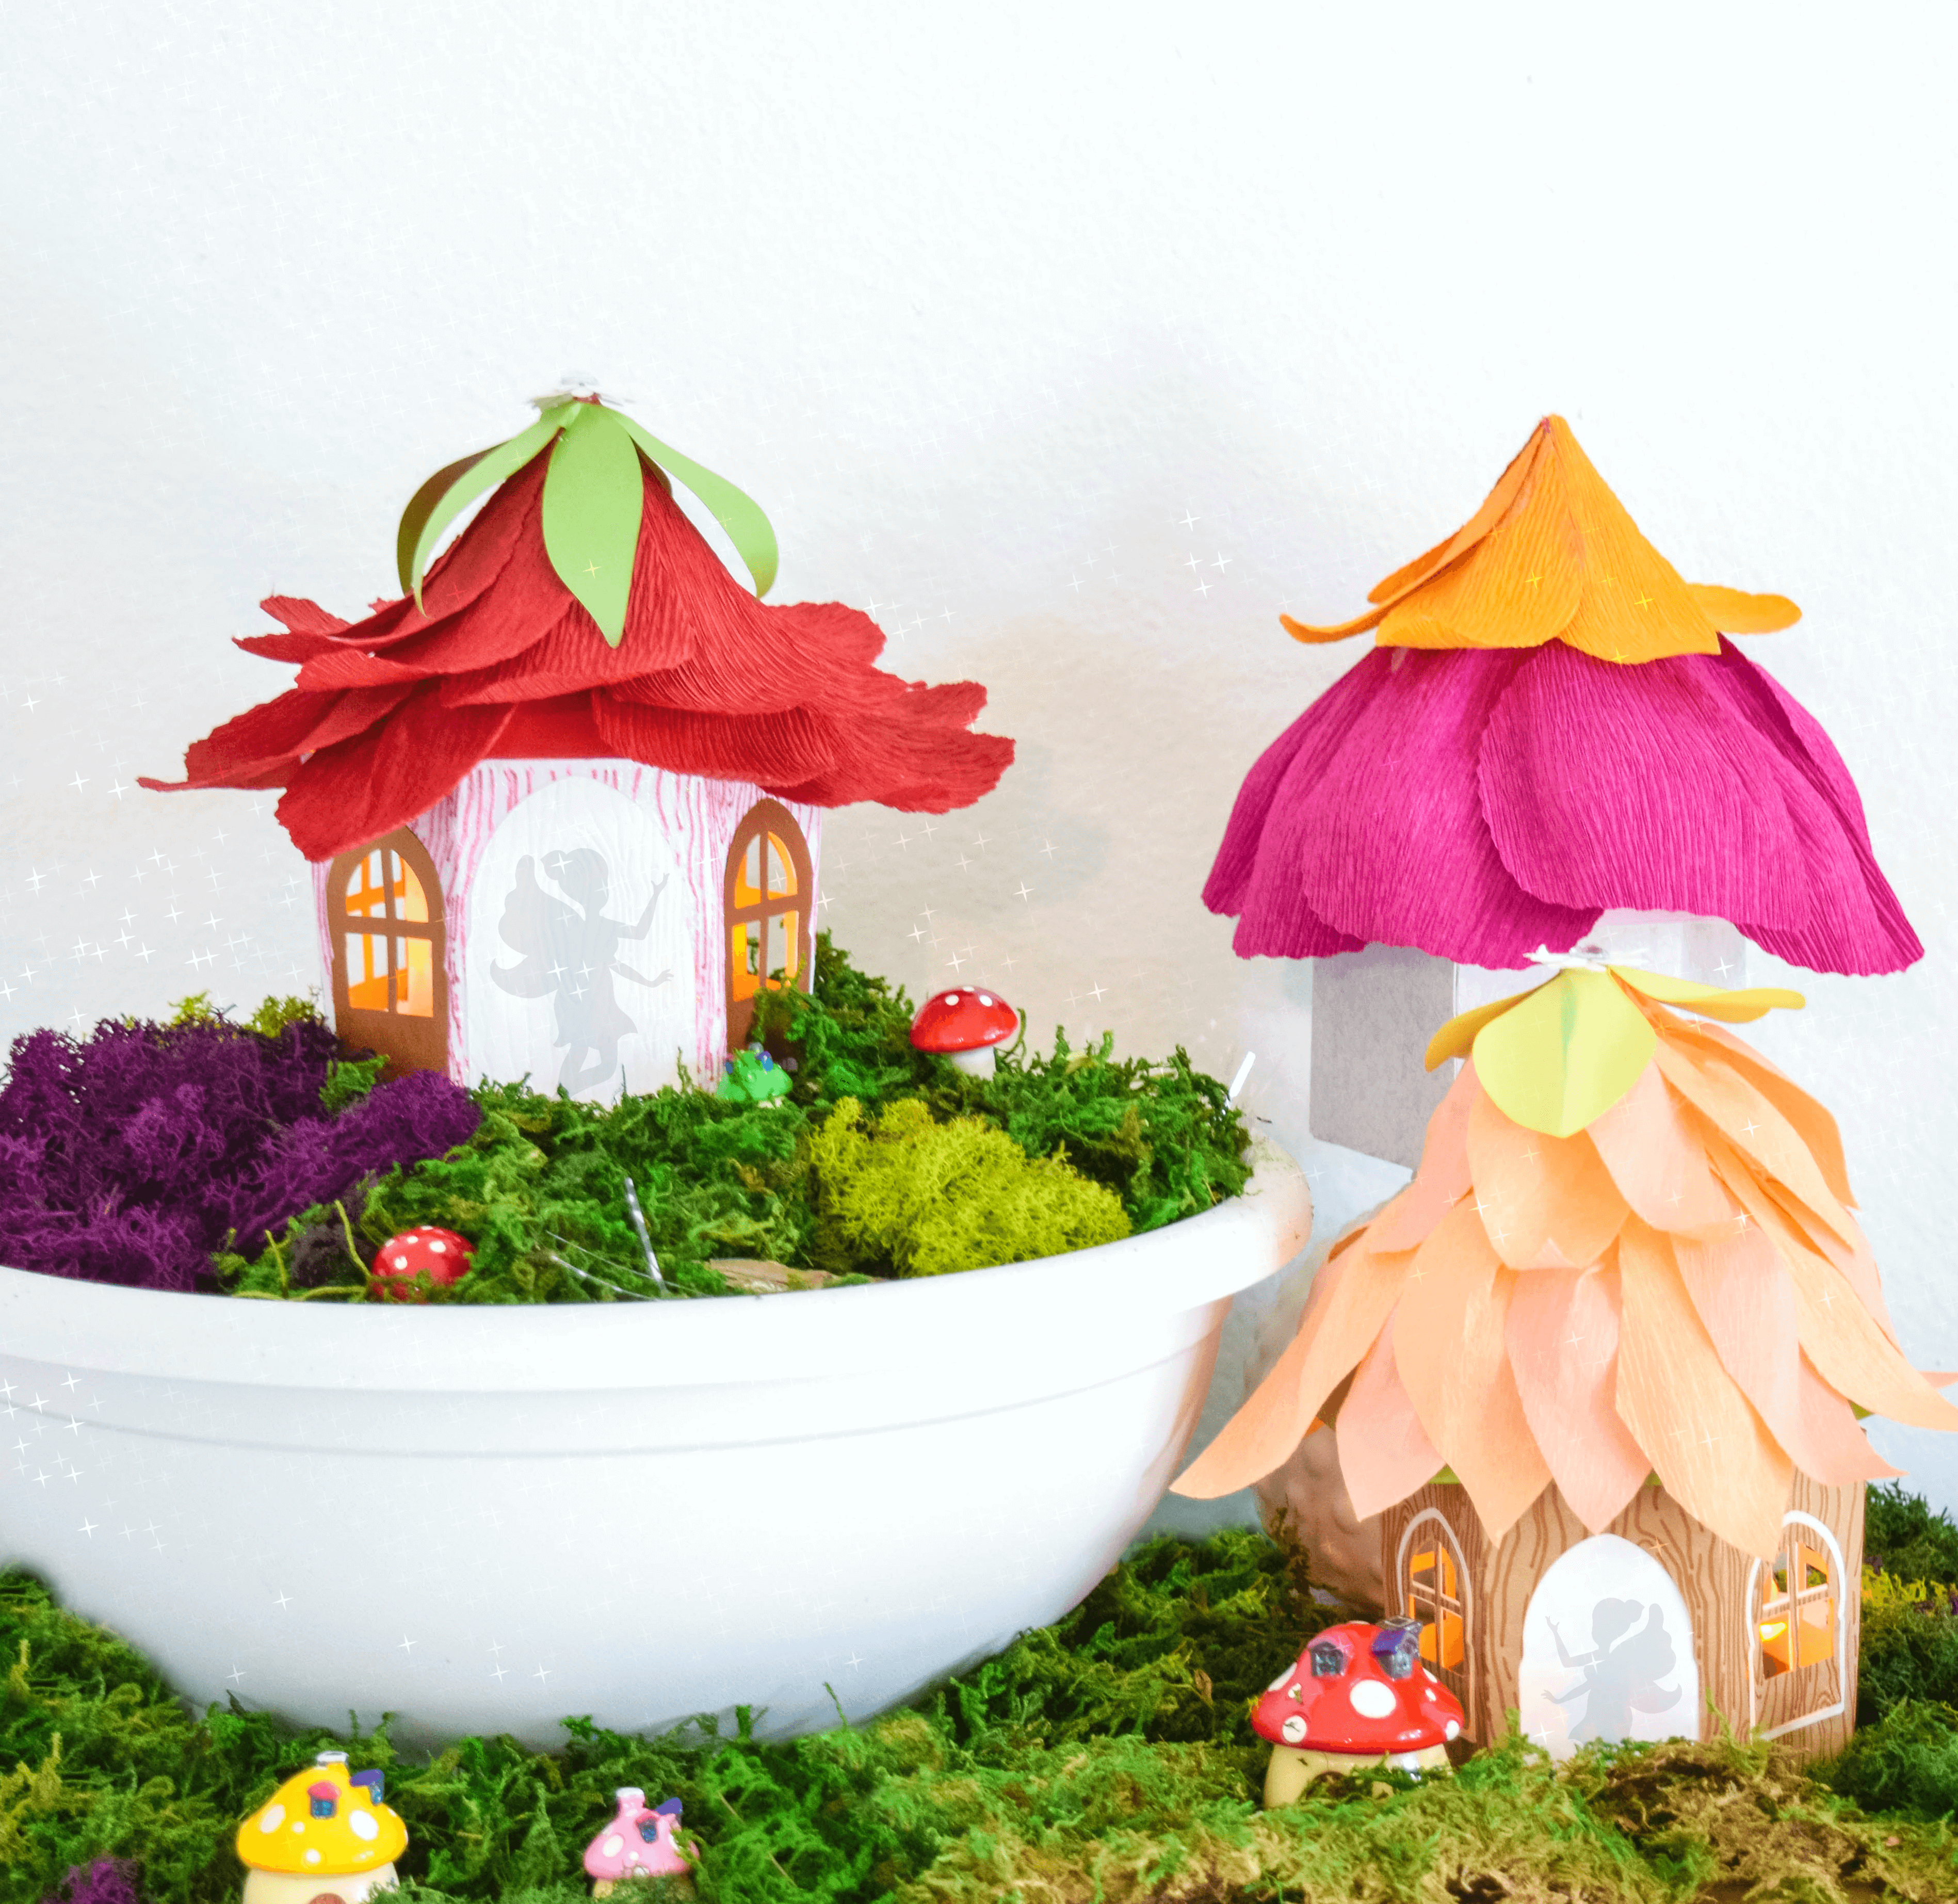
Best Uses for 3D Paper Mandalas
At this point, you are finished! I’d like to add that mandalas have many creative and fun purposes by which to show off your creation, such as on cards, signs, in bouquets, tops of gifts, canvases, and more! I will be sharing my eight favorite methods for displaying mandalas in my next blog post, so be sure to check back!
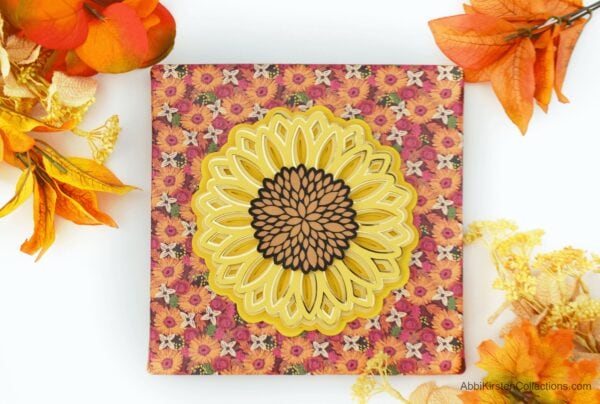
As a sneak peek, check out my two-minute tutorial on turning a mandala into canvas art, just like my sunflower design here!
How to Make a 3D Layered Paper Mandala Craft
If you love paper crafts, you have to make these stunning 3D layered Paper Mandala Crafts! These paper mandala crafts are so easy and fun to make, you can make them for any season or occasion.
Materials
- Sunflower, fall leaf, pumpkin, or turkey mandala templates
- Cardstock, black glitter cardstock, gold glitter cardstock, or metallic cardstock
- Light grip and/or standard grip Cricut mat
- Foam taps (both large and small)
Tools
- Cricut Machine
- Cricut Scraper
Instructions
- Cut out your mandalas on your cutting machine. I use a Cricut, but any machine that is SVG compatible will work! Make sure to use the corresponding setting for your material. For example, 65-pound cardstock is considered medium weight in Design Space. Likewise, if you are using glitter cardstock or light cardstock, be sure to change your pressure accordingly in the Custom settings of Cricut Design Space.
- Your mandala pieces may or may not cut out in the order you arrange them. But don't panic; there is an easy way to make sure you layer them correctly. Just make sure to set all the pieces aside and not lose any - I like to use a shallow container or box to collect my mandala layers.
- After you cut all the mandala pieces, it's time for assembly. To prep, start by laying all your parts in the correct order. If they did not cut out in the order they are meant to be layered; you can quickly check by returning to your Canvas and viewing your Layer's Panel to the right. Starting at the bottom of the Layer's Panel and working up will be the exact way you should assemble any mandala.
- Start with the two bottom-most layers. Check your alignment of the two layers. Flip over the piece that belongs on top and begins placing your foam tabs. Usually, on the first two or three layers, the larger foam tabs work great.
- Continue as in Step 4 with the next layers until you reach the top-most piece. As you work toward the top, you may need to shift to a smaller foam tab.
- Once you have added all the layers except the most delicate top piece, shift to clear glue or scrapbooking runner tape. Flip over your final detailed full mandala layer, apply glue, and place on top of your mandala masterpiece!
More Crafts to Love
- Free July 4th Printable – Happy Independence Day Wall Print
- Free Printable Planner Stickers: Tropical Summer
- 9 Best Paper Flowers Crafts: Easy Papercrafts to Brighten Your Day
- The Best Free Summer SVG Files For Cricut And Silhouette Crafts
- Paper Flowers for Baby Showers: A Special Guest Post
About Abbi Kirsten Collections
I have spent the last 10+ years building my creative skills and sharing them with others. My flower designs are created with simplicity, color, and crafty fun in mind. If you haven’t yet, be sure to join the subscriber community to gain access to all my freebies or visit my signature design shop here!
Want to join my Facebook community to share your crafts and learn from the best? Click here to request access to my group, Crafters, Makers, and Cricut Lovers!
For further color crafts and inspiration, join me on Instagram & Facebook.