How to Use Offset in Cricut Design Space to Create Layers and Shadows!
This post may contain affiliate links that won’t change your price but will share some commission.
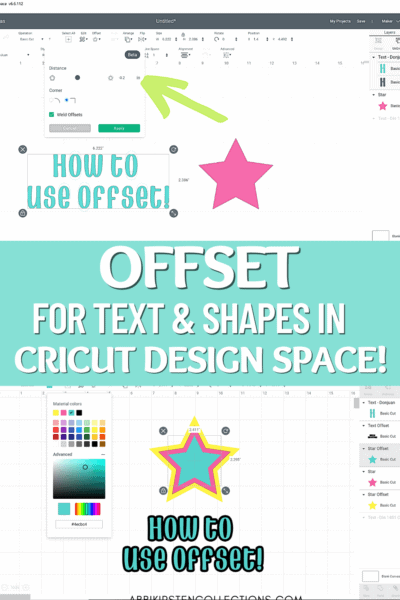
Cricut just released the new Offset feature in Design Space! Offset is a way of creating a shadow or layer to any shape or text. Using an Offset is a fabulous way to make text pop or add more layers for additional colors with vinyl projects, paper crafts and more!
In this Cricut tutorial, I will show you how to use the Offset feature in Cricut Design Space!
Offsets will work with:
- Text
- SVG images, single or grouped
- PNG or Jpeg images
How to Use Offset in Cricut Design Space Video Tutorial!
Watch my full intro video below or scroll down to read the step-by-step picture tutorial with written instructions for using Offset in Cricut Design Space!
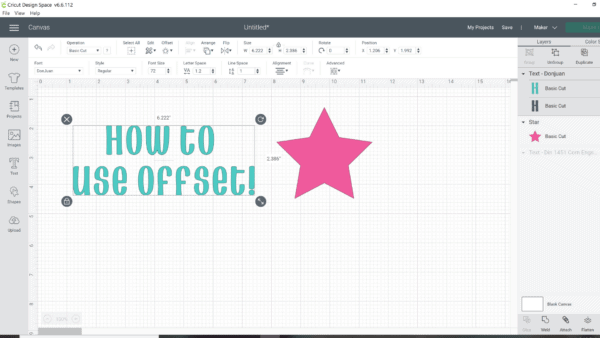
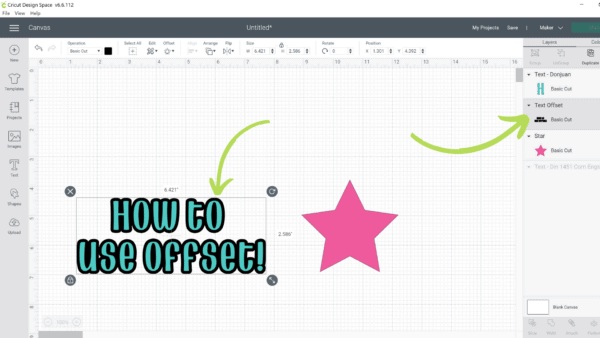
Add a shape or text to your canvas
Before you can use the offset feature, you need to add a shape or text to your canvas. I will show you both. Go ahead and type out your text or add an image to the canvas. This can be a Design Space image or a personal upload!
Next, select your text or image and click on the Offset icon at the top. A new dropdown will appear to edit the width and style of your offset. Negative numbers will create a negative offset, also known as an inset. Positive numbers will create an offset beyond your original shape.
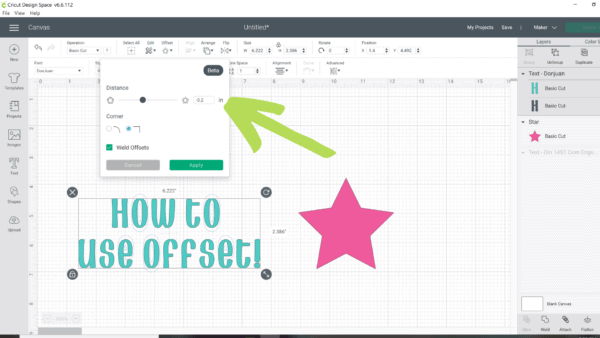
A preview of your offset or inset will appear on the canvas as a thin outline. Make any adjustments to perfect the size you would like for your offset. In most cases, you will probably stick with a range of -.1 to +.3.
Before applying your offset, select if you want a sharp square corner or a rounded corner. Tick your selection in the offset box.
Finally, you will notice a Weld Offsets option. In most cases, you will always want this one to keep your offsets connected smoothly. However, if you want individual offsets of each layer when working with text, then go ahead and untick this box.
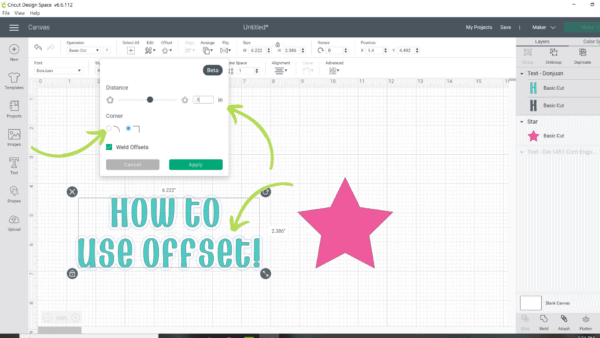
Once you have finished setting your offset, click Apply and a new layer, labeled, Offset, will appear in the Layer’s Panel to your right.
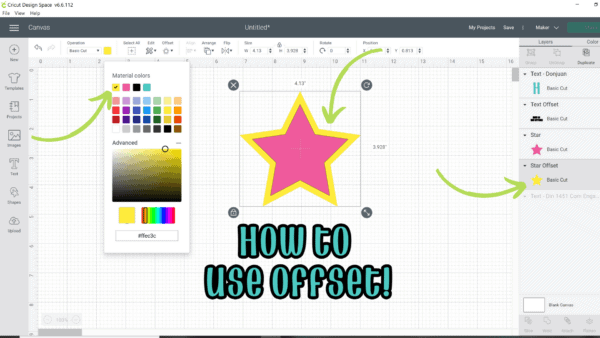
Apply Offsets to Shapes
You can also apply Offsets to shapes and ! Check out my layered star below.
Negative offsets or correctly known as insets, can also be created by using negative numbers in the offset panel. When you set a negative number a smaller shape will appear on the inside of your original image.

The new offset in Cricut Design Space can be applied multiple times for many layers. Any layer you create can also be changed color-wise with the color-swatch icon.
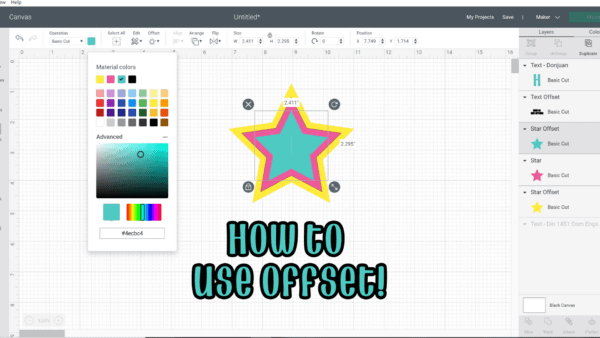
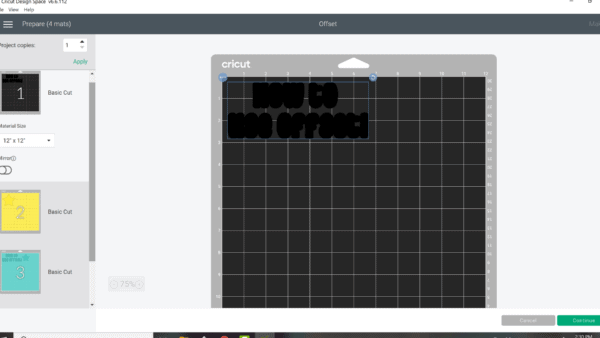
Now when you go to your cut screen to make your project your layers will still separate as usual. And bam! Perfect offsets!
Best Ways to Use Offsets
Offsets have a lot of potential! Here are just a few ideas of how you can use an offset or inset in your designs.
- Print then cuts such as stickers or labels – before you flatten a design for print then cut try creating a large offset so that your sticker or label has a perfect silhouette cut around it! Learn more about Print Then Cut!
- Use offset to create a layer behind text on cards or when layering vinyl/iron-on. Anytime text is a struggle to read an offset can fix that!
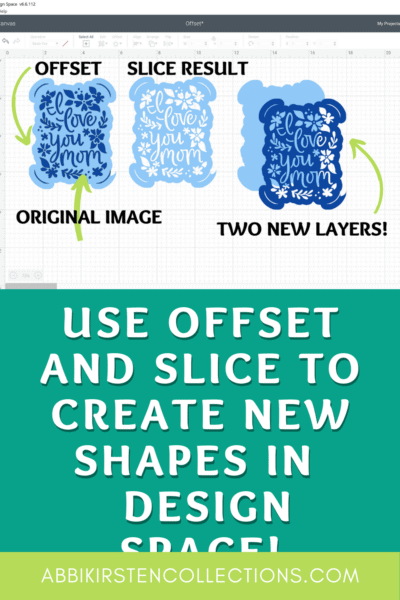
- Use offsets to create new layers with the Slice tool! Check out the image example below! I chose one single image, created an offset, then Sliced the original design from my offset layer. As a result, I have two beautiful layers that will work well for layering a paper card!
- Create offsets on imported PNG or Jpeg images for Print Then Cut projects.

How much do you love the new Offset feature in Cricut Design Space? How would you use it? What other questions do you have for me? Comment below!
If you are new to Cricut or overwhelmed please, please don’t rush into crafting just yet! Follow my motto that has worked for tens of thousands of my readers and students – learn first, craft with success later! I want to invite you to my FREE Cricut Freedom Workshop here where you will Learn my 3 Key Secrets to Mastering Your Cricut Machine (WITHOUT TECH CONFUSION OR FEELING OVERWHELMED).
Hey, Crafty bestie! I’m Abbi!

I’m thrilled you are here! I have spent the last 10+ years making messes and magic in my home studio to make the world a more colorful place, one craft at a time! I’m on a mission to nurture the creative magic inside your soul and bring that bursting imagination inside you to life with easy-to-learn tutorials. If you haven’t yet, be sure to join the subscriber community to gain access to all my freebies or visit my signature design shop, Catching Colorflies!