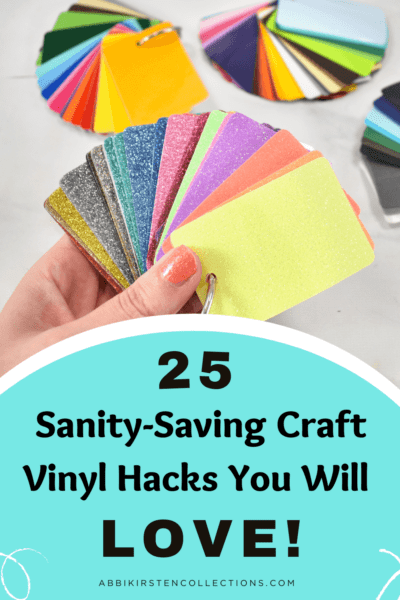
25 Sanity Saving Craft Vinyl Hacks Every Cutting Machine Crafter Should Know
This post may contain affiliate links that won’t change your price but will share some commission.
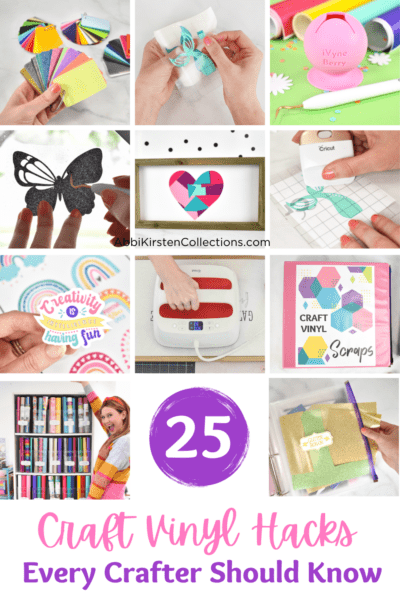
Craft Vinyl Hacks and Help for Beginners
Most of us purchased our Cricut machines because we wanted to cut vinyl or iron-on vinyl (also known as heat transfer vinyl or HTV) at some point. Learning how to use vinyl with your Cricut is so fun, but it also can come with some challenges, like understanding how to layer vinyl. Today I will share with you 25 Sanity Saving Craft Vinyl Hacks Every Cutting Machine Crafter Should Know!
After ten-plus years of crafting with my Cricut, I have picked up a few tricks and troubleshooting tips to help you in your journey. From Cricut vinyl storage ideas to weeding tricks, using transfer tape, layering vinyl, adding vinyl to a curved surface, and more, you will feel 100% more confident after following this guide.
Let’s start with weeding tips and some common issues I see with beginners when using vinyl, and then we will move on to storage, minimizing waste tips, and some unknown ways to use vinyl!
If you love my list below, go ahead and download the FREE printable list of these Cricut Craft Vinyl Hacks to keep by your Cricut machine while crafting!
Craft Vinyl Hacks – Video
Keep reading for all my craft vinyl tips and tricks, and watch the short video of my favorites below!
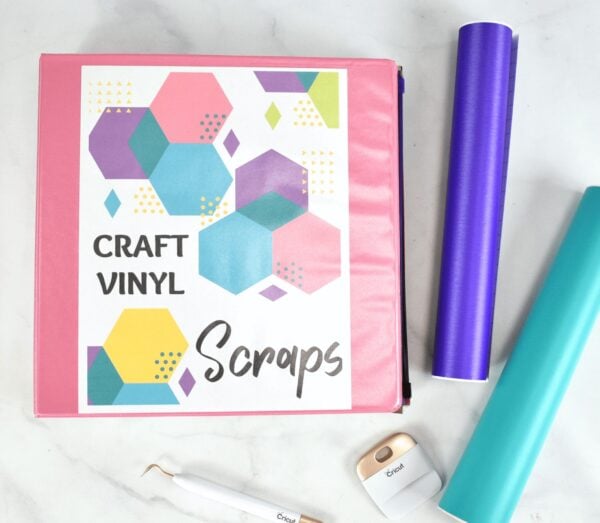
Weeding Vinyl Tool & Scraps
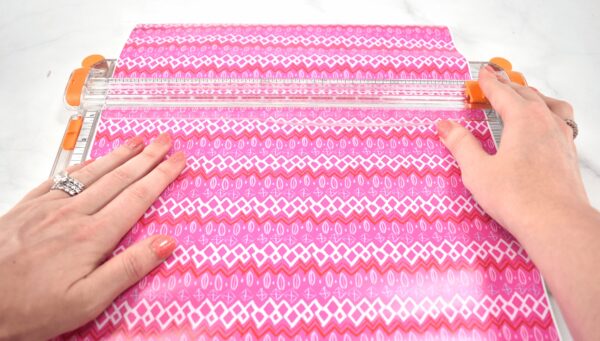
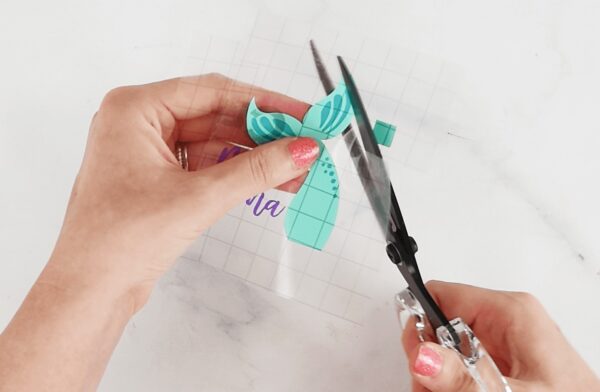
1. Use a straight cutter to avoid waste
Craft vinyl is not cheap. I have learned where to look to find the best online vinyl resources for cheap vinyl, but even so, it’s not something you want to waste! One of the best ways to avoid vinyl waste is to cut your design on the sheet of vinyl first, then cut the excess off with a straight cutter. Using a straight cutter keeps your edges aligned to your mat, and you can trim closely to the design, maximizing the vinyl material.
2. Weeding berry tool
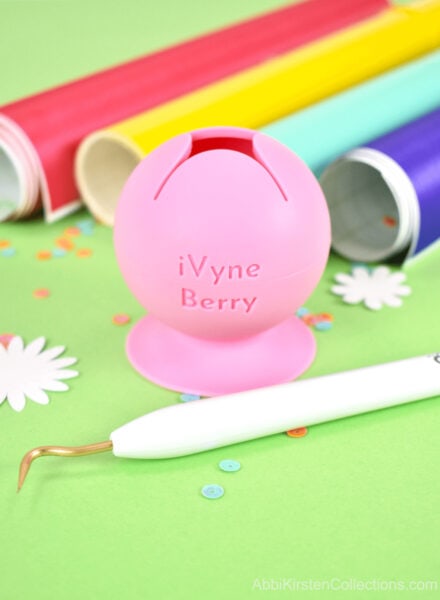
Use a weeding berry! This trendy idea first started when a clever crafter suggested using a nail polish holder as a means of collecting scraps when weeding. Since then lots of craft brands have started to sell weeding berries or finger weeders to make the process less messy.
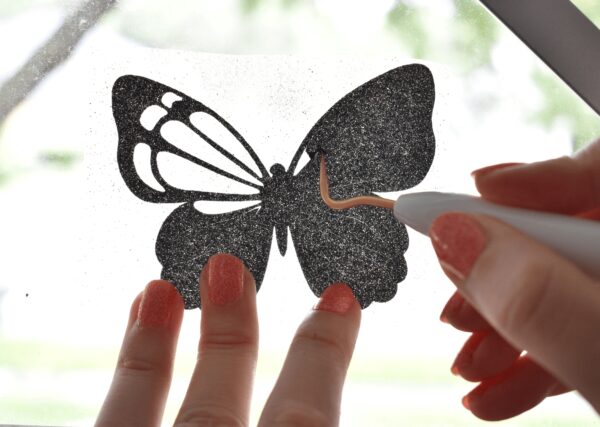
3. Use a window or Brightpad for weeding
Some folks enjoy weeding and find it therapeutic, and then there is the rest of us who don’t. The biggest reason is usually that weeding can be a challenge to see. I have used a Brightpad several times to help me see my cut lines. Alternatively, you can also hold your cut vinyl up to a bright window for a similar effect, and it’s free!
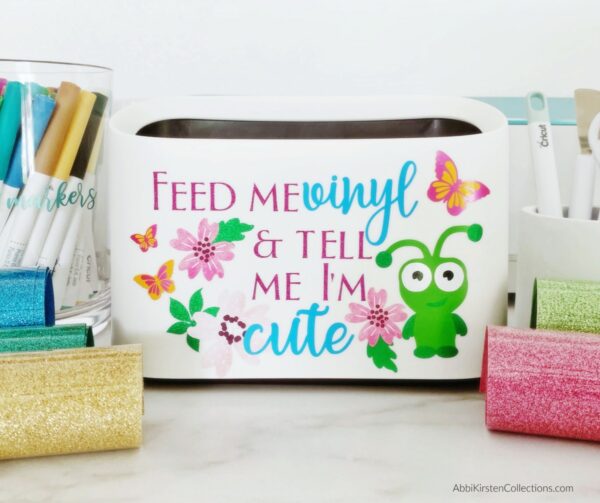
4. Tabletop trash can
Weeding berries are great for tiny pieces, but what about the larger ones? Sure, you can just opt for a general trash can, or you can go for a cute tabletop trash can to collect your craft vinyl waste and keep your space tidy! Of course, I decorated mine!
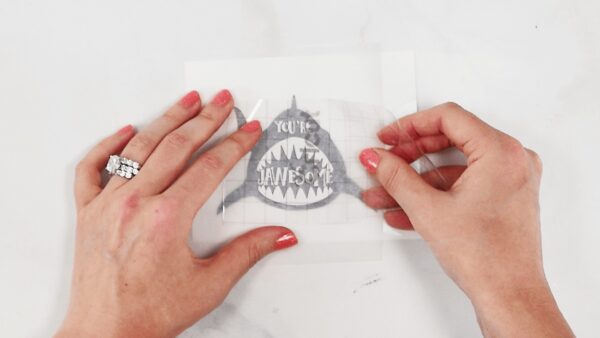
Getting Your Vinyl to Stick to Transfer Tape
I can’t get my vinyl to stick to my transfer tape! I hear it all the time when crafty besties are struggling with their craft vinyl, and the struggle is real. Fortunately, I have learned a few tricks to fix this common issue.
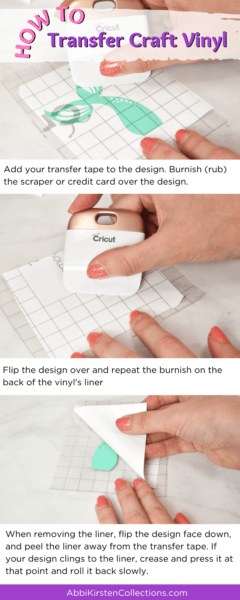
5. Burnish your vinyl correctly
Most people burnish the front of their vinyl and stop there (burnish is a fancy turn for rubbing your design with the intent to transfer it). If you experience trouble with your vinyl not sticking to your transfer tape, try burnishing both the front AND the back!
What if you burnish the front and back, and it still doesn’t work? In that case, I would be willing to bet you are using a textured or glitter vinyl, and it is best to then use a strong grip transfer tape!
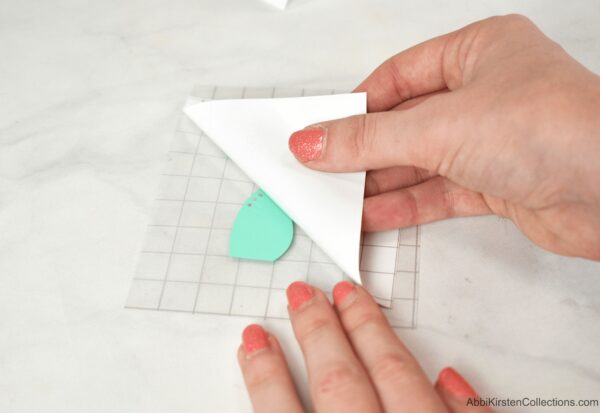
6. Lift your liner from the transfer tape
So what if you have burnished well and are using the right transfer tape? Another trick to transferring vinyl is to lift the liner backing away from the transfer tape instead of the transfer tape away from the backing – this makes a HUGE difference!
Cricut Vinyl Storage Ideas
How can I store my Cricut vinyl? What is the best way to organize my vinyl, and what do I do with my craft vinyl scraps? All questions I hear constantly! Cricut vinyl storage is one of my favorite topics. From small stashes to hundreds of rolls, I have the solution to organize your Cricut vinyl collection!
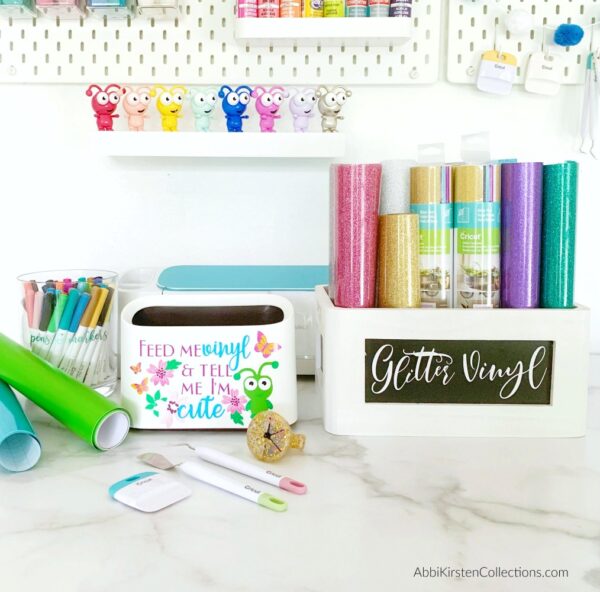
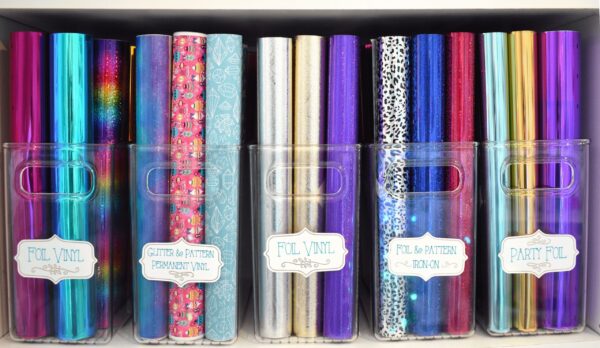
7. Bookshelf and bins for vinyl storage
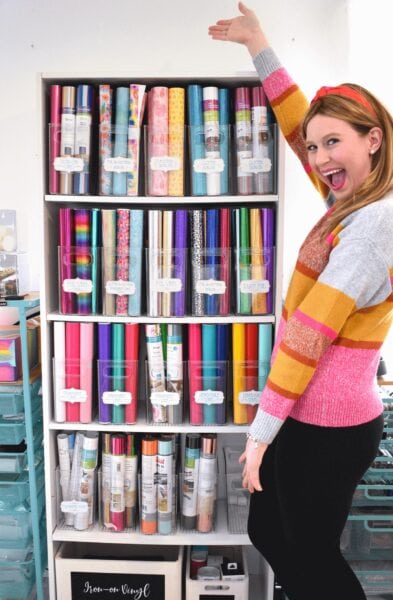
I went through many stages of storing vinyl. Finally, my collection got big enough I needed an all-in-one, easy-to-access, and visually appealing solution. I decided to use these storage bins and a bookshelf to organize all my craft vinyl.
I also created labels for each bin, so I could find what I need quickly. Check out how I made foil labels for my great wall of vinyl here!
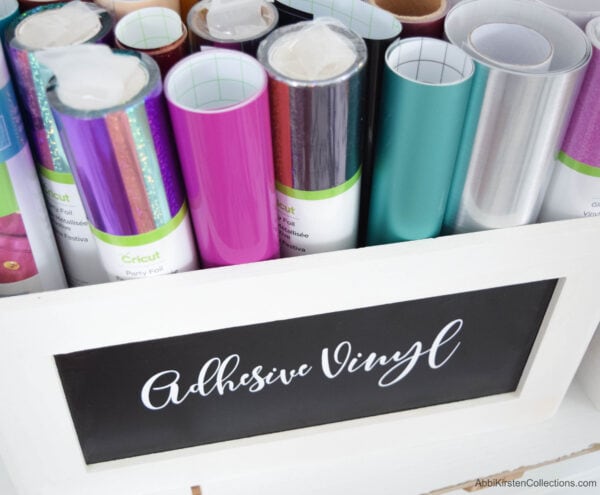
8. Wood bins organized by type or color
Before I had my great wall of vinyl, I used wood bins to store my vinyl. I love wood bins because I can see all my prints and colors at once and easily select the one I want. To stay more organized with bins, label them by type, such as iron-on or vinyl.
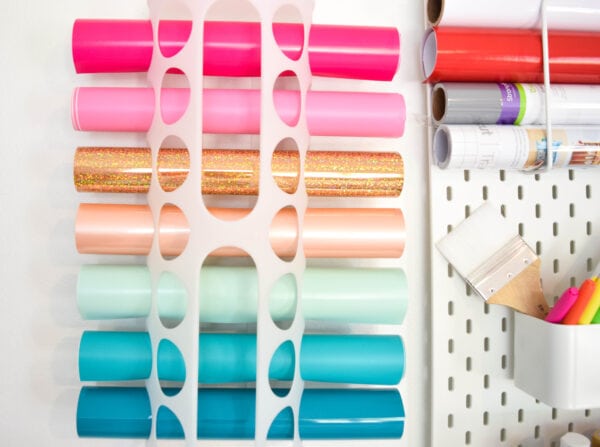
9. Plastic vinyl storage holder
If bookshelves and wood bins aren’t your style opt for a plastic vinyl holder that can utilize wall space! You can use Ikea plastic bag holders for vinyl rolls or opt for ones like these made to remove the vinyl with ease from the holder.
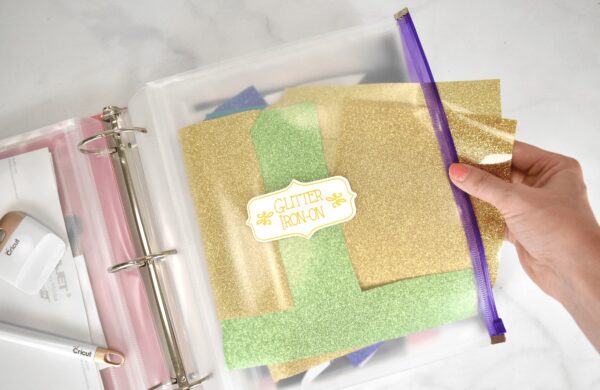
10. Organize vinyl scraps in a binder
What about those scraps of vinyl that we all collect? Not large enough to wrap back into the roll but not small enough to toss in the trash. I love to store my vinyl scraps in a large 3-ring binder with zipper pouches labeled with each type of vinyl scrap I am storing.
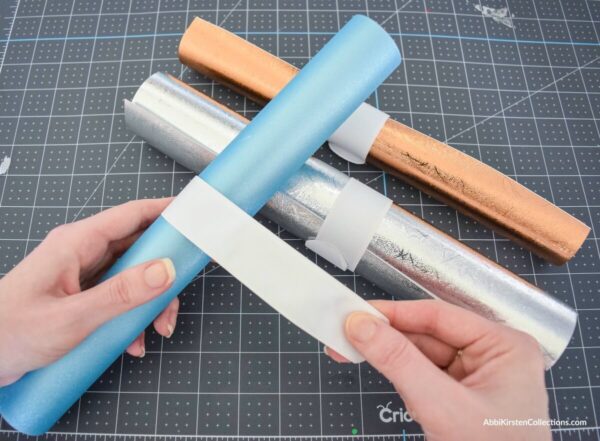
11. Slap bands to keep vinyl rolled tight
Craft vinyl gets unraveled very easily. To keep the rolls snug and tiny, I like to use plain slap bands! Plus it’s kinda fun to do.
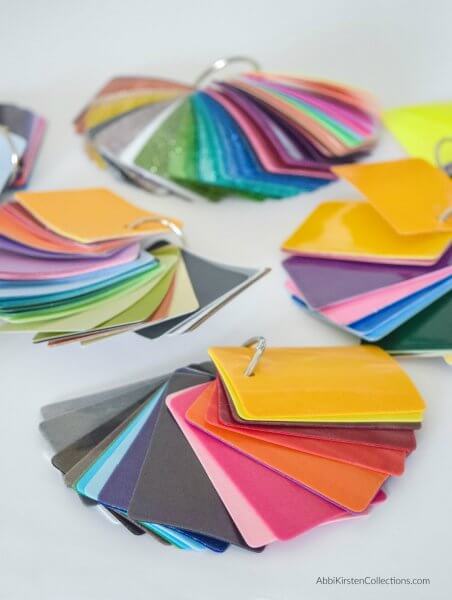
12. Metal rings to keep your favorite vinyl brands organized
When you find a brand and type of vinyl you love, you need to remember where you got it from! I like to keep swatches of my vinyl on metal rings and label them with the brand, website/store, and type of vinyl on the back of each.
How to Cut Cricut Vinyl
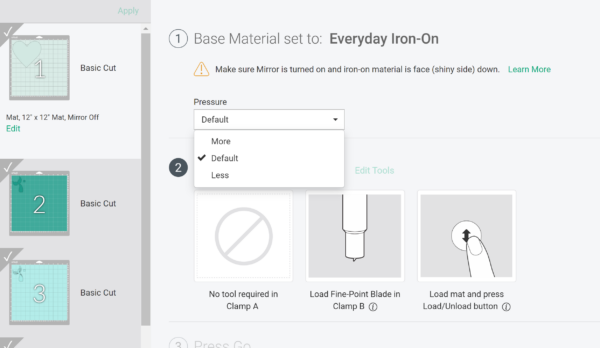
13. Increase pressure
If your vinyl isn’t cutting all the way through, there are a few things to check. First, is your blade fresh and sharp? Clean of debris? Second, do you have the correct setting? When cutting holographic or foil vinyl, don’t just select ‘vinyl’ they are not the same.
If you have done all the above, then try upping the pressure to More with the dropdown option on the cut screen.
Layering Craft Vinyl
13. How to layer vinyl with parchment paper
Layering vinyl can feel really hard, but there are some easy tricks to successfully layering vinyl. My favorite one is by using parchment paper!
- Transfer your top layer onto the transfer tape.
- Cut a piece of parchment paper and lay it on top of the bottom layer of your design, leaving one side of the liner uncovered by the parchment paper.
- Place your top layer and line it up, scooting it around freely with the help of the parchment paper until you are happy with it.
- Press the transfer tape down on the uncovered side of the liner.
- Remove the parchment paper and allow the design to lay down naturally. Then voila! You have perfectly aligned layers of vinyl!

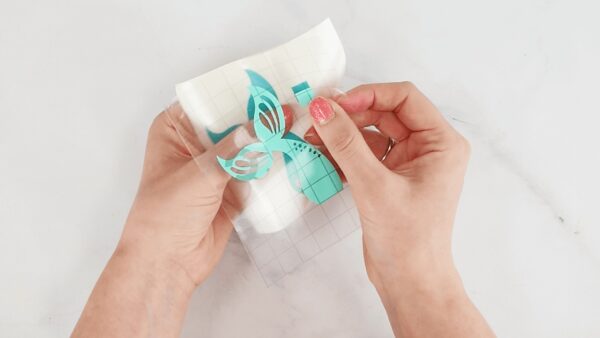
14. How to layer Cricut vinyl with registration dots
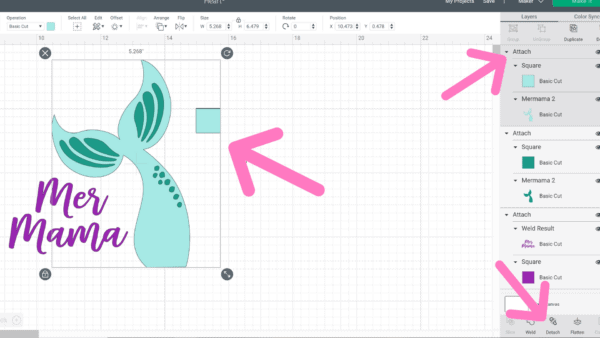
Here is another hack for layered vinyl. Some may prefer this to the parchment method above.
- Before you cut your design out, add a small square or circle for each layer and attach it to each layer of the design in Cricut Design Space. It’s important that your layers are stacked as you want them to be in the final design, and then you have Center stacked your dots or squares before attaching each one to each layer.
- Once you have weeded your design and begin to layer, use the dots or squares as your alignment guide.
- Trim away the extra dot guidelines before applying your design to your blank item – see how I do this here in my video.
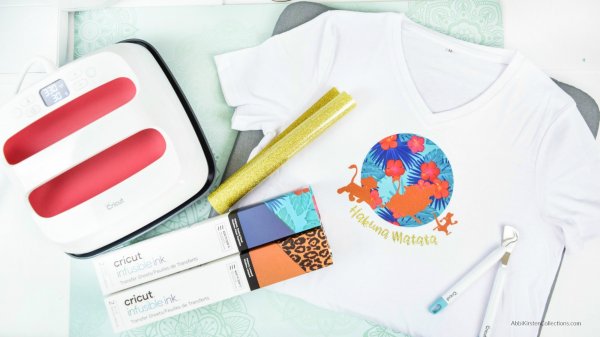
15. Layering iron-on vinyl with Infusible Ink
I love Infusible Ink! But did you know you can actually use Infusible Ink and HTV together?! It’s great. I made this Lion King design with Infusible Ink and glitter HTV for the words. The most important thing is to know that you need to add the HTV after the Infusible Ink.
16. How to Layer Heat Transfer Vinyl
Layering heat transfer vinyl is a scary thing for beginners, but it’s actually not too hard! Take a look at my full tutorial on layered iron-on vinyl here! The most important thing to know is to always protect your subsequent layers from direct heat with the carrier sheet and never apply direct heat to your HTV.
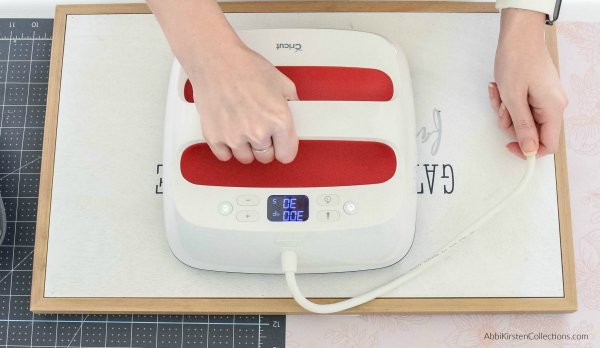
17. Correct Heat Settings for Your Cricut Easypress
With so many types of iron-on vinyl and materials to use, it can be challenging to know the right temperature settings for your Easypress. Fortunately, Cricut has a full Easypress guide here!
Applying Cricut Craft Vinyl
18. How to Add Vinyl to Curved Surfaces
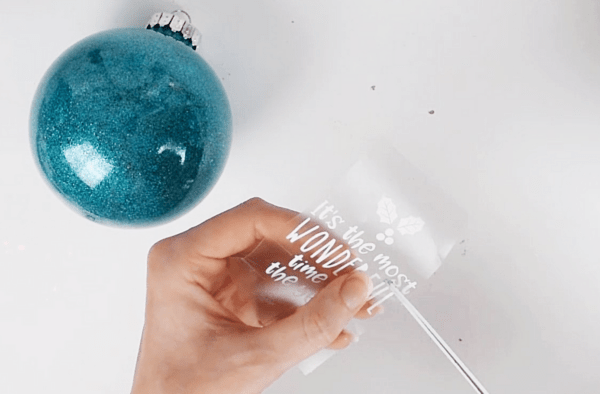
Getting vinyl to lay smooth on cups, tumblers, and ornaments can be tricky, but there is a little hack that can make the process less painful before placing your design onto a curved surface; add a few shallow slits cut with scissors around the edges of the transfer tape. This allows the transfer tape to become more flexible, and you can work the design on easier – thus achieving smooth results. See how I add vinyl to my glitter ornaments here!
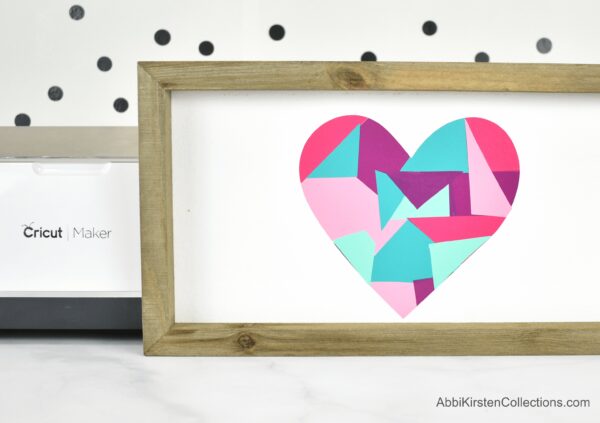
19. Use small vinyl scraps for colorful collages
Those vinyl scraps don’t have to go to waste! Make a scrap collage with the leftover pieces. Go for something as simple as a heart. Kids can help with this too!
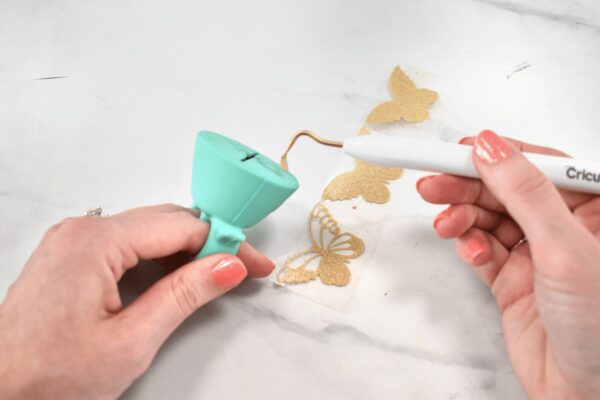
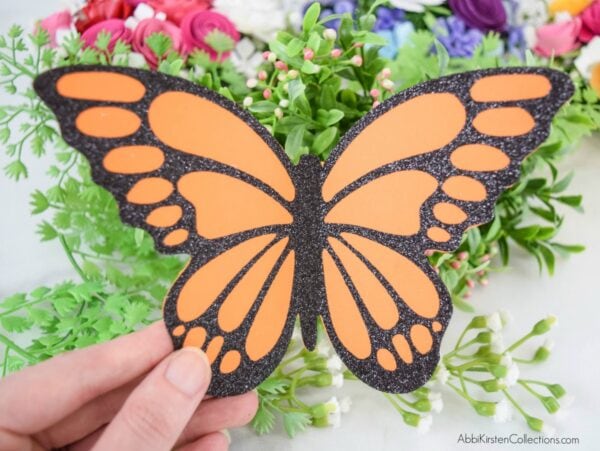
20. Layer Iron-on vinyl with cardstock
Iron-on vinyl on cardstock?! Yes! This is literally my favorite hack ever! Some ask, why don’t you use adhesive vinyl? The reason is that the transfer tape would rip the cardstock, but the liner for the iron-on vinyl won’t!
I have two tutorials on the iron-on vinyl and cardstock process. First, these paper butterflies and second, my favorite crayon box teacher appreciation gift!
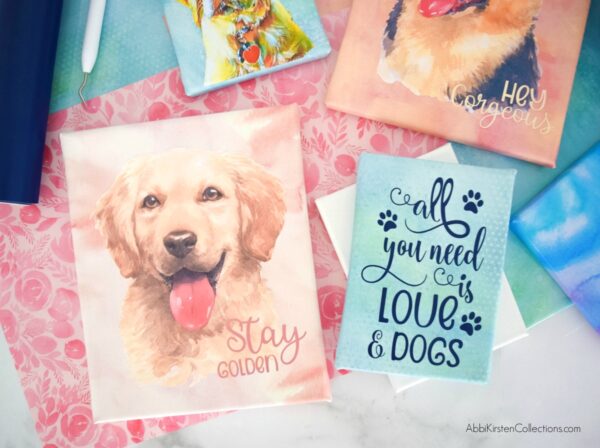
21. Apply iron-on vinyl to canvas
Cotton canvases can be used to add beautiful typography designs and imagery to wrapped canvases and hung in your home – this concept also makes great custom gifts! I used a watercolor iron-on to wrap my canvases and added watercolor printouts of my dogs with printable vinyl.
22. Use printable vinyl silky smooth stickers
We all know sticker paper exists, but I only use printable vinyl. It is much smoother and plenty sticky, but I have never had an issue removing it. Give it a try next time you print out some stickers or planner stickers!
23. Opt for heat transfer vinyl on wood
Permanent vinyl works great on wood most of the time, but you can also use iron-on vinyl! After some time in the Cricut world, you will notice a significant difference in texture with HTV versus vinyl – especially with glitter HTV. So if you ever have heat transfer vinyl you wish to use on a wood sign, then go for it with an Easypress!
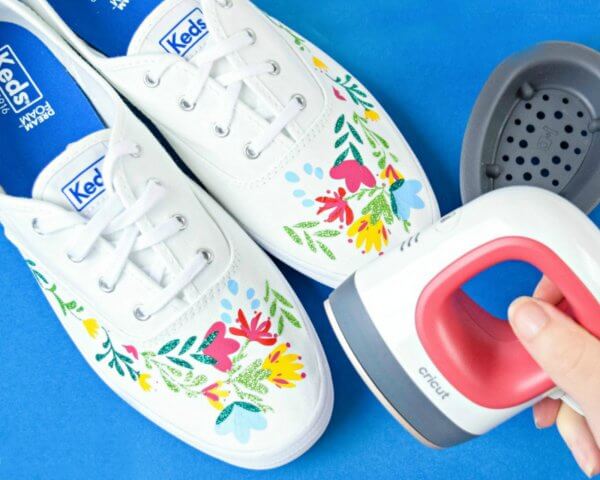
24. Easypress Mini for small items
Experiment with adding iron-on vinyl to smaller surfaces, such as shoes, hats, bibs, bandanas, etc, with the Easypress Mini. The Mini allows you to work on tighter surfaces and curved edges much easier than the large Easypress. Check out how I use the Easypress Mini with this DIY Floral Canvas Shoe Tutorial!
25. How to remove bubbles from Cricut craft vinyl
You have your design weeded and transferred only to discover ugly bubbles popping up on your project. There are two ways to get rid of bubbles without starting over. My first favorite way is to grab a straight pin from your sewing kit and pop them. Now, I mean one gentle little prick, do not dig around, or you will be able to see it then. Once popped, push with your finger or scraper to smooth the area.

If popping didn’t completely rid your project of bubbles, try using a heat gun on low or a hairdryer to warm the vinyl and gently push the air bubbles out with your scraper tool.
Wow, that was a long list of Cricut craft vinyl hacks and tutorials. Do you have any other ideas I should add to this list? Questions? Tell me below in the comments!
DOWNLOAD YOUR FREE PRINTABLE CRAFT VINYL HACKS GUIDE HERE
If you want this post as a full free printable guide, just pop in your email below or login to your account and search Design #148 inside the vault!
Related Posts
Hey, Crafty bestie! I’m Abbi!

I’m thrilled you are here! I have spent the last 10+ years making messes and magic in my home studio to make the world a more colorful place, one craft at a time! I’m on a mission to nurture the creative magic inside your soul and bring that bursting imagination inside you to life with easy-to-learn tutorials. If you haven’t yet, be sure to join the subscriber community to gain access to all my freebies or visit my signature design shop, Catching Colorflies!