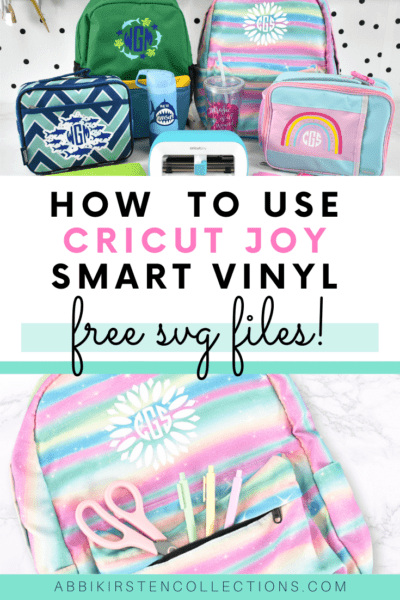
How To Use Smart Vinyl And Iron-On With The Cricut Joy Machine
This post may contain affiliate links that won’t change your price but will share some commission.
Cricut Joy Machine with Smart Vinyl and Iron-On Vinyl
The Cricut Joy machine is a fun compact crafting powerhouse. Many new Cricut crafters wonder what the Cricut Joy can do. The Joy is best for cardstock, paper, vinyl, iron-on, leather, and foil projects.
The Cricut Maker and Cricut Explore series of machines can do all that and even more. To see a full comparison check out my Cricut buyer’s guide here!
First, let’s talk about Smart Materials. What are Smart Materials?
Smart Materials are the ability to cut on your Cricut machine (Joy, Maker 3, or Explore 3) without a cutting mat. Cricut has both Smart Vinyl (permanent and removable options) plus Smart Iron-on and even has created Smart Sticker Cardstock!
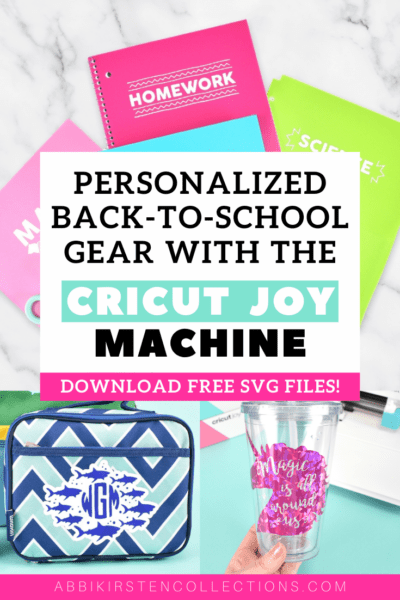
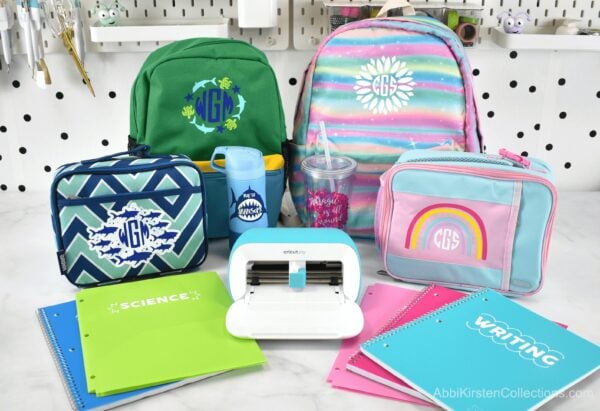
Today, I will show you how to use Smart Vinyl and Smart Iron-on to customize your kid’s back-to-school gear, such as backpacks, water bottles, notebooks, lunches, and more!

Free Back-to-School SVG Files
As a gift to you, I’m giving the files you see in the video away inside my Freebie Vault!
My son is currently into sea life and sharks, while my daughter is all about rainbows and unicorns, which inspired my themes in the free Cricut SVG files.
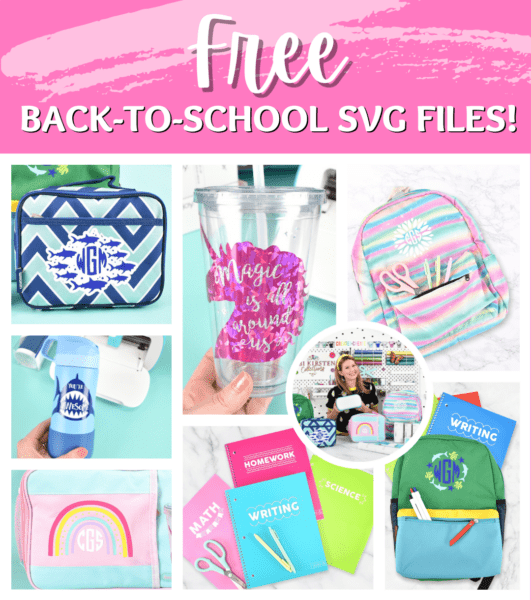
Here is what is included with the free back-to-school SVG files:
- Subject titles SVG
- Sunflower monogram
- Shark and turtle monogram
- Rainbow monogram
- Circle monogram letters SVG
- School of sharks monogram
- Magic is all around us, unicorn SVG
- You’re Jawsome SVG
Download the free back-to-school templates by signing up via the form below or click right here. If you are already a member, log in right here and find it by searching back to school or Cricut Joy! Need help entering the vault? Read this helpful post here.
Cricut Joy Machine Video Tutorial with Smart Vinyl
Watch the video below to see how I customized my kid’s school gear with my Cricut Joy machine and Smart Materials step by step. Keep reading for links to my supplies and written instructions!
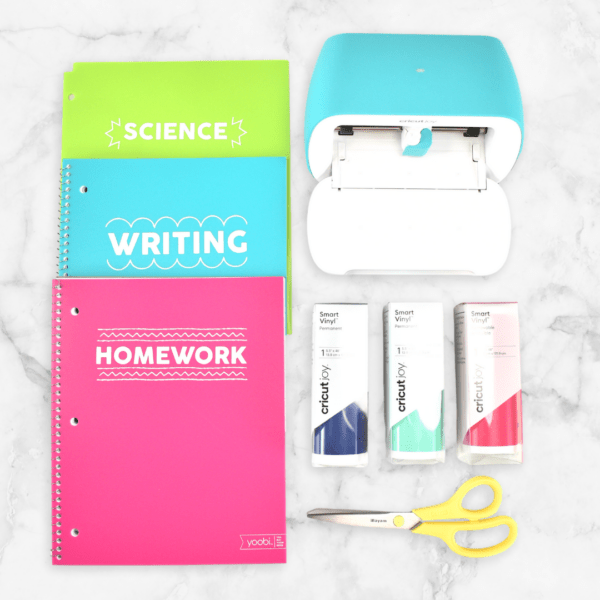
Supplies To Customize Back-to-School Accessories
Here is a list of the supplies I used for the back-to-school project. Of course, you can improvise and ultimately use any Cricut machine to complete this craft!
- Cricut Joy Machine or any Cricut Machine
- Permanent Smart Vinyl
- Holographic Permanent Smart Vinyl
- Smart Iron-On Vinyl
- Weeding tools
- Easypress Mini
- Easypress Mat
- My free SVG files. Scroll up to access them!
- Something to personalize – Backpack, lunch box, water bottle, notebooks, etc.
How to Make Personalized Back-to-School Gear with the Cricut Joy Machine
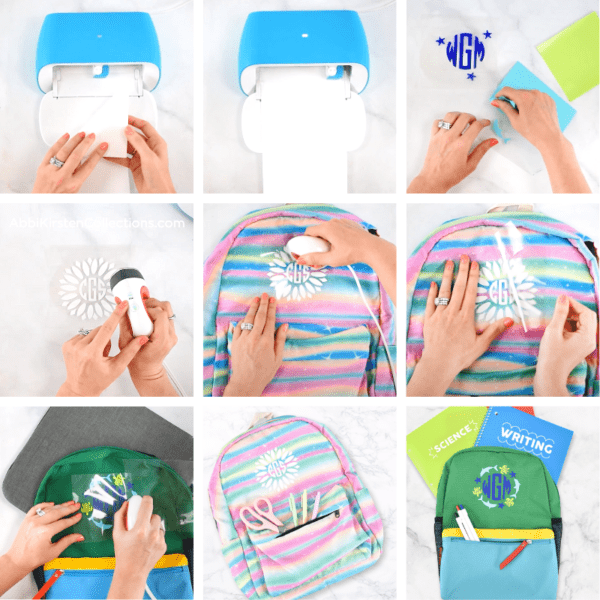
Smart Iron-on Tutorial
Here is a written tutorial for how I use my Smart Iron-on. Click here to watch the video instead. Remember, you can download my files for free here in my Freebie Vault!
- Use your Cricut Joy or any cutting machine to cut out your SVG designs. I am using my free monogram files. Find them above. To learn how to upload an SVG to Cricut Design Space see this tutorial.
- I’ve selected Smart Iron-on after connecting my Cricut Joy machine via Bluetooth to my computer or device.
- Load your machine (matless!) and let the design cut out.
- Weed your smart iron-on material with your weeding tools.
- Preheat your Easypress Mini to the medium setting.
- If you’re creating a multi-layered design, start with the largest base piece. Press for 30 seconds.
- Once cooled, remove the liner.
- Repeat steps 6-7 if you have more than one layer to add. Make sure to save the liner from the first transfer so you can cover any exposed smart iron-on when pressing your subsequent layers.
- Add final layers by pressing for another 25-30 seconds, let cool before removing your liners, and you are finished!
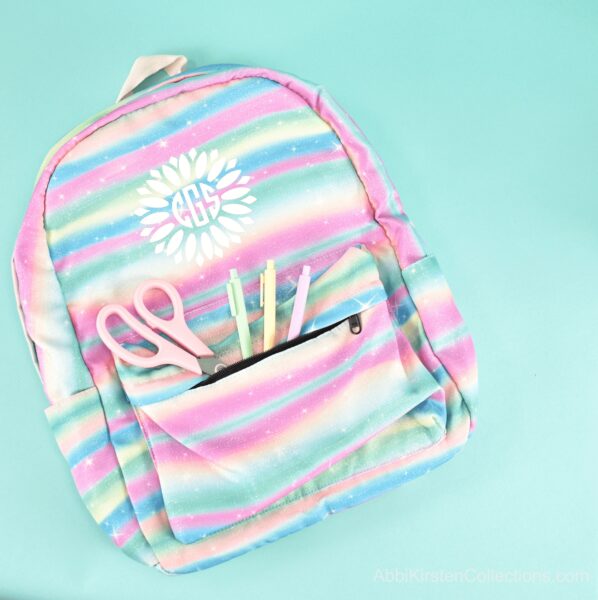
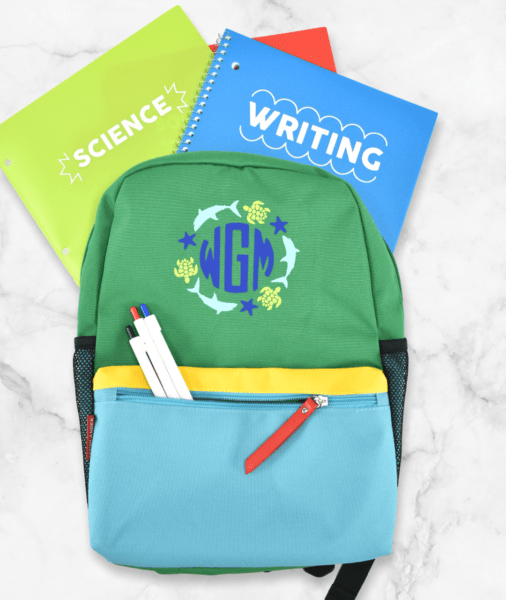
I made a simple sunflower monogram for my daughter and a shark, turtle, and starfish monogram for my son!
Smart Vinyl Tutorial
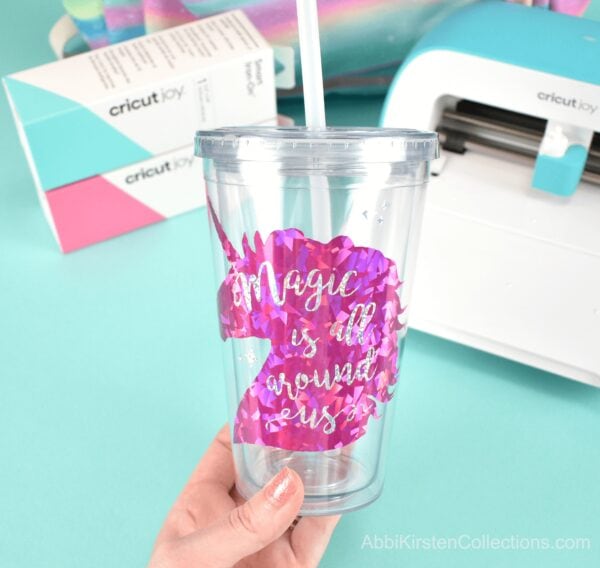
Next, here is a look at how I cut out and layer Smart Vinyl onto a tumbler. I used holographic permanent smart vinyl for this project.

- Cut out your designs with your Cricut Joy or any cutting machine. Here is how to upload an SVG file to Design Space.
- Weed the design.
- Place your transfer tape down on top of the text design (top layer) and burnish the front and back. Struggling with vinyl? Check out my 25 Sanity Saving Vinyl Hacks.
- Flip the text design facing down and peel the liner away from the transfer tape. If your tape isn’t grabbing the vinyl, crease, press, and roll away – see how in my video.
- Once you have transferred your top layer to the tape, cut a piece of parchment paper slightly smaller than your unicorn head base design.
- Lay the parchment paper over the bottom design and hover with your top text layer until you find proper alignment, then press the edge of the transfer tape down and slide out your parchment paper.
- Precede to burnish the top text layer onto the unicorn head.
- Flip the two-layered design over and lift it from the liner. Again, crease, press, and roll to release.
- Cut short slits all about your transfer tape. This allows the design to go into our curved tumbler surface easier.
- Place your design onto the tumbler and smooth it out. Remove your transfer tape, and you are finished!
My Cricut Joy machine made this back-to-school project a breeze, and my kids were so happy with their custom details! How would you personalize your kid’s gear? What questions do you have for me? Tell me in the comments below!
More Creative Ideas to Love
About Abbi Kirsten
Welcome to my colorful corner of the internet, where we play with vibrant crafts and unlock your creative magic! Hang out with me and get lost in a fun array of projects, tutorials, and products, from stunning papercraft ideas to flower templates, Cricut help for beginners, and endless crafter’s hacks.
Join the Member Vault and participate in my monthly Craft-Alongs in my Facebook group to access all the magic!