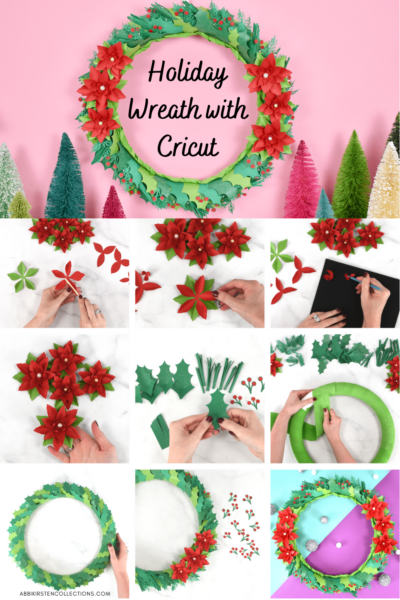
DIY Paper Poinsettia and Holly Christmas Wreath Tutorial with Cricut
This post may contain affiliate links that won’t change your price but will share some commission.

As soon as November 1st hits, I am in the full holiday mood! Today I will share with you how to make this gorgeous DIY Christmas Wreath by just using paper and your Cricut machine!
This post is sponsored by Cricut. All thoughts and opinions are my own.

If Cricut had a best friend, it would be Christmas! Between making Christmas decor, creating handmade gifts, and personalizing details on everything, Cricut makes it possible! My mind is always busy with ideas for the holiday season.
Let’s review the supplies we need to make our poinsettia and holly DIY holiday wreath.
Supplies for DIY Christmas Wreath Craft with Cricut
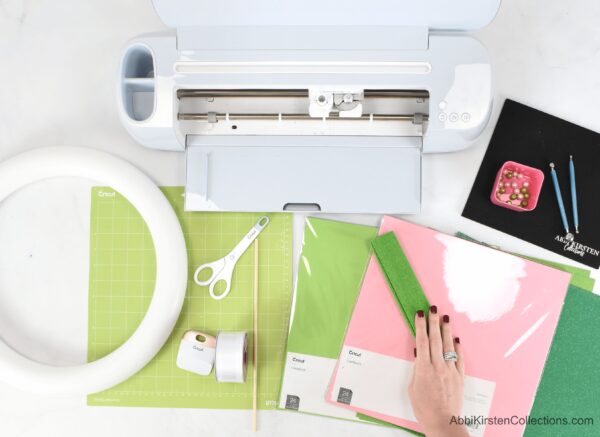
- A Cricut machine. I am using the Maker 3, but you can also use the Cricut Explore machines or even the Cricut Joy!
- Cardstock paper
- Green crepe paper
- Wreath foam base
- Scissors
- Hot glue gun (You may also want some liquid glue. I used Tombow liquid glue.)
- Standard green Cricut mat or light blue mat
- Ribbon to hang the wreath
- Wood dowel for curling the petals
- 8mm pearls for the poinsettia centers
- Paper Blooms shaping mat and toolset (optional but a great resource for paper flowers!)
- Poinsettia and holly templates. I am featuring templates from the Cricut Design Space library of images. I used images #MFAE0B7, #MFAE002 and #M525A91

Cutting the Poinsettia and Holly Templates on Cricut

To begin, cut out your paper poinsettia, holly, and evergreen templates with cardstock paper. I cut out enough for 6 poinsettia flowers, 18 pieces of pine needles, 18 pieces of evergreen, 65 holly leaves, and 18 berries. This count will vary based on how large or small you decide to make your DIY Christmas Wreath.
When you remove the petal cut-outs, peel the mat away from the material to keep the paper from curling.
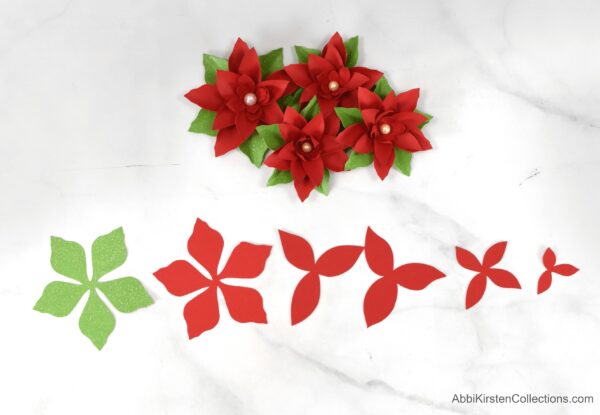
For one paper poinsettia flower, you’ll need to cut 1 piece in green, 1 base poinsettia petal layer, 2 medium petals, 1 small, and 1 extra small center petal.
Making the Poinsettia Paper Flowers
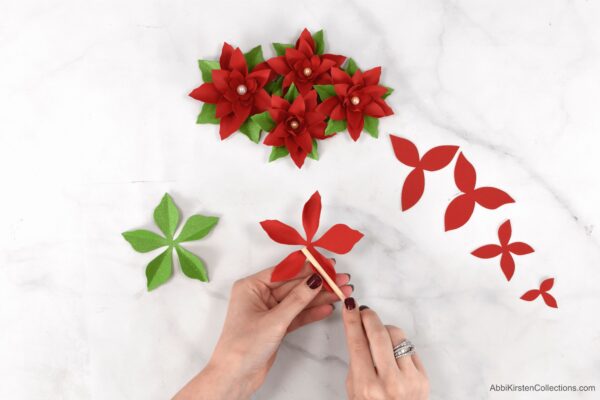
Step 1: Curl the petals
To make your paper poinsettia, curl each petal layer around a thin wooden dowel. I used my Cricut scraper tool for the green base to crease down the center.
I use my Paper Blooms shaping mat and toolset for the two smallest centerpieces to cup the petal points. While this is optional, I find the shape of the petals to hold for a very long time when using the mat and toolset. If you do not own one, you can pick it up on Etsy or curl the petals with a wood dowel.
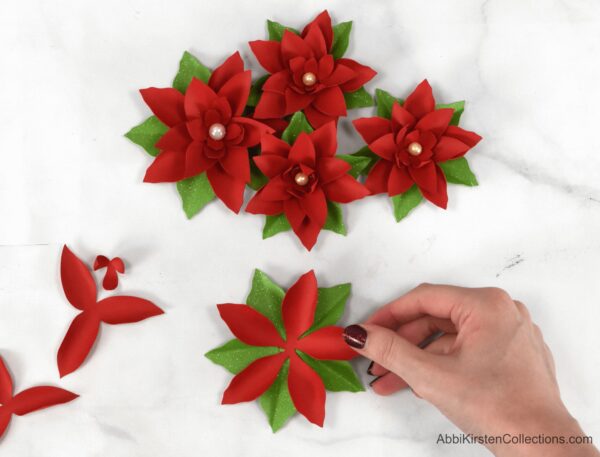
Step 2: Assemble the poinsettia
- To assemble the poinsettia paper flowers, start with the green base and add the largest poinsettia petal layer on top, alternating the petal points.
2. Add in the next two 3-point petal layers in the same way, aiming to alternate the petal points.
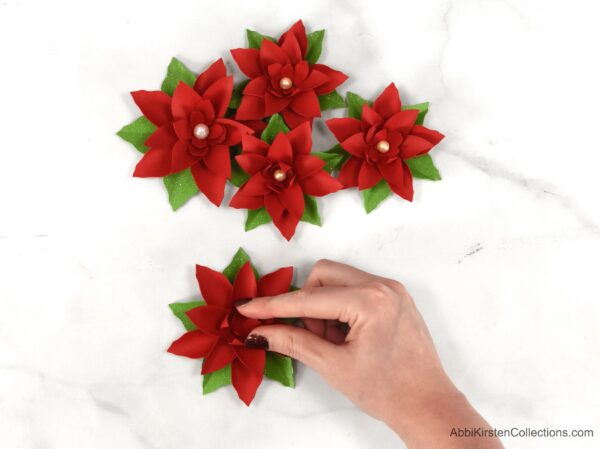
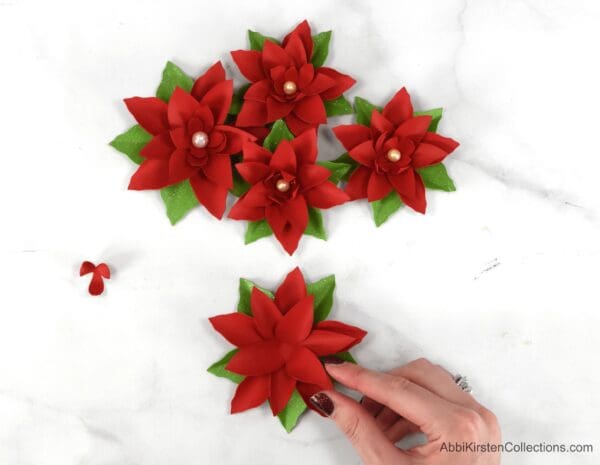
3. Add in the two remaining smallest poinsettia petal layers. To finish the poinsettia paper flower, add a pearl to the center of the Christmas blossom.
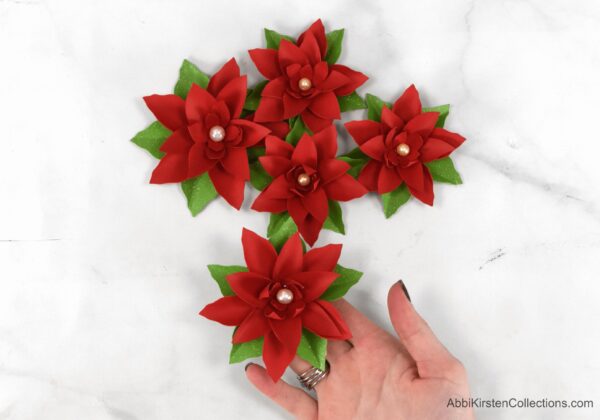
These poinsettia flowers can be enjoyed as is, but now let’s assemble the greenery so we can add them to the wreath!
Making the Holly Greenery
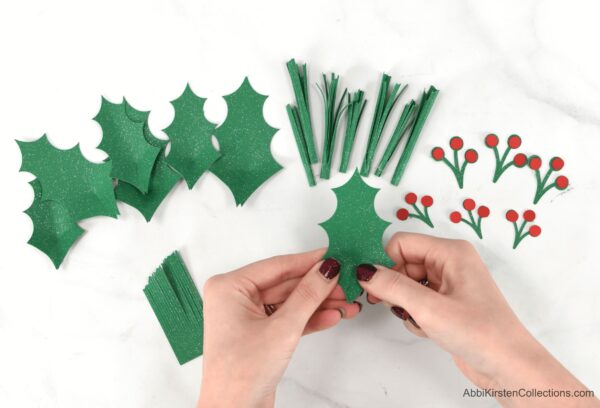
I use my hot glue gun to slightly overlap the holly leaves and add some shape to the greenery.
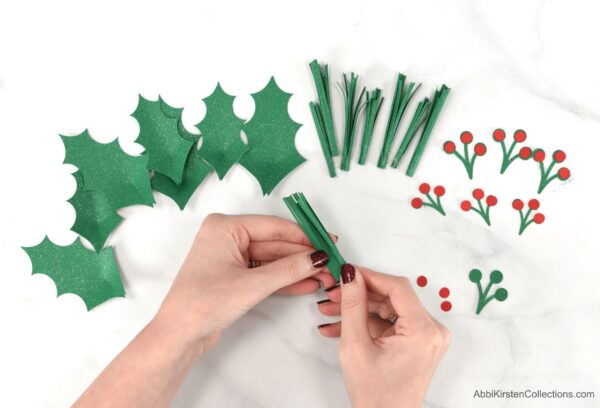
The pine needles are made quickly and easily by rolling them up and tacking them with a dot of glue.
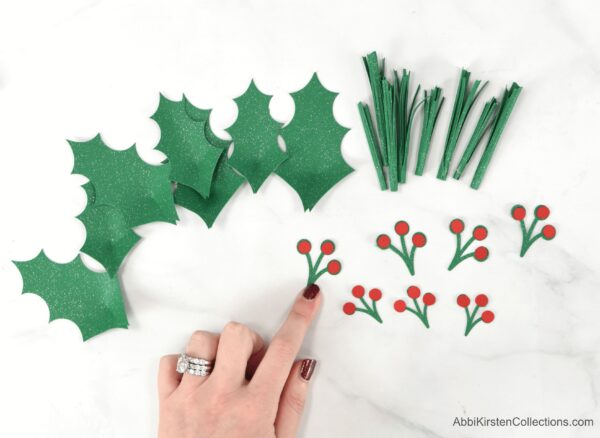
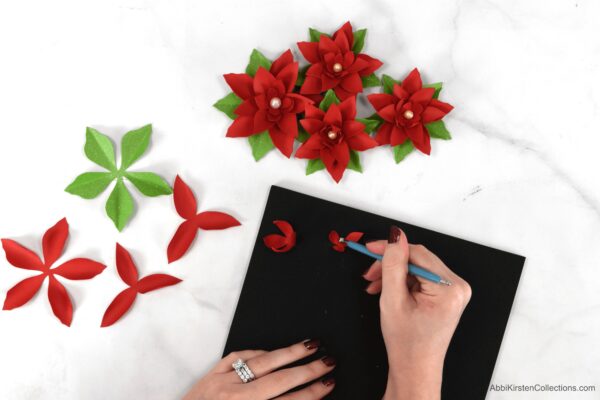
Add the red berries to the green berry stem. You can use a hot glue gun for this, too, but I chose to use my liquid craft glue since they were very fragile and small.
Assembling the Christmas Wreath
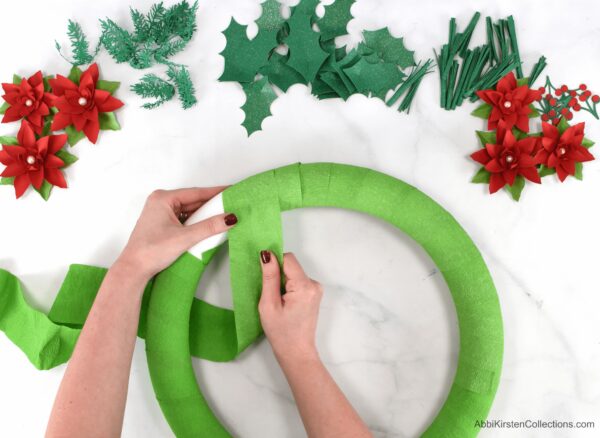
To assemble the wreath, start by wrapping the DIY holiday wreath base with crepe paper. Be sure to stretch your crepe paper first, then tack it in place with glue.
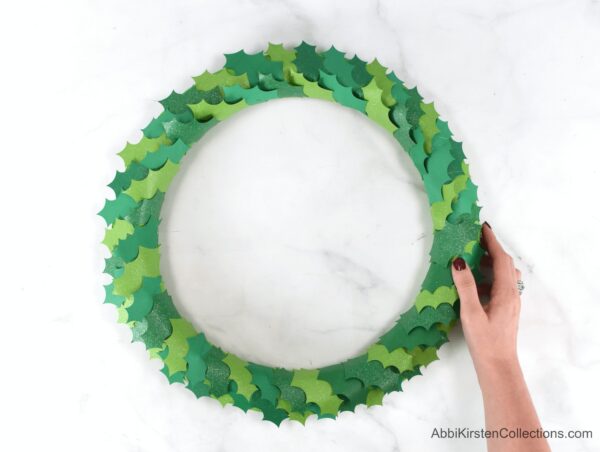
After you add the crepe paper, start gluing the holly leaves to the wreath base, I recommend picking one direction and keep gluing them all the same way.
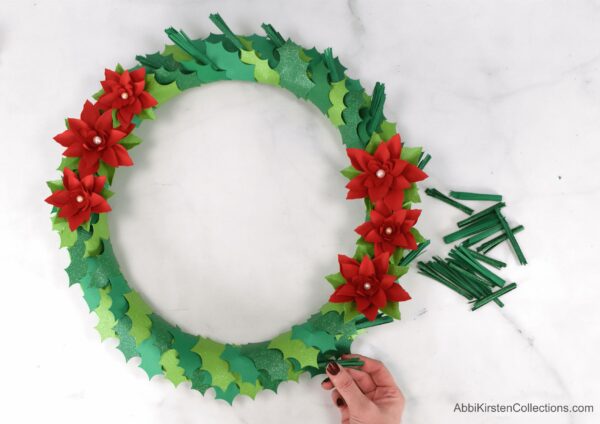
After you add on the base holly leaves, decide how to add on the poinsettia paper flowers. I glued mine on in clusters of three, but you can spread them out if you prefer.
Next, begin to add in the pine needles, tucking them under the holly leaves and securing them with glue.
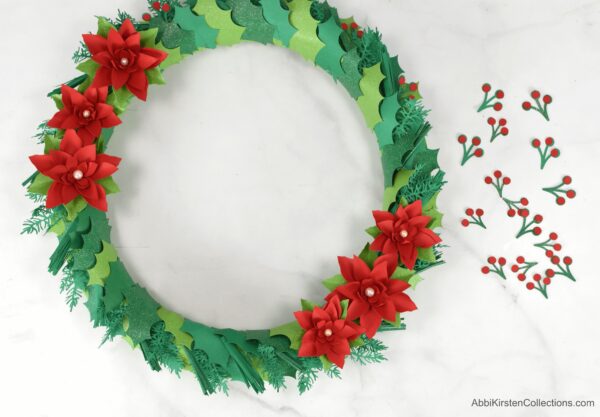
To finalize your DIY Christmas wreath craft, add in the evergreen sprigs and red berries, which tie the whole color scheme together.

I also decided to go back and add some crepe paper around the inner edge. To do this, cut a long strip of crepe paper and twist. Then tack it around the inside of the wreath. I felt this added one final touch. I even went in and used some pearl straight pins around the leaves to compliment the poinsettia centers.

How would you make your DIY holiday wreath? Would you do traditional red and green or other color sections (I think all white would be incredible, too!). Tell me below in the comments!
About Abbi Kirsten
Welcome to my colorful corner of the internet, where we play with vibrant crafts and unlock your creative magic! Hang out with me and get lost in a fun array of projects, tutorials, and products, from stunning papercraft ideas to flower templates, Cricut help for beginners, and endless crafter’s hacks.
Join the Member Vault and participate in my monthly Craft-Alongs in my Facebook group to access all the magic!