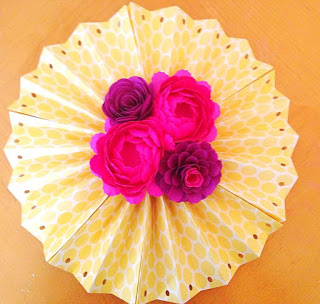
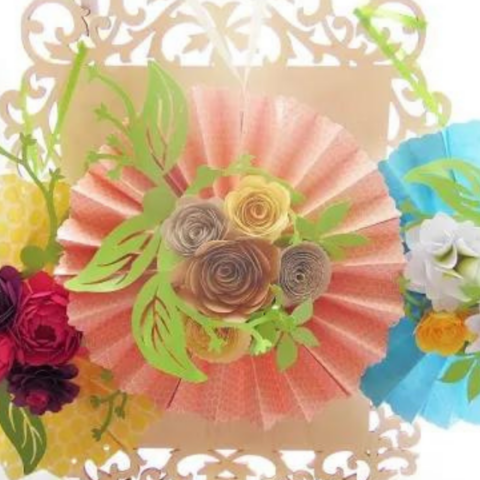
DIY Paper Rosette Hanging Fan with Decorative Paper Flowers
This post may contain affiliate links that won’t change your price but will share some commission.
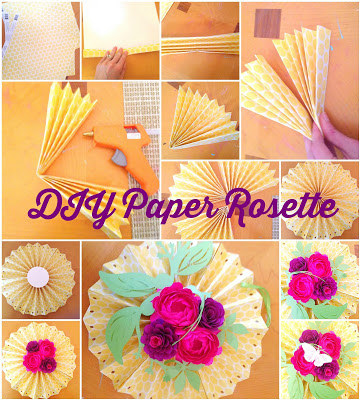
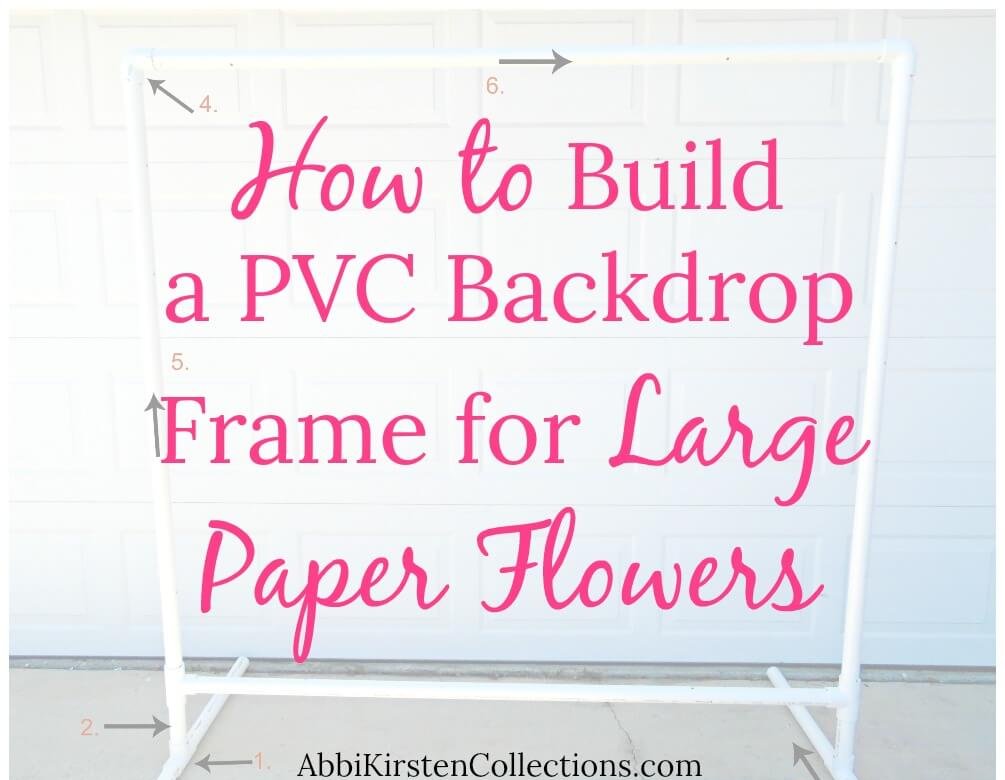
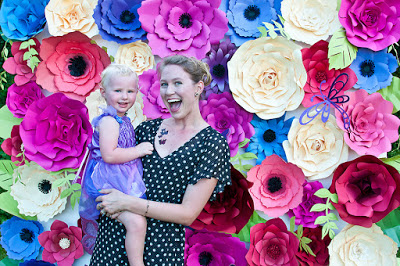
Everyone loves an easy paper craft. In this rosette paper fan tutorial today I will show you how to use any cardstock or scrapbooking paper to make pretty paper decorations for any party or event. These rosette paper fans are perfect for baby shower decor, weddings, and parties. And if you create a lot of these paper rosettes they work wonderfully as a backdrop for photos!
DIY Rosette Paper Fans Supply List
- Cardstock
- Scrapbooking paper (optional replacement for cardstock)
- Scissors
- Decorative edge scissors
- Hole punch
- 3-inch circle punch
- Glue gun
- Baker’s twine
- Ribbon (optional replacement for baker’s twine)
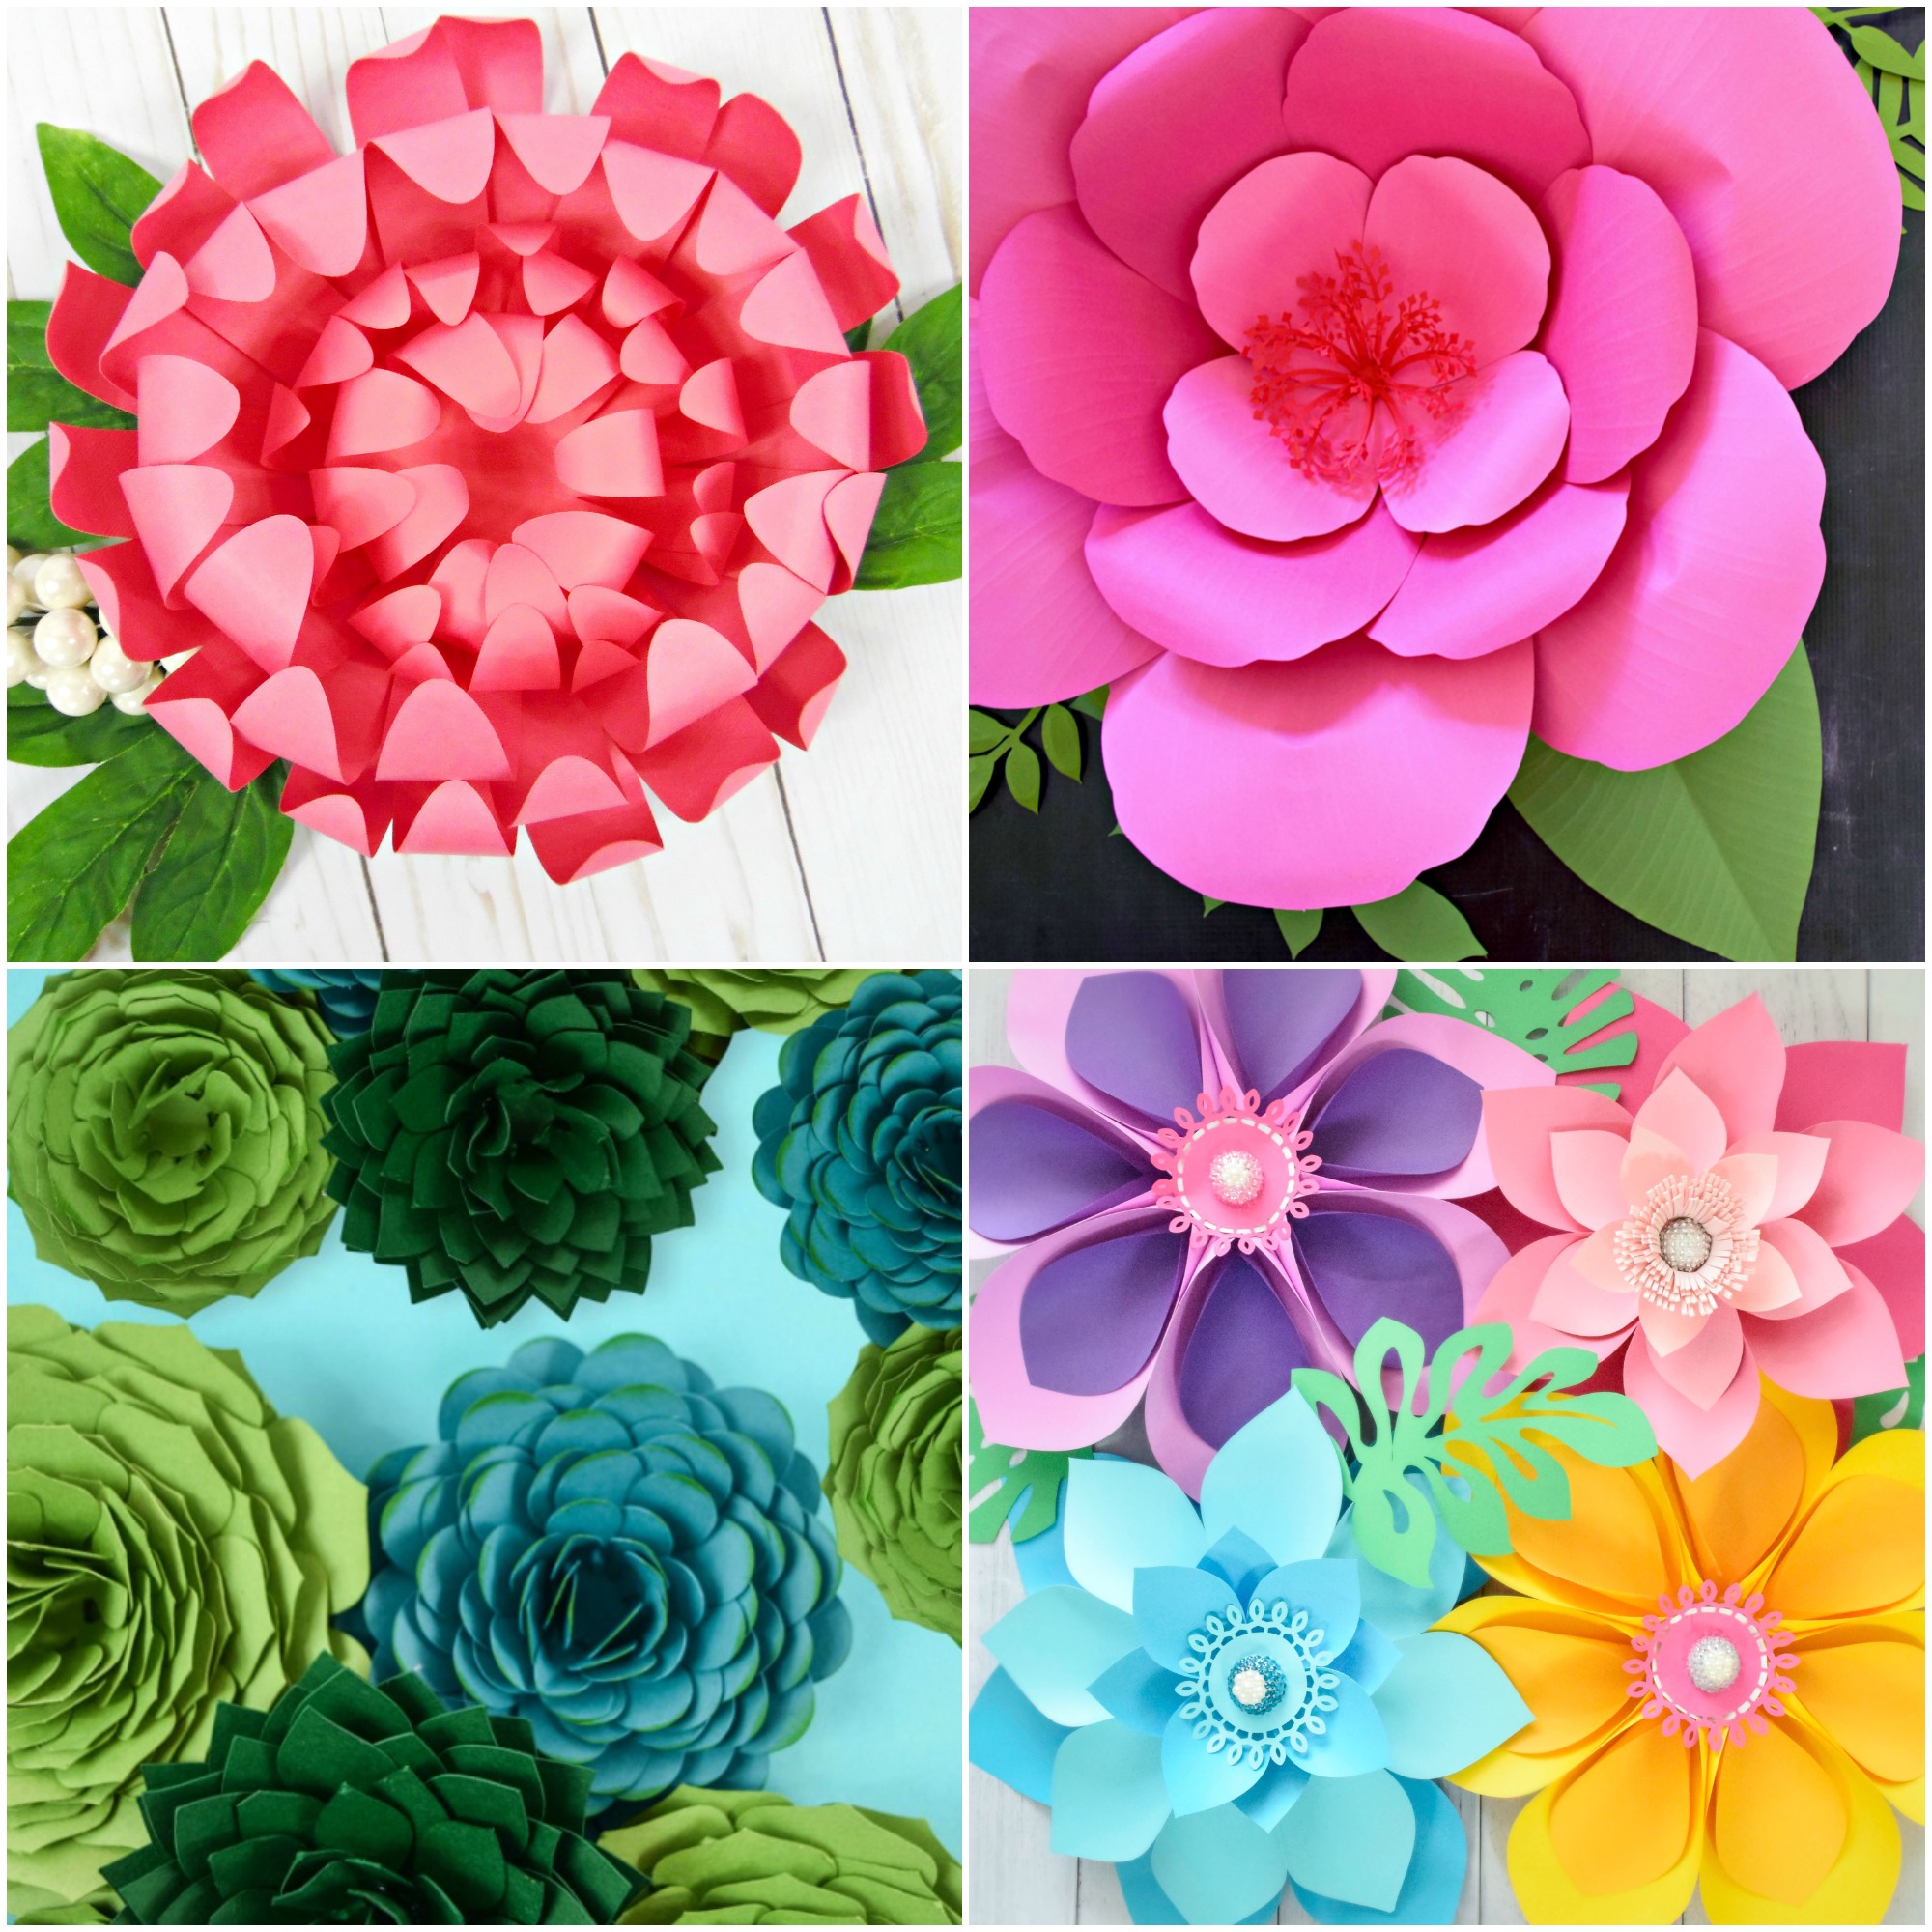
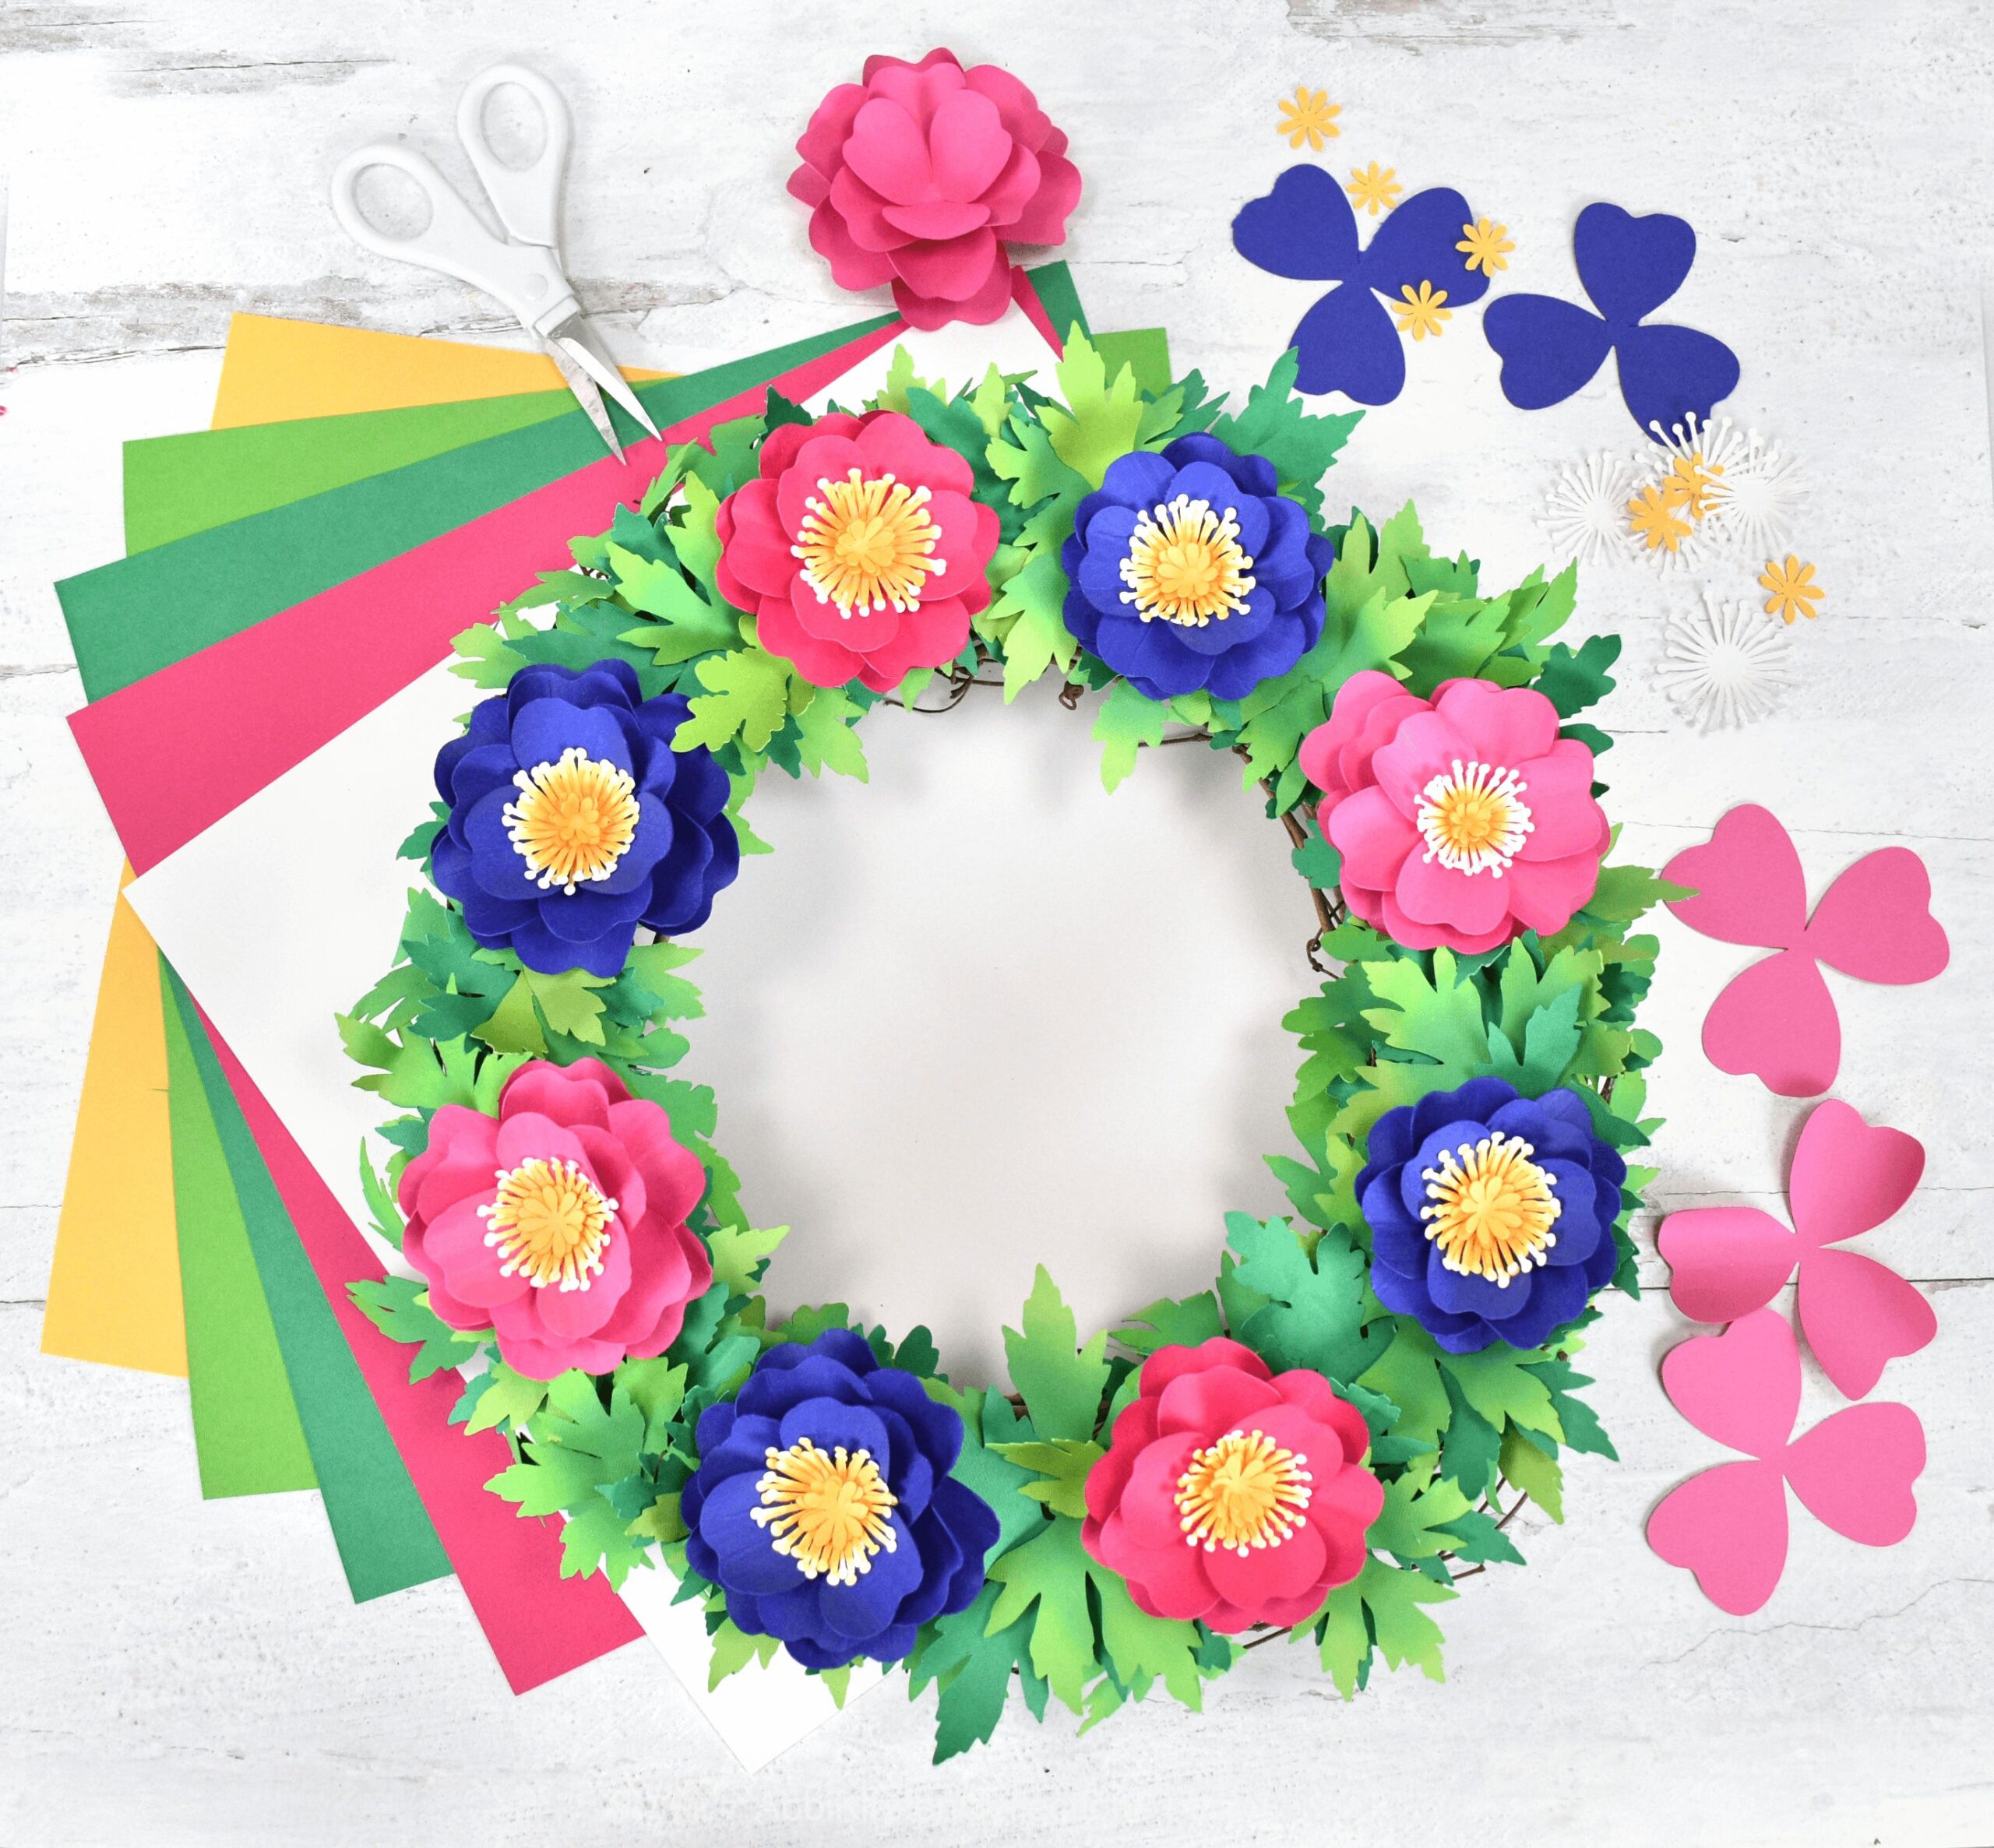
- Paper flowers (optional). Take a look at all my paper flowers here!
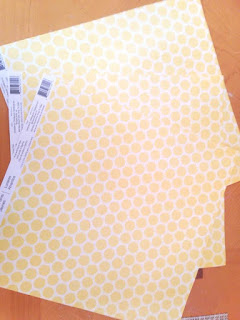
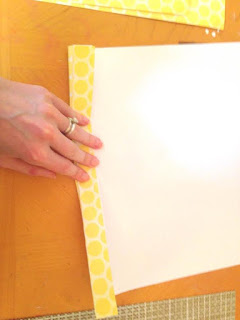
First, pick out a pretty scrapbooking paper or colored cardstock to make your paper fans. Make sure it’s not heavy cardstock, or it will be too thick to fold. I use 3 sheets of 12×12 inch paper for a hanging rosette, but if you wanted to make these as fans for your guests, I would use 3 sheets of 8.5×11 inch paper for a more appropriate size.
Folding The Paper
Begin folding like you would a paper fan, back and forth. About 1 inch or slightly less per fold. Think of making a paper fan in elementary school (this rosette paper fan crafts make great kid’s projects, too!). You should have something like this so far.
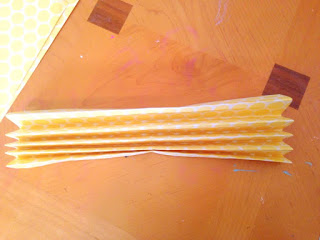
Next, take your accordion folded paper and crease it in half, as shown below.
Use a hot glue gun or some bearly art glue to attach the two sides together that meet when folded.
Pinch the paper until it dries. Repeat this process two more times. You should have three folded pieces for the rosette paper fans. If you feel adding a fourth piece creates a better rosette, then go for it! The creases will certainly be deeper.
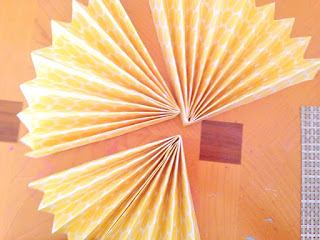
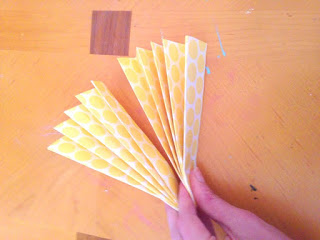
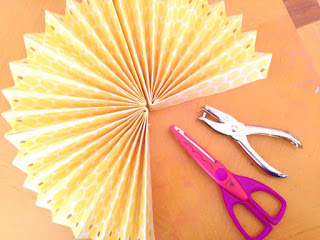
Glue all the folded paper fan pieces together. Optional: use a hole punch or pair of decorative scissors along the edges for additional details. I used a pair of scalloped-edge scissors for my paper decorations.
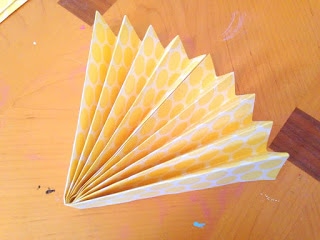
Glue together the paper rosette so it forms a completed circle.
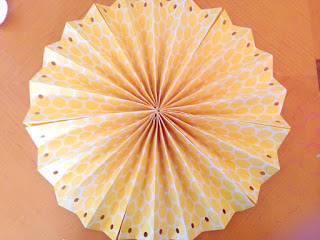
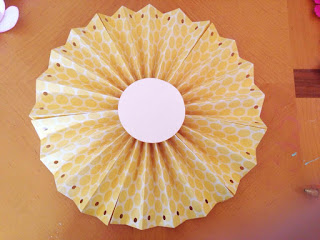
Use the circle punch to add a circle cutout to the center of the rosette fan.
Adding Embellishments or Paper Flowers
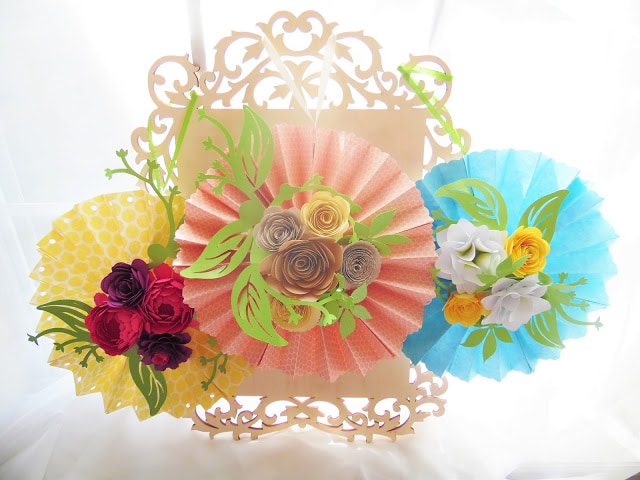
At this point, you can stop or continue by making and adding paper flowers or other embellishments to the center of the rosette. I used my peony and dahlia flower templates to complete this paper decoration.
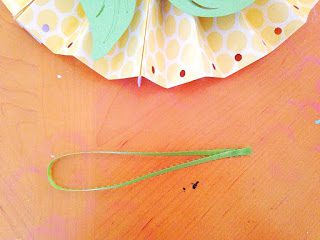
Cut a piece of ribbon, as long as you want, and glue the ends together. Find a good spot between creases to slip it in and glue it. You can also loop it through a hole if you used a hole punch.
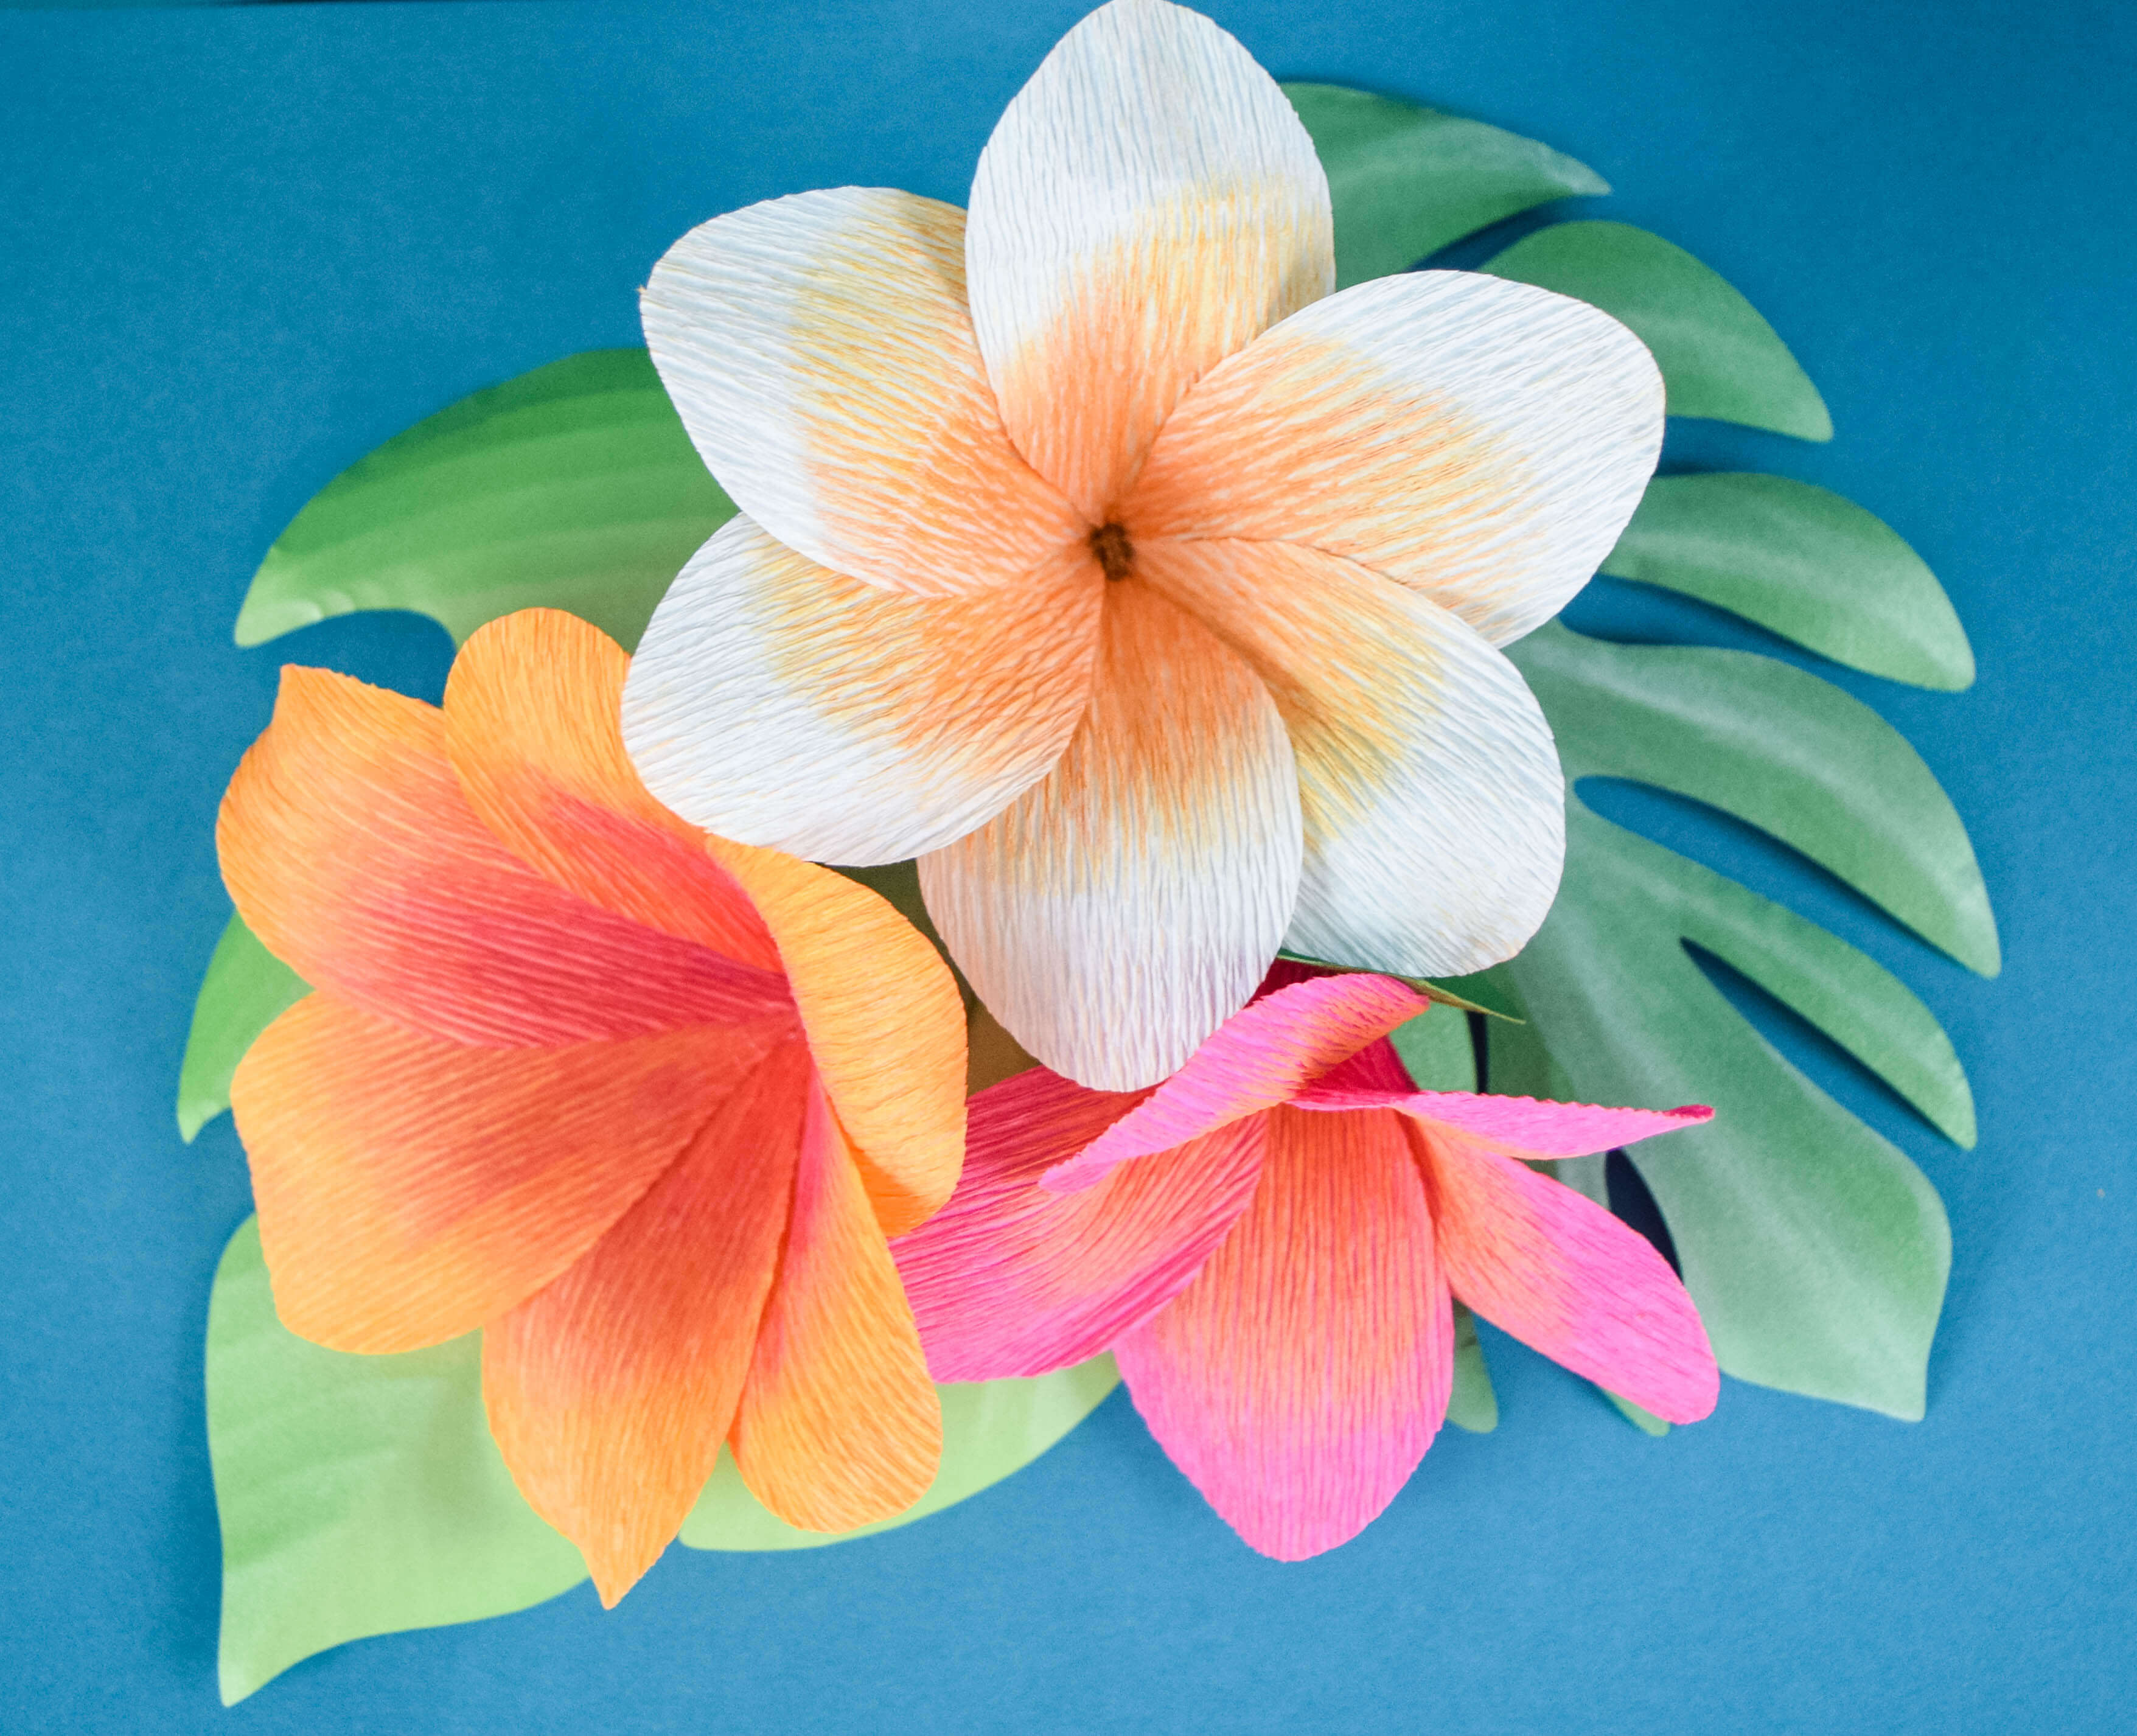
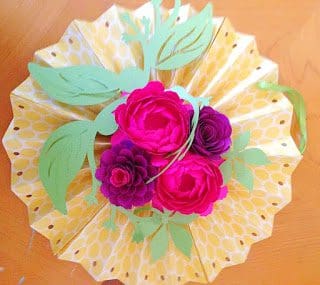
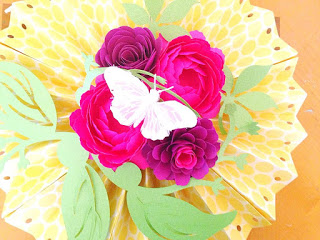
If you added flowers to your rosette, you could finish it off with some greenery. Be creative, and don’t be afraid to add other elements like butterflies and such.
What do you think of these DIY paper fan rosettes? Whether you need a last-minute party decoration or an easy project the kids can do, these rosettes are a quick and fun craft to make!
DIY Paper Rosette Fans With Paper Flower Embellishments
Learn to make large rosette fans with paper embellishments that are sure to jazz up any party or get-together! Light, airy, and easy, these no-sew simple paper fans are beautiful and bring a sense of yesteryear to your decor.
Materials
Instructions
Choose Your Paper
- Choose appealing, non-heavy cardstock or scrapbooking paper.
- Use 3 sheets of 12 x 12 paper to make larger hanging paper fans.
- Use 3 sheets of 8.5 x 11 to make personal-use fans.
Folding the Paper
- Make 1-inch accordion folds back and forth (on the long edge of 8.5 x 11 paper).
- Once the paper is accordion folded in a 1-inch strip, fold that strip in half.
- Do this for all three pieces of paper.
Glue the Paper
- Starting with one folded fan, glue the two sides together that meet.
- Hold the sides closed until the fan dries completely.
- Do this for the remaining two folded fans.
- Note: If you feel you need four folded fan parts, repeat these steps to create a fourth fan ‘wedge.’
- Glue all the folded paper fan ‘wedges’ together to form a rosette paper fan circle.
Decorate Your Rosette Fan
- Hole punch the top of each crease, or use decorative scissors to create fun edges.
- If you want to add paper flowers or other embellishments, cut out a 3-inch circle using your 3-inch hole punch and glue it to the center of the fan.
- Add paper flowers or other embellishments to the center circle.
- Using baker’s twine or ribbon, create a loop and tie it through one of the holes in the fan so it can be hung up.
Enjoy this easy decoration! You can make various fans for each holiday, and it’s so easy the kids can join in the fun!