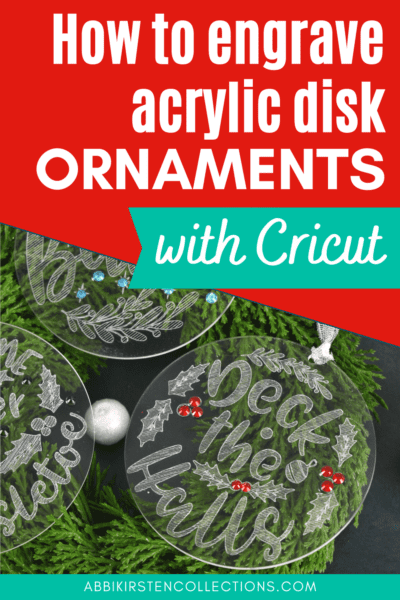
How to Make Engraved Personalized Christmas Ornaments with Cricut
This post may contain affiliate links that won’t change your price but will share some commission.
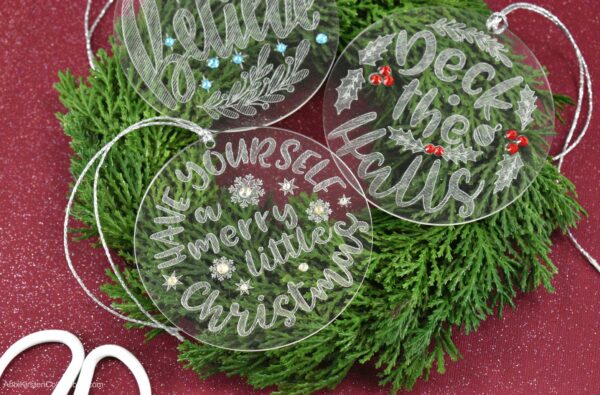
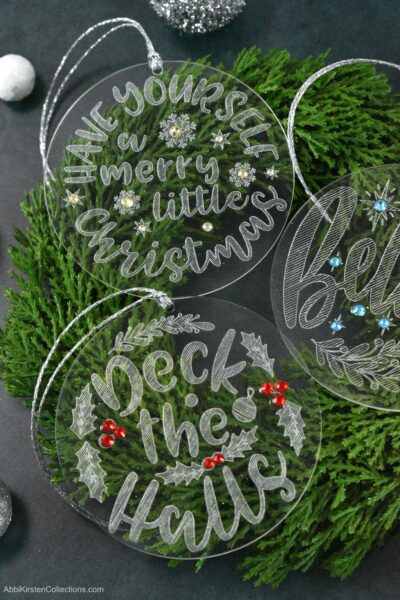
When I first started engraving several years ago, I wasn’t sure I would like it. I can say without a doubt that learning to engrave with your Cricut Maker or Maker 3 is a wonderful skill to have! Today I will show you engraved personalized Christmas ornaments with your Cricut machine. I will feature flat, acrylic clear disk ornaments for this project. The Cricut Maker models can engrave acrylic, metal, and leather. To learn how to engrave dog tags, bracelets, and other jewelry, see my step-by-step beginner’s guide to engraving here!
These engraved ornaments are just one of several acrylic disk ornament crafts I am sharing this year. Check out my gold leaf gilding acrylic ornaments as well as my glitter disk ornaments with vinyl.
It is important to note that engraving is only for the Cricut Maker and Cricut Maker 3 machines. I have seen a few of my fellow crafters successfully use off-brand engraving tools for the Explore machines; just keep in mind Cricut themselves does not recommend this.
While you can use any acrylic disks, I do recommend sticking with a 3.5-4 inch size disk for best results. Choosing an acrylic disk that is too small or very thin may not turn out well, and 1-2mm thickness is best.
Supplies For Making Engraved Acrylic Ornaments with Cricut
- Clear acrylic ornament disks. I have used both these 4-inch acrylic disks and also these smaller clear acrylic ornaments with success.
- Permanent vinyl. I’m using Smart Vinyl. Make sure it is permanent so that your vinyl does not come off once placed on.
- Cricut machine. You can use the Cricut Maker, Cricut Explore or Cricut Joy models.
- Weeding tools
- Engraving tip and housing
- Gemtac and rhinestones (optional)
- Enamel maker (optional)
- Ribbon or twine to hang the ornaments
- Painter’s tape
- Hatch-filled engraving ornament SVG designs (free when you join my community via the form below)
Download the Free Ornament SVG Files
Download these free hatch-fill pattern Christmas ornament SVG files by signing up via the form below. Once you set your password via the email sent to you, enter the vault, and search at the top with the keyword hatch-fill or design #407.
If you are already a member, log in to the Member Vault right here and find it by searching hatch-fill or design #407. Need help entering the vault? Read this helpful post on accessing the AKC Freebie Vault here.
Learn how to create your own SVG design files, including hatch-fill designs in my exclusive course, Free the SVG!
Engraved Acrylic Ornaments Video Tutorial
I’ve created a full step-by-step video tutorial for engraved acrylic ornaments for Christmas below, or you can keep reading for a picture tutorial.
Upload the ornament engraving SVG cut files to Cricut Design Space to get started. If you are new to Cricut, learn how to upload an SVG here and join my beginner’s workshop for more help in Design Space!
How to Make Engraved Acrylic Christmas Ornaments
Step 1: Changing Operation in Design Space to Engrave
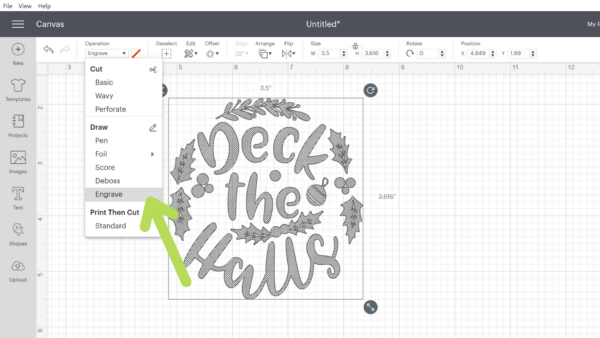
It’s important to note that not only do you need to scale your engravings to .5 smaller than your ornament, but you also ensure you have checked the Operation (a.k.a Linetype) to Engrave at the top left of Design Space.
Step 2: Setting your Engraving Design on the Mat
When you are ready, click the Make it button at the top of the screen, and on the first cut screen, move your design so that it sits exactly six squares down and six squares to the right, just like the image below. This process ensures that your engraving will be much more accurate than trying to place it at the top.
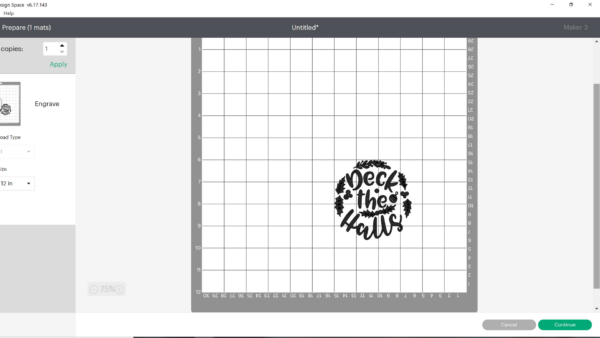
Next, match the placement of your acrylic ornament disks to the image on the screen—count six squares down and to the right.
IMPORTANT: Place the bottom of the tiny circle opening (where you’ll string twine) against the line. Do NOT align it directly to the top of the disk. See my video for more details here.
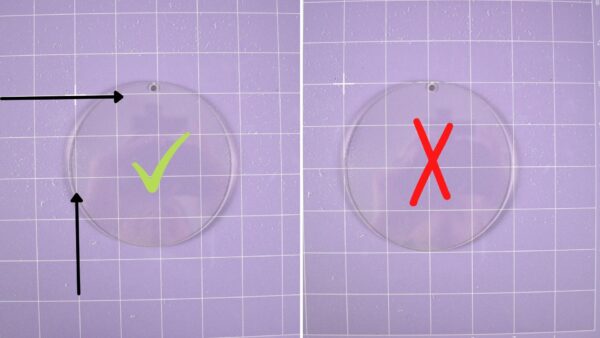
Take a look at the image above to see the right and wrong way your disk should be placed onto the mat – this is an essential step to have your engraved, personalized Christmas ornaments turn out correctly.
Once you have the placement right, add a bit of painter’s tape to the very top and bottom for extra security.
Step 3: Insert Your Engraving Tip for Cricut Maker
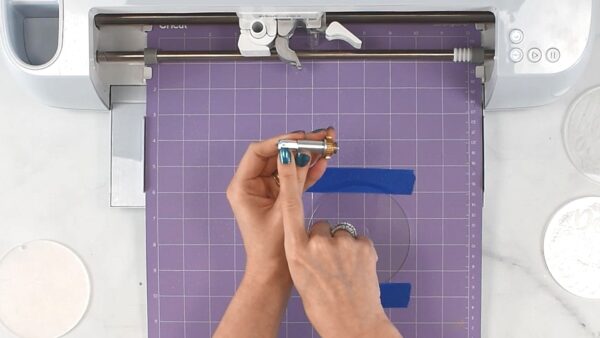
Before your Maker can start to engrave, you need to switch out the blade for the Quickswap housing with the engraving tip.
Load your mat and press Go on your machine. I have selected acrylic 1mm for the material setting – there is also a 2mm. Honestly, I do not see much of a difference between the two when I compare engravings.
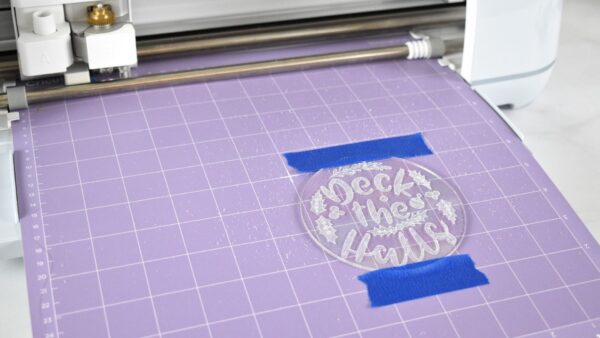
The engraving will take anywhere from 20-30 minutes if you are using my templates. Watch your machine for the first couple of minutes, checking that it starts at the right spot on the mat.
Once your acrylic ornaments are finished engraving, unload your mat and clean off the dust with a damp paper towel. If you want to darken your engraving, you can consider a black enamel pen. Color over the engraving with the pen and wipe away the excess for a slightly darker engraving result.
Step 4: Adding Rhinestones to your Acrylic Ornament
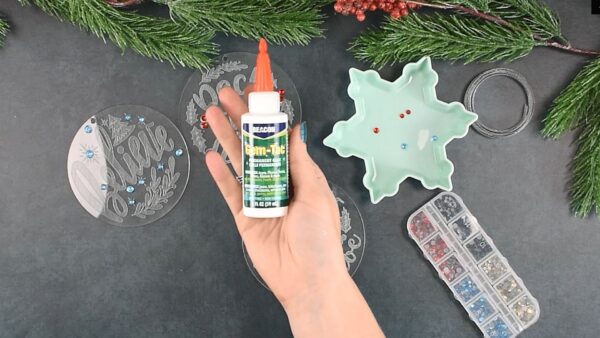
You can dress up your engraved, personalized Christmas ornaments with some extra sparkle by using Gemtac and rhinestones as an optional step.
I have tested adding paint or gold leafing behind the engraving, and the result was a blurred engraving, so I do not recommend this.
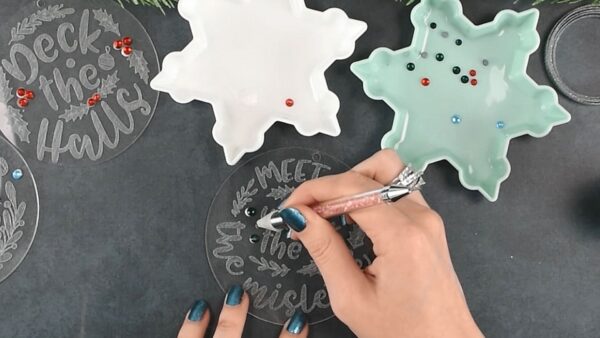
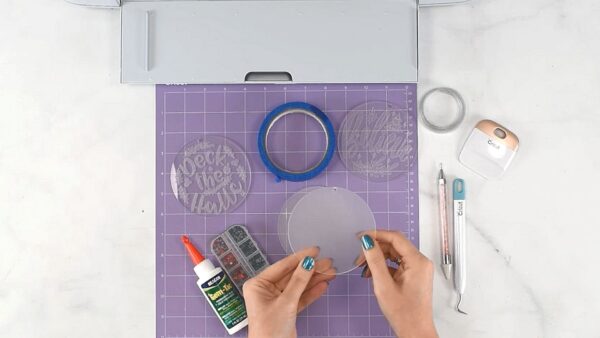
I dipped my rhinestones in some Gemtac then place them on the acrylic disk ornament so that it doesn’t leave any unwanted residue behind that can be seen when the clear ornament is hanging. The Gemtac will dry clear not white.
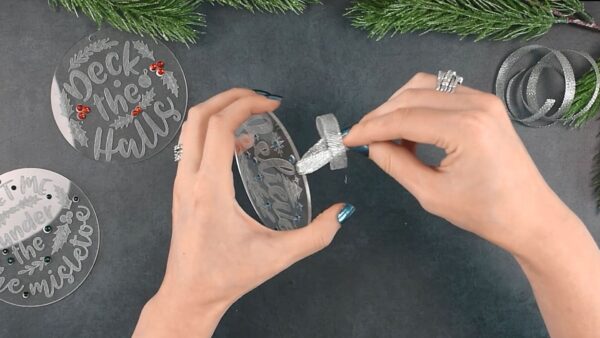
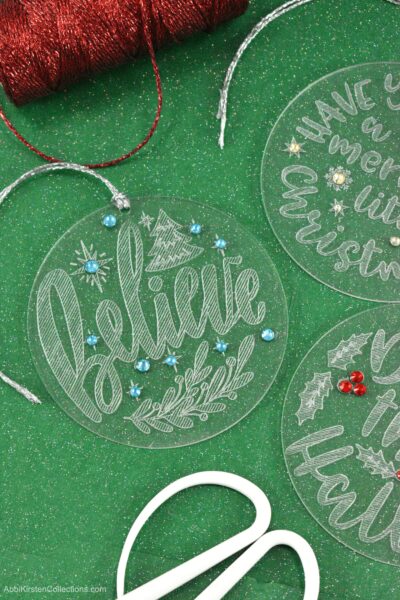
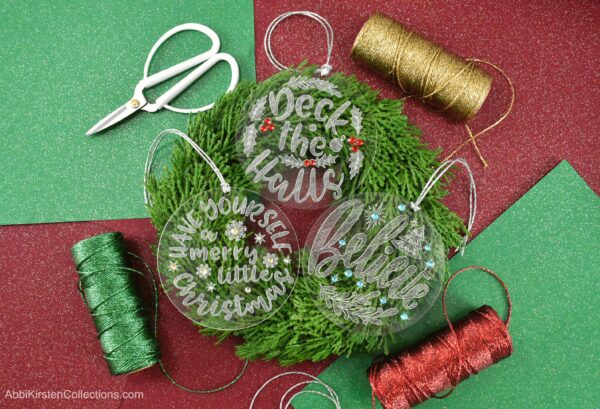
Finish your engraved acrylic craft by adding ribbon or twine to the top and hanging your personalized Christmas ornament on a tree! These handmade ornaments also make fabulous gifts!
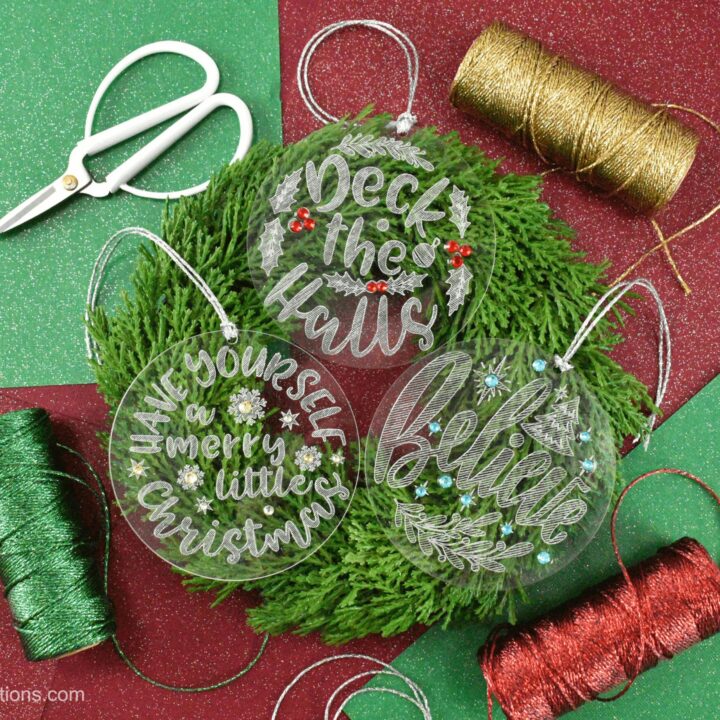
Engraved Acrylic Christmas Ornaments
Learn how to make festive personalized engraved acrylic Christmas ornaments with a Cricut cutting machine! These ornaments make perfect Christmas gifts for friends and loved ones.
Materials
- Clear acrylic ornament disks
- Permanent vinyl
- Gemtac and rhinestones (optional)
- Enamel maker (optional)
- Ribbon or twine to hang the ornaments
- Painter’s tape
- Hatch-filled engraving ornament SVG designs
Instructions
Step 1: Changing Operation in Design Space to Engrave
- It’s important to note that not only do you need to scale your engravings to .5 smaller than your ornament, but you also ensure you have checked the Operation (a.k.a Linetype) to Engrave at the top left of Design Space.
Step 2: Setting your Engraving Design on the Mat
- When you are ready, click the Make it button at the top of the screen, and on the first cut screen, move your design so that it sits exactly six squares down and six squares to the right, just like the image below.
- Next, match the placement of your acrylic ornament disks to the image on the screen—count six squares down and to the right.
- IMPORTANT: Place the bottom of the tiny circle opening (where you’ll string twine) against the line. Do NOT align it directly to the top of the disk.
- Once you have the placement right, add a bit of painter’s tape to the very top and bottom for extra security.
Step 3: Insert Your Engraving Tip for Cricut Maker
- Switch out the blade for the Quickswap housing with the engraving tip.
- Load your mat and press Go on your machine. I have selected acrylic 1mm for the material setting – there is also a 2mm.
- Once your acrylic ornaments are finished engraving, unload your mat and clean off the dust with a damp paper towel.
Step 4: Adding Rhinestones to your Acrylic Ornament
- You can dress up your engraved, personalized Christmas ornaments with some extra sparkle by using Gemtac and rhinestones as an optional step.
- Finish your engraved acrylic craft by adding ribbon or twine to the top and hanging your personalized Christmas ornament on a tree!
Don’t forget to download the free engraving template above! To see how to engrave on metal, check out my other engraving tutorial for beginners here!

About Abbi Kirsten
Welcome to my colorful corner of the internet, where we play with vibrant crafts and unlock your creative magic! Hang out with me and get lost in a fun array of projects, tutorials, and products, from stunning papercraft ideas to flower templates, Cricut help for beginners, and endless crafter’s hacks.
To access all the magic, join the Member Vault and participate in my monthly Craft-Alongs in my Facebook group!