How to Fill in Writing and Drawings with Cricut – No More Bubble Letters or Outlines!
This post may contain affiliate links that won’t change your price but will share some commission.
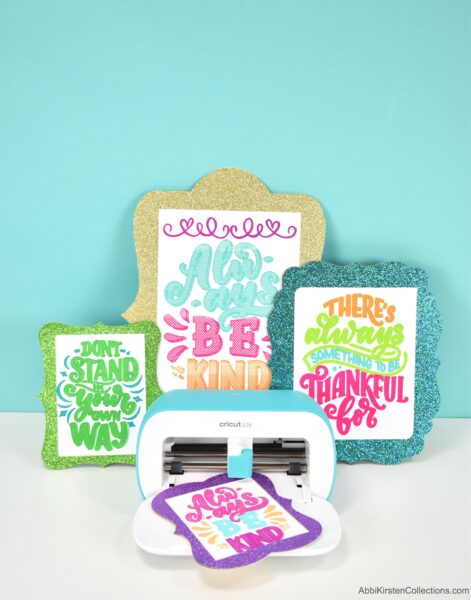
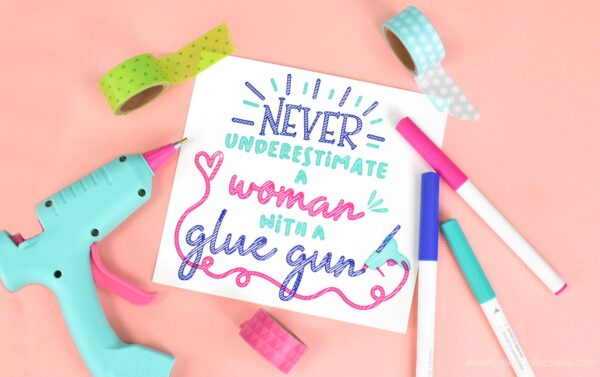
In this tutorial, we are talking all about drawing and writing with your Cricut machine! The best part is I will show you how to fill in a drawing with Cricut and turn pen outlines into solid colors, so you do not have to be limited by bubble letters or outline-only drawings! To draw and write with your Cricut, you will need a pen, Design Space, and a Cricut machine (Cricut Joy, Maker, Maker 3, Explore 2, and Explore 3 will work!)
When I first started with my Cricut years ago, I was continually frustrated with using pens in Design Space. Bubble letters are cool and all (we all remember the 80s and 90s!), but I wanted to know how to color or fill in my text or images with a pen, not be stuck with outlines only.
How to Draw with Cricut Both Text and Images
The good news is there is a way to fill in your images and text in Cricut Design Space to create solid results when you draw with Cricut – this is known as hatch fill patterns.
There are two methods by which you can create a filled-in image for your Cricut to draw. Before we get to those, let’s talk about what a hatch-fill pattern is.
What is a Hatch Fill Pattern?
So, what exactly is a hatch-fill pattern?
Hatch-fill is a pattern of lines or dots that make a solid fill result when looked at from a distance.
By adding these hatch fills to our designs, we can achieve a filled look to our text and images once drawn out with our Cricut pens. The tighter the hatch pattern, the more solid it will look.
Free Hatch-Fill Patterns for Filling in Text and Images with Your Cricut
Download these free hatch-fill pattern templates by signing up via the form below.
Once you set your password via the email sent to you, enter the vault, and search at the top with the keyword hatch-fill or design #338, or just click here to log in and access instantly!
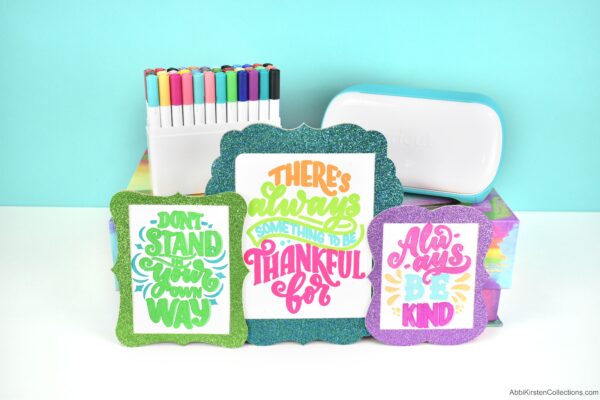
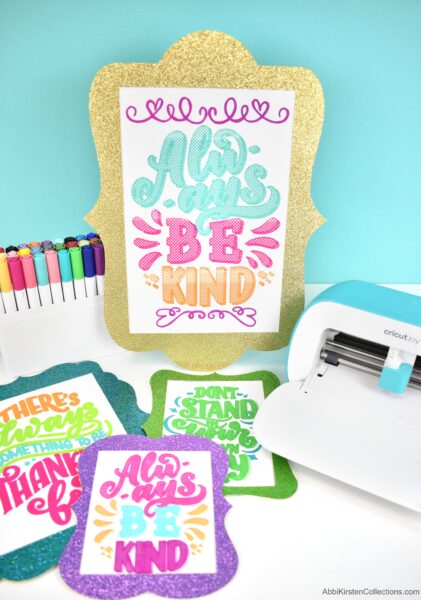
I’m also including 6 FREE frame SVG files if you wish to frame your typography quotes and turn them into wall art!
Need help entering the vault? Read this helpful post here.
Is Your Cricut Still In The Box?
Let me help you get that Cricut cutting machine out and working for you! Watch my FREE Cricut workshops for beginners! The workshop is completely free and will help you overcome feeling overwhelmed and intimidated when getting started with your machine!
How to fill in a drawing with Hatch Fill Patterns
I am going to show you two ways to draw with your Cricut and add hatch fill to text and images.
- The first will require Inkscape and the axi-draw extension.
- The second will be all done in Cricut Design Space with the help of my free hatch-fill patterns.
Inkscape can seem daunting, especially if you are just trying to understand your Cricut machine, too, so I wanted to create a second option that is Inkscape-free.
If you are wondering how to create your own SVG cut files and convert images into layered SVG files, make sure to watch my FREE Magic of SVGs workshop, where I give you a full tutorial!
Creating Your Own Hatch Fill Patterns in Inkscape (Option 1)
What you will need:
- Inkscape – Download here. For full installation instructions, read this article for Windows users or Mac users here.
- Axi-draw extensions – Download here and view the install instructions.
- An image or typography image (you can use any image you would upload to design space or type out a phrase in Inkscape). I love Freepik for images and typography, and of course, you can use any other clipart sites like iStock, Shutterstock, Dreamstime, Vecteezy, etc.
Using Hatch Fills in Inkscape for Cricut – Video Tutorial
Before you jump into the hatch-fill Inkscape tutorial, check out my beginner’s video to using the text tool in Inkscape.
Ready? Press play below to see how to create hatch-fills in Inkscape and set it up in Design Space, or scroll down to view the Design Space-only option using my templates.
Free Hatch Fill Patterns: No Inkscape Required (Option 2)
Creating fills in Design Space can be done, but you will need to have access to hatch fill patterns that can be imported and sliced out in Design Space to get your Cricut to draw the lines inside. Download the free-hatch fill patterns for Cricut here!
Slicing Hatch Fill Patterns in Design Space: What you will need
- Cricut Design Space
- Free hatch fill patterns
Creating Hatch Fills in Cricut Design Space – Video Tutorial
If Inkscape seems too daunting for you, try using my free hatch-fill templates and the slice tool inside Design Space. Watch the full video below to see how I add fills to my text and images in Cricut Design Space.
Filling Your Text and Images – Cricut Pen Tutorial
Once you have finalized your images and text designs, it’s finally time to fill in our drawing with our Cricut!
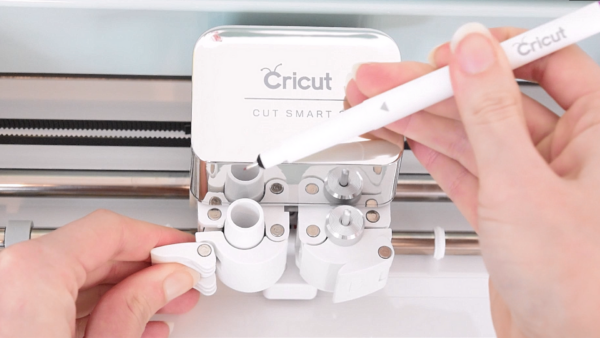
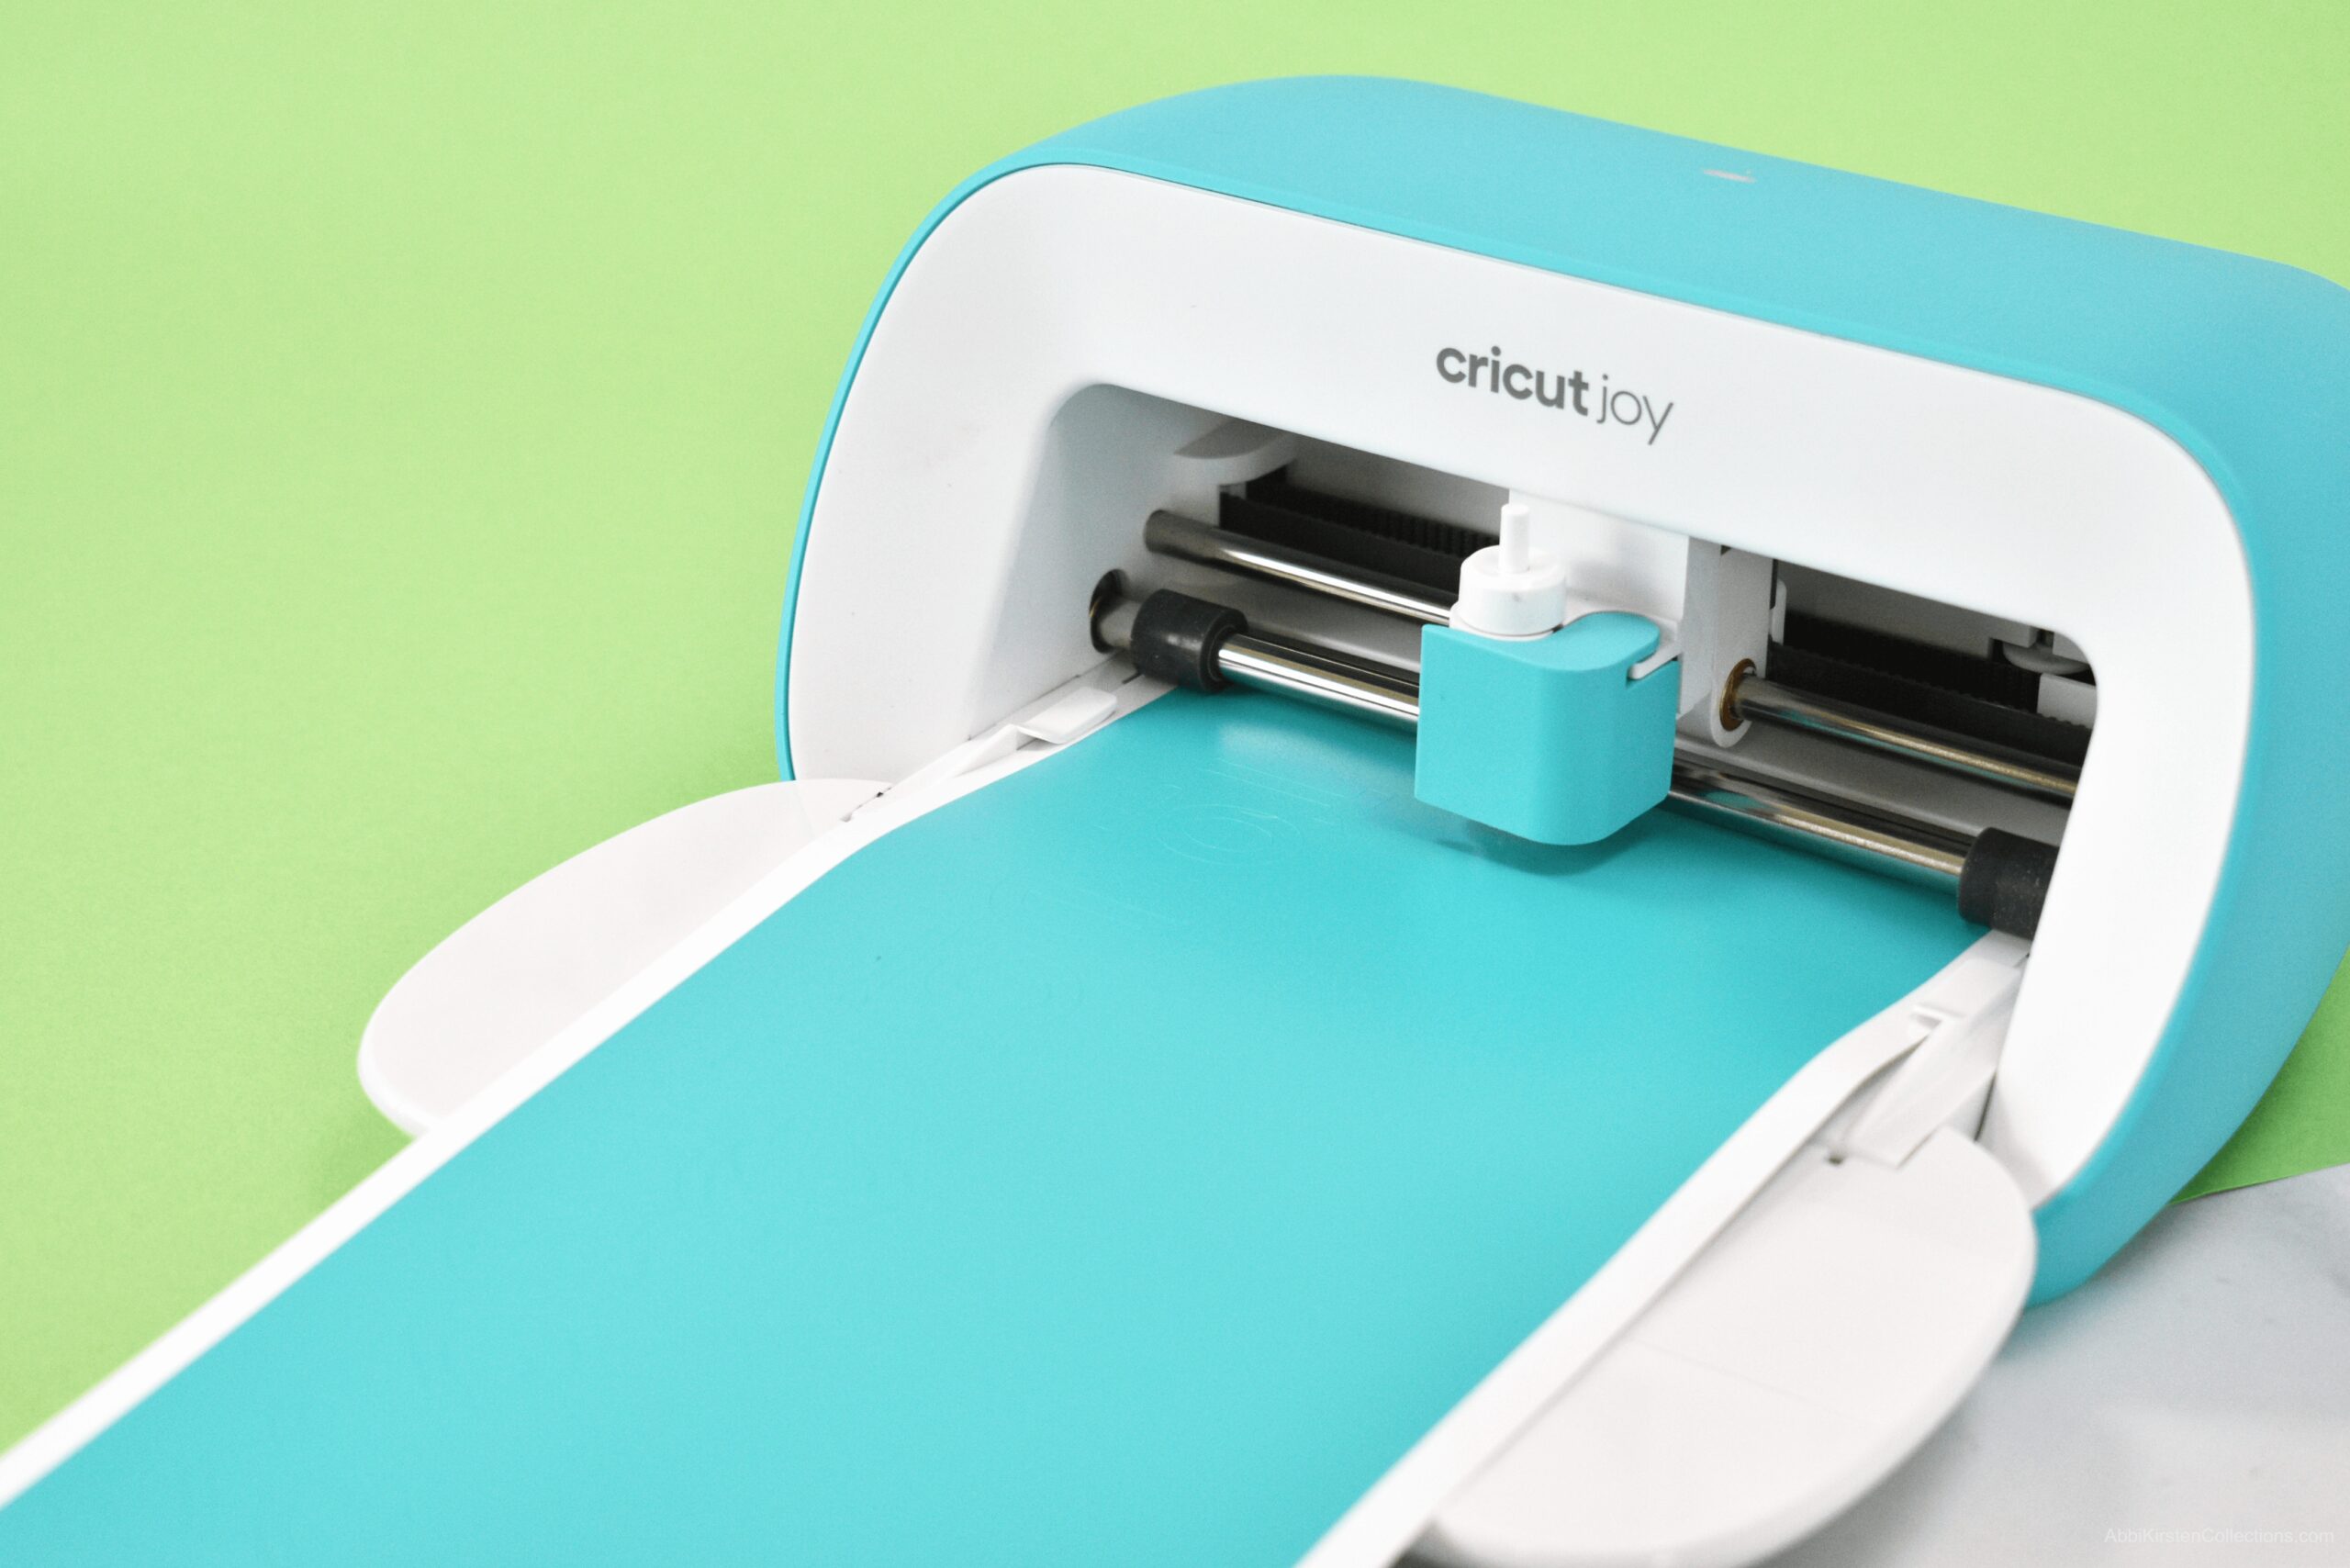
- In clamp A, place your Cricut pen tip down. Push the pen in until the arrow on the side of the pen disappears.
- Load your cardstock onto the mat and load the mat into the machine.
- Select your material. In most cases, this will be cardstock – I am using medium-weight cardstock here.
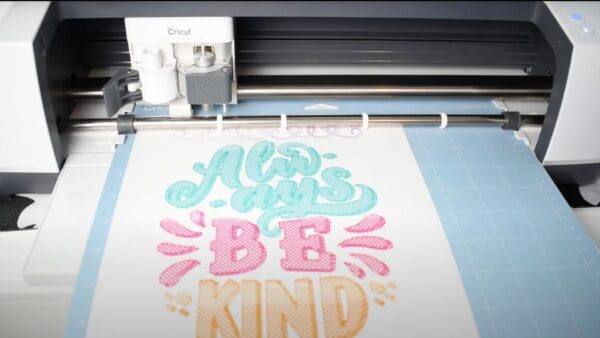
- Cricut will begin to draw your hatch-fill text or image design.
- Your Cricut will prompt you to change your pens if you have more than one color in your design. Make sure not to unload your mat until the very end!
Using the hatch fills when you are drawing and writing with your Cricut will mean some extra time because of how the pen has to go back and forth so many times. I recommend working on another project while your machine does the drawing.
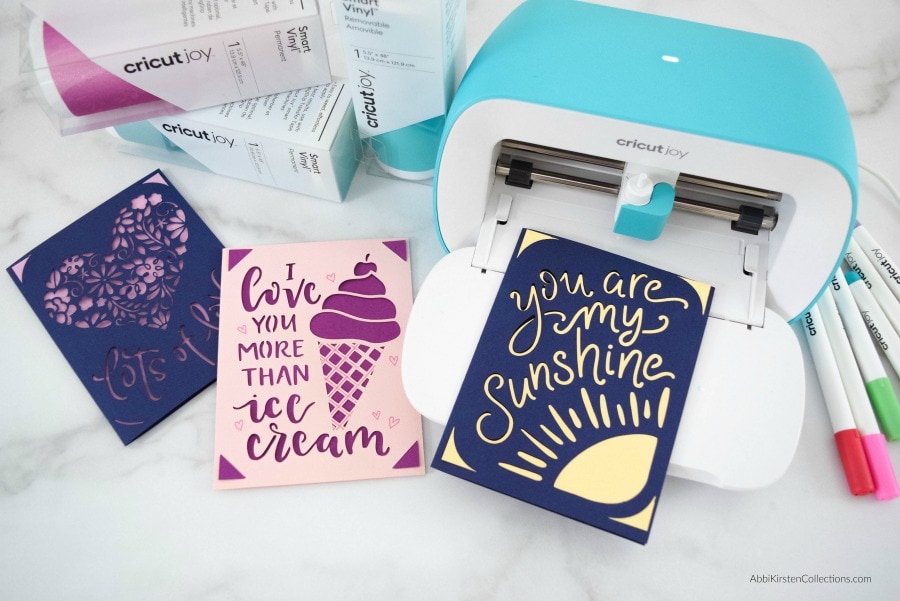
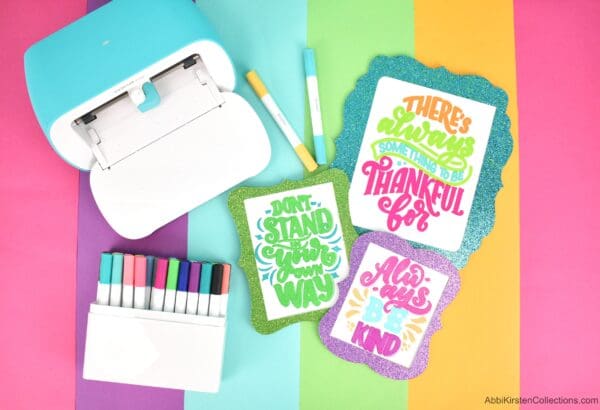
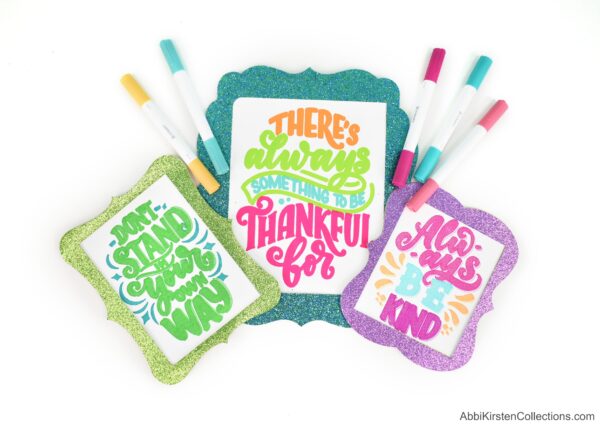
Here is how my hatch-filled drawings and text turned out! As you can see, it looks as if the text was filled in almost completely!
Cricut pens are great, but sometimes I really want to use other pens with my Cricut machine. I tried out these Cricut pen adapters and discovered you can use dozens of non-Cricut brand pens with your Explore or Maker model machines! Read how to use any pen with your Cricut machine here!
Try Out These Cricut Writing and Drawing Tutorials!
If you have never used your pens to draw with your Cricut, take a moment to follow some of my step-by-step tutorials to get familiar with the process, such as my Cricut Foil Tags with Writing Font or my Cricut Joy card tutorial.
What questions do you have for me about drawing and writing with Cricut? Ask below and show off your text designs or drawings in our Facebook group!

Go From Cricut Clueless To Cricut Confident!
Not Loving Your Cricut Yet?
Does Design Space Tech Have You Confused? Overwhelmed? Let’s Change That!
Introducing Cricut Confidence!
Easy to Understand Step-by-Step Lessons for Cricut Design Space Software. No more wondering what Weld, Attach, Flatten, Contour, this tool or that tool means. Finally, kick your confusion to the curb forever!
About Abbi Kirsten
Welcome to my colorful corner of the internet, where we play with vibrant crafts and unlock your creative magic! Hang out with me and get lost in a fun array of projects, tutorials, and products, from stunning papercraft ideas to flower templates, Cricut help for beginners, and endless crafter’s hacks.
Join the Member Vault and participate in my monthly Craft-Alongs in my Facebook group to access all the magic!