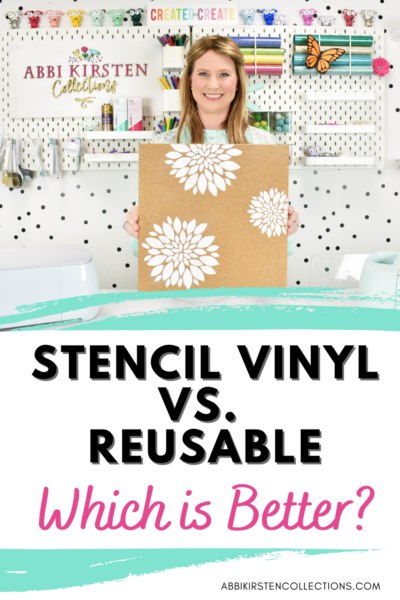
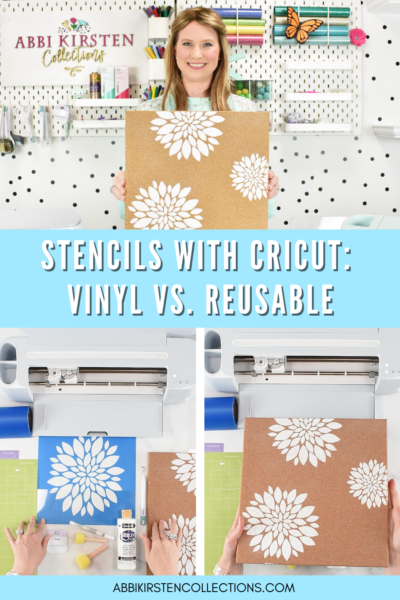
Making Stencils with Cricut: Stencil Vinyl or Reusable, Which is Better?
This post may contain affiliate links that won’t change your price but will share some commission.
Making Stencils with Cricut
Stencils are a great way to add detail and dimension to your Cricut projects. You can easily make stencils with any Cricut machine, whether you own a Maker or Explore model. In this tutorial, I will teach you how to use both vinyl stencils (stencil vinyl) and reusable stencils (mylar or acetate). There are many advantages to using either type of stencil material, so if you’re not sure which one is best for you, keep reading, and I will compare them both for you!

Choosing a Stencil Image
When choosing an image for stenciling, your freedom of that image will depend on your material choice; stencil vinyl or reusable acetate/mylar stencil. Let me first explain the important difference between the two materials.

The Difference Between Stencil Vinyl and Reusable Stencils
Making Stencils with Cricut using Stencil Vinyl
Stencil vinyl is inexpensive and easy to use but can’t be washed or reused. Basically, if you opt for the stencil vinyl, you get a one-and-done transfer with each design you cut out on your Cricut. However, the pro to using stencil vinyl is that the whole thing is sticky, and you can get cleaner paint lines and less risk of shifting the paint than you would with a plastic stencil.
Another benefit of using stencil vinyl is that you do not have to use images that are all interconnected. Because you are lifting the design with transfer tape, you can use any type of font or image design with stencil vinyl.
Making Reusable Stencils with Cricut (Mylar or Acetate)
Reusable stencil material options include mylar (a thin plastic) or acetate, which can withstand repeated washing in soap and water without damage.
The biggest con about reusable stencils is that your design has to be interconnected because you are not using transfer tape, like with stencil vinyl. Meaning, that with letters especially, you can’t use just any font – you have to use a stencil font so you do not lose the center of your letters. The same would go for any image you cut that would lift away once the acetate or mylar was removed from the mat.
So, in short, stencil vinyl equals more freedom with your designs, while reusable stencil means slightly less cost and time when cutting the designs.
Let’s get started with this stencil tutorial for Cricut by reviewing our supplies first.
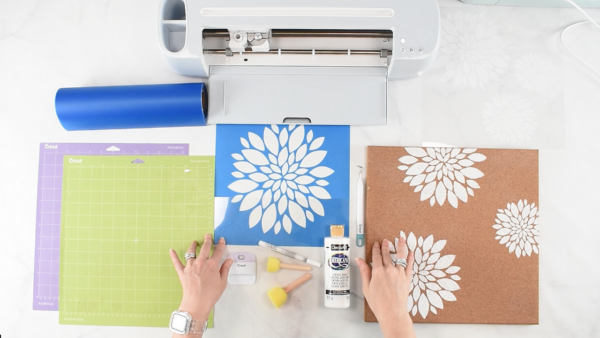
Supplies for Making Stencils With Your Cricut Machine
- Stencil vinyl for disposable stencils
- Acetate or Mylar for reusable stencils
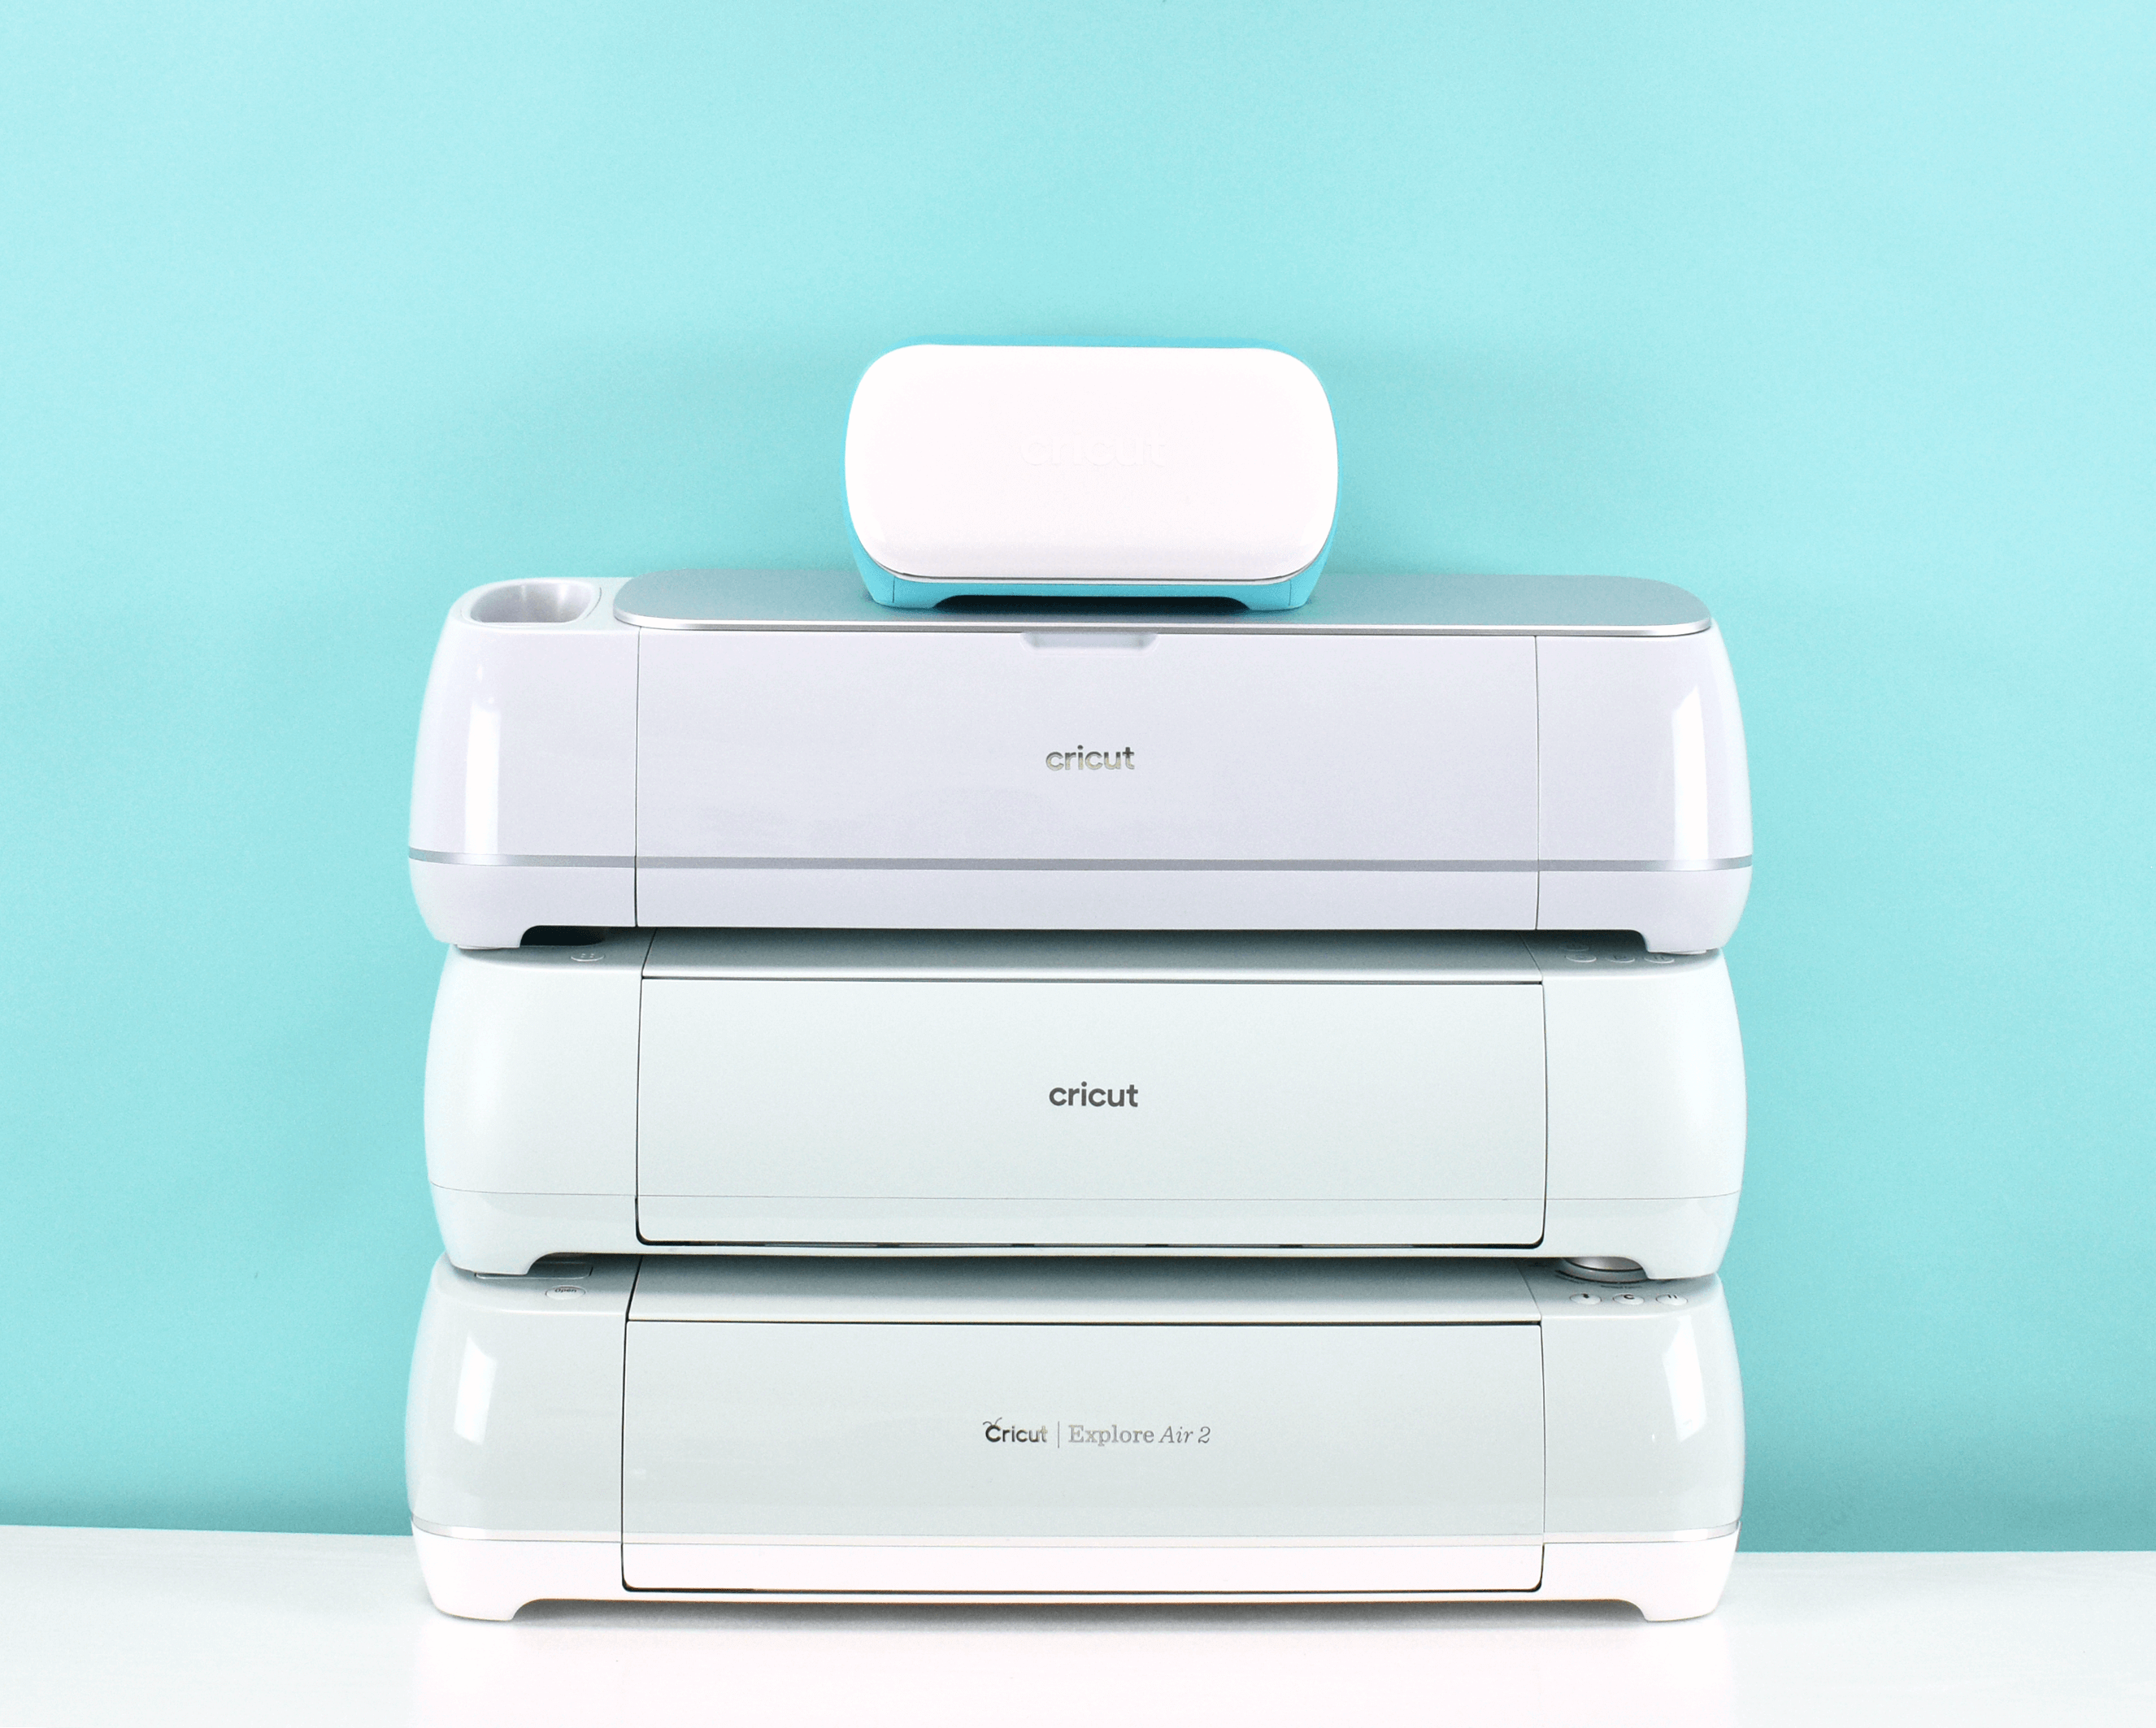
- Cricut machine
- Acrylic paint
- Round sponge brushes
- Cricut scraper
- Cricut mats (strong grip for reusable and standard for stencil vinyl)
- Painter’s tape or transfer tape
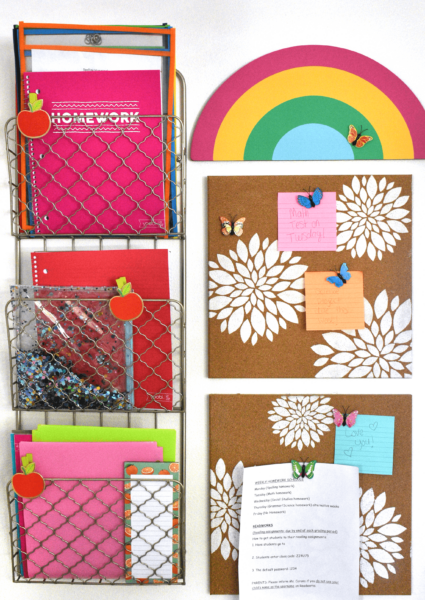
- Something to stencil on (wood sign, corkboard, furniture, etc.)
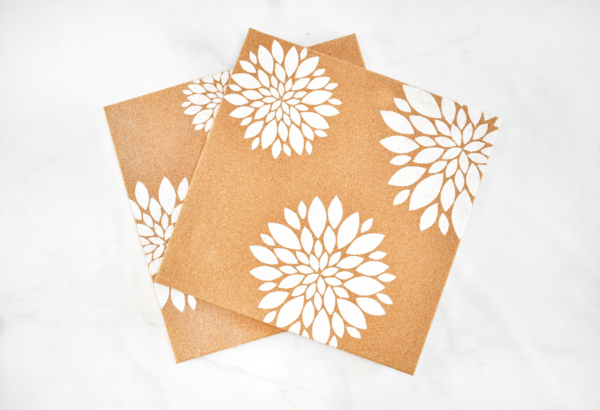
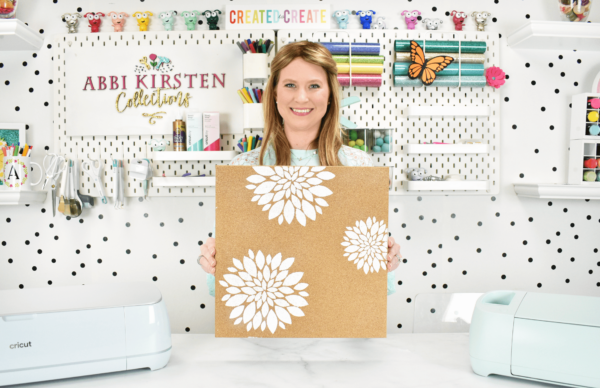
- Stencil template (find my dahlia template in the Freebie Vault. Login or sign up below)
Free Dahlia Stencil SVG
Download these free dahlia templates by signing up via the form below. If you are already a member, log in right here and find it by searching Dahlia or Design #330. Need help entering the vault? Read this helpful post here.
Video Tutorial – Stencil Vinyl or Reusable, Which is Better?
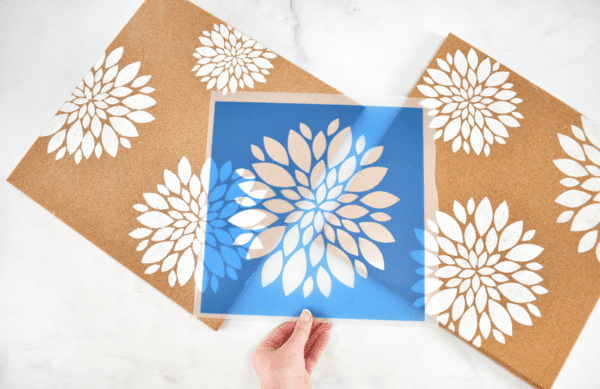
How to Cut and Reusable Stencil With Acetate or Mylar
- Choose a design for your stencil and upload it to Cricut Design Space.
- Scale the design to your preference. I scaled my dahlia SVGs into 3 sizes. You can get the free dahlia SVG file in my Freebie Vault above!
- Select the material you are using. In my case, it’s acetate, but mylar works too.
- Cut the stencil with your Cricut machine.
- Lift your stencil from your Cricut mat.
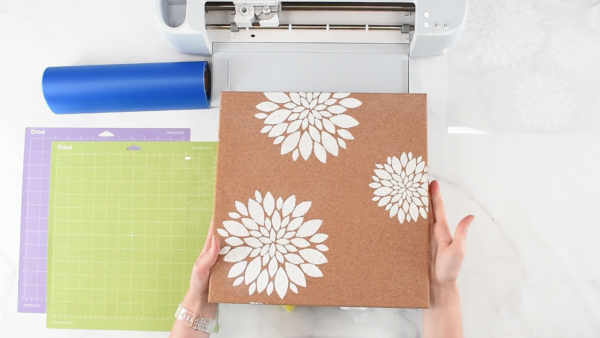
- Place your stencil onto the surface you are painting and tape down the edges with painter’s tape.
- Begin stenciling with acrylic paint using a round sponge brush. Be sure to use light amounts of paint and not soak the brush, or you will end up with bleeds and not crisp paint lines.
- Remove the stencil from your surface when you are done to reveal your beautiful Cricut cut stencil!
- Wash your stencils with soap and water immediately afterward, so your stencil remains nice.
How to Stencil with Stencil Vinyl
- Follow steps 1 and 2 for the reusable stencil above.
- Select the stencil vinyl custom material and precede with your stencil cut.
- Remove the stencil vinyl from your mat, and then reverse-weed the design. Unlike traditional vinyl weeding, you will want to do what is called reverse weeding, leaving the part you would typically remove and weeding out the details.
- Using a Cricut scraper, burnish (rub) your design to the transfer tape.
- Place the stencil vinyl design on the surface of your item and remove the transfer tape.
- Paint with acrylic paint using a daubing motion, and be careful not to soak our brush too much.
- Give your paint about 5-7 minutes to set, then remove the stencil vinyl when done.
- Once the stencil made from stencil vinyl has been removed, you will throw it away.
- And you are finished with your stencil vinyl project!
Quick Tips for Painting with a stencil
Avoid Paint Bleeds and Smudges
Getting crisp lines is what stenciling is all about. There are 3 things I do that dramatically make my paint lines better.
- Never soak your brush with paint. Too much paint means it will seep under the stencil.
- Always use a daubing motion, never a brush stroke motion.
- Always use foam (preferably round) brushes.
- Bonus tip: Before you paint over the stencil, hit your surface with a light spray of clear acrylic sealer and let it dry for 10 minutes before adding your paint. This trick creates an extra barrier around all the edges where paint might seep under the stencil, and it helps the paint stay only where it’s supposed to!
What other questions do you have about making your own stencils with Cricut? Leave me a comment below!
If you want to see more Cricut tutorials that can help with crafting projects, join me inside my Freebie Vault and check out my Cricut help posts here!
I hope this tutorial has given you everything you need to know about cutting Cricut stencils at home!
About Abbi Kirsten
Welcome to my colorful corner of the internet, where we play with vibrant crafts and unlock your creative magic! Hang out with me and get lost in a fun array of projects, tutorials, and products, from stunning papercraft ideas to flower templates, Cricut help for beginners, and endless crafter’s hacks.
To access all the magic, join the Member Vault and participate in my monthly Craft-Alongs in my Facebook group!