Paper Dahlia Tutorial: How to Make Giant Paper Dahlias
This post may contain affiliate links that won’t change your price but will share some commission.
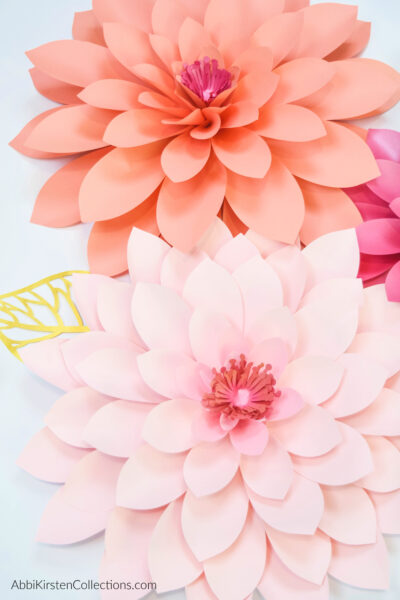
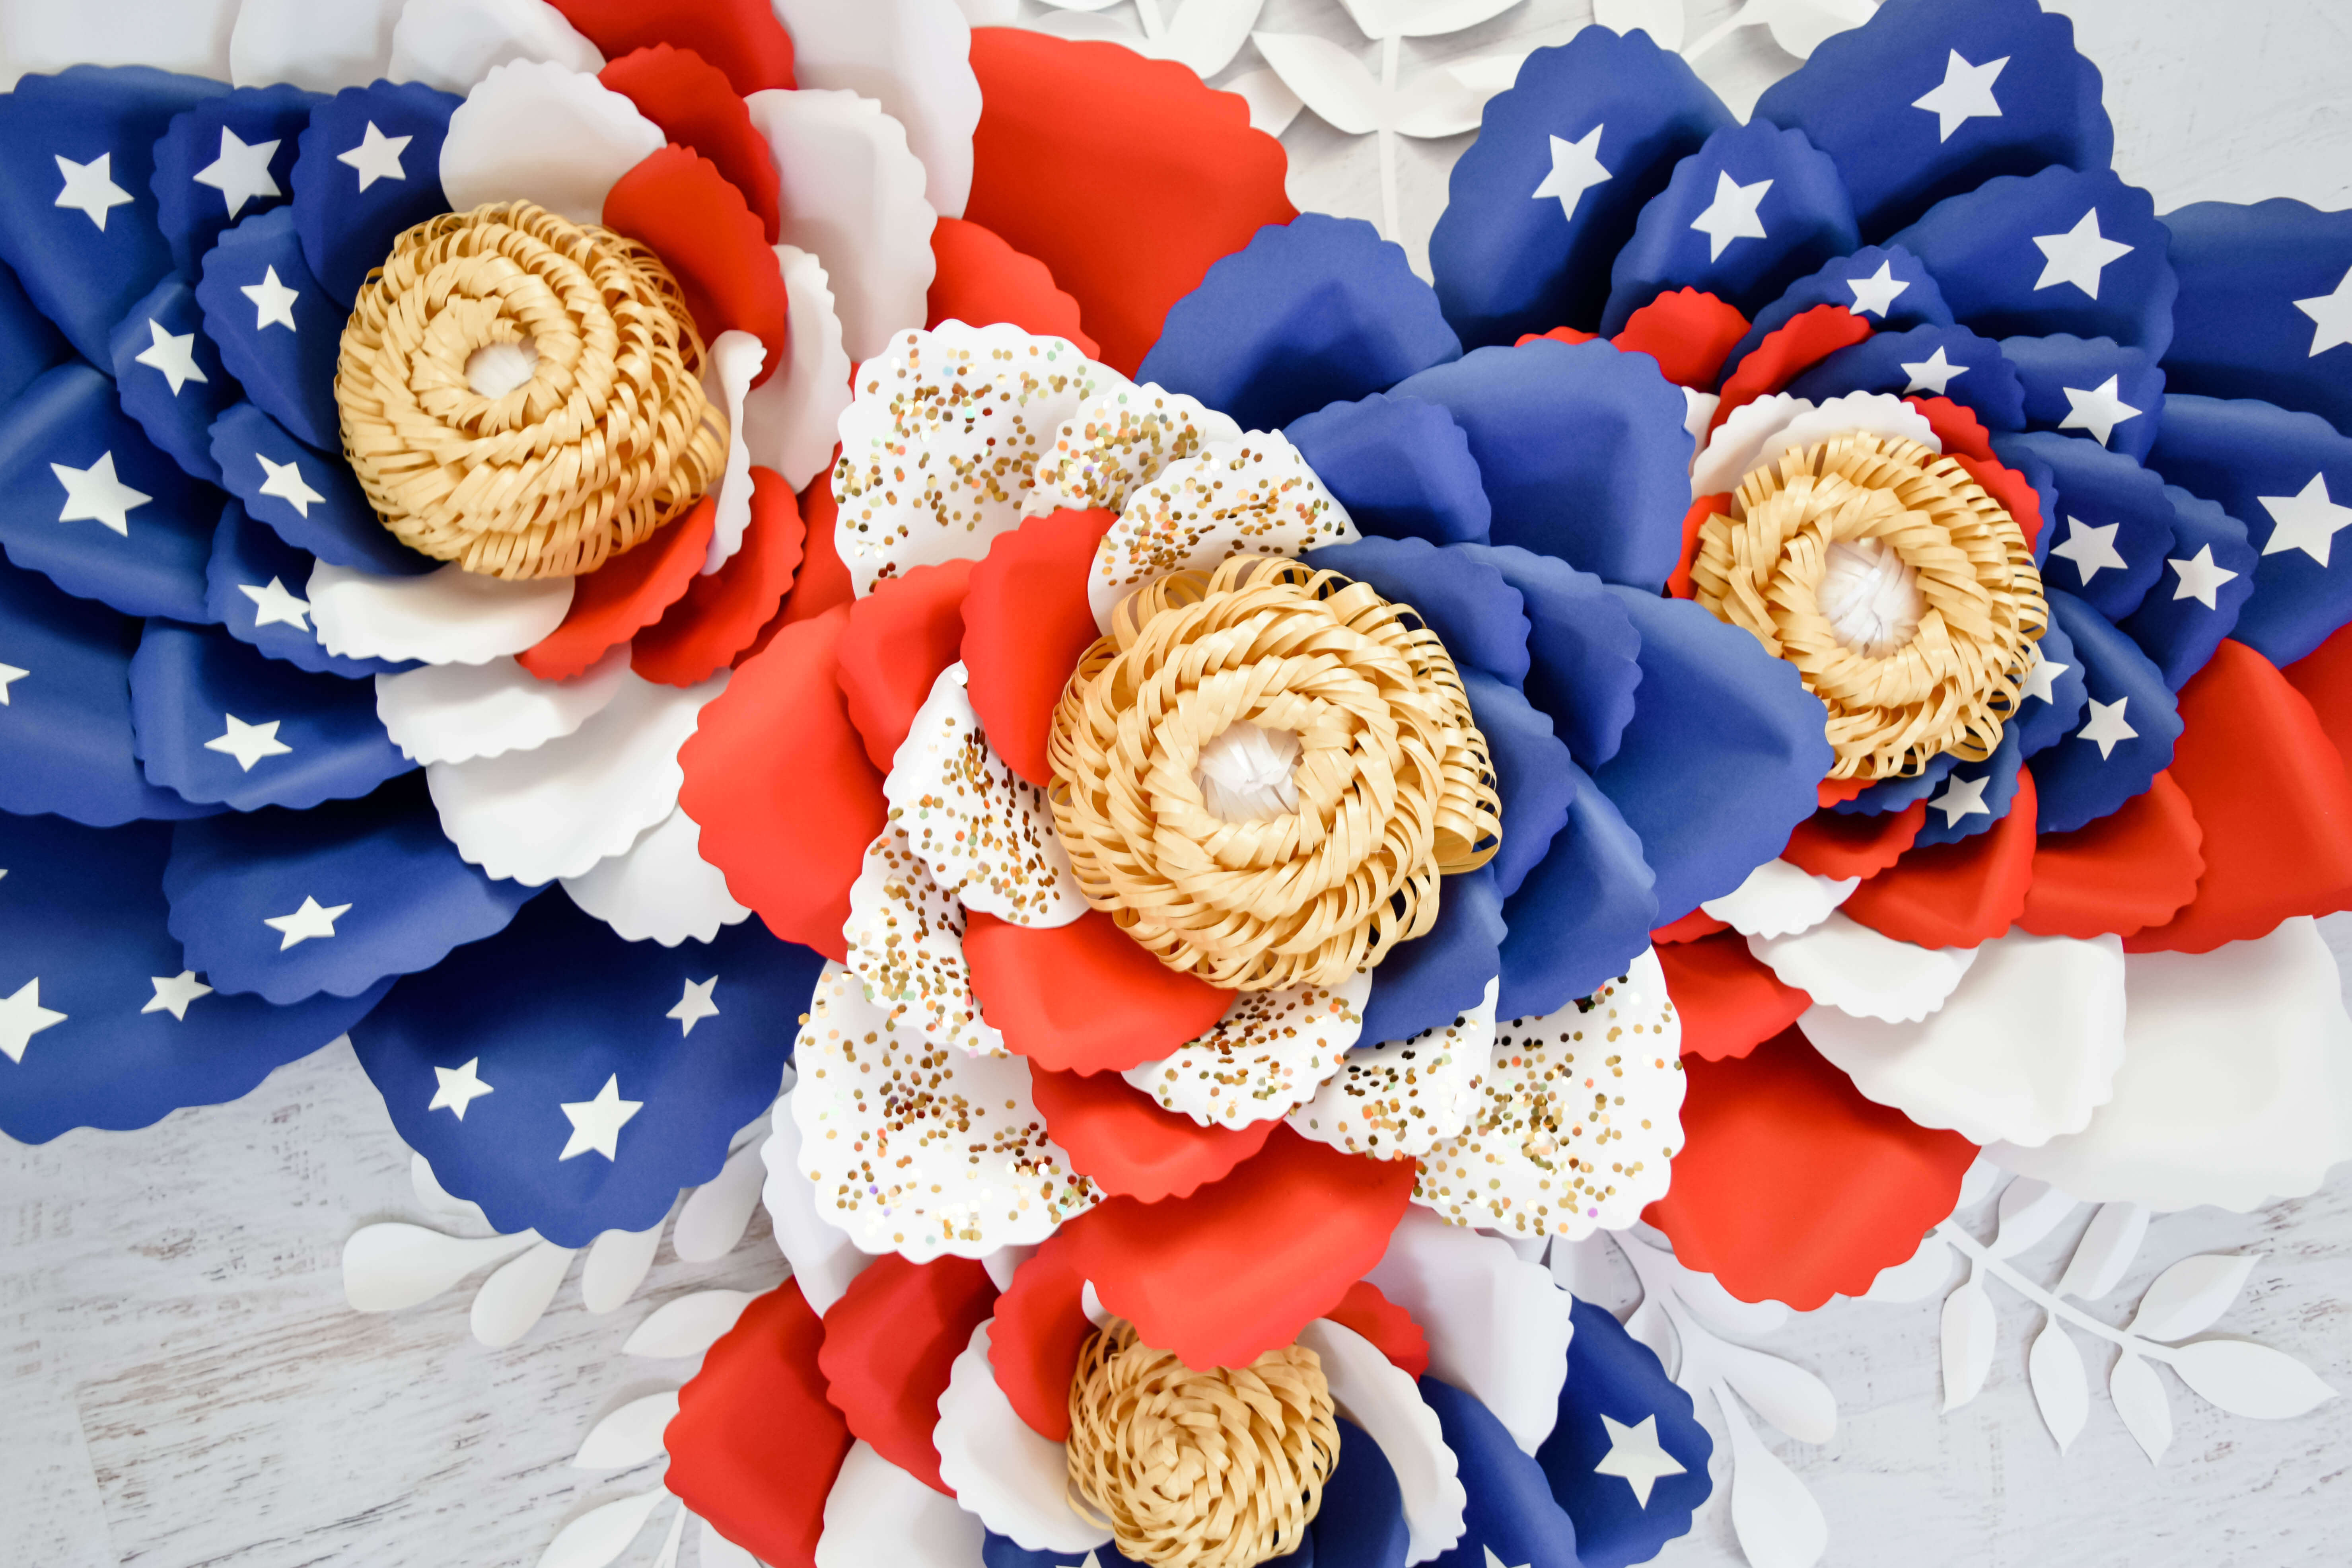
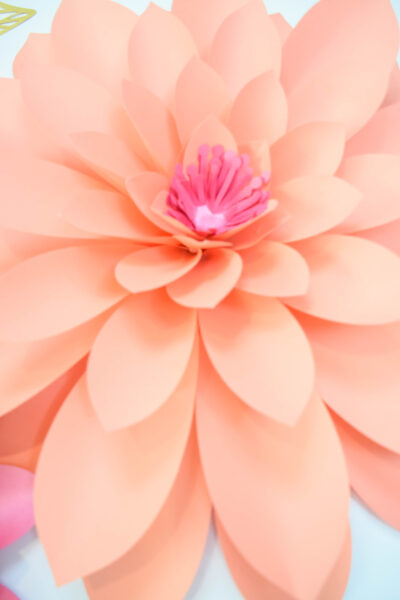
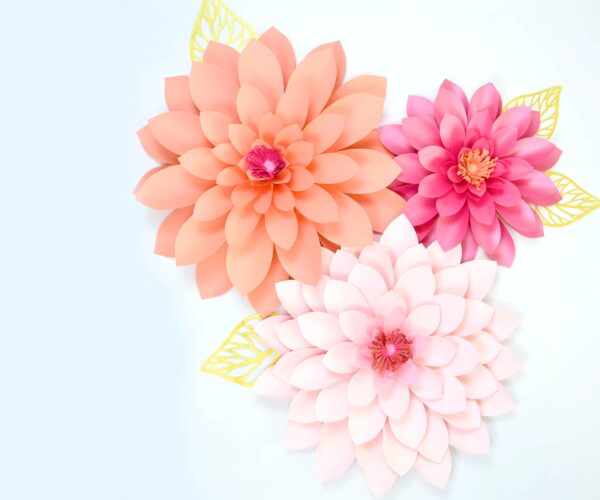
Dahlias are such cheerful flowers! Bright and colorful, they’re a favorite sign of summer in any garden. With this paper dahlia tutorial, you aren’t limited to the garden. I’ll show you how to make giant paper dahlias that you can enjoy all year round!
These are the perfect decoration for any gathering—inexpensive and easy to make, these giant paper dahlias are truly eye-catching. Because the sky’s the limit, when it comes to colors, you can have fun with matching a DIY paper dahlia to any décor.
Paper dahlias are perfect for:
- Baby’s room or a little girl’s bedroom.
- Weddings and bridal showers.
- Photoshoot props.
- Decorations for your home office or craft studio.
- Summer party décor.
- Classroom and bulletin board décor for teachers.
Supplies for an Emma-Style Giant Paper Dahlia
In this tutorial, we’re going to make Emma-style giant paper dahlias. To make these beautiful DIY paper dahlias, you’ll want to gather all your supplies first.
Supplies for DIY Paper Dahlias
- 50-65 pound cardstock
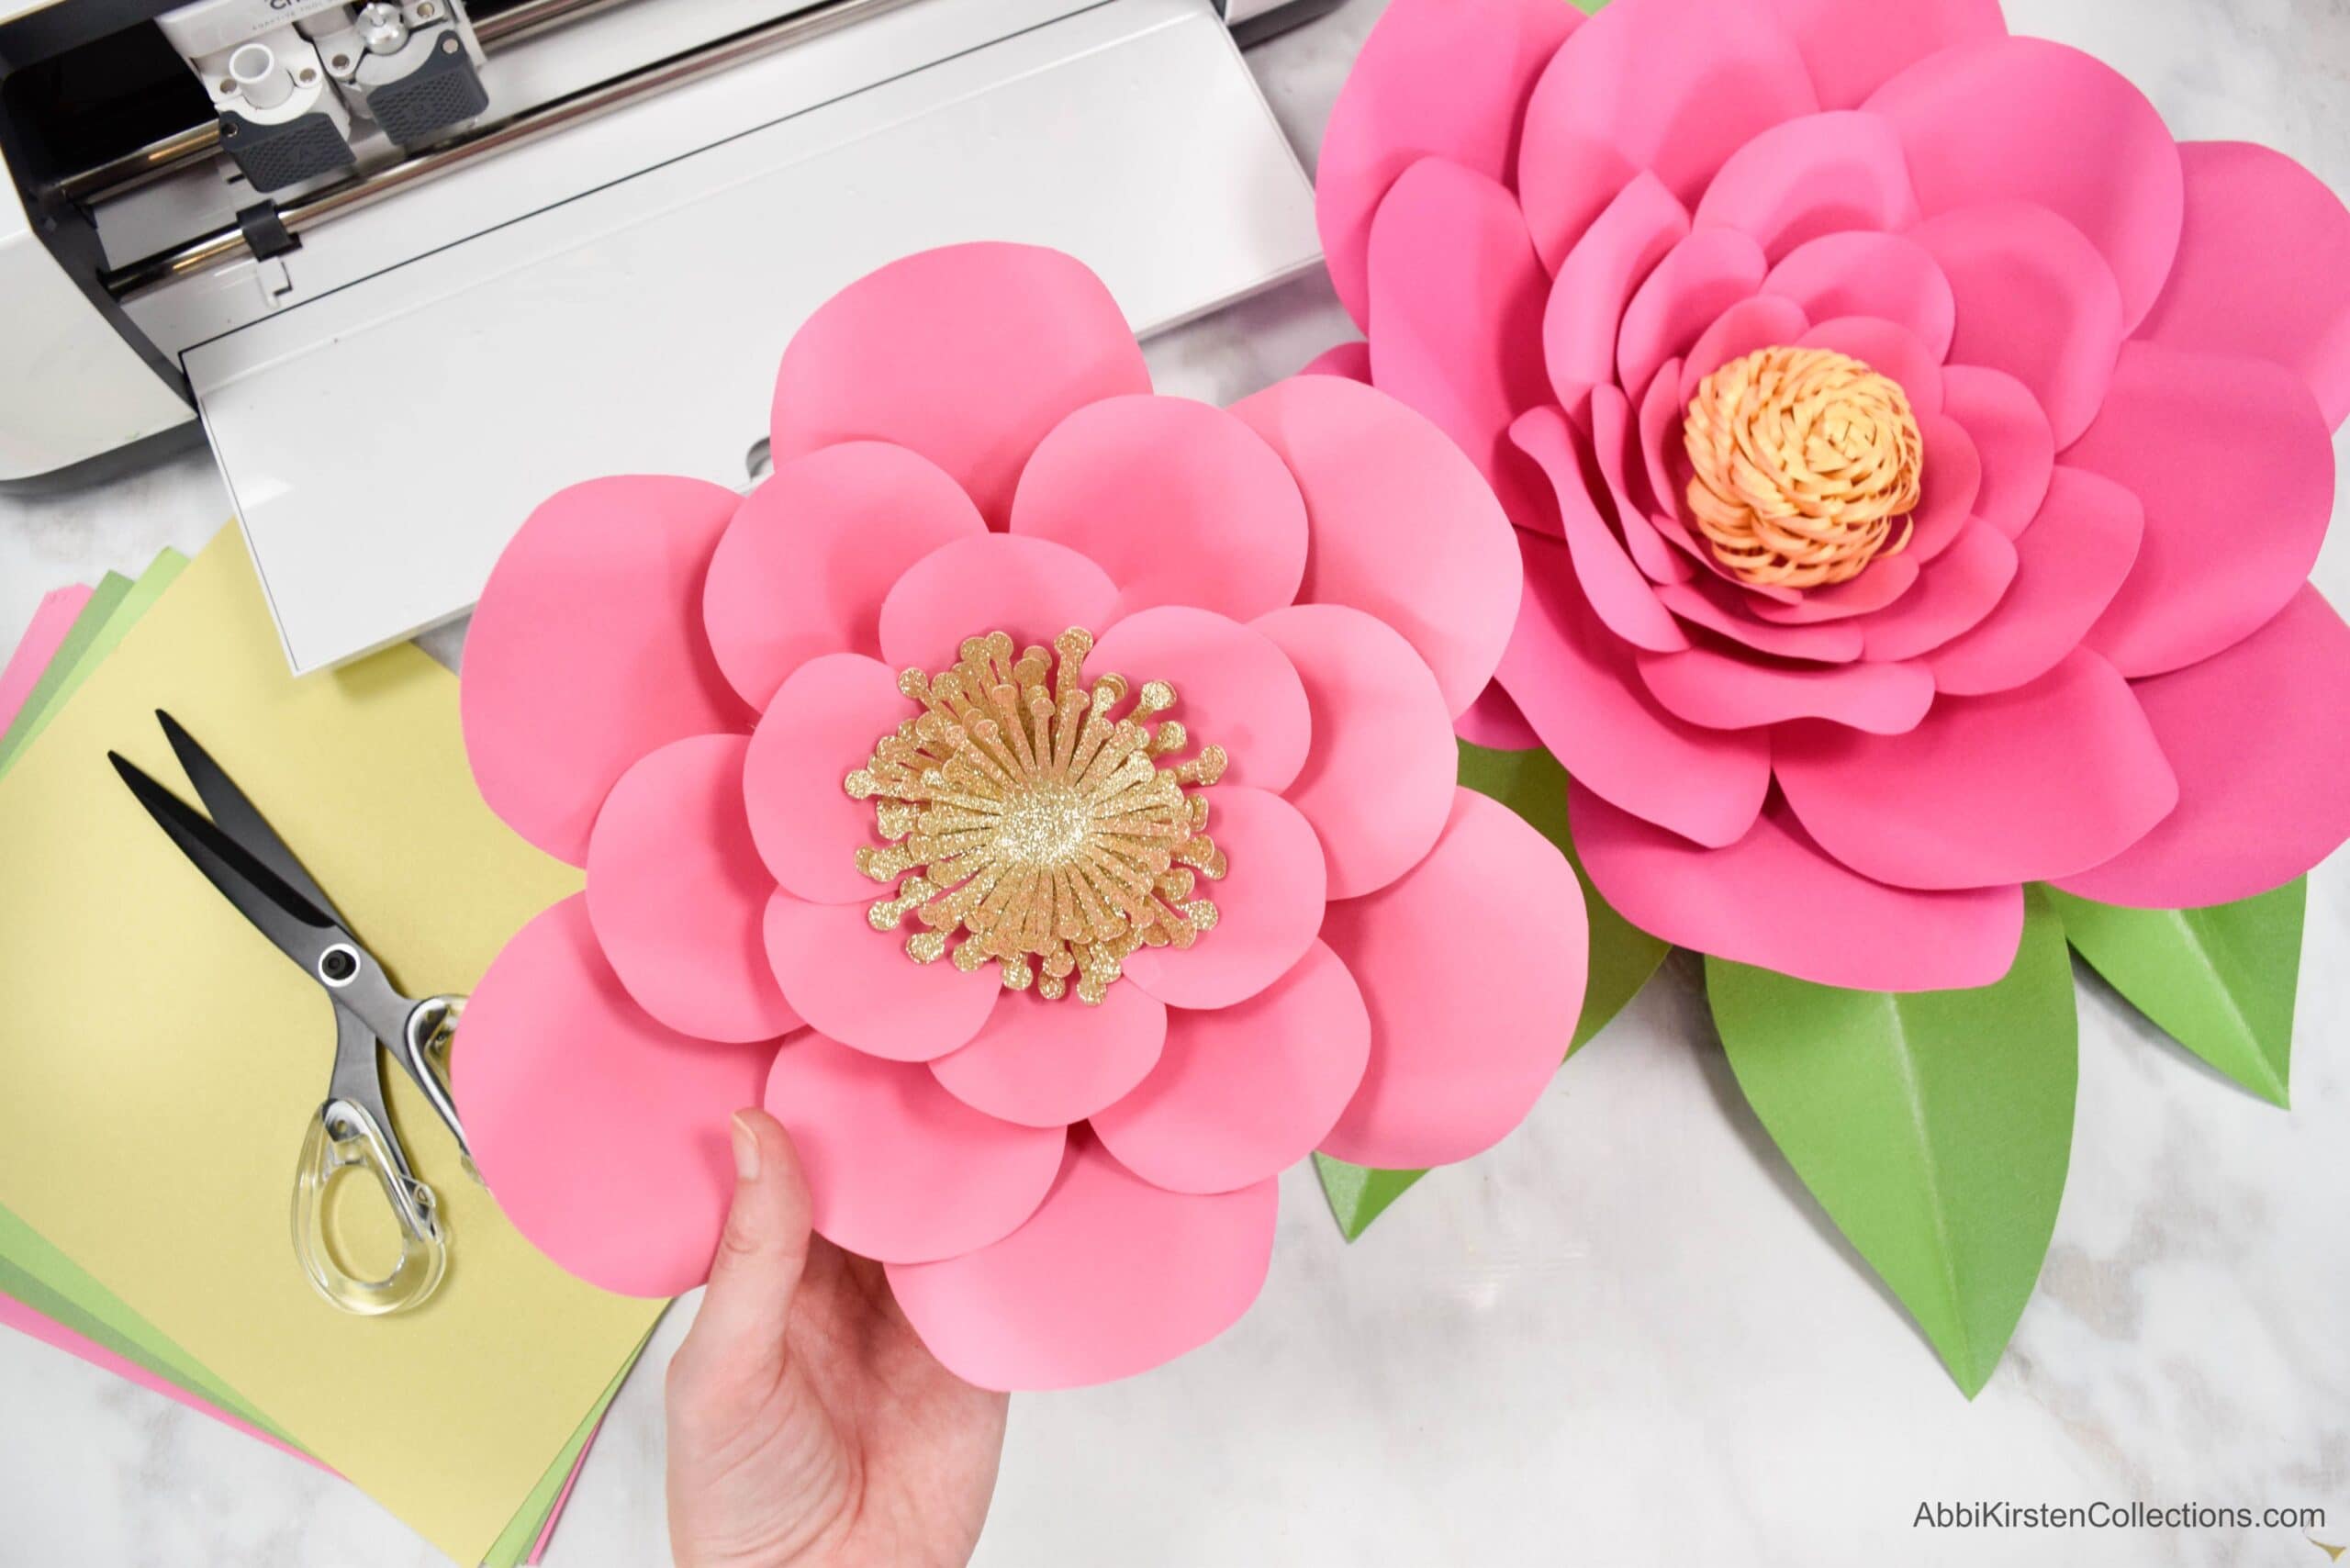
- Scissors and/or cutting machine (such as Cricut Explore Air 2 or Cricut Maker machine)
- Glue Gun
- Templates for Emma-style dahlias or join my Member Vault and access these and hundreds of other templates!
- For a go-to list of paper art supplies, check out my Make Your Own Paper Flower Supply List!
Using a Cutting Machine for Your DIY Paper Dahlias
If you’re using a Cricut or paper cutting machine, you’ll need the cutting machine measurements:
Cutting machine measurements – H X W in inches
- XL petal: 10.7 x 4.2 inches
- Large petal: 8.9 x 3.4 inches
- Medium petal: 6.4 x 2.5 inches
- Small petal: 5.5 x 2.1 inches
- Extra small petal: 3.9 x 1.6 inches
- Base: larger – 8 inches. smaller – 5.5 inches
- Center: 4.7 x 4.7 inches
- Leaves to your preference
You can also find these measurements and a detailed walk-through in my Giant Paper Dahlia tutorial on YouTube. If you’re starting with a Cricut machine, you’ll also want to check out my post on uploading SVG cut files.
Emma Giant Paper Dahlia Video Tutorial
Cutting Out Giant Paper Dahlia Pieces by Hand
No cutting machine? No problem! You can easily make these DIY giant paper dahlias by hand. Use the template and a good pair of scissors and follow the instructions the same as above. It’s a bit more work, but the flowers will turn out just as lovely.
Step 1: Cut Out Your Dahlia Petals
To make the giant paper dahlias, you’ll need to cut out the following pieces:
- XL paper dahlia petals – 26
- Large dahlia petals – 10
- Medium dahlia petals – 10
- Small dahlia petals – 8
- Extra small dahlia petals – Optional—as needed for downsizing
- 3 poppy centers
- 2 circle bases – one larger, one smaller
(If you love these, don’t miss my Giant Paper Flower Bundle and my easy-to-follow ebook, The Art of Giant Paper Flowers!)
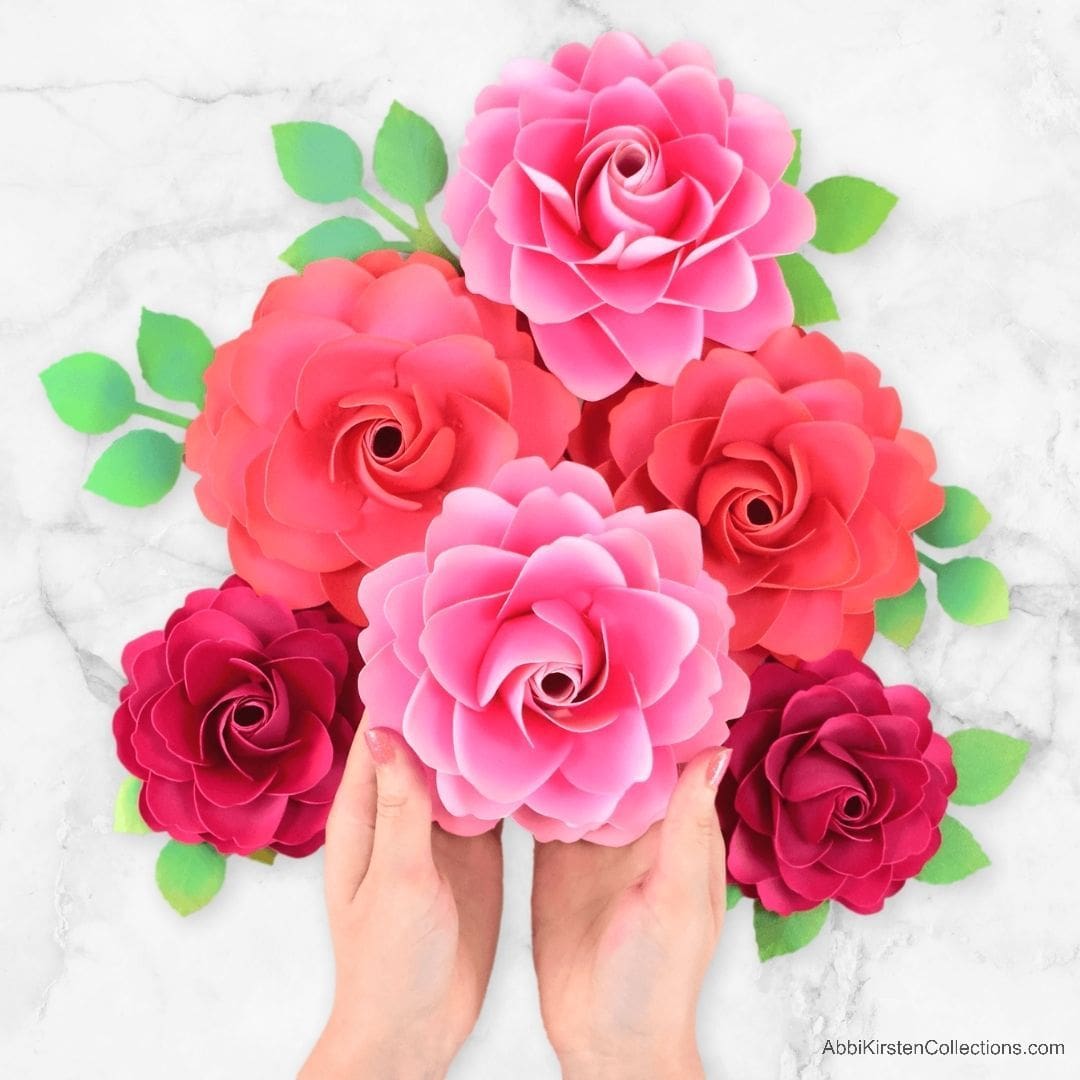
As you build out your dahlias, you might need to cut a few extra petals here and there. The template will help you make the giant paper dahlias, as well as large, medium, and smaller-sized flowers. To downsize, all you need to do is use fewer large and XL petals.
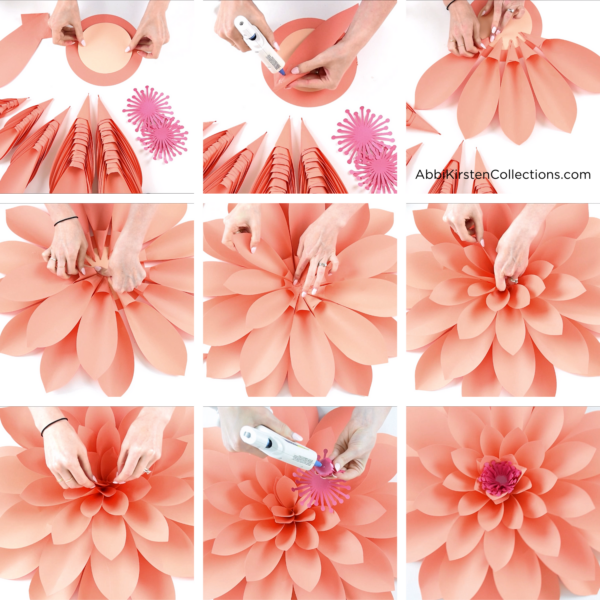
Step 2: Assemble the Giant Paper Dahlia Petals
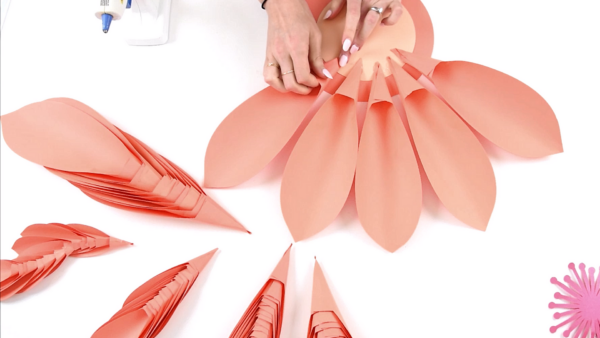
Now the fun part begins—you get to assemble your giant paper dahlia. You’ll start with the center. Glue one of the smaller circles on top of the large circle from the template. Assemble each petal into a cone shape by rolling one side of the tab over the other. (If you need help, don’t miss my giant paper dahlia tutorial on YouTube.)
Rolling the petals may take some time, but I find it’s very relaxing. Once you’ve folded all your petals into the cone shape, you’re ready to begin gluing them in place.
Step 3: Glue the Dahlia Petals in Place
Follow the circle in the center. Add glue to each petal’s back, and then follow the small circle as a guide to ensure the even placement of the petals. You’ll move and work in a circle. The petals should be barely touching each other (not overlapping or spread too far apart). Create your first outer row.
Once you’ve gone entirely around the circle, you’ll add another row of XL petals about ¾ of an inch deeper into the flower center. Again, work in a circle, aiming to get the next row of petals in the center of each of the outer petal rows (it doesn’t need to be perfect).
When you’ve created two rows of outer petals, you’ll add the large petals to your paper dahlia. Again, aim to alternate the petals in between the previous row of XL petals. When you have a circle of large petals complete, you’ll then move on to the medium and finally the small.
Keep in mind that you may not end up needing the exact number of petals you cut. It depends on how tightly you rolled the cones and whatever looks best to you. The petals don’t need to be perfectly staggered either. Don’t crowd them; just play around with them to create a look you’re happy with.
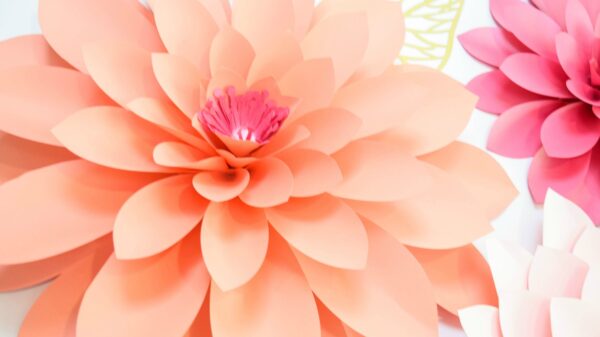
Step 4: Creating the Center of Your Giant Paper Dahlia
Once you’ve placed the small dahlia petals in the final center row, you may notice that the center bud of the flower is getting quite tight.
If the center is still open, you can add the extra small petals to fill in the center. In the center, the petals will be standing almost straight up. You may want to use a dowel to get a good fit in the center of the flower.
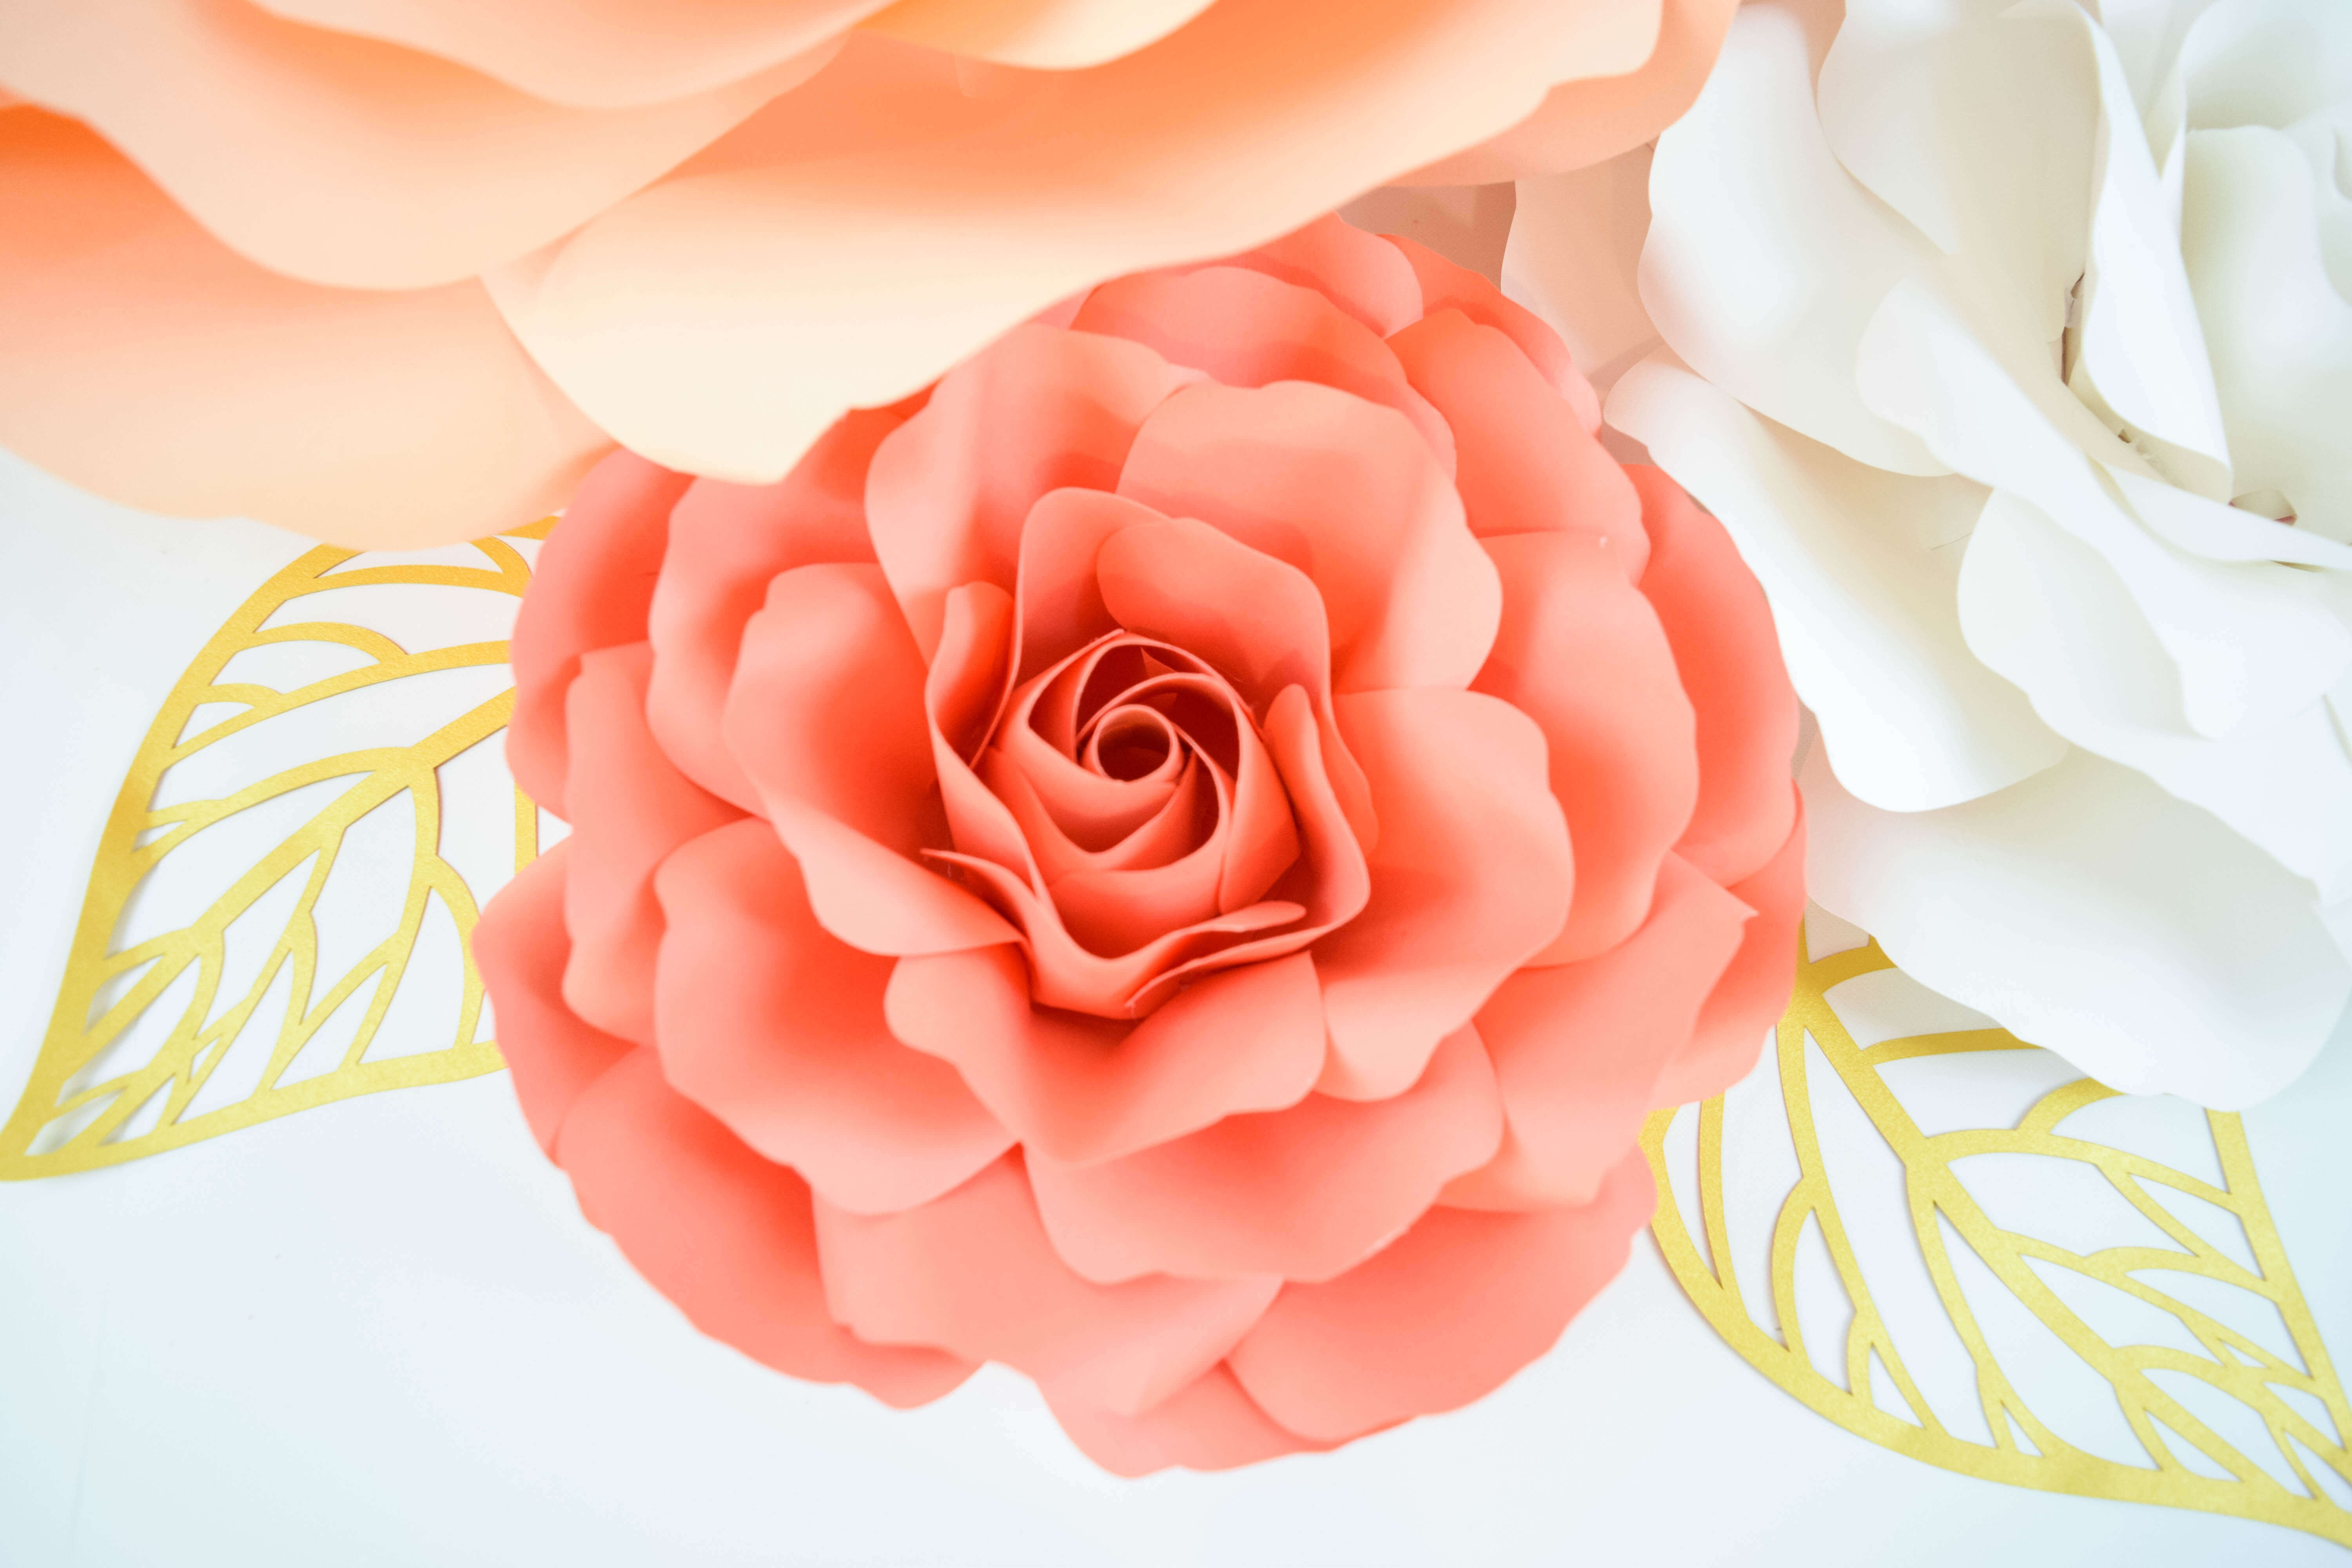
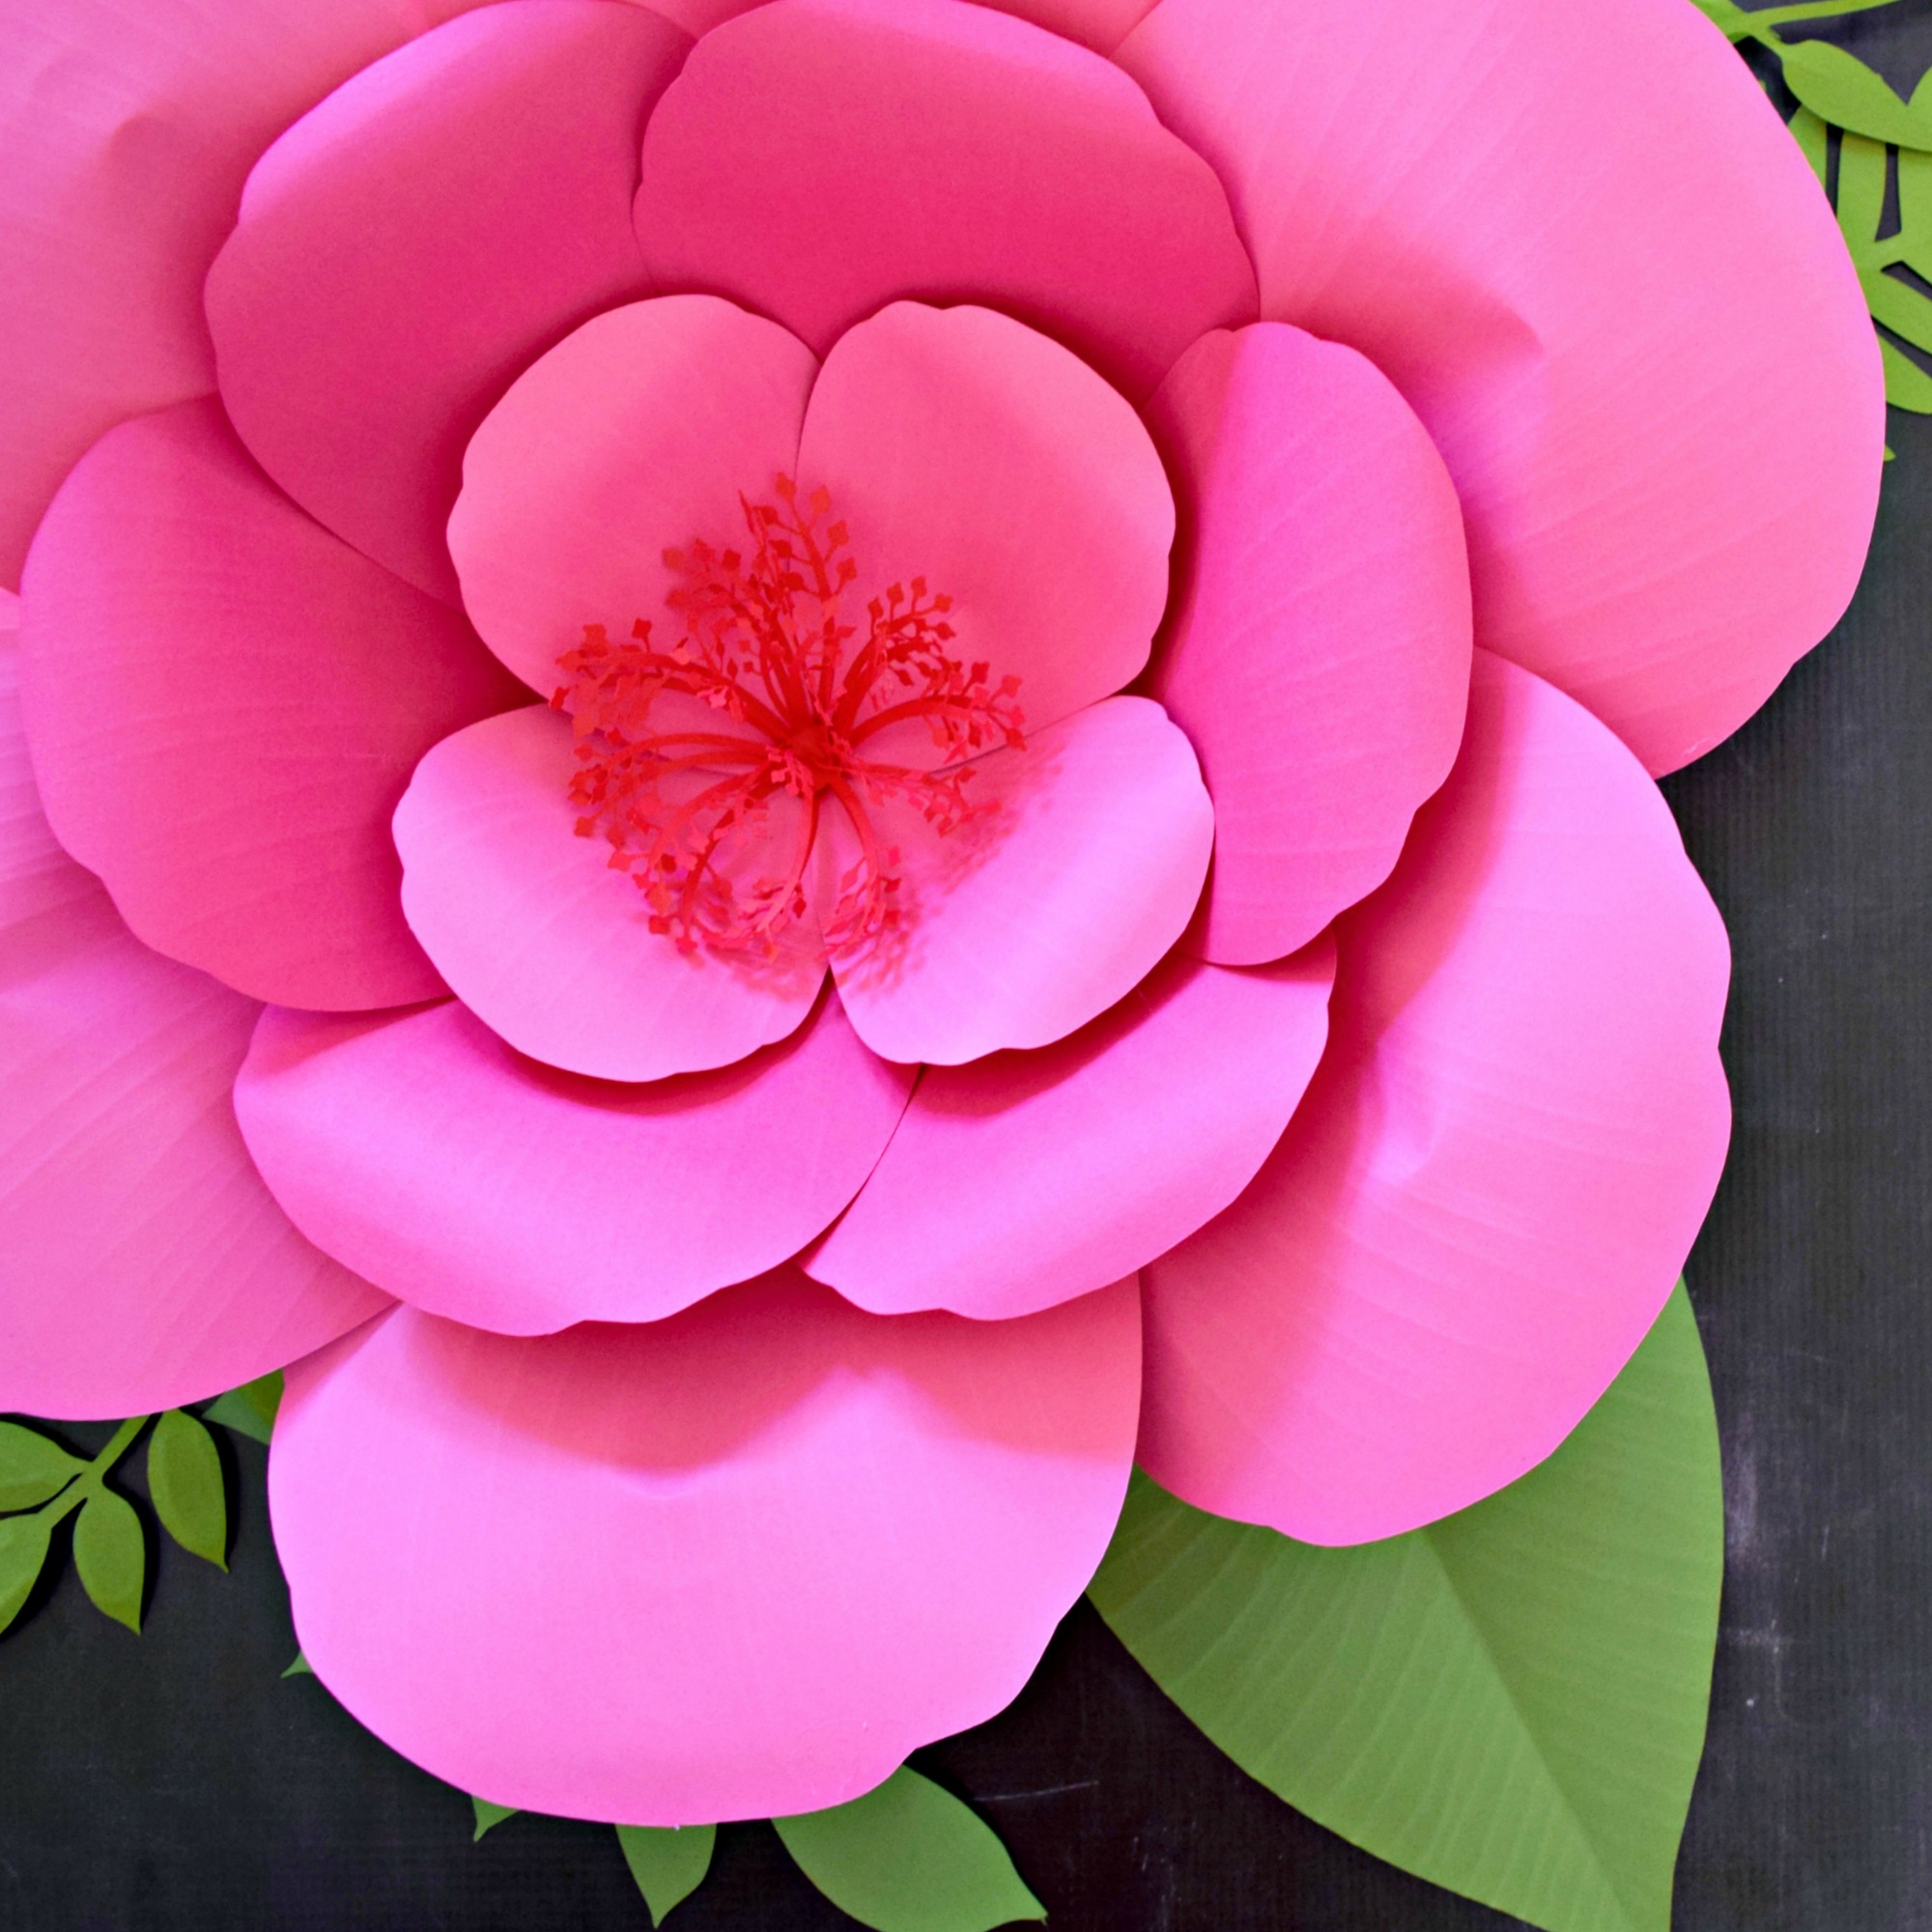
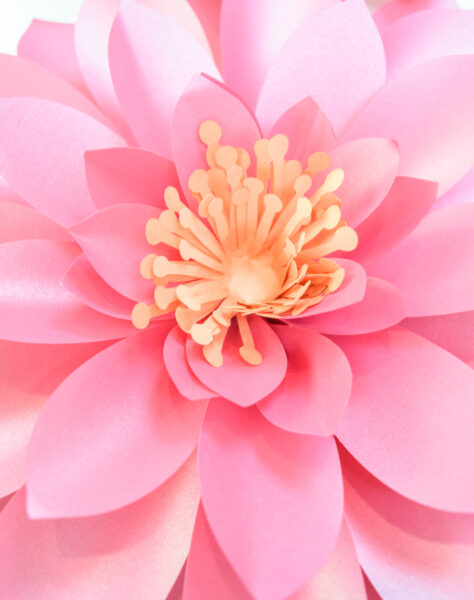
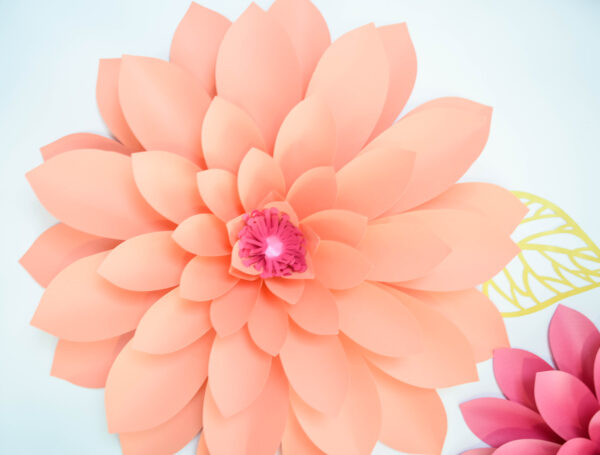
In the template, there are poppy centers that look quite pretty in a contrasting color to form the center stamen of the giant paper dahlia. If you choose to include the center, fold up the stamens of the poppy center to mimic the center of a dahlia.
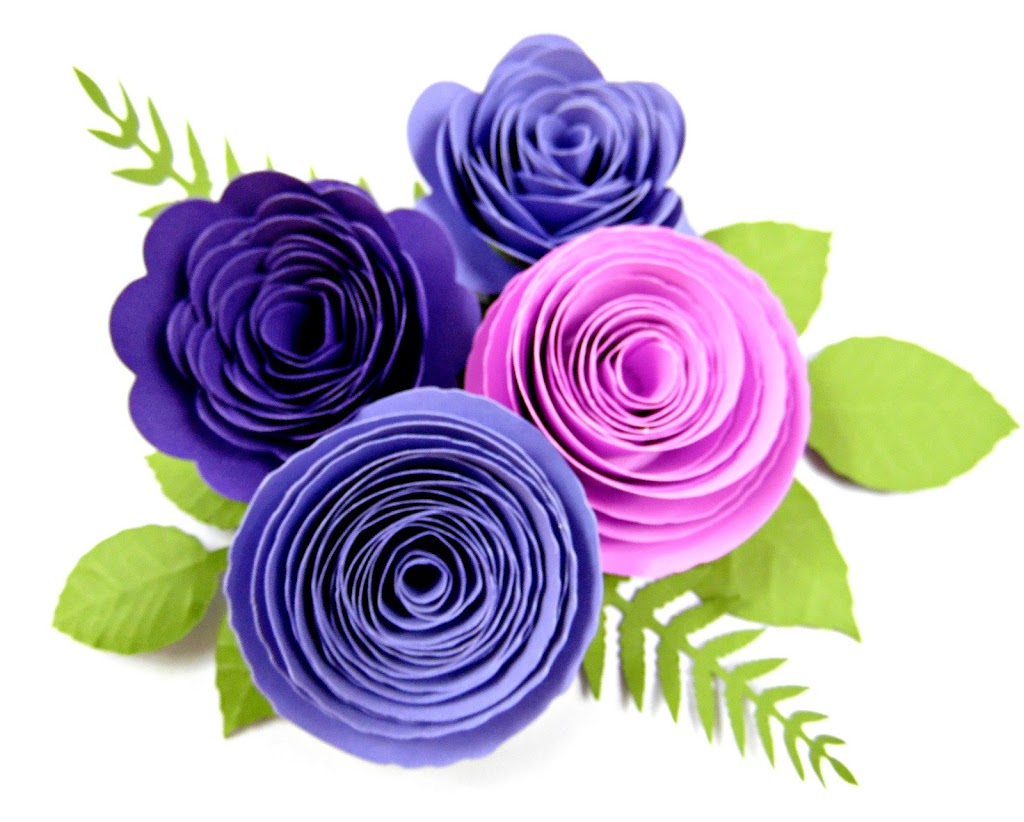
The final paper flower will be about 24 inches. These are one of our largest flower templates. It’s fun because it’s so versatile, and you can downsize it to complement a paper flower bouquet. These flowers look so great on the wall, as a table centerpiece, or hanging as a photo backdrop. I encourage you to experiment to find a look you love.
If you’d like to review the full DIY giant paper dahlia tutorial, I’ve included a link to the video below. Please let me know in the comments if you have any questions about making these stunning blooms.

Giant Paper Dahlia Flower (Emma Dahlia)
Want to learn how to make a giant paper dahlia flower? These Emma-style dahlias are easy to make in a few steps and are perfect for colorful Spring decor.
Materials
Instructions
Step 1: Cut Out Your Dahlia Petals
To make the giant paper dahlias, you’ll need to cut out the following pieces:
- XL paper dahlia petals – 26
- Large dahlia petals – 10
- Medium dahlia petals – 10
- Small dahlia petals – 8
- Extra small dahlia petals – Optional—as needed for downsizing
- 3 poppy centers
- 2 circle bases – one larger, one smaller
Step 2: Assemble The Giant Paper Dahlia Petals
- Start with the center. Glue one of the smaller circles on top of the large circle from the template.
- Assemble each petal into a cone shape by rolling one side of the tab over the other.
Step 3: Glue The Dahlia Petals In Place
- Follow the circle in the center.
- Add glue to each petal’s back, and then follow the small circle as a guide to ensure the even placement of the petals. You’ll move and work in a circle.
- Once you’ve gone entirely around the circle, you’ll add another row of XL petals about ¾ of an inch deeper into the flower center.
- When you’ve created two rows of outer petals, you’ll add the large petals to your paper dahlia.
Step 4: Creating The Center Of Your Giant Paper Dahlia
- If the center is still open, you can add the extra small petals to fill in the center.
- If you choose to include the poppy center, fold up the stamens of the poppy center to mimic the center of a dahlia.
About Abbi Kirsten
Welcome to my colorful corner of the internet, where we play with vibrant crafts and unlock your creative magic! Hang out with me and get lost in a fun array of projects, tutorials, and products, from stunning papercraft ideas to flower templates, Cricut help for beginners, and endless crafter’s hacks.
To access all the magic, join the Member Vault and participate in my monthly Craft-Alongs in my Facebook group!