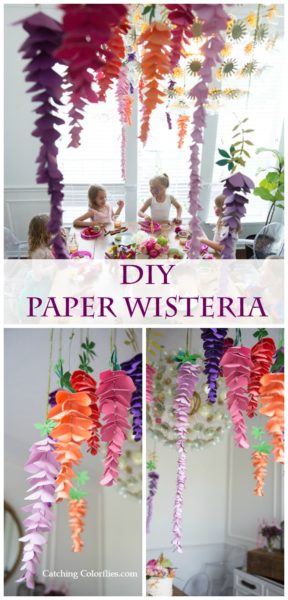
Hanging Paper Wisteria – DIY Paper Wisteria Flower Tutorial
This post may contain affiliate links that won’t change your price but will share some commission.
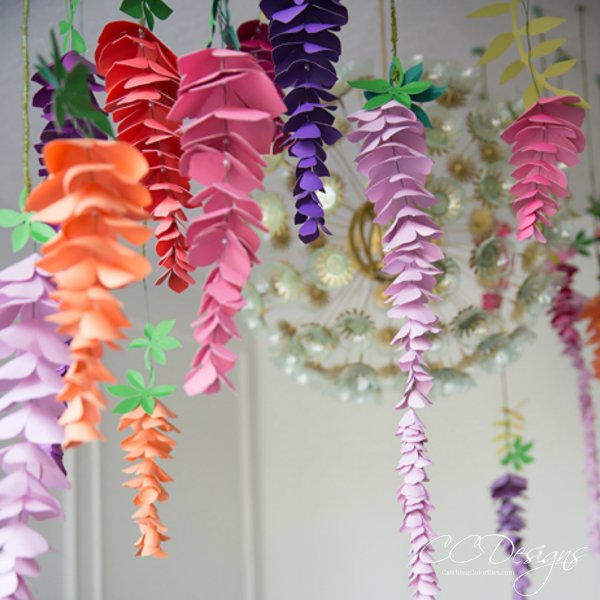
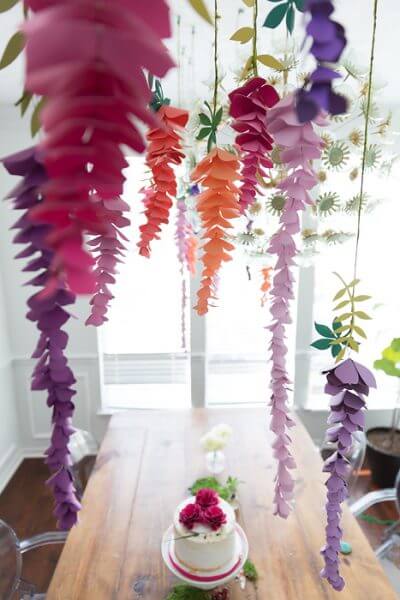
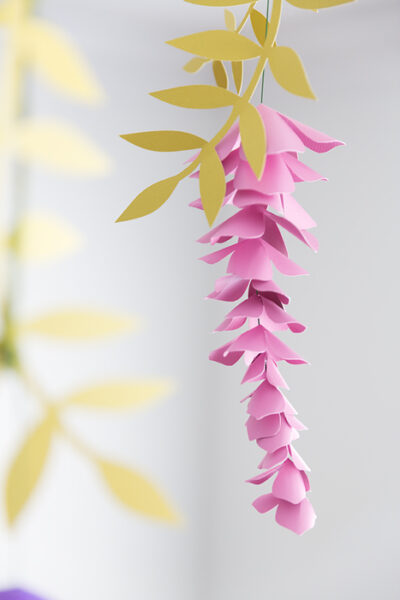
I’m pretty much on a mission to create any flower that exists in nature into a stylish paper flower! Back in 2014, I created these beautiful original hanging wisteria flowers. I decided to make some updates since literally hundreds of thousands of you have fallen in love with my paper wisteria tutorial!
If you spend more than five minutes on my blog, it’s no secret that I love paper flowers, and I am designing new ones all the time! So if there is another DIY paper flower tutorial you want to see, let me know in the comments or check out all my tutorials here!
The paper wisteria tutorial is easy enough for beginners and experienced crafters. I’ve had tons of crafters cut by hand with just a pair of scissors, but if you own a Cricut cutting machine, that will make the job even more effortless and faster! Are you wondering if a Cricut is right for you? I can help with that here!
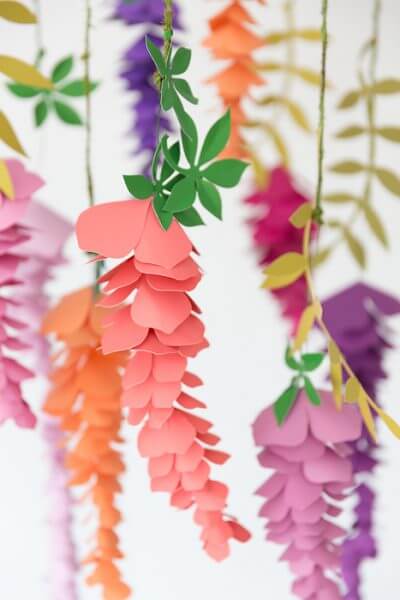
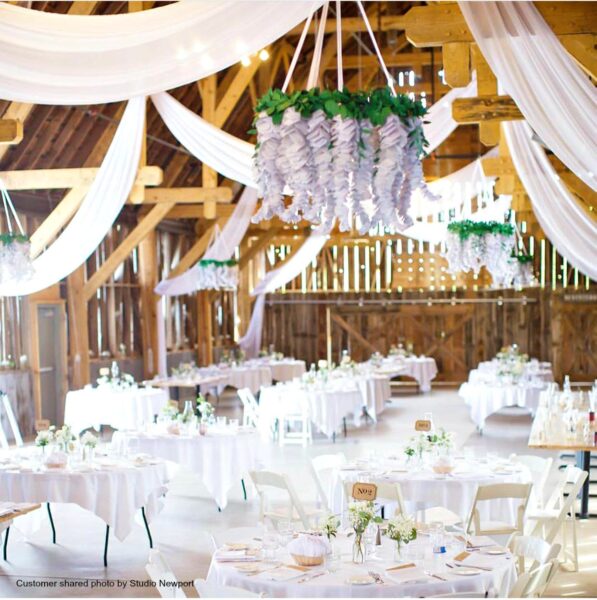
Wisteria is my second favorite flower next to roses. Whether natural or paper, it certainly makes a statement anywhere. This paper wisteria craft project is versatile, from weddings to showers, nursery decor, or a fairy birthday party! Over the years, so many of my crafty besties have made these hanging wisteria flowers and shared their gorgeous photos with me – which I will share with you in the post.
I had one of my sweet customers share her stunning photos from her daughter’s fairy party! And I’m in love! Click here to see more of the fairy party pictures!
To get started making paper wisteria, you will need the following supplies.
Supplies for Paper Wisteria Craft
- Glue Gun
- 65-pound cardstock (I like to use shades of purples, deep pinks, or white, but any color is welcome!)
- Scissors
- Cricut Maker or Explore machine (any model will work as long as it works with Design Space. You can even use the Cricut Joy machine for paper flowers!)
- 18-gauge floral wire
- Small pearl beads – 8mm is what I use but 12mm also works.
- Paper Blooms shaping mat and toolset. Optional but handy!
- Paper wisteria templates here
Paper Wisteria Tutorial – Video
I’ve made a complete step-by-step paper wisteria video tutorial below for you. It will probably surprise you, in that it is easier to make than you might think. Keep reading for a picture tutorial at a glance. If you love this paper wisteria tutorial, then you need my Joy of Paper Flowers ebook that is packed full of more paper flowers just like this, including paper roses, lilies, daisies, and arrangements!
Everyone’s petal count with the wisteria is going to vary slightly based on how closely you glue your beads together and how long you wish your wisteria to be.
There are five-petal sizes included, and if you are using a cutting machine, you could create even more variation, size-wise. For my wisteria in this tutorial, I used the following number of petals.
- Extra-large: 6
- Large: 4
- Medium: 5
- Small: 4
- Extra small: 4
Hanging Wisteria Flower Instructions
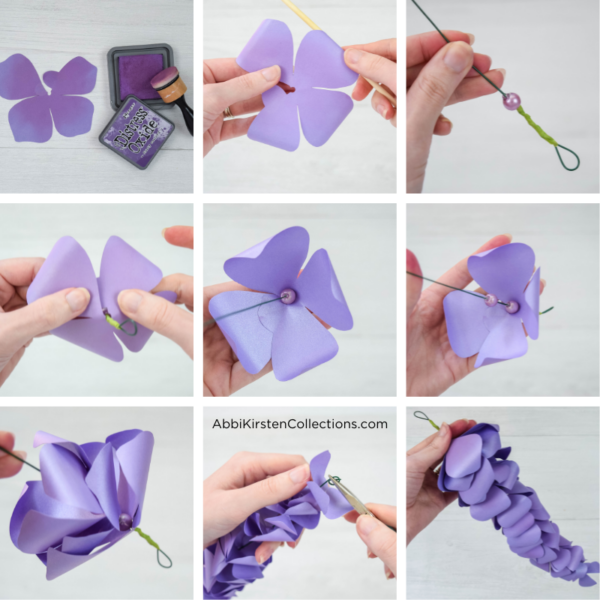
- Gather your supplies and get all your paper wisteria petals cut out and ready to go. You can use your Cricut or a pair of scissors.
- Distress the centers of your wisteria petals. You can use ink or pan pastels – this is optional.
- Using your wood dowel, curl back the wisteria petal points.
- Repeat with all the wisteria petals.
- Collect your 18-gauge wire and form a small loop at the top by twisting the wire together.
- Wrap just the top of the wire with corsage tape to make the stem cleaner.
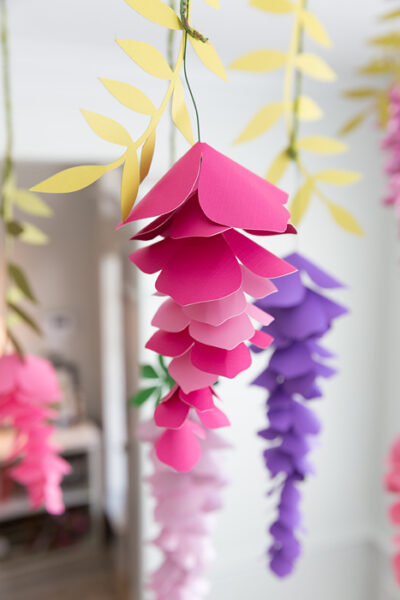
- The beads will be threaded and glued onto the wire stem to act as stoppers between the petals. String a bead up to the top of the wire stem. Secure it with a dot of glue to the underside of the bead against the wire. Wrap your first wisteria petal over the bead so that it sits on top of it.
- Your beads should be invisible once all the petals have been added.
- You will now repeat this process down the entire wire, choosing progressively smaller petals as you near the end.
- If you want your wisteria to be extra full or feel you glued a bead too far apart, and created too much extra space, just add in another wisteria petal layer in between two that already have beads are supporting them.
- To finish the paper wisteria at the bottom, form a small loop in the wire to keep the final piece from sliding off.
If you loved this hanging paper wisteria flower tutorial then you will also enjoy my hanging paper rosette fans with decorative paper florals.
Join Thousands of Crafters Inside the Abbi Kirsten Community!
Love freebies?! Me too! I have a gorgeous freebie vault you will love playing in. Create a free account by signing up via the form below to access hundreds of crafts!
Hey, Crafty bestie! I’m Abbi!

I’m thrilled you are here! I have spent the last 10+ years making messes and magic in my home studio to make the world a more colorful place, one craft at a time! I’m on a mission to nurture the creative magic inside your soul and bring that bursting imagination inside you to life with easy-to-learn tutorials. If you haven’t yet, be sure to join the subscriber community to gain access to all my freebies or visit my signature design shop, Catching Colorflies!