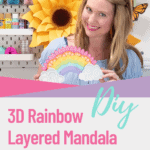
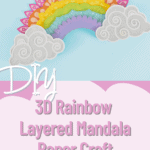
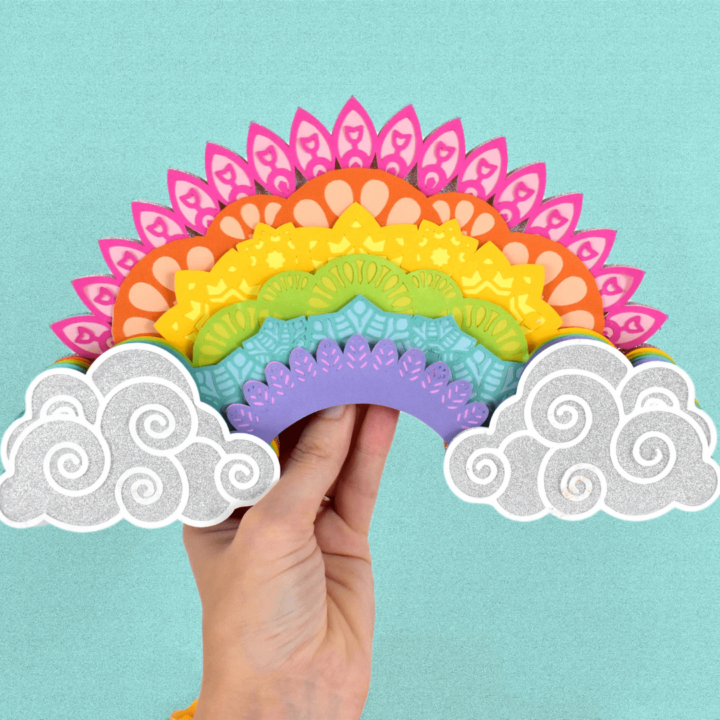
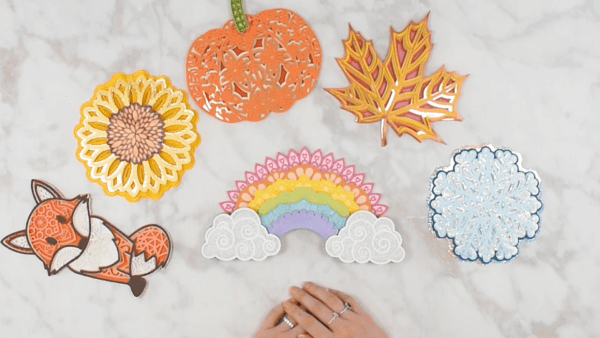
3D Rainbow Mandala Paper Craft
This post may contain affiliate links that won’t change your price but will share some commission.
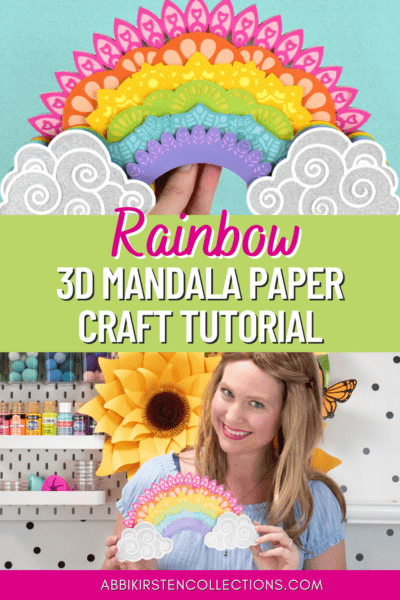
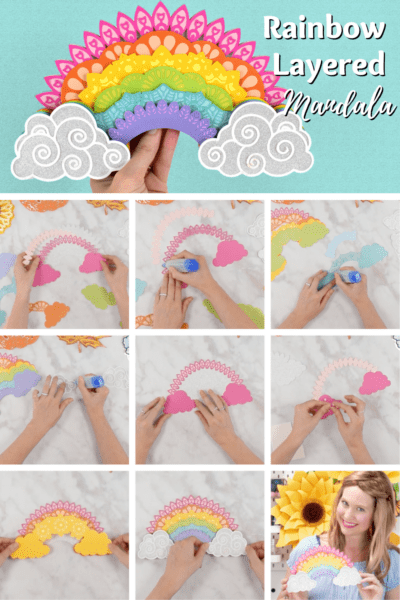
An Easy 3D Rainbow Layered Mandala Paper Craft For Beginners
Paper mandalas are a fun and very easy beginner craft for those new to the Cricut world. If this is your first time reading one of my mandala tutorials, be sure to visit my post on 3D Layered Paper Mandala Craft which can help give you a complete starter’s guide. In this tutorial, I will teach you how to layer my rainbow mandala design together.
If you are looking for more rainbow crafts, check out my Swirl Rainbow Flower Tutorial and my Ombre Rainbow Table Rainbow.

3D Rainbow Mandala Paper Craft Video Tutorial
Supplies for 3D Rainbow Mandala Craft:
Supplies for the rainbow mandala with your Cricut are very straightforward. Once you’ve gathered your supplies, click play on the video above or scroll down for a quick bullet-point instructional guide.
- Rainbow mandala template
- Cardstock in rainbow colors.
- Light grip and/or standard grip Cricut mat
- Foam tabs (both large and small)
- Cricut Maker or Cricut Explore machine
- Tombow liquid glue
3D Rainbow Mandala: Quick Guide Instructions
For full details, be sure to watch the rainbow mandala video above! Here is a quick guide with written instructions.
Step 1: Cut Out Your 3D Rainbow Mandala Pieces
Cut out your mandalas on your cutting machine. I use a Cricut, but any machine that is SVG compatible will work!
- Make sure to use the corresponding setting for your material. For example, 65-pound cardstock is considered medium weight in Design Space. Likewise, if you are using glitter cardstock or light cardstock, be sure to change your pressure accordingly in the Custom settings of Cricut Design space.
Note on Machine Settings
Note: If your cardstock is tearing, try Cardstock for Intricate Cuts setting. However, if your cardstock is not cutting all the way through, try selecting MORE pressure on the cut screen.
Step 2: Assemble Your Layers
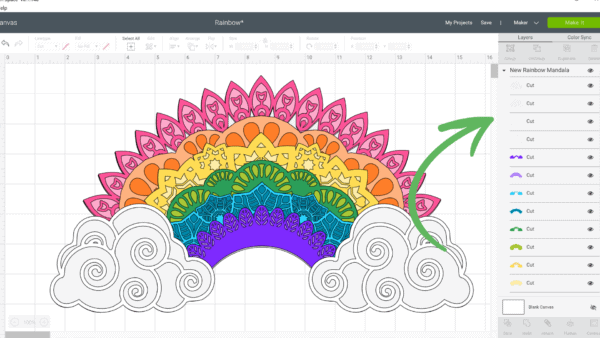
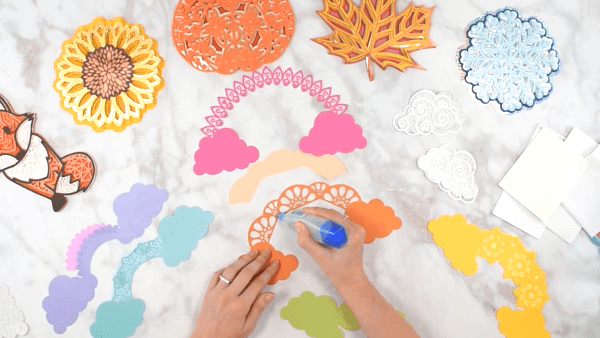
After you cut all the 3D rainbow mandala pieces, it’s time for assembly. To prep, start by laying all your parts in the correct order. If they did not cut out in the order they are meant to be layered, you can quickly check by returning to your Canvas and viewing your Layer’s Panel to the right. Starting at the bottom of the Layer’s Panel and working up will be the exact way you should assemble any mandala.
Step 3: Glue The Delicate Pieces to The Corresponding Piece
Each rainbow color has a background piece and a delicate, intricate piece. Use the Tombow glue to add the delicate piece to each corresponding background piece.
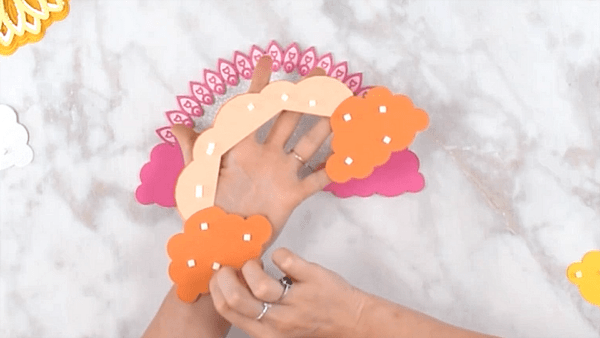
Step 4: Add The Foam Tabs
Add the foam tabs on the back of each color layer and the clouds. The foam tabs will act as spacers and create a lovely 3D effect. To remove those pesky backs of the tabs, try using a weeding tool!
Step 5: Assemble The Rainbow Layers
Layer each of the rainbow colors in sequential order, starting with the solid rainbow base layer. To line everything up, use the clouds as your guide.
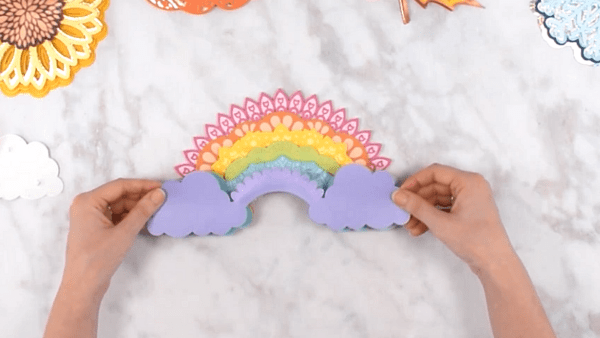
Step 6: Add The Clouds
Once you have completed layering the colors of the rainbow mandala, finish the craft by adding your cloud details, and then you are finished!
Grab the rainbow mandala in the shop, and don’t forget to check out more craft templates in the Freebie Vault!
Join 250,000+ crafters and unlock my freebie vault!
3D Rainbow Mandala Paper Craft
Learn how to make this colorful 3D rainbow mandala paper craft! This beginner-friendly tutorial walks you through how to cut and assemble the layers for this colorful mandala.
Materials
- Rainbow mandala template
- Cardstock in rainbow colors.
- Light grip and/or standard grip Cricut mat
- Foam tabs (both large and small)
- Cricut Maker or Cricut Explore machine
- Tombow liquid glue
Instructions
- Cut Out Your 3D Rainbow Mandala Pieces: I use a Cricut, but any machine that is SVG compatible will work!
- Assemble Your Layers: Start by laying all your parts in the correct order.
- Glue the Delicate Pieces to The Corresponding Piece: Each rainbow color has a background piece and a delicate, intricate piece. Use glue to add the delicate piece to each corresponding background piece.
- Add the Foam Tabs: Add the foam tabs on the back of each color layer and the clouds. The foam tabs will act as spacers and create a lovely 3D effect.
- Assemble The Rainbow Layers: Layer each of the rainbow colors in sequential order, starting with the solid rainbow base layer.
- Add The Clouds: Once you have completed layering the colors of the rainbow mandala, finish the craft by adding your cloud details, and then you are finished!
Ideas for Paper Mandalas
Mandalas have many creative and fun purposes by which to show off your creation, such as on cards, signs, in bouquets, tops of gifts, canvases, and more! Check out my canvas mandala art here as well as my seasonal wood sign.
You may also love my poinsettia mandala Christmas card tutorial!
More Crafts to Love
- Free July 4th Printable – Happy Independence Day Wall Print
- Free Printable Planner Stickers: Tropical Summer
- 9 Best Paper Flowers Crafts: Easy Papercrafts to Brighten Your Day
- The Best Free Summer SVG Files For Cricut And Silhouette Crafts
- Paper Flowers for Baby Showers: A Special Guest Post
Hey, Crafty bestie! I’m Abbi!

I’m thrilled you are here! I have spent the last 10+ years making messes and magic in my home studio to make the world a more colorful place, one craft at a time! I’m on a mission to nurture the creative magic inside your soul and bring that bursting imagination inside you to life with easy-to-learn tutorials. If you haven’t yet, be sure to join the subscriber community to gain access to all my freebies or visit my signature design shop, Catching Colorflies!