How to DIY a Paper Flower Bouquet
This post may contain affiliate links that won’t change your price but will share some commission.
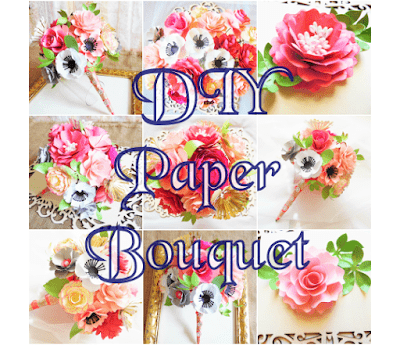
It’s finally here! Part 1 of the ‘How to build a paper flower bouquet.’
I posted last week on how to stem a paper flower and now I want to show you how to get a beautiful arrangement!
You can view all available flower templates for download here or click each flower style name listed below to be taken to that specific template.

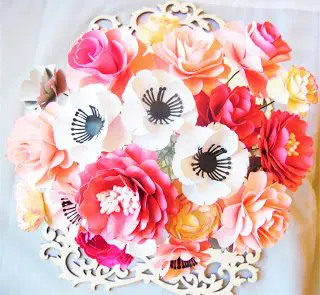
I decided to go with a soft peachy pinks, nudes and pops of black and gold for the color scheme.
Templates Used
You can also download these is a set variety here: DIY Bouquet Template Set
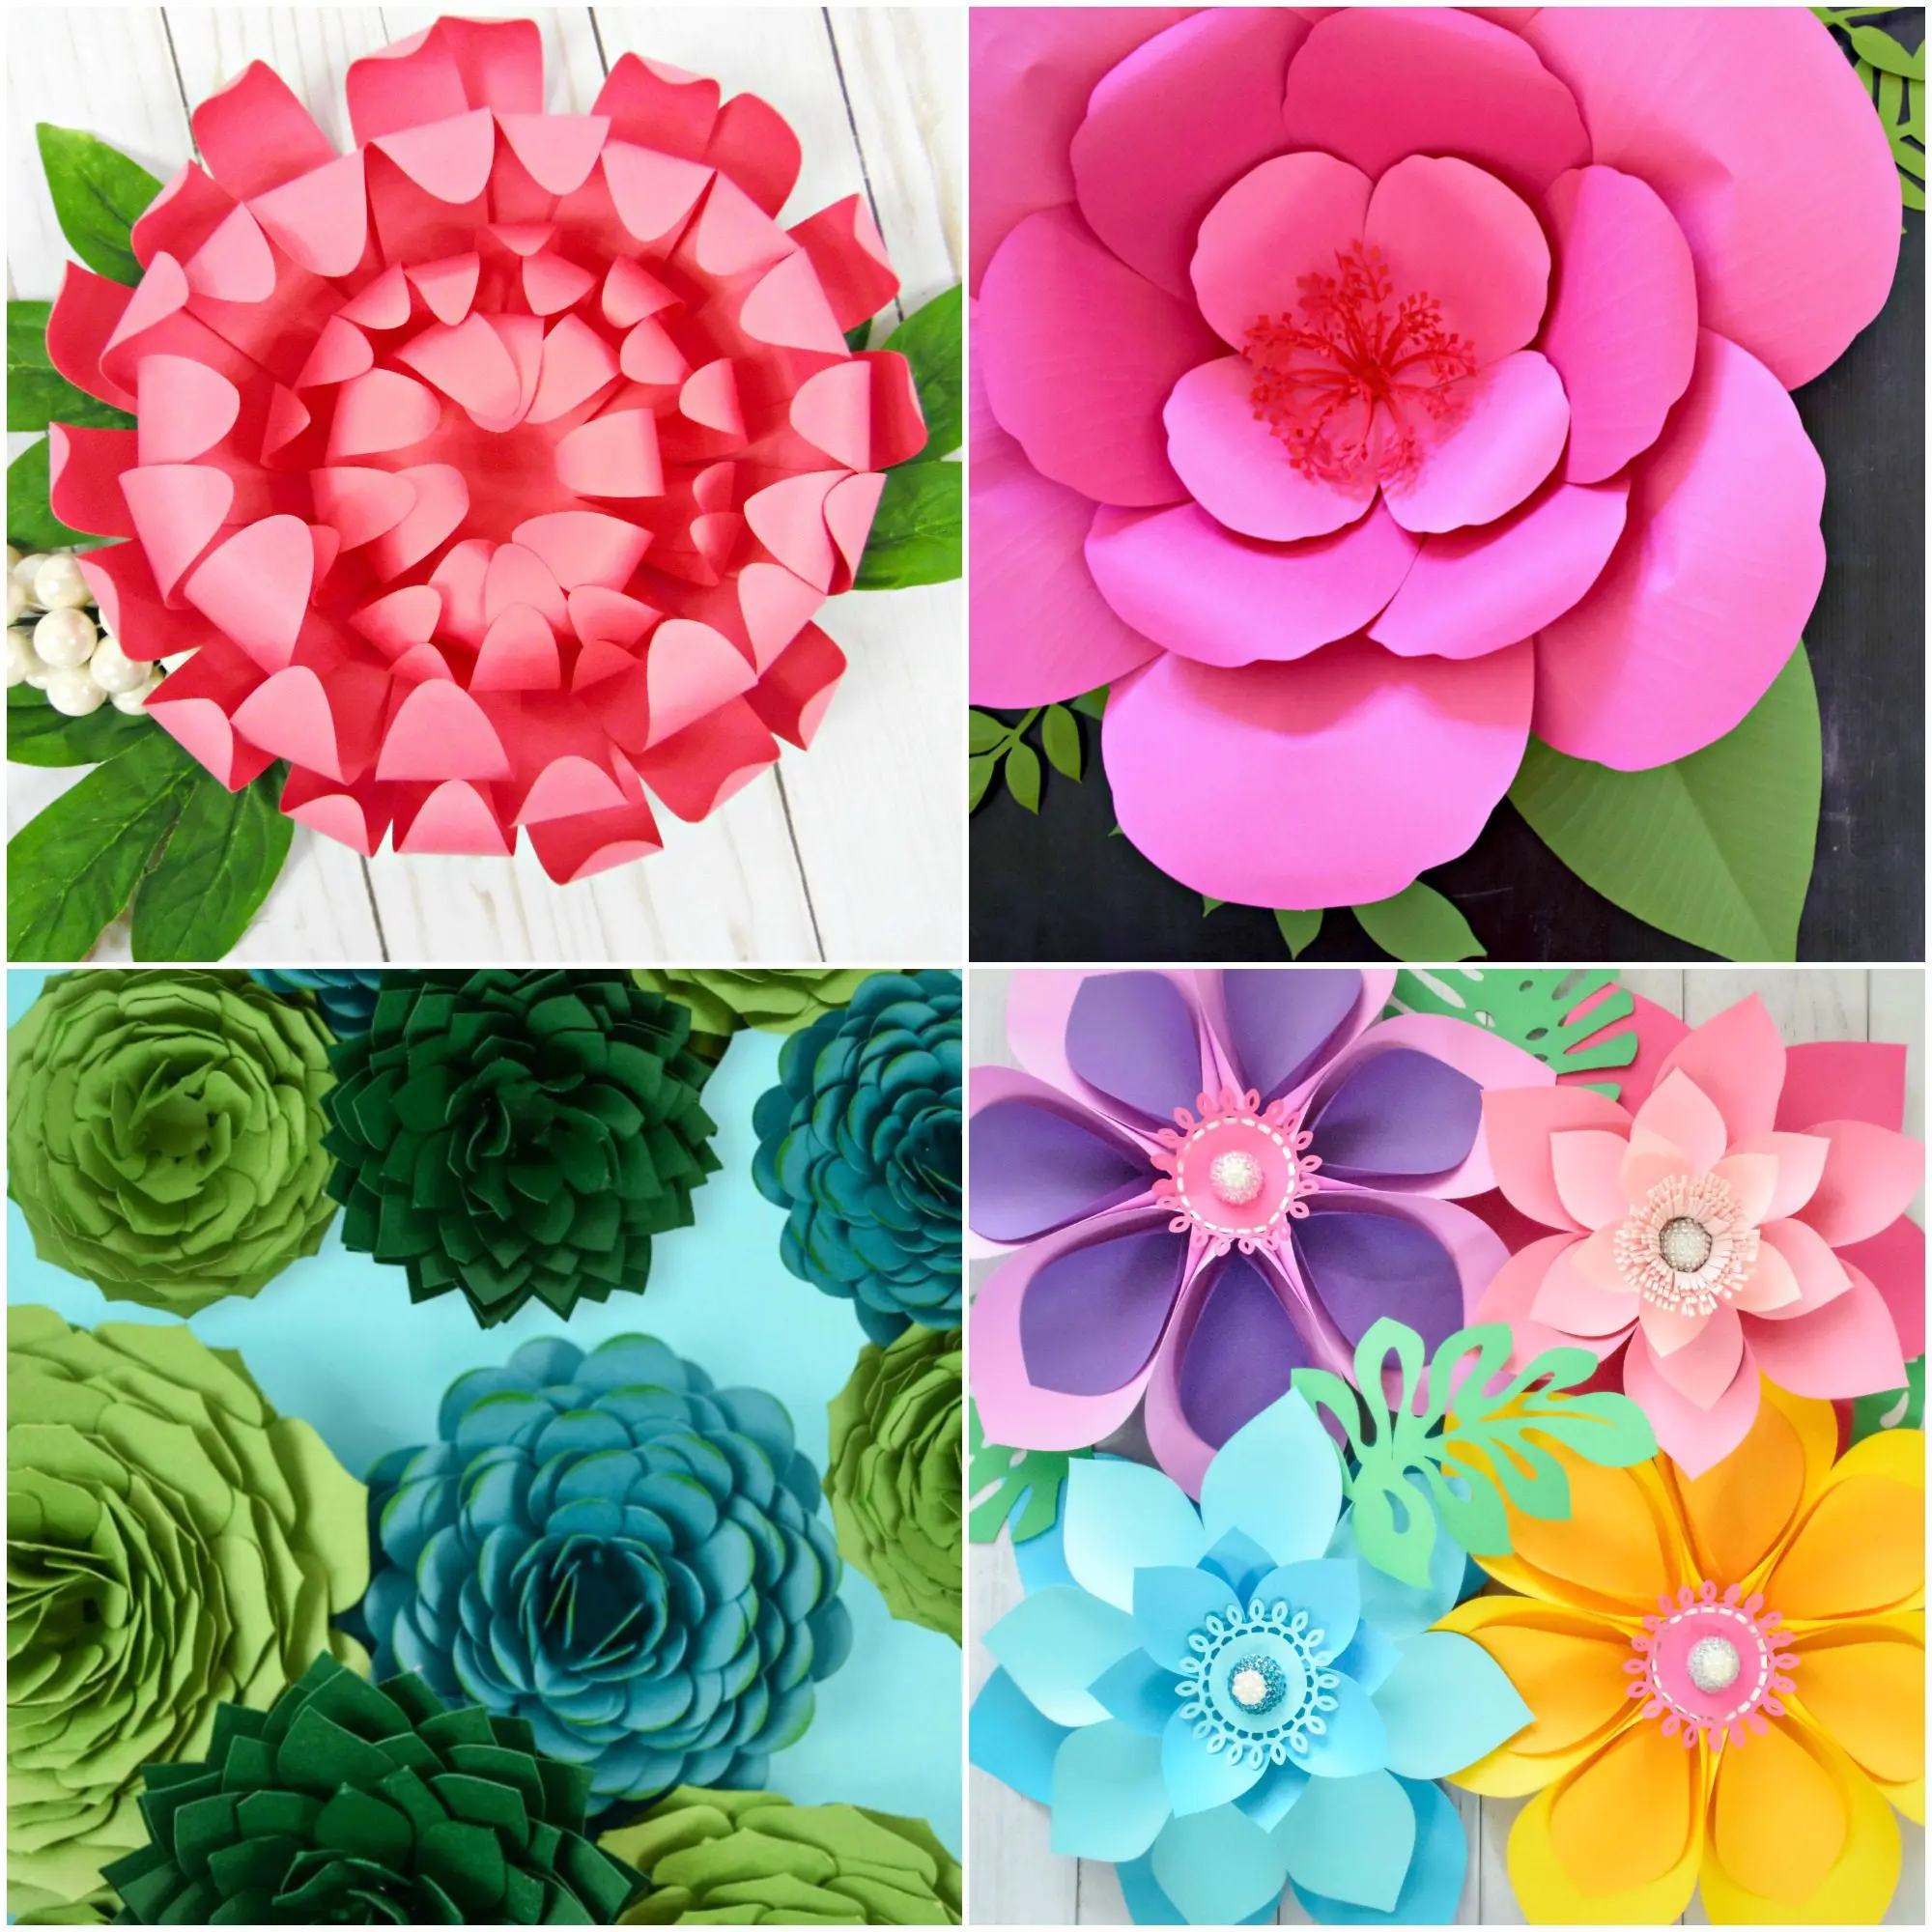
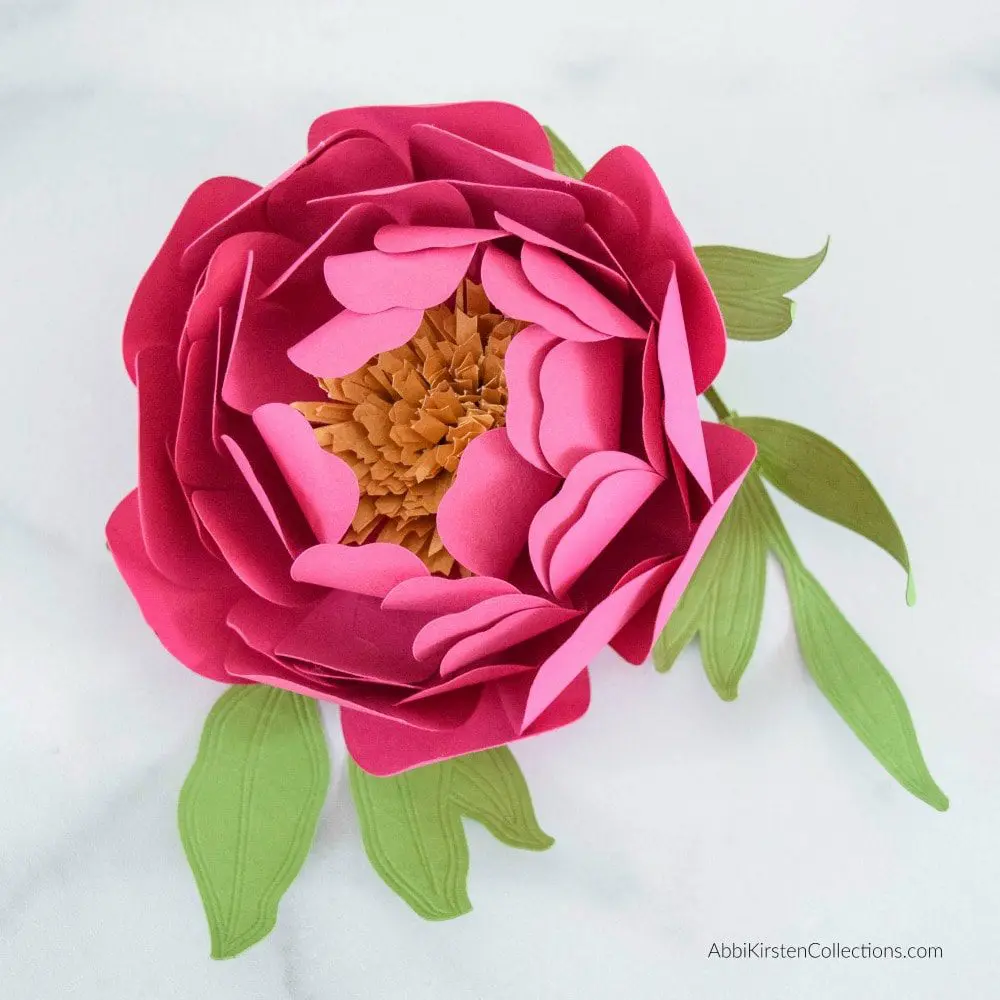
I used my Ruby rose template to make the roses and anemones. I also used my latest flower the Diana style rose, which can be designed 2 different ways using the same template! (view Diana Rose tutorial here) and I used my favorite peony template as well.

I loved creating these bouquets for brides, bridesmaids and as centerpieces for wedding and events. I want to share with all the tips I’ve learned over 5 years of paper crafting.
While it is not included in this bouquet the Dahlia template also makes for a great bouquet addition too.

Supplies you will need
- Paper flower templates (I recommend a cutting machine for some of these flowers I am using in this particular bouquet, but you can always hand cut if you are brave!)
- 174-gram weighted cardstock in assorted shades. I usually tell people to pick 2-3 colors that work well together and then 2 different shades of those colors plus maybe 1 bold color for contrast as I did with the black in my bouquet. This makes it look more natural and not so perfect since nature isn’t perfect!
- Corsage floral tape
- 18 gauge wire
- Leaf greenery templates (most of my flower templates come with leaves included)
- Ribbon of choice
- Any rhinestone embellishments you wish to add either to the flower centers or the bouquet handle as shown above.
- Patience!
Remember to be kind to yourself! This takes patience and practice. I’ve been at it for over 5 years and even I still make mistakes a lot!
Hit play and watch Part 1 of the bouquet building series here:
If you enjoyed this please share on social media! And follow along on Pinterest too!
Happy flower making!