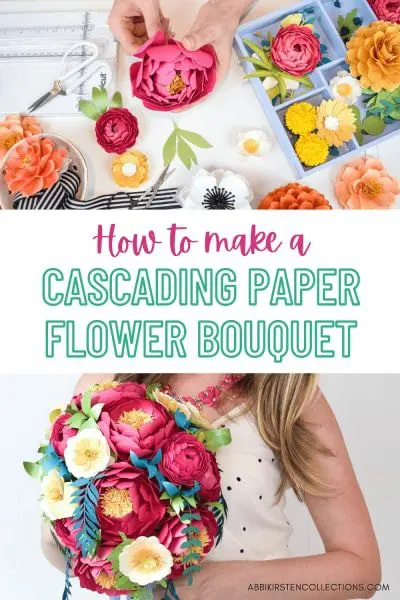
How to Make a Cascading Paper Flowers Bouquet
This post may contain affiliate links that won’t change your price but will share some commission.
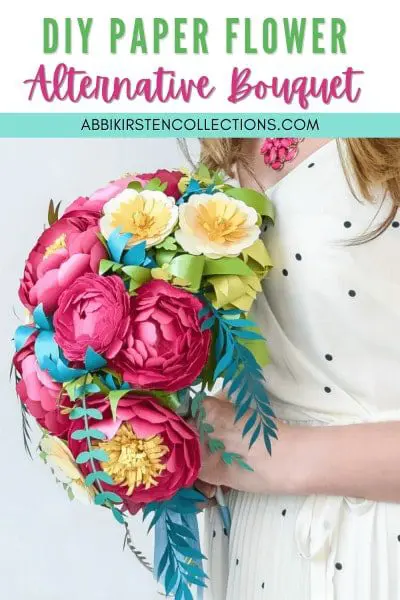
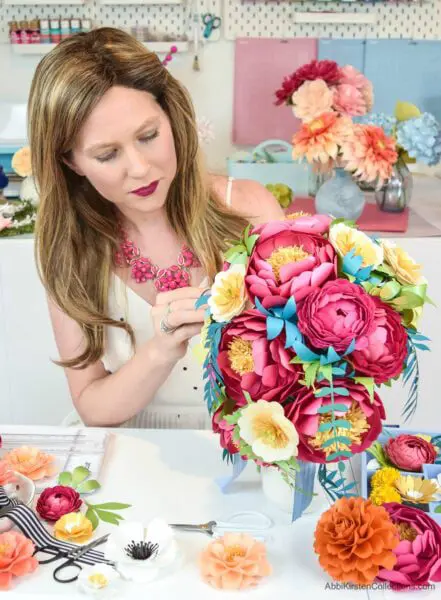
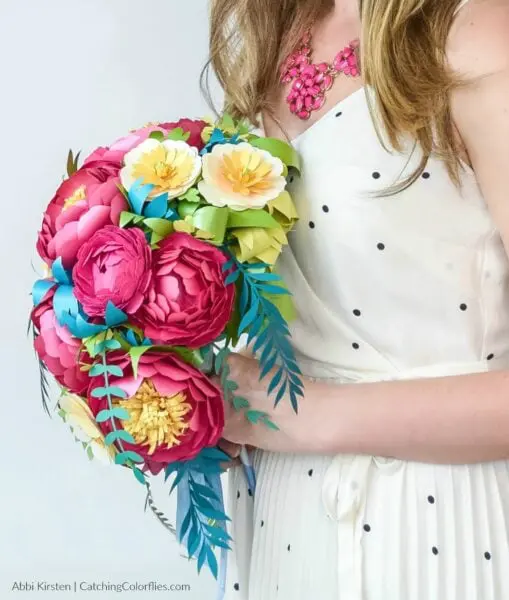
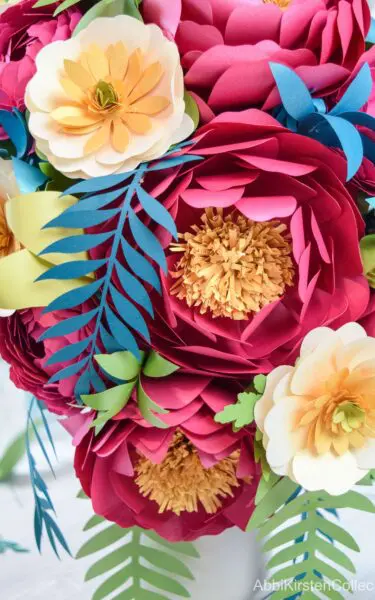
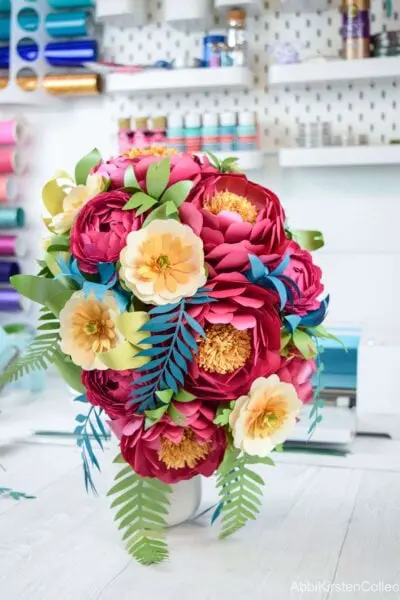
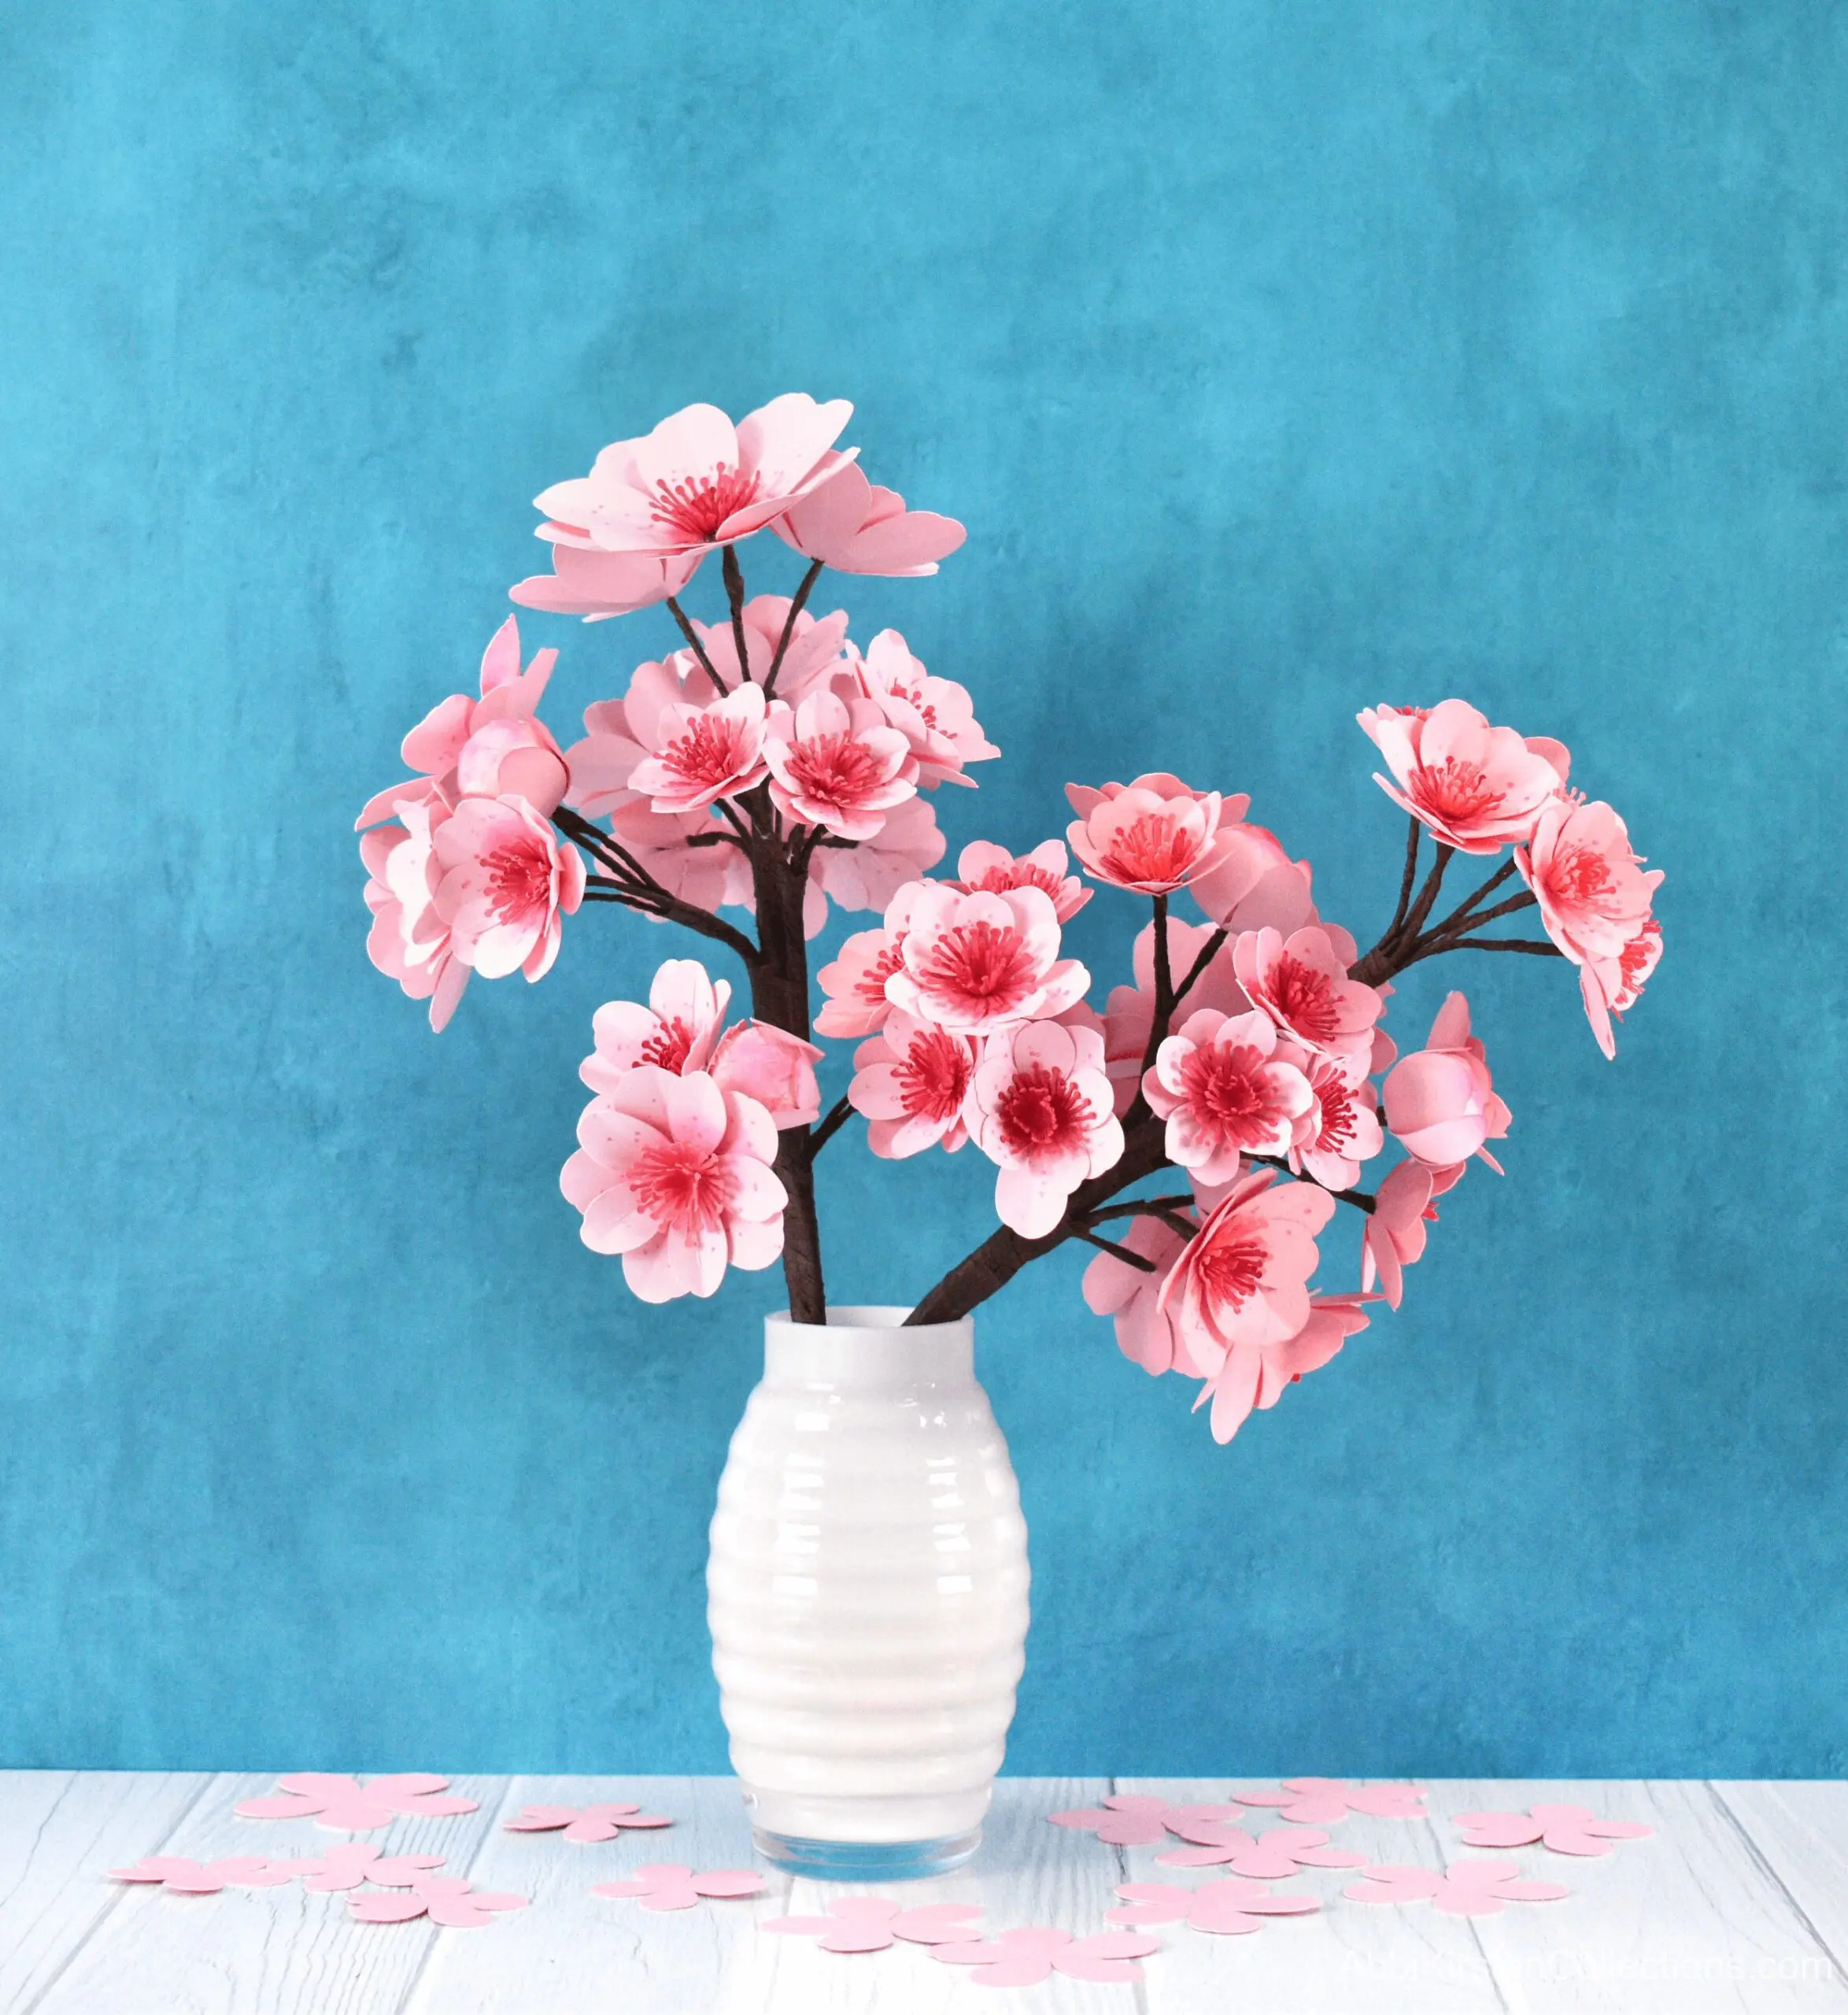
Today, I’m sharing how to make a cascading paper flower bouquet that looks so lovely, others will wonder if it’s real! This tutorial covers how to make easy paper flowers and turn them into a beautiful cascading paper flower bouquet.
BONUS: The process I use to make these bouquets can also be applied to paper flower arrangements in general!
Fresh Flower Alternatives
Many crafters love to create paper flowers for arrangements or as an alternative to live wedding flowers, like leafy, lush bridal and bridesmaid bouquets. While some may prefer flowers in nature, there are quite a few benefits to including paper flowers as part of your special event or celebration.
- Longevity. With no real shelf life, your paper flowers will last indefinitely.
- Allergen-free. So appreciated by many recipients and guests.
- No seasonal restrictions. Paper flowers bloom year-round!
- Endless color and style options. Customize your color palette, style, and theme perfectly.
- Your creativity. Enjoy creating something unique that no one else has.
- Cost-savings. Compared to fresh flowers, the cost of creating your own paper flowers is significantly less.
What Flowers Are Good For Cascading Paper Flower Bouquets?
Before assembling your cascading bouquet, you’ll need to make your paper flowers in advance. The first thing to decide is what style of paper flowers you plan to use. I recommend choosing three types of blooms:
- A statement bloom, like a rose
- A supporting flower, like a bud
- A filler flower, like a hydrangea or baby’s breath
Download the Templates
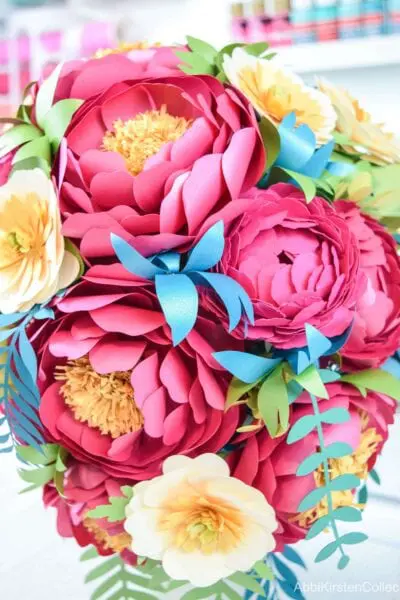
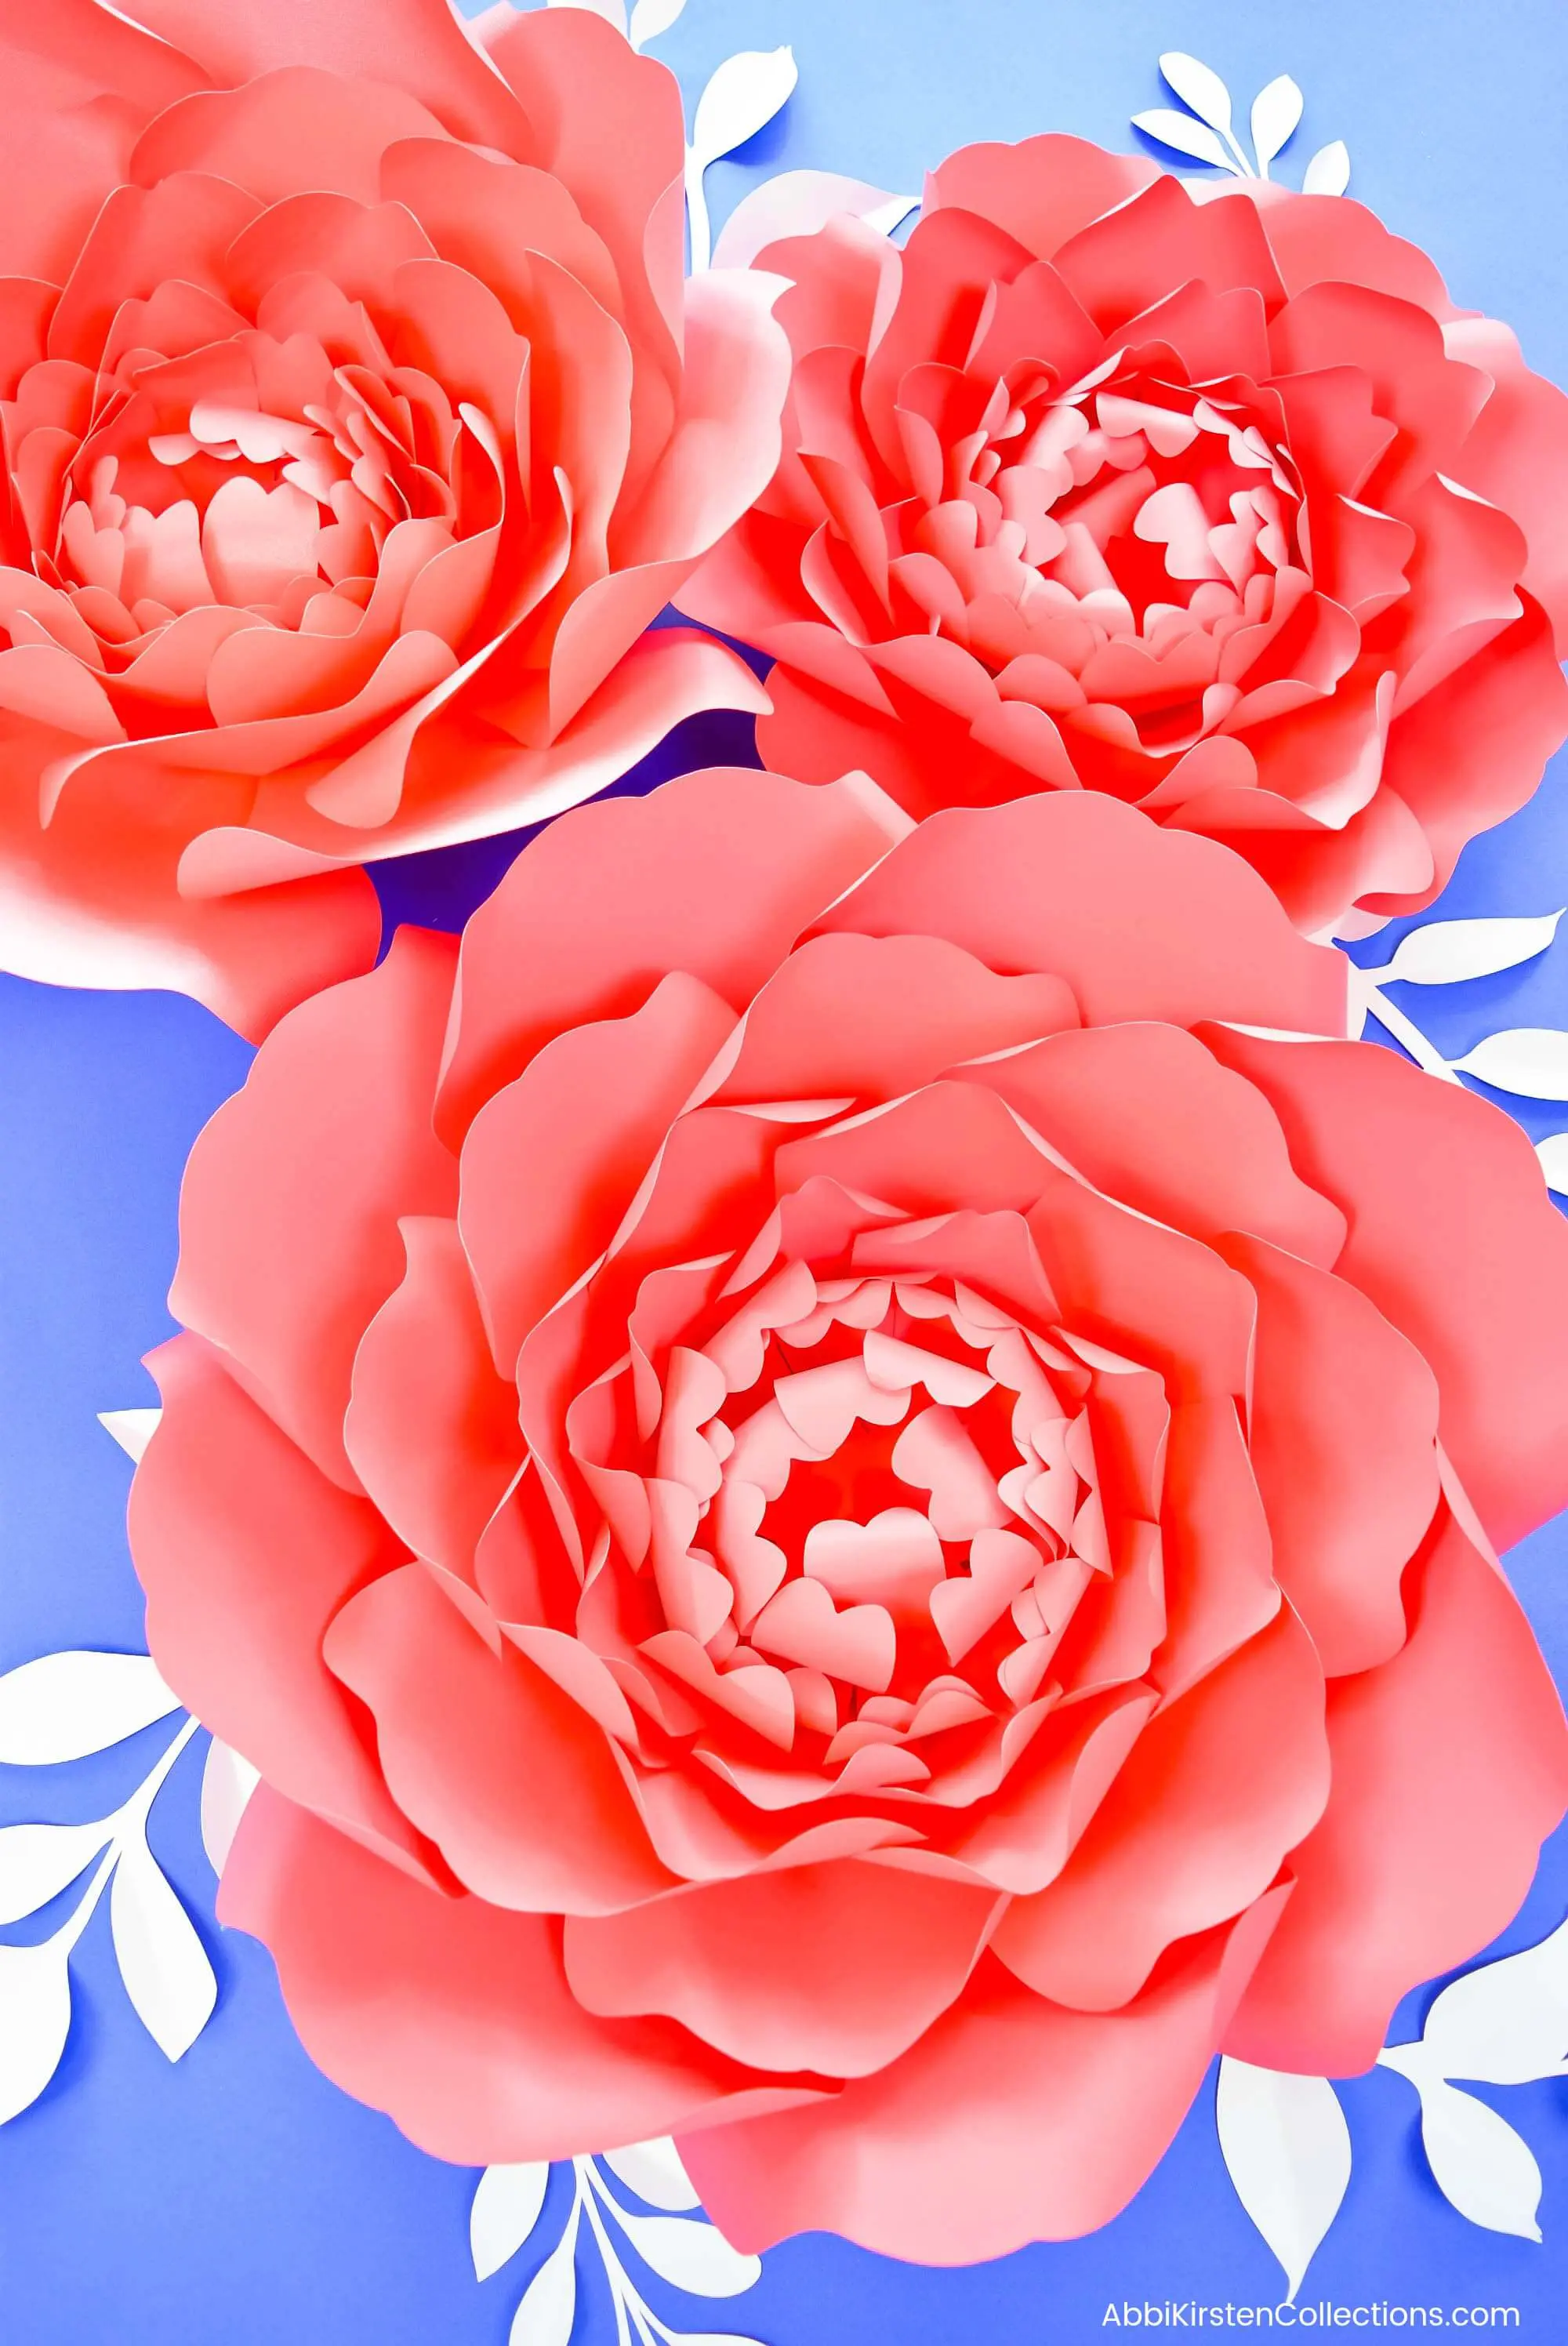
For this cascading bouquet, I’m using the templates for full bloom peonies, classic peonies, and buttercups, including a variety of vines and leaves to add some greenery, which instantly elevates the overall look of the flower arrangement.
Get These And Hundreds More Craft Templates By
Becoming an A-Star Crafter!
Existing A-Star Crafters: Log in and download the templates in the Craft Vault.
Not yet an A-Star Crafter? You can download the The Joy of Paper Flowers ebook and template bundle, which includes the cascading flower bouquet templates along with 24 additional flower tutorials.
Steps for Making a DIY Cascading Paper Flower Bouquet
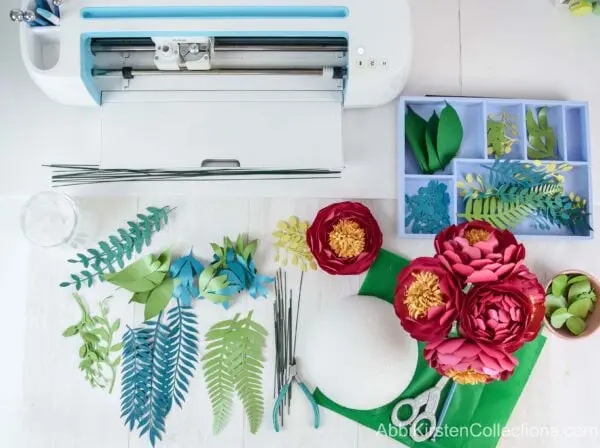
Before beginning any project, make sure you have an area big enough to work. Once you have a nice empty surface, gather all the supplies you need. Nothing can interrupt the creative flow as much as scrambling for supplies! Now that you have your space and craft supplies, start with this step-by-step overview of how to make a cascading bouquet with paper flowers.
Step 1: Create Your Paper Flowers
Step 2: Gather Your Supplies for Your Bouquet
Step 3: Create the Base of Your Bouquet
Step 4: Create Greenery
Step 5: Add Your Largest Paper Flowers
Step 6: Fill Spaces with Small Flowers, Vines, And Leaves
Step 7: Finish Your Bouquet Handle
Step 8: Create To Innovate
Step 1: Create Your Paper Flowers.
Taking on a paper flower bouquet can seem daunting, but making paper flowers doesn’t have to be complicated. Sure, I love an advanced bloom because the more detail you add, the more beautiful the paper flower becomes. However, even beginners can craft lovely arrangements with these 21 easy paper flower template designs.
Some of my easiest paper flowers for beginners include the peonies and buttercup flowers that I used in making this cascading bouquet:
Using A Cricut to Make Your Paper Flower Bouquet
Taking on any handmade paper flower bouquet project can become more manageable with the help of a Cricut machine. All of my templates come with SVG cut files that work with cutting machines. After years of teaching others how to craft with their Cricut machine, I’ve created a guide to using your Cricut to make paper flowers.
What’s the moral of the story? Save your hands and become best friends with a Cricut Maker or Cricut Explore. Not sure which one is best for you? Read my Cricut Buyers Guide!
Cutting Your Paper Flower Templates by Hand
If you don’t own a cutting machine, that’s okay! All of my templates come with PDF printables so you can break out your trusty scissors and still get the job done.
Step 2: Gather Supplies for Making a Cascading Paper Flower Bouquet.
To create a DIY cascading paper flower bouquet or arrangement, you’ll need the following:
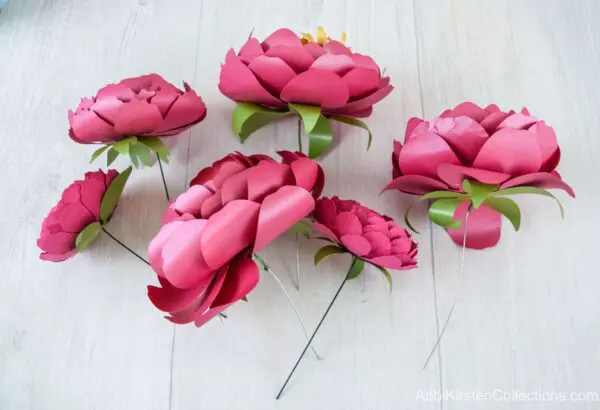
- Pre-made and assembled flowers of choice. Everybody’s flower count will vary. I used six full-bloom peonies, four classic peonies, and five buttercup flowers for this bouquet. Join A-Star Crafters to get these flowers plus hundreds more craft templates!
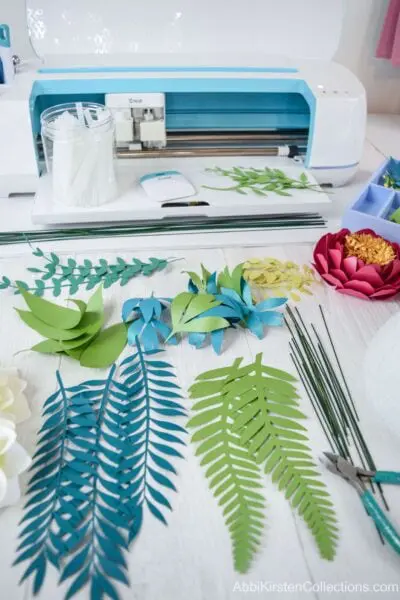
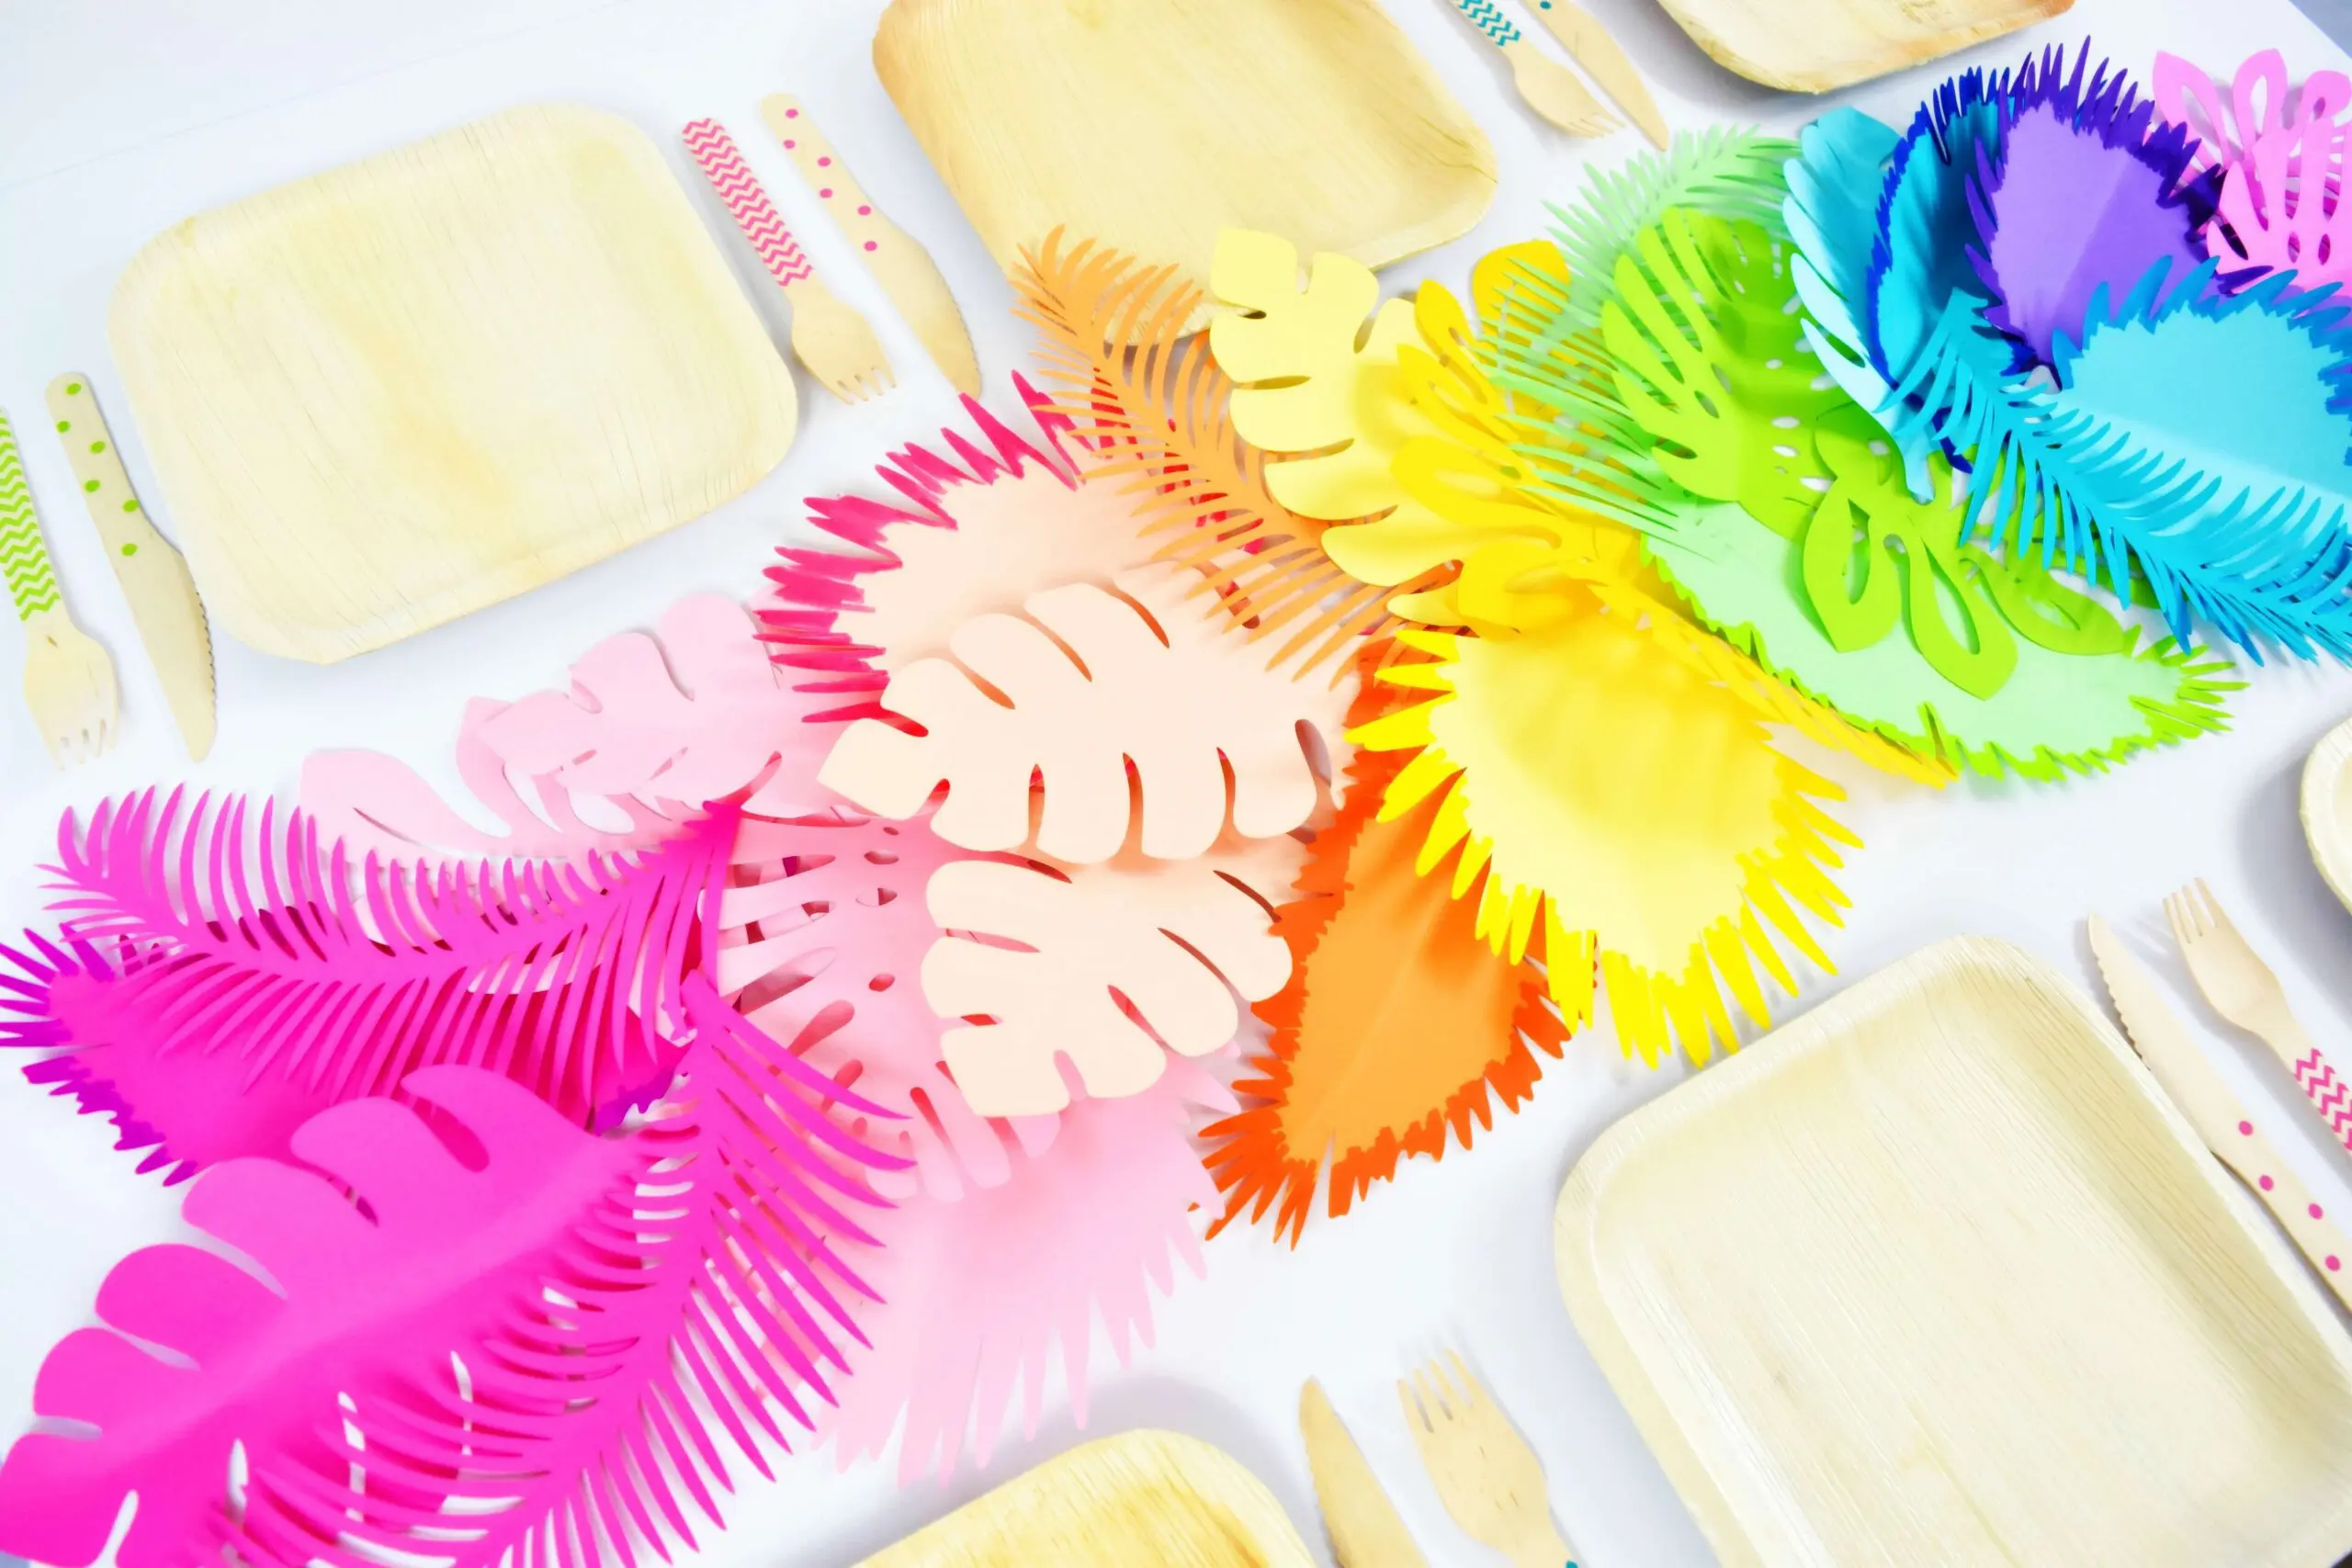
- Greenery and lots of it! I cut out several primary leaves (5 larger ones), a few dozen anemone leaves, peony leaves, fern vines, and other sorted vines. Try and cut them out in various shades of greens – the idea is to be creative and have fun with it!
- Ribbon of choice (optional)
- Two thin wood dowels
- Glue gun
- Floral or corsage tape
- 8-inch half foam ball (See Why Use a Foam Ball For A Bouquet Base)
- Green tissue paper
- 18-gauge wire
- Wire clippers
- Cricut scraper edge tool (or a pencil/additional dowel to curl leaves)
- Scissors
- Paper Bloom’s shaping mat and toolset for embossing leaves with vein details (optional)
Why Use a Foam Ball for A Bouquet Base
While it’s possible to build a bouquet by only grouping stems, I have found that using a half foam ball as my base makes a world of difference in the beauty and success of the overall arrangement.
- It adds stability to your bouquets, which is a must if you use them for weddings or any other event. You don’t want your cascading paper flower bouquet to “cascade” down into tiny bits! But that’s unlikely if you use a foam ball as a foundation base to help cement the arrangement.
- Also, it’s a lot easier to build a bouquet with a foam ball. You can experiment with flower positions and combinations and have an easy way to add or move items until the arrangement is just right.
- Above all, it brings volume to your bouquet without adding more flowers than necessary. A foam ball base will save you a lot of time as you can get the desired effect by making optimum use of all elements, whether it’s flowers, buds, vines, or stems. You can get a beautiful bouquet without using a foam ball, but you’d need to add more decorations to it.
As we build the bouquet, you’ll notice I don’t get overly concerned about having a perfectly round shape. Most bouquets look better when they have a natural and less-than-perfect look.
Need Help Building Your Paper Flower Bouquet?
Building a bouquet is considered a more advanced craft so be patient with yourself as you learn and practice! Eventually, you’ll master the technique, but remember to have fun with the art and be willing to try new things along the way.
PRO TIP If you need more inspiration, tips, and ideas for your paper flower bouquet, try searching for bridal bouquets on Pinterest and use those images as a guide to play with the composition of your blooms.
Download These Ebooks For Help in Crafting Beautiful Paper Flowers
Love paper flowers and crafting? Get Abbi’s best-selling paper flowers ebooks with step-by-step tutorials and templates as well as her ebook for mastering Cricut Design Space!


Step 3: Create the Base for the Cascading Paper Flower Bouquet.
Your flowers should already be stemmed and ready to go, but you will need to cut some small wire stems for the leaves. I usually cut my wire into thirds to attach my foliage.
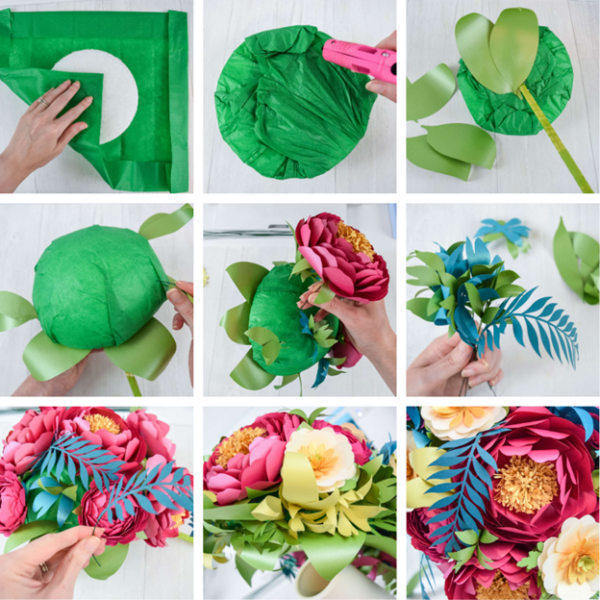
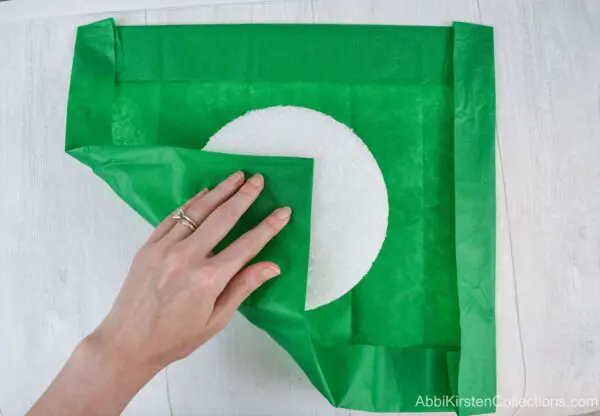
- Cover the half foam ball in tissue paper. This is important because we don’t want any bits of white peeking through our flowers or leaves. The green color presents a lovely backdrop. But if you plan to create an all-white bouquet or any arrangement with a different color theme, then choose a matching coloring for the tissue paper.
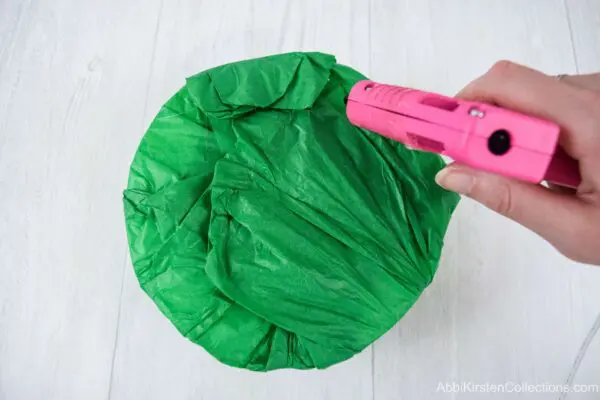
- Glue your tissue paper closed on the flat backside of the foam ball. It doesn’t have to be perfect, just secure. You won’t even see this when we finish.
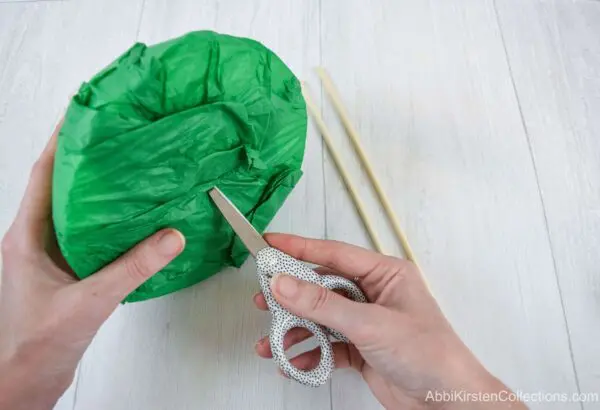
- Take the point of your scissors and punch a pilot hole in the center of the ball on the flat side at a 45-degree angle.
- Wrap the two wood dowels together with corsage tape. Use a bit of glue to hold the corsage tape in place if needed.
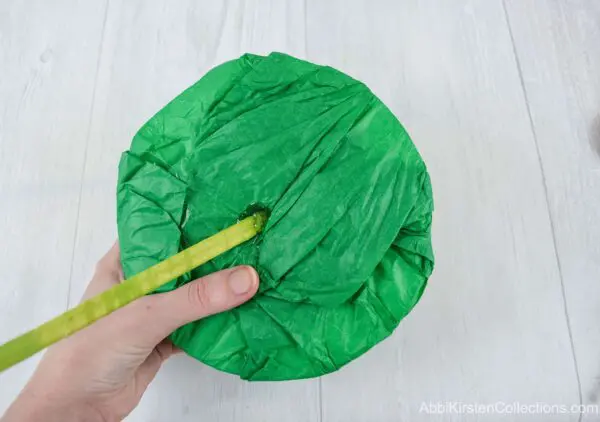
- Gently push the wood dowels into the hole at a 45-degree angle. Once it’s secure, add some additional glue where the dowel goes into the foam ball at the base.
PRO TIP If you don’t want a cascading bouquet, you can place the dowels at a 90-degree angle to use in a vase or other display.
Step 4: Create The Greenery.
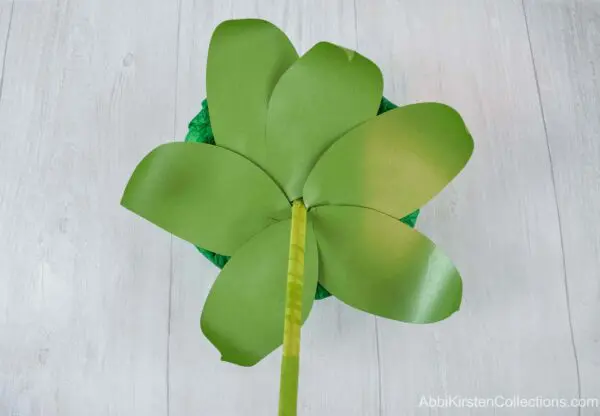
- Curl your five large primary leaves backward with your dowel or the scraper edge tool.
- Glue all six of these leaves around the bottom of the bouquet, covering all the tissue paper flowers on that side.
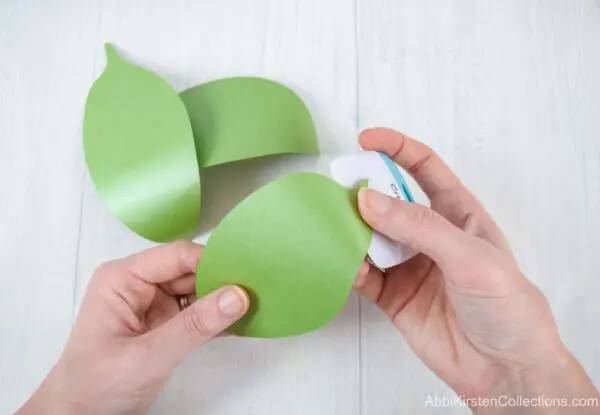
- Curl your additional leaves in various directions. Glue two leaves back-to-back with one of your small stems in between. Repeat with lots of leaves in different sizes, styles, and color choices.
- Stem delicate fern leaves by adding a thin glue line at the bottom center of the stem and adhering to the wire.
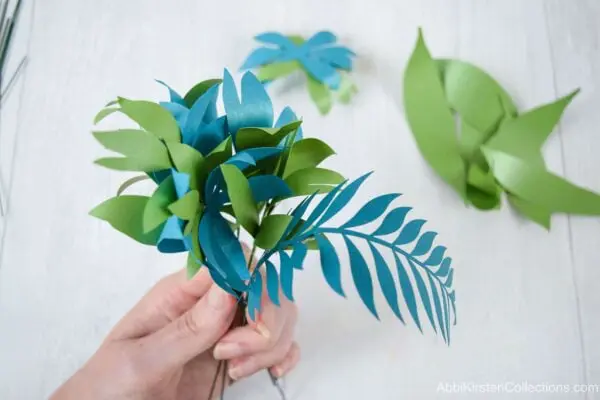
- After you create a generous amount of greenery, we will add some to the bouquet to start.
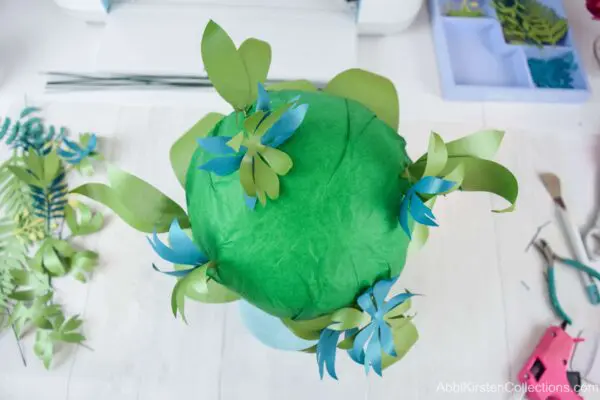
- Add about a quarter of your greenery to the bouquet before adding flowers. I like to start with a few of the larger leaves closer to the edges of the bouquet base.
Step 5: Add Your Largest Flowers.
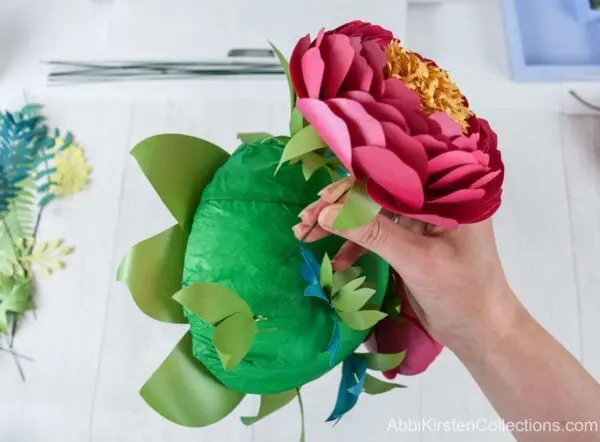
- Add in your largest flowers first. You want to space them out over the foam ball. In my case, this is the full bloom peony.
If you feel like any flowers will slide out of the foam base, you can add a dot of glue to where the stem and base meet to keep it in place. However, I recommend not doing this until you are happy with your placement. Using the foam ball base allows you to move the flowers freely as we build, so take advantage of that.

Don’t be afraid of large spacing. Once you have added in some larger flowers, you can mix in some of the smaller ones—in my case, this would be the classic peony design.

Step 6: Fill Spaces with Small Flowers, Vines, and Leaves.
- Pay close attention to all the gaps between your flowers and start to fill those spaces with greenery until it becomes difficult to see the tissue paper beneath.
PRO TIP For a few of the more delicate vines, like the ferns, you can glue some right onto the foam ball and skip the stems altogether. Add more leaves on top of where you glued the fern to create a seamless look.
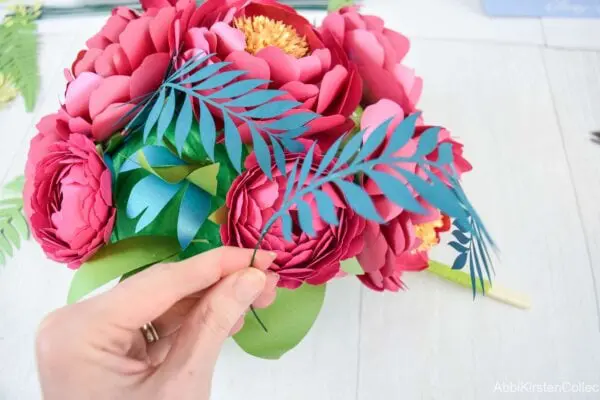
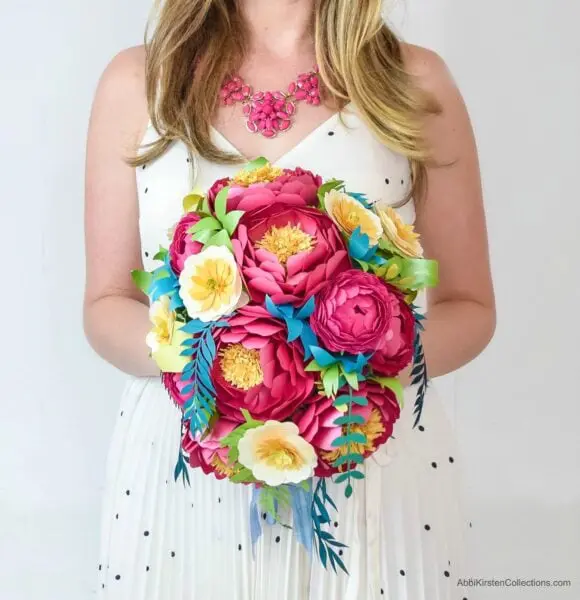
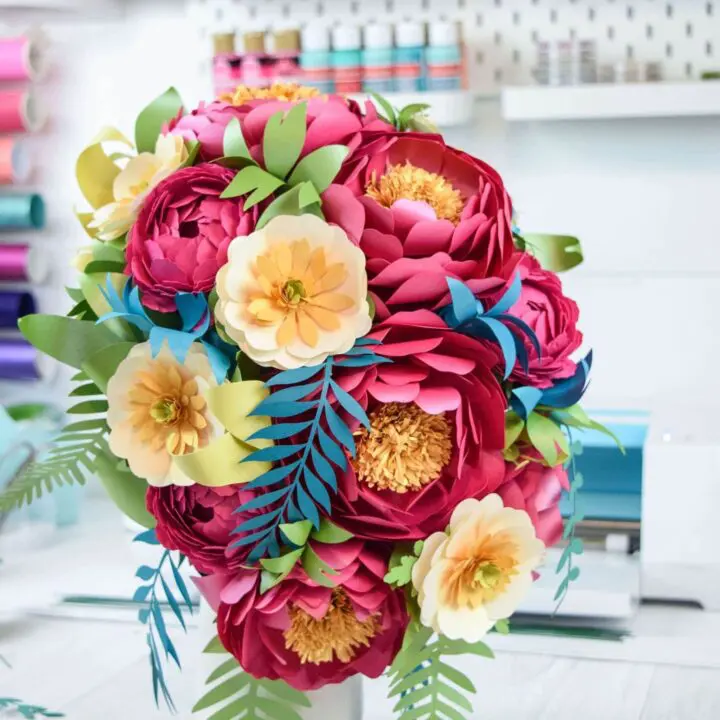
- This particular paper flower bouquet is a cascading style. Let some of your flowers hang out and curl downward. The cascading effect comes together best when you add vines hanging from the front of the bouquet. You will probably want to stem these vines so you can shape them more easily.
- Once you’ve added 80% of your greenery, begin to insert your smaller flowers. For me, I chose the buttercup as an accent flower.

- When you finish adding the smaller paper flowers, place your remaining greenery in any empty spaces. You will likely cut more than you started with to fill the bouquet—after all, we want it to look luscious and full!
Step 7: Finish The Handle for Your Cascading Paper Flower Bouquet.
Now to put the finishing touches to your beautiful bouquet…
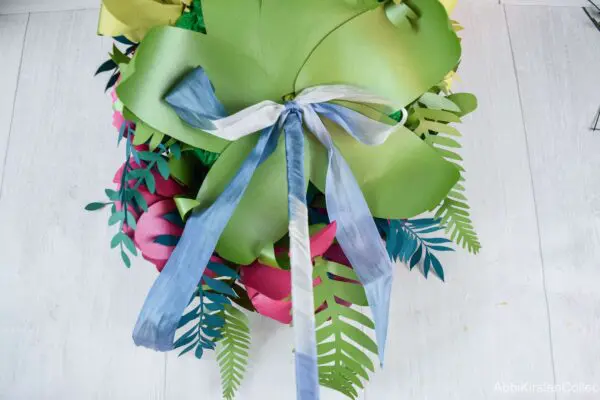
- Wrap the wooden dowel stem with a ribbon of your choice. Start at the top and work your way down. If the ribbon slides, just add a bit of glue to get it started.
- Cut an additional piece of ribbon and tie a bow at the base of the bouquet.
You did it! Enjoy your luxurious paper bouquet masterpiece!
Step 8: Create to Innovate!
I have one final lesson for you. This is genuinely the biggest key to crafting paper flowers. Are you ready?
Have fun and play around!
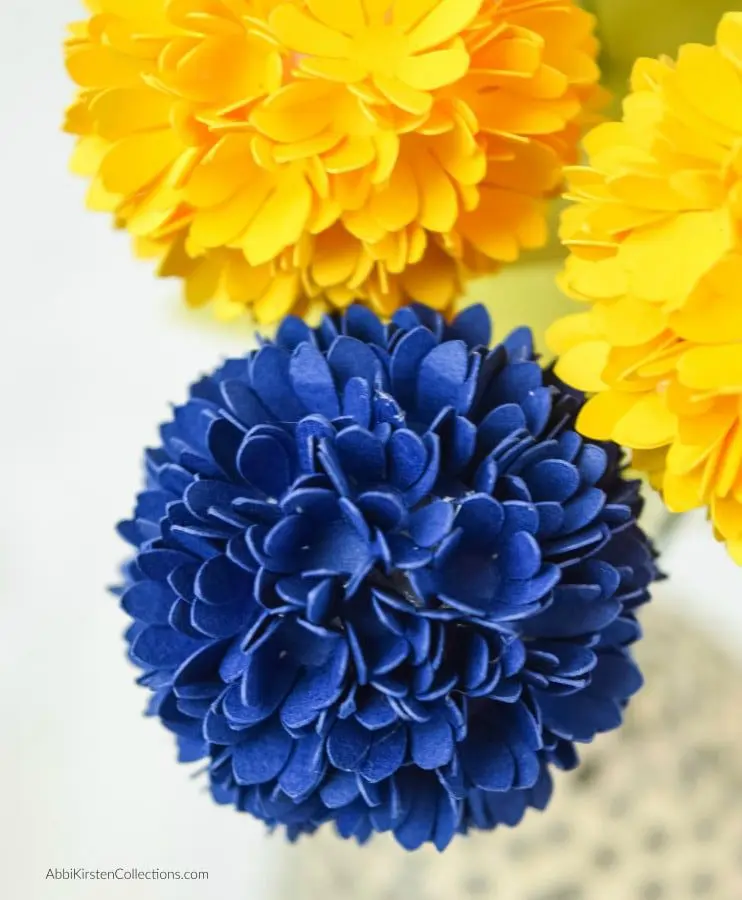
Flowers are lovely in bouquets and vases, but there are so many more ways to use them! From gift toppers to hair accessories, garlands, corsages, photo props, and more! So have fun and mix things up—you never know what you might make!
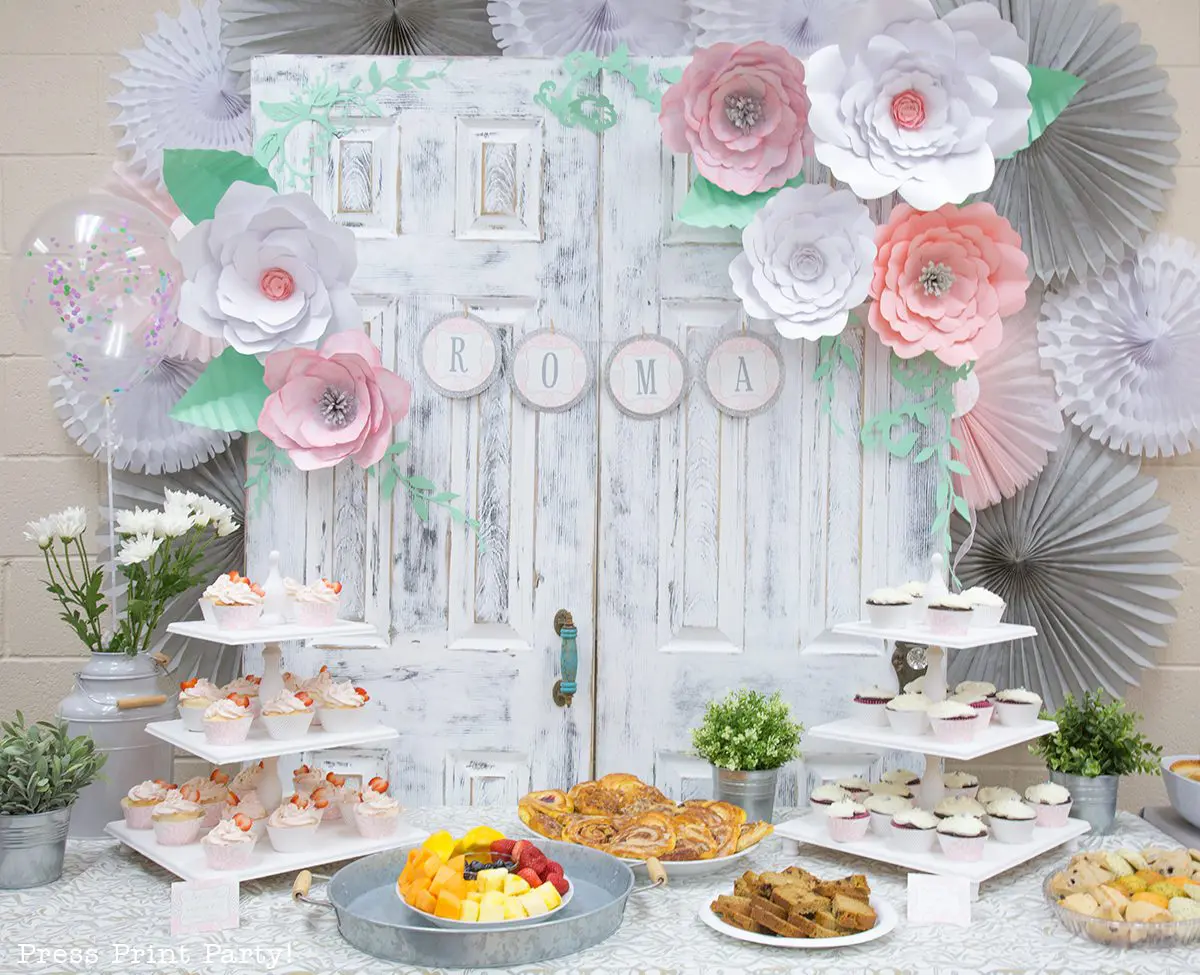
Planning a DIY Wedding with Paper Flowers?
There are so many ways to include paper flowers in your DIY wedding decor – from arches, chairs, garland, backdrops, reception tables, corsages, boutonneires, cake toppers, and parting gifts for your guests. The great part is that you get to customize and have hands-on oversight of your uniquely personal theme, colors, and style. Here are a few suggestions and ideas for that special event or celebration.
- 21 Easy Paper Flowers for Beginners
- How to Make Paper Flower Balls
- Giant Paper Flower Backdrops
- Easy Pearl Center Dahlia
- Best Cricut Machine for Beginners
- DIY Paper Flower Supplies
About Abbi Kirsten
Welcome to my colorful corner of the internet, where we play with vibrant crafts and unlock your creative magic! Hang out with me and get lost in a fun array of projects, tutorials, and products, from stunning papercraft ideas to flower templates, Cricut help for beginners, and endless crafter’s hacks.
Join A-Star Crafters and participate in monthly Craft-Alongs in our community Facebook group!

How to Make a Cascading Paper Flower Bouquet
Want to learn how to make a stunning cascading paper flowers bouquet? This easy tutorial takes you step-by-step through the process of making a gorgeous, colorful paper flower bouquet that's perfect for weddings or special events.
Materials
- Pre-made and assembled flowers of choice.
- Greenery and lots of it!
- Ribbon of choice (optional)
- Two thin wood dowels
- Glue gun
- Floral or corsage tape
- Half foam ball (I used an 8-inch ball here)
- Green tissue paper
- 18-gauge wire
- Wire clippers
- Cricut scraper edge tool (or a pencil/additional dowel to curl leaves)
- Scissors
- Paper Bloom’s shaping mat and toolset for embossing leaves with vein details. (optional)
Instructions
Step 1: Make Your Paper Flowers
- Choose from a variety of my beginner-friendly paper flower tutorials!
Step 2: Gather Your Supplies for Your Bouquet
- You can find the full supply list for this cascading paper flower bouquet above.
- Also check out my recommended paper flower supplies.
Step 3: Create the Base of Your Bouquet
- Cover the half foam ball in tissue paper.
- Glue your tissue paper closed on the flat backside of the foam ball.
- Take the point of your scissors and punch a pilot hole in the center of the ball on the flat side at a 45-degree angle.
- Wrap the two wood dowels together with corsage tape.
- Gently push the wood dowels into the hole at a 45-degree angle.
Step 4: Create Greenery
- Curl your five large primary leaves backward with your dowel or the scraper edge tool.
- Glue all six of these leaves around the bottom of the bouquet.
- Curl your additional leaves in various directions. Glue two leaves back-to-back with one of your small stems in between. Repeat with lots of leaves in different sizes, styles, and color choices.
- Stem delicate fern leaves by adding a thin glue line at the bottom center of the stem and adhering to the wire.
- Add about a quarter of your greenery to the bouquet before adding flowers.
Step 5: Add Your Largest Paper Flowers
- Add in your largest flowers first. You want to space them out over the foam ball.
- Once you have added in some larger flowers, you can mix in some of the smaller ones.
Step 6: Fill Spaces with Small Flowers, Vines, And Leaves
- Fill in all the gaps between your flowers with greenery until it becomes difficult to see the tissue paper beneath.
- Pro-tip: The cascading effect comes together best when you add vines hanging from the front of the bouquet.
- Once you have added 80% of your greenery, begin to insert your smaller flowers.
- When you finish adding the smaller paper flowers, place your remaining greenery in any empty spaces.
Step 7: Finish Your Bouquet Handle
- To complete your bouquet, wrap the wooden dowel stem with a ribbon of your choice. Start at the top and work your way down.
- If the ribbon slides, you add a bit of glue to get it started.
- Cut an additional piece of ribbon and tie a bow at the base of the bouquet.

It’s so beautiful, Abbi!! Thank you for the tutorial, it gives me dreamy ideas for using your flower designs! I love them ❤️
You’re welcome! I’m so happy you enjoyed it!