How To Upload SVG and Image Files to Cricut Design Space
This post may contain affiliate links that won’t change your price but will share some commission.

Learning how to upload SVG files to Cricut Design Space, especially a design of your own, is one of the most freeing and exciting aspects of owning a Cricut machine. Beginners have many questions when they first get started, like, “Does Cricut use SVG files?” (The answer is yes, they are the best file types to use.) Or, “How do I upload multiple files to Cricut Design Space?” (You can’t.)
But the one I hear most often is, “How can I upload SVG files or my images to Cricut Design Space?”
To bring your art to life, you need to understand cutting machines and the associated software and take advantage of all they offer. This tutorial will explain how to upload files, including your own images, into Cricut Design Space.
Just Getting Started With Cricut? If you don’t feel confident inside of Cricut Design Space and are ready to shake the dust off your Cricut and finally create those beautiful Cricut crafts you’ve always wanted, join Abbi’s free Cricut Freedom Workshop to kick Cricut confusion to the curb forever!
Types Of Files to Use with Cricut Design Space
What is an SVG file for Cricut? First, a beginner to Cricut needs to know the difference between image file types, including the particular SVG file type. The following is a brief overview of SVG and other file types. Currently, Cricut only accepts these file formats:
- SVG – An SVG cut file is a graphic format that stands for scalable vector graphics. This will be the #1 file you will use when crafting with your Cricut. SVG files give you the ability to layer by color with various materials like cardstock, vinyl, felt, etc.
- DXF – These are similar to SVG files, but I do not recommend them because they do not save with the same content data as SVG, and therefore, are an inferior quality to an SVG file. Always opt for using SVG files.
- PNG or JPEG – A PNG is just like a clipart image. For example, if you were to type in ‘flower clipart’ into Google, all the images would be PNG or JPEG. What makes them different? Clipart images are flattened designs – meaning the colors are blended and you cannot separate each layer by color.
Instead, Design Space uses PNG or JPEG image files for Print Then Cut projects. A Print Then Cut image prints a colored image on your home printer (inkjet only), and then your Cricut Maker or Cricut Explore cuts out the outline. The only difference between PNG and JPEG images is that JPEG is typically lower resolution, and PNG has a more crisp result. Ultimately, either can work in Design Space.
- GIF and BMP – GIFs (graphic interchange format) can be a single picture or many images that create an animation loop. A BMP is a raster graphics image comprised of rectangular pixels. I have never needed to use these file types.
How to Upload SVG Files & Image Files: Video and Step-by-Step Instructions
If you want to see a step-by-step video tutorial of uploading SVG and other files, click here. I have also outlined the process and included pictures and easy-to-follow written instructions below.
Step 1: Select New Project
Open Design Space and click New Project. The canvas workspace will open.
Step 2: Upload Image
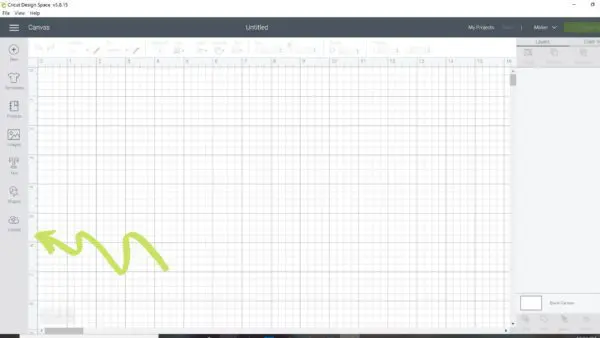
The workspace will show a grid with a menu bar along the left side called the Design Panel, as seen in the picture below. Use this page as your virtual desktop. Select the Upload button at the bottom of the Design Panel to your left to upload an image.
Once you choose Upload Image from the Design Panel, you will be taken to the Upload Page. This page will give you two options: upload an Image or a Pattern Fill. Choose Image. If you have uploaded images and files before, you may see thumbnails of them in a row underneath these options. You can only upload images in the following formats: .jpeg, .gif, .png, .svg, .bmp, or .dxf. PDF files do not work with Cricut Design Space.
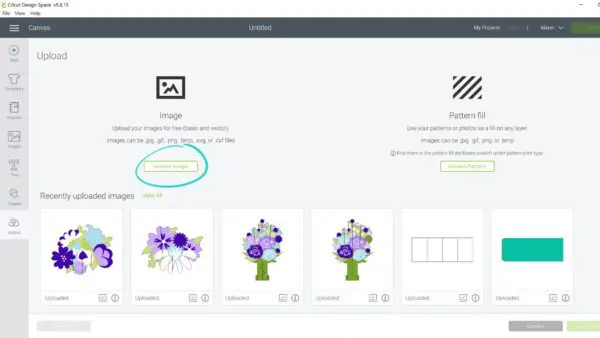
Side note: You will also find a View All and Download button on this page. The View All allows you to view all images that YOU have uploaded to Design Space.
Step 3: Choose Your Image
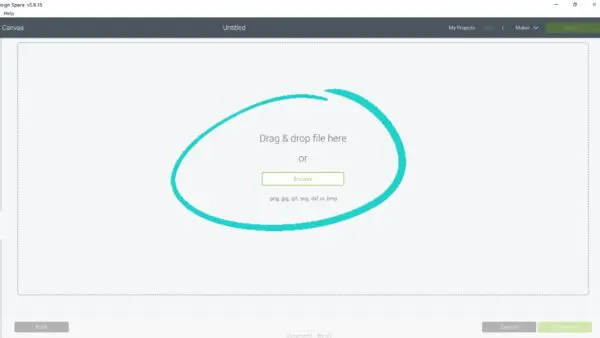
After clicking Upload Image, you will be prompted to browse your computer. Click the Browse button and your computer’s file explorer will open. Next, navigate to wherever you have stored your downloaded file. In most cases, this is your download folder on your desktop. You can also drag and drop your image by selecting it from an already open file and “dragging” it onto the page.
If you are using a non-SVG file or wish to Print Then Cut, you will see your chosen image and have three options under Save Image Type. I always select Complex.
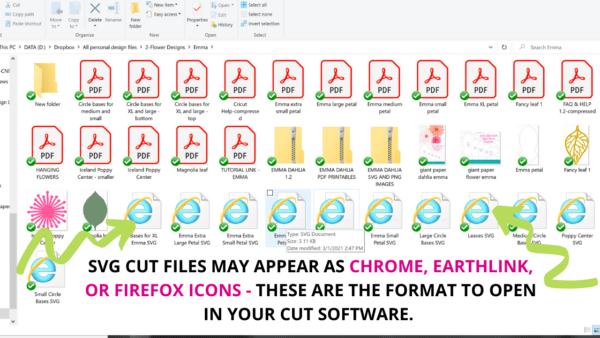
Side Note: Make sure all files are visible on your computer. Sometimes computer settings are set to hide specialty files like SVG cut files.
Most computers will show a Chrome, Firefox, or Internet Explorer icon as the SVG file unless you have Inkscape installed and set up to label your files as SVG icons. I cover how to unzip and download files on your computer below. Inkscape also converts your images into the SVG format, so you can always upload SVG images.
Step 4: Save Your Image
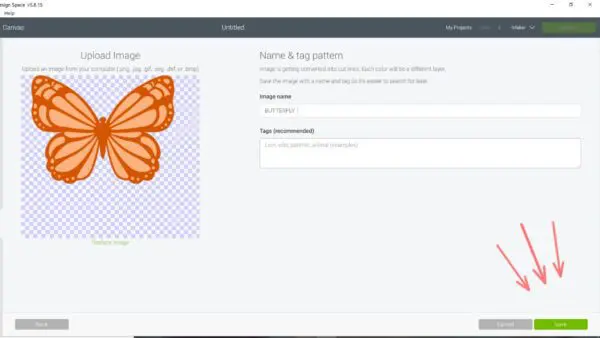
Once you’ve selected your file, it will appear in Design Space. Click the green Save button at the bottom right-hand side to upload SVG or another formatted image file.
Step 5: Insert Image

Once saved, your image will appear in the Recently Uploaded section. Next, click on the image you want to bring onto the Canvas so that a green outline appears. You can also see what you have selected at the bottom right with a small icon. Bonus: you can choose more than one image! Once you have selected the image(s), click the green Insert Images button.
Step 6: Modify or Print

The chosen image(s) will appear on the canvas. If it is too large, you can zoom out and scale it down using the arrow at the bottom right corner of your image. The layers of the image will always appear in the Layers Panel to the right. You can also modify the image on the canvas workspace if you need to change the size or remove/add features.
Congratulations! You now know how to upload SVG or other image files to Cricut Design Space. Keep reading for more tips!
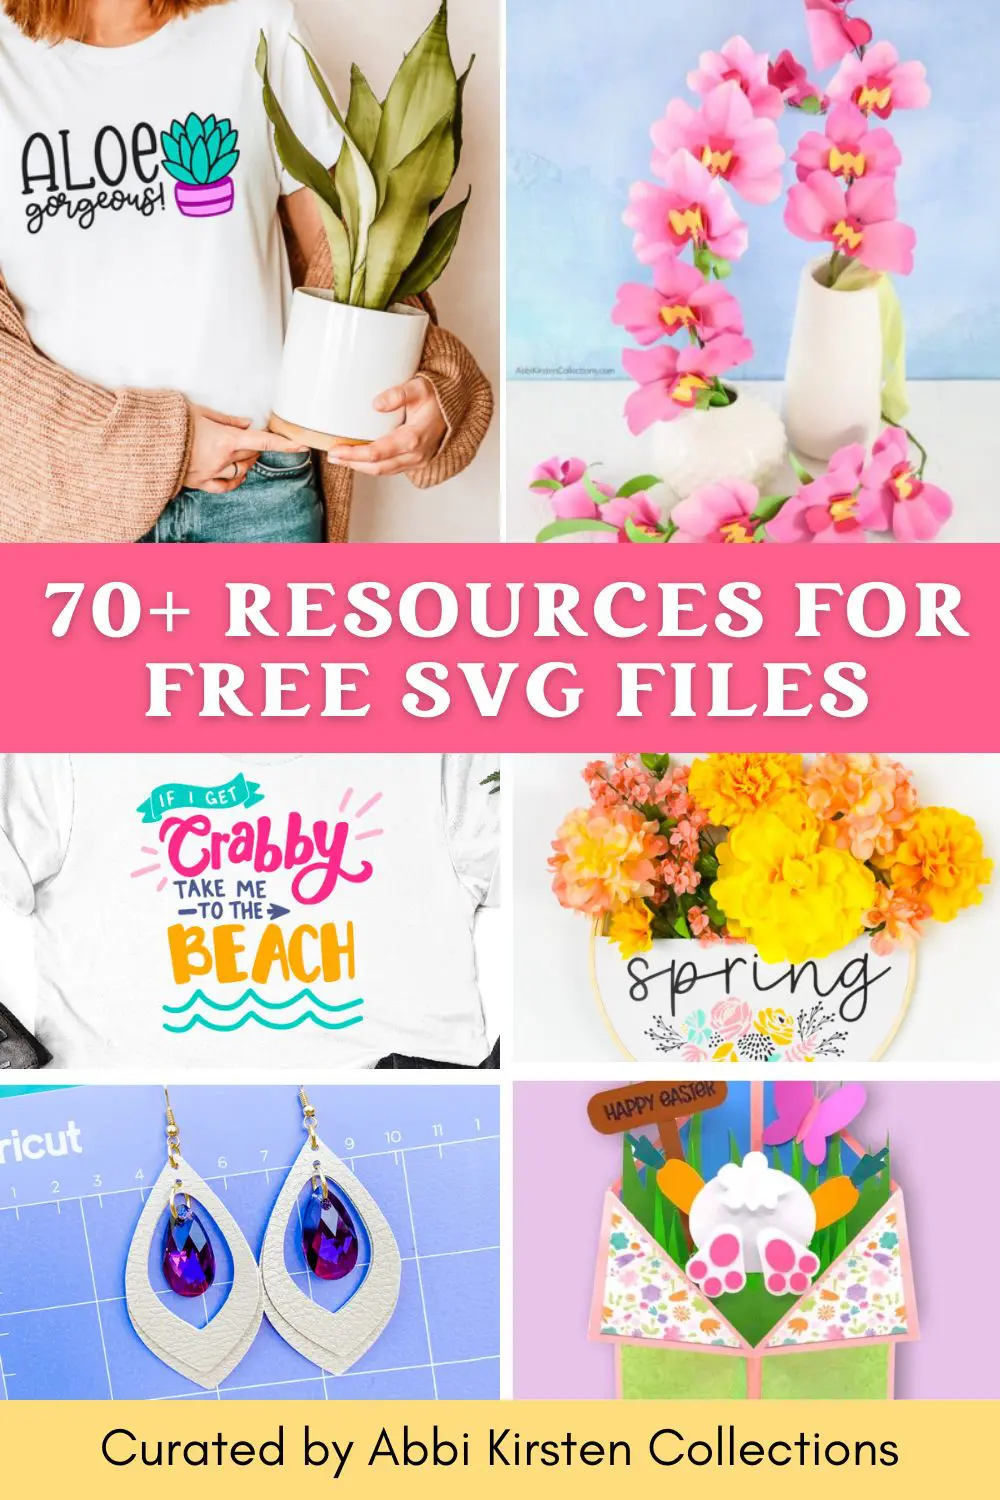
Be sure to visit my Craft Vault for free SVG images and more!

How to Unzip Files
As you can see, learning to upload SVG images to Cricut is relatively straightforward. However, there are many designs you may purchase on Etsy or files you may download for free from other sources that are stored inside compressed zips.
Why Do Creators Use Compressed Zips?
Designers (myself included) often use compressed zip files because they allow the transport of multiple files or types of files from one person to another very quickly.
Sending files in zips also allows for size compression of the data, which benefits uploading and downloading image files. When crafters purchase cut files off a site like Etsy, the designers are restricted by how many “files” can be uploaded in a single purchase. Compressed zips allow dozens of files to be downloaded with one click.
Here’s the important part:
Cricut Design Space does not accept compressed zip files. Therefore, you need to unzip (aka extract) the files inside the zip folder before you can upload SVG or PNG images to Design Space.
- Here is how to download and unzip files on a computer
- Here is how to download and unzip files on mobile devices
Not Loving Your Cricut Yet?
Does Design Space Tech Have You Confused? Overwhelmed? Let’s Change That!
Introducing Cricut Confidence!
Easy to Understand Step-by-Step Lessons for Cricut Design Space Software. No more wondering what Weld, Attach, Flatten, Contour, this tool or that tool means. Finally, kick your confusion to the curb forever!
How to Create Your Own SVG Files or Convert Images to Layered SVG Files
Learning how to design your custom images for crafting will give you more creative freedom than 90% of other fellow crafters out there. This is the next best step to take once you have mastered Design Space. Designing craft files for yourself will enable you to customize ANYTHING to your exact vision without settling.
The result? You will be able to save a lot of money and time because you aren’t forced to buy the file designs of others or waste your time searching through free designs that aren’t right for your project.
If you want to custom design or convert your images to SVG files, I can help! Inside my Free the SVG program, I start at step one and guide you as you work your way to the top skill level. I want to invite you to join my Free the SVG program here – spots are limited, and the course closes at certain times throughout the year. I can help you create anything you can imagine!


I downloaded the colour clock cards with Cricut offered today but it’s a PDF file which is not supported by Design Space. How do I change it to a SVG file?
Hi Arlene! Hmmm, our color block cards only have an SVG format available. Can you send us a message directly so we can look into it and get you taken care of? Thanks! [email protected] 🙂