DIY Fillable Christmas Ornaments: Free Let It Snow SVG
This post may contain affiliate links that won’t change your price but will share some commission.

I enjoy coming up with new ideas for making DIY Christmas ornaments every Christmas. The best part about crafting handmade ornaments is you get to create something personalized for your tree. DIY Christmas ornaments also make wonderful gifts that are always well-received. I am sharing an easy way to use fillable Christmas ornaments in this tutorial. Using your Cricut to make ornaments makes it super easy to add little details like this free Let It Snow SVG cut file.
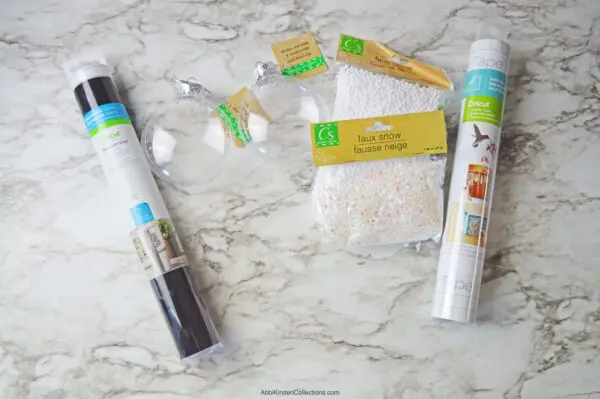
DIY Ornament Craft Supply List
- Flat round fillable ornaments or full-size plastic fillable ornaments
- 1 Dollar Tree package of faux snow filler balls, or you can use slime beads in loads of colors!
- ½ package of dollar store faux snow filler glitter flakes. Find other faux snow options here as well.
- Black permanent adhesive vinyl or whichever color you prefer
- Transfer tape
- Cricut scraper
- Weeding tool
- Scissors
- “Let it Snow” FREE SVG file, download link below

Download the Free “Let it Snow” SVG File For Cricut
Download these free Let It Now SVG templates by joining the Abbi Kirsten Community below, and find it by searching the keyword “ornaments” or “Design #643.” If you are already a member, log into your Member account. Need help to enter the Freebie vault? Read this helpful Freebie Vault guide.
How to Make the Fillable Christmas Ornaments
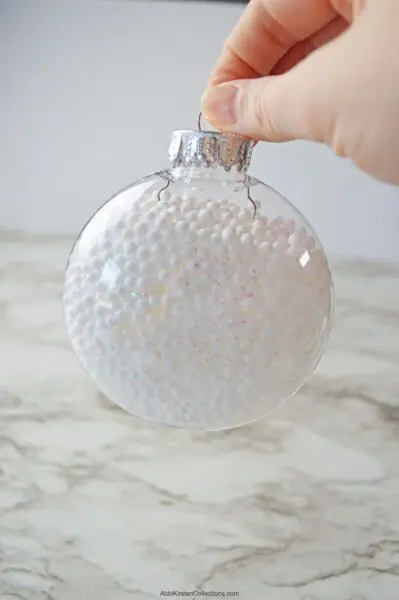
To make this ornament, start by layering the faux snow filler into your fillable ornament. I alternated the mini foam balls and the glitter flakes, then shook everything together to disperse.
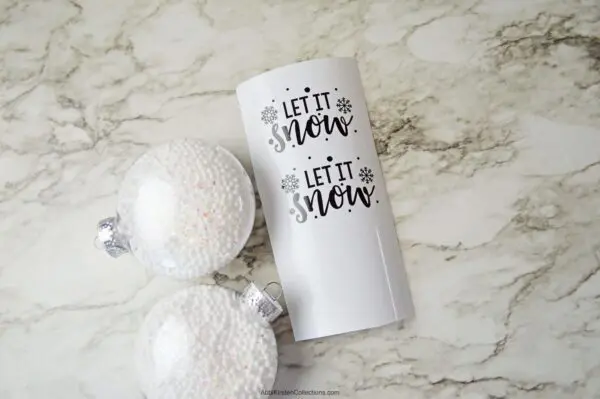
To cut the “Let it Snow” free SVG files, upload the design to Cricut Design Space and scale the design, ensuring that you have it sized correctly for the ornaments you are using.
My ornaments were 3×3, so I resized the SVG to approx. 2.5 inches wide. Make sure that the aspect ratio is locked when you resize, so the design holds its dimensions.

Cut a piece of vinyl to fit. Place the permanent vinyl on your cutting mat and load it into the Cricut machine.
Check your cut settings, and use the settings recommended by your machine for permanent vinyl. Cut out your SVG, then weed out all of the excess vinyl, careful to weed the inside of the letters and snowflakes, as well. Cut a piece of transfer tape to fit the design.
Applying Vinyl To Christmas Ornaments
Use the Cricut scraper to smooth the transfer tape to the front of the vinyl. Smooth and burnish the vinyl. Flip the design over so that it’s face down, and peel the liner away from the transfer tape.
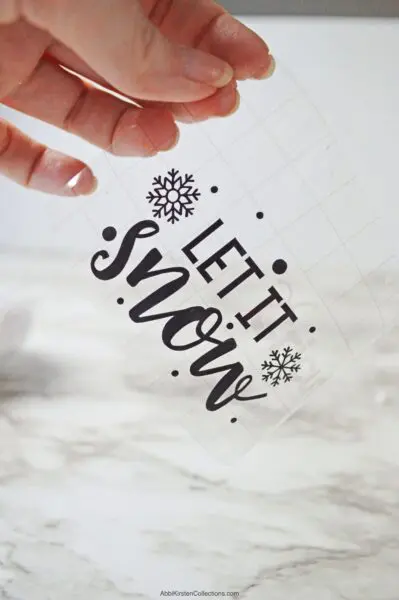
For any curved or rounded surface, it can be helpful to cut short snips around the transfer tape to allow for more flexibility when placing the design onto the fillable ornament.
Next, position the vinyl onto your ornament, doing your best to make it centered how you want it. Use your scraper to lightly scrape over the vinyl pieces under the transfer tape so that they adhere to the ornament. Remove the transfer tape.
And your fillable Christmas ornaments are complete! These DIY Christmas ornaments are easy enough for kids can make, and they also make lovely gifts.
What do you think of these fillable Christmas ornaments? If you enjoyed this tutorial, you would love my DIY glitter ornaments!

More DIY Christmas Ornament Crafts

DIY Fillable Christmas Ornaments: Free “Let It Snow” SVG Cut File
You can make your own ornaments for Christmas gifts or home decorations with this easy and quick craft! Using clear round baubles, you can wish for a white Christmas once you fill these ornaments with craft snow, glitter, and a vinyl saying across the center that reads “Let it Snow!” Keep them for yourself, or use them as welcomed favors for your holiday party.
Materials
Instructions
- Gather all your supplies together. I recommend cleaning the ornaments before starting.
- Open the ornament and layer white snowballs and snow glitter. Replace the top and shake to spread the “snow” more evenly.
- Upload the free "Let it Snow" SVG files to Cricut Design Space.
- Scale the design to your ornament size in Design Space, making sure to lock the aspect ratio so all elements of the design resize together.
- Cut the vinyl to size and load it into the Cricut machine.
- Weed the excess once the vinyl is cut.
- Cut a piece of transfer tape to size.
- Place transfer tape over the vinyl and use the scraper tool to burnish the front and back.
- Place the design face down and remove the liner from the transfer tape.
- Cut notches or short cuts into the transfer tape to add in placing it on a curved surface.
- Position transfer tape and vinyl over the ornament surface. Use the scraper tool to lightly adhere the vinyl to the ornament.
- Remove the transfer tape.
About Abbi Kirsten
Welcome to my colorful corner of the internet, where we play with vibrant crafts and unlock your creative magic! Hang out with me and get lost in a fun array of projects, tutorials, and products, from stunning papercraft ideas to flower templates, Cricut help for beginners, and endless crafter’s hacks.
Join A-Star Crafters and participate in monthly Craft-Alongs in our community Facebook group!