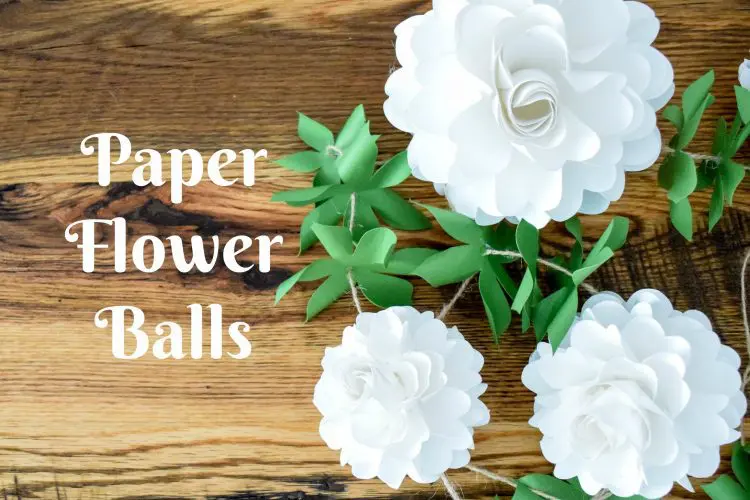
How to Make Paper Flower Balls: Step-By-Step Tutorial
This post may contain affiliate links that won’t change your price but will share some commission.
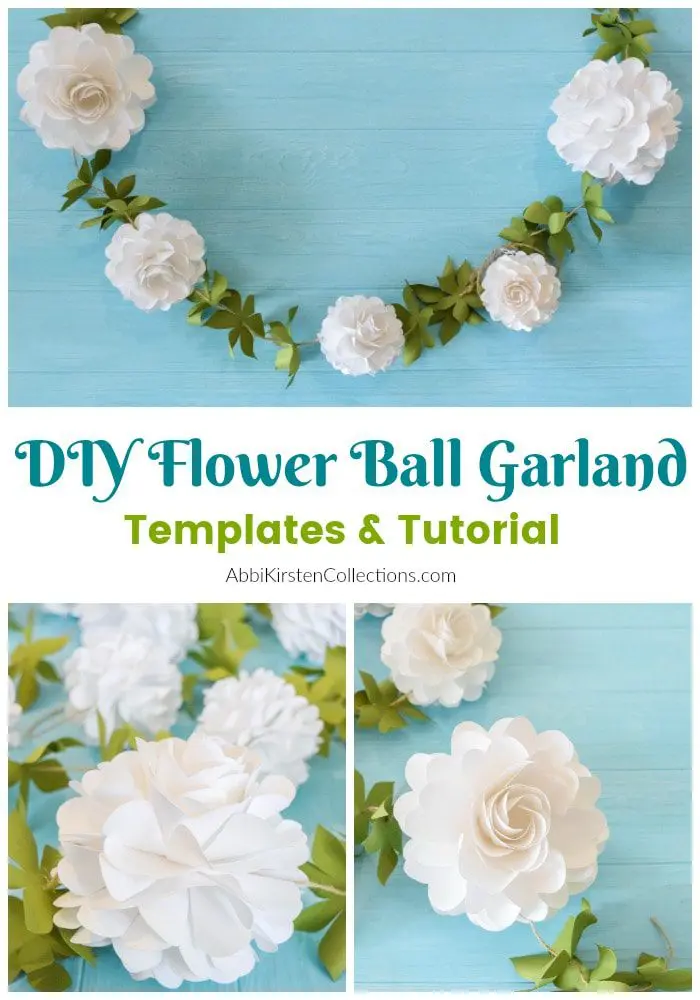
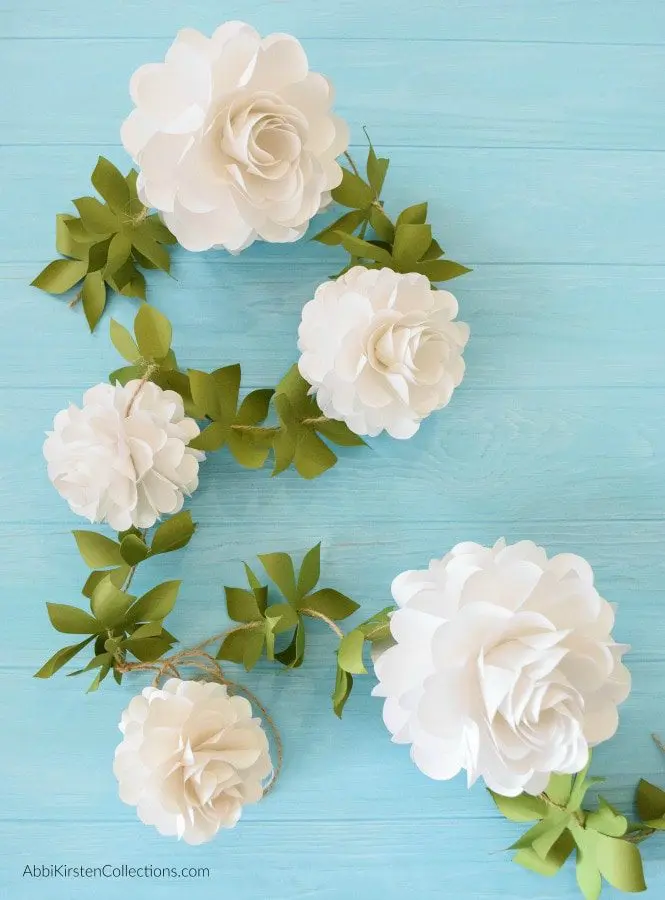
How to Make Paper Flower Balls for a Flower Garland
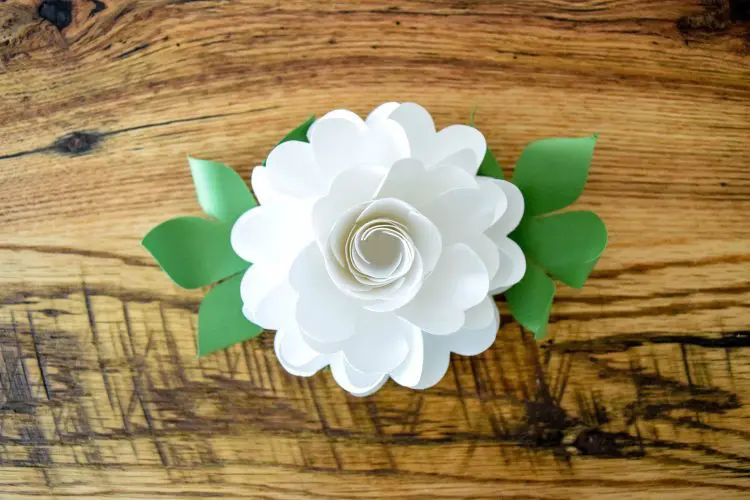
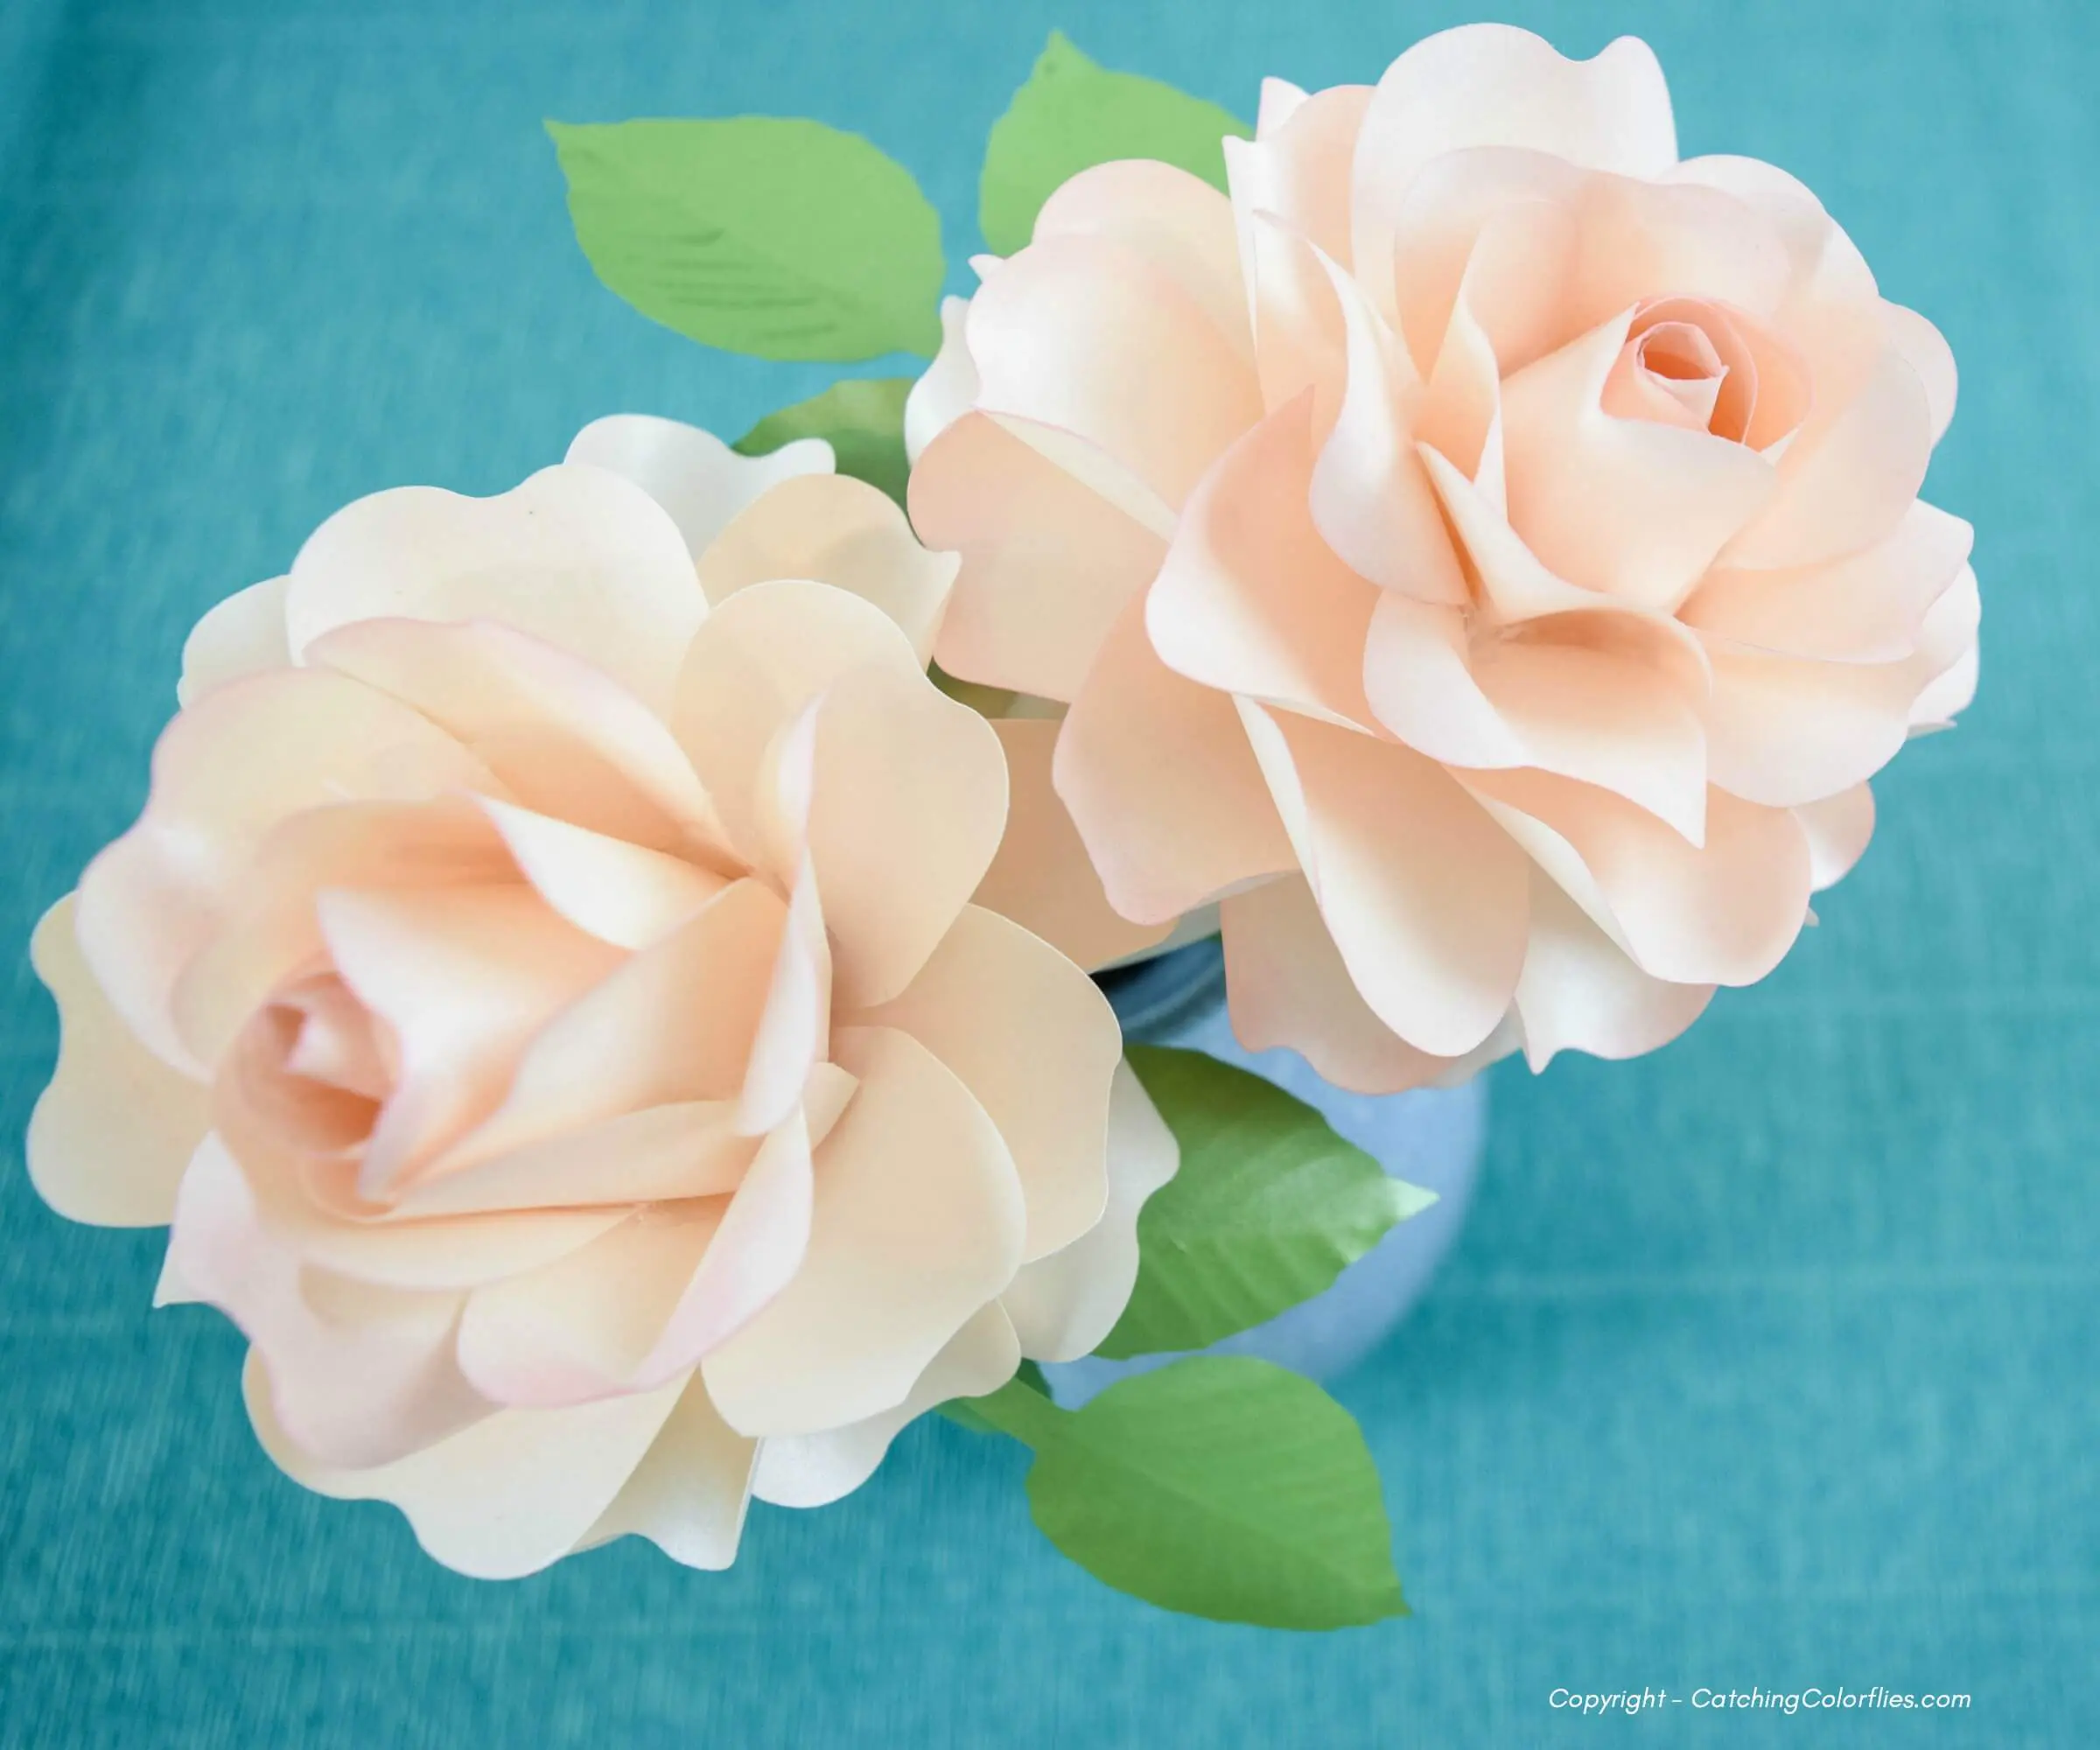
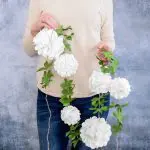
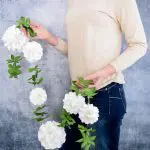
Who doesn’t love a fabulous paper flower garland? There are many beautiful ways to create flower garlands. Recently, I decided to turn my pomander balls, also known as flower kissing balls, into a luscious string of paper flower balls that can hang practically anywhere!
Several years ago, I discovered that gluing two paper roses back-to-back was a super easy method of creating kissing balls, often used in wedding décor.
So, today I will show you how to make paper flower balls with this step-by-step tutorial AND turn them into a long flower garland.
Be sure also to watch the full step-by-step videos for both the pomander flower balls and garland at the end of this post.
I did use my Cricut Maker for this tutorial, but even if you do not own a cutting machine, you can still cut by hand with the PDF printable templates.

Supplies Needed for a Paper Ball Garland
- Templates: The templates include pre-sized PDFs & SVGs for making three different size flower balls.
- Pomander Kissing Balls template from Catching Colorfiles
- Pomander Kissing Balls template from Etsy
- Or try the small ONE for free inside the Freebie Vault when you join my community! Join via the teal button below!
- 65lb Cardstock
- Scissors or Cricut Maker or Cricut Explore (New to Cricut? Overwhelmed and scared to use that new machine? I can help!)
- Rolling tool & mat (Optional)
- Thin wood dowel for curling
- Glue Gun
- Twine (for hanging or creating the garland)
Unlock the Freebie Vault
Download one small pomander template for free by signing up via the teal button below. OR download all the flower ball sizes and greenery above!
If you are already a member, then login right here and find it in the small flower section. Remember to use the password you were given in the first email. Need help entering the vault? Read this helpful post here.
How to Make Paper Flower Balls: Step-By-Step Tutorial
Start by prepping the pomander flowers.
You will be making two roses and gluing them back to back to create the pomander.
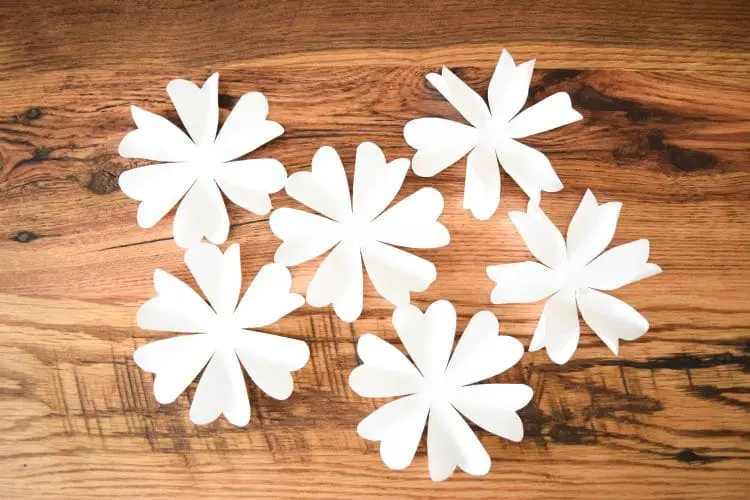
- Cut 12 petal layers total. Six for each rose.
- Cutting Machine Measurements are:
- Small pomander – 3 x 3 inches
- Medium pomander – 3.7 x 3.7 inches
- Large pomander – 5 x 5 inches
- Greenery – any size you prefer. I scale mine between 2.5-3.5 inches
- All sizes are made the same way
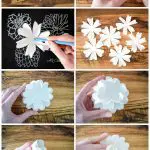
Step 1: Using my ruffle rose template, we will make two roses and glue them back to back.
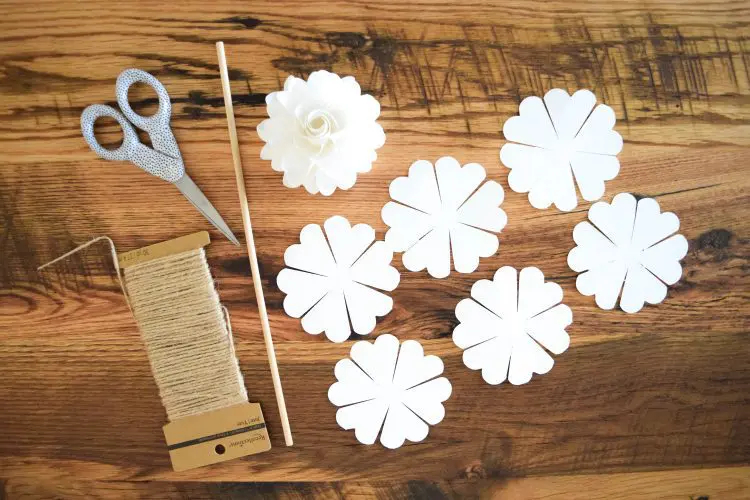
Step 2: Cut out six petal layers for one ruffle rose.
Step 3: Use a thin wood dowel to curl all the petal’s edges inwards. Repeat for all petal layers.
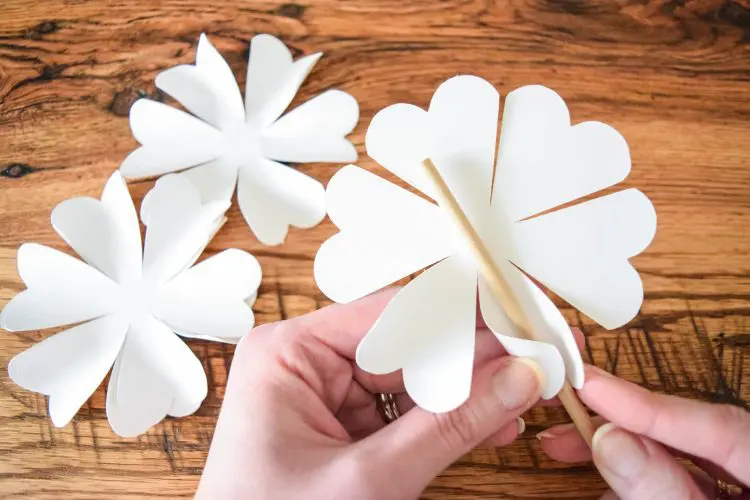
Use my Paper Blooms shaping mat & toolset to help the leaves stand up. Of course, this is optional- but OH so helpful!
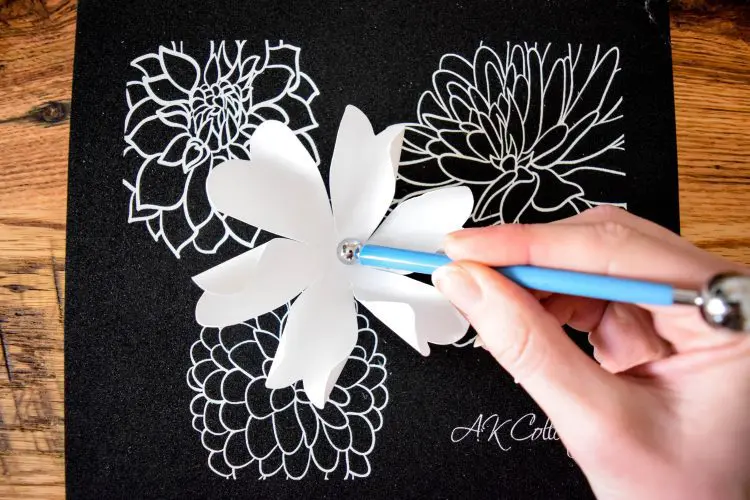
Step 4: If you are using the mat, roll the center of all six pieces. If you are not using the mat, just make sure to bend the petals up when we get to the assembly.
Step 5: To start assembly, first, add glue to the bottom of one petal layer and gluing it on top another. Make sure to alternate the bottom petals with the top layers so that they are not directly stacked.
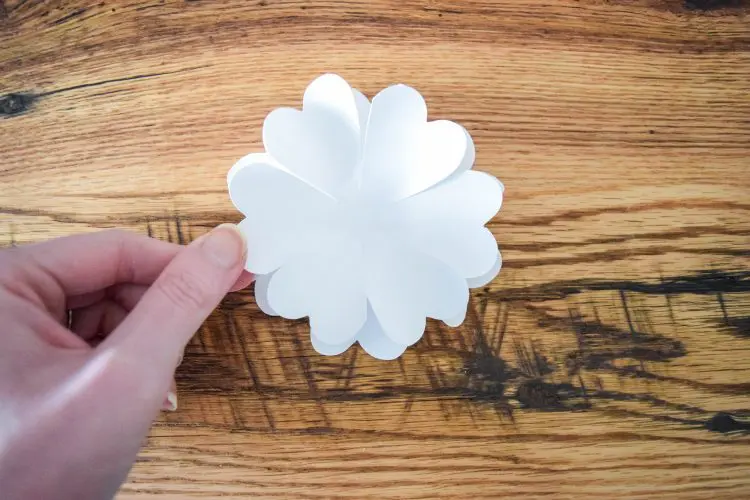
Step 6: Add your 3rd petal layer the same way. You are folding the petals up slightly as you glue it in.
Step 7: For the remaining three petal layers, we will fold them up and tuck them all in the same direction.
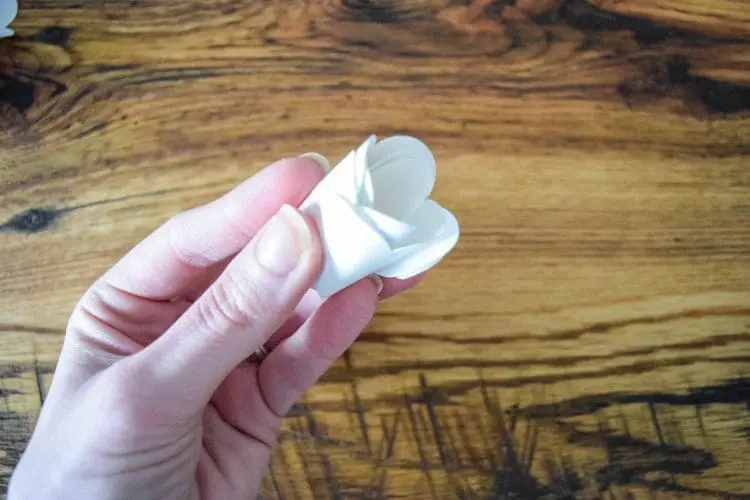
Step 8: Once you have them, all tucked the same direction twist the bottom slightly. Tucking helps the petals stay in place.
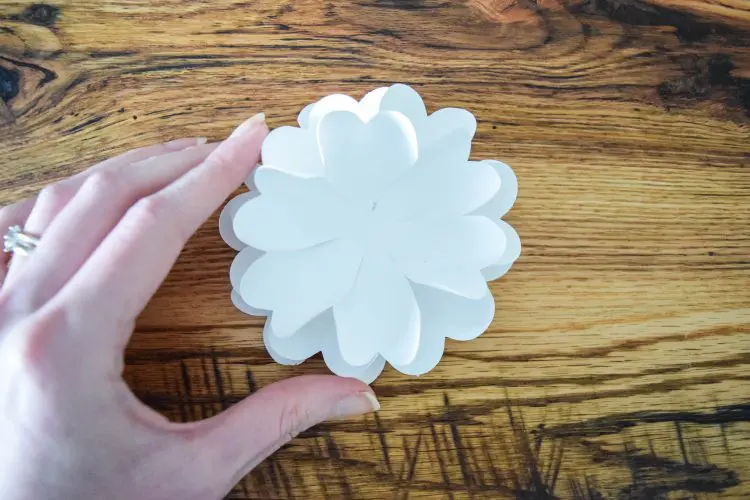
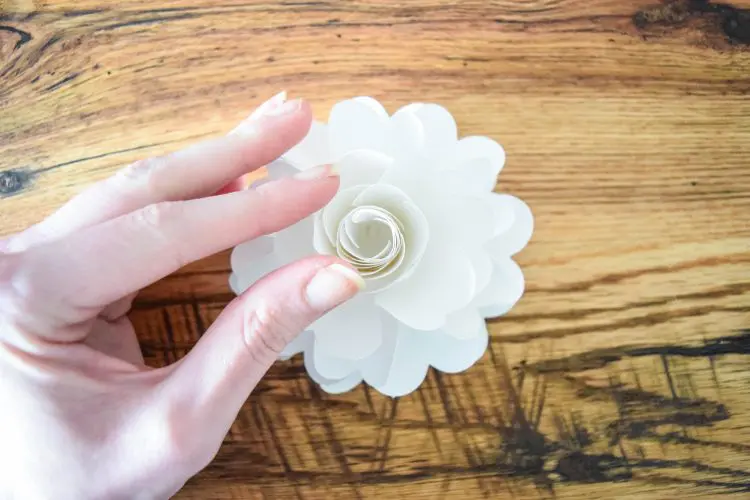
Step 9: Glue into the center & fan it out a little once it’s glued in.
Step 10: Repeat the tuck and twist with the last two petal layers.
Step 11: Tuck and twist your last petal layer and make sure it’s twisted tightly at the bottom before gluing it in, so the bud center always stays tight.
Step 12: Glue the final piece in.
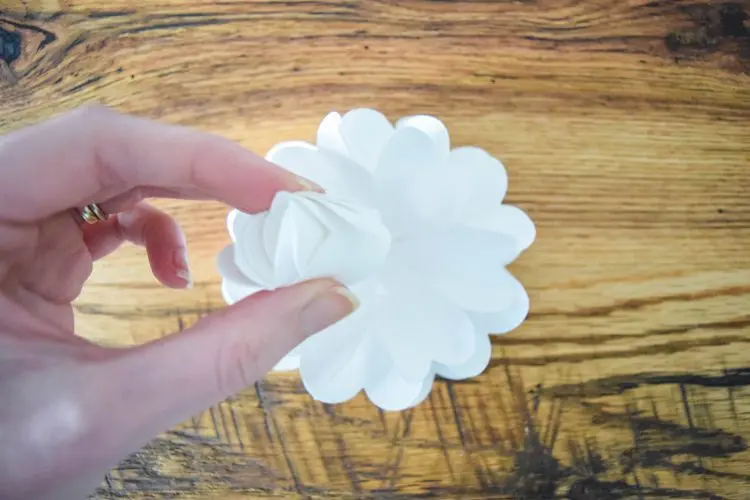
Your ruffle rose is complete. Now repeat the whole process to create a second rose.
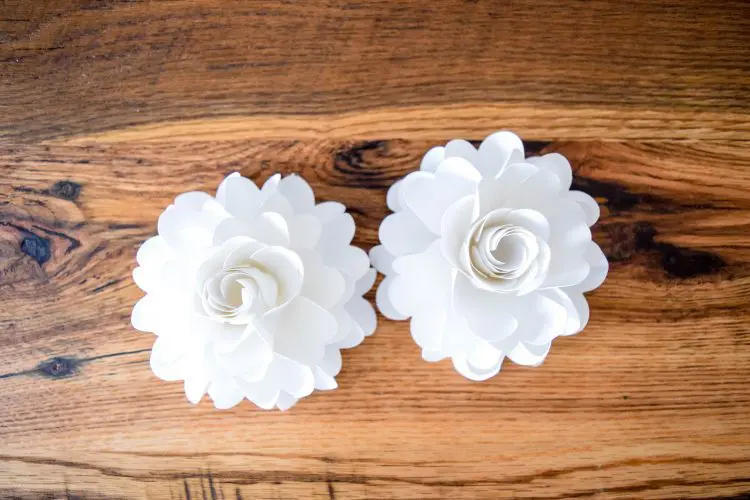
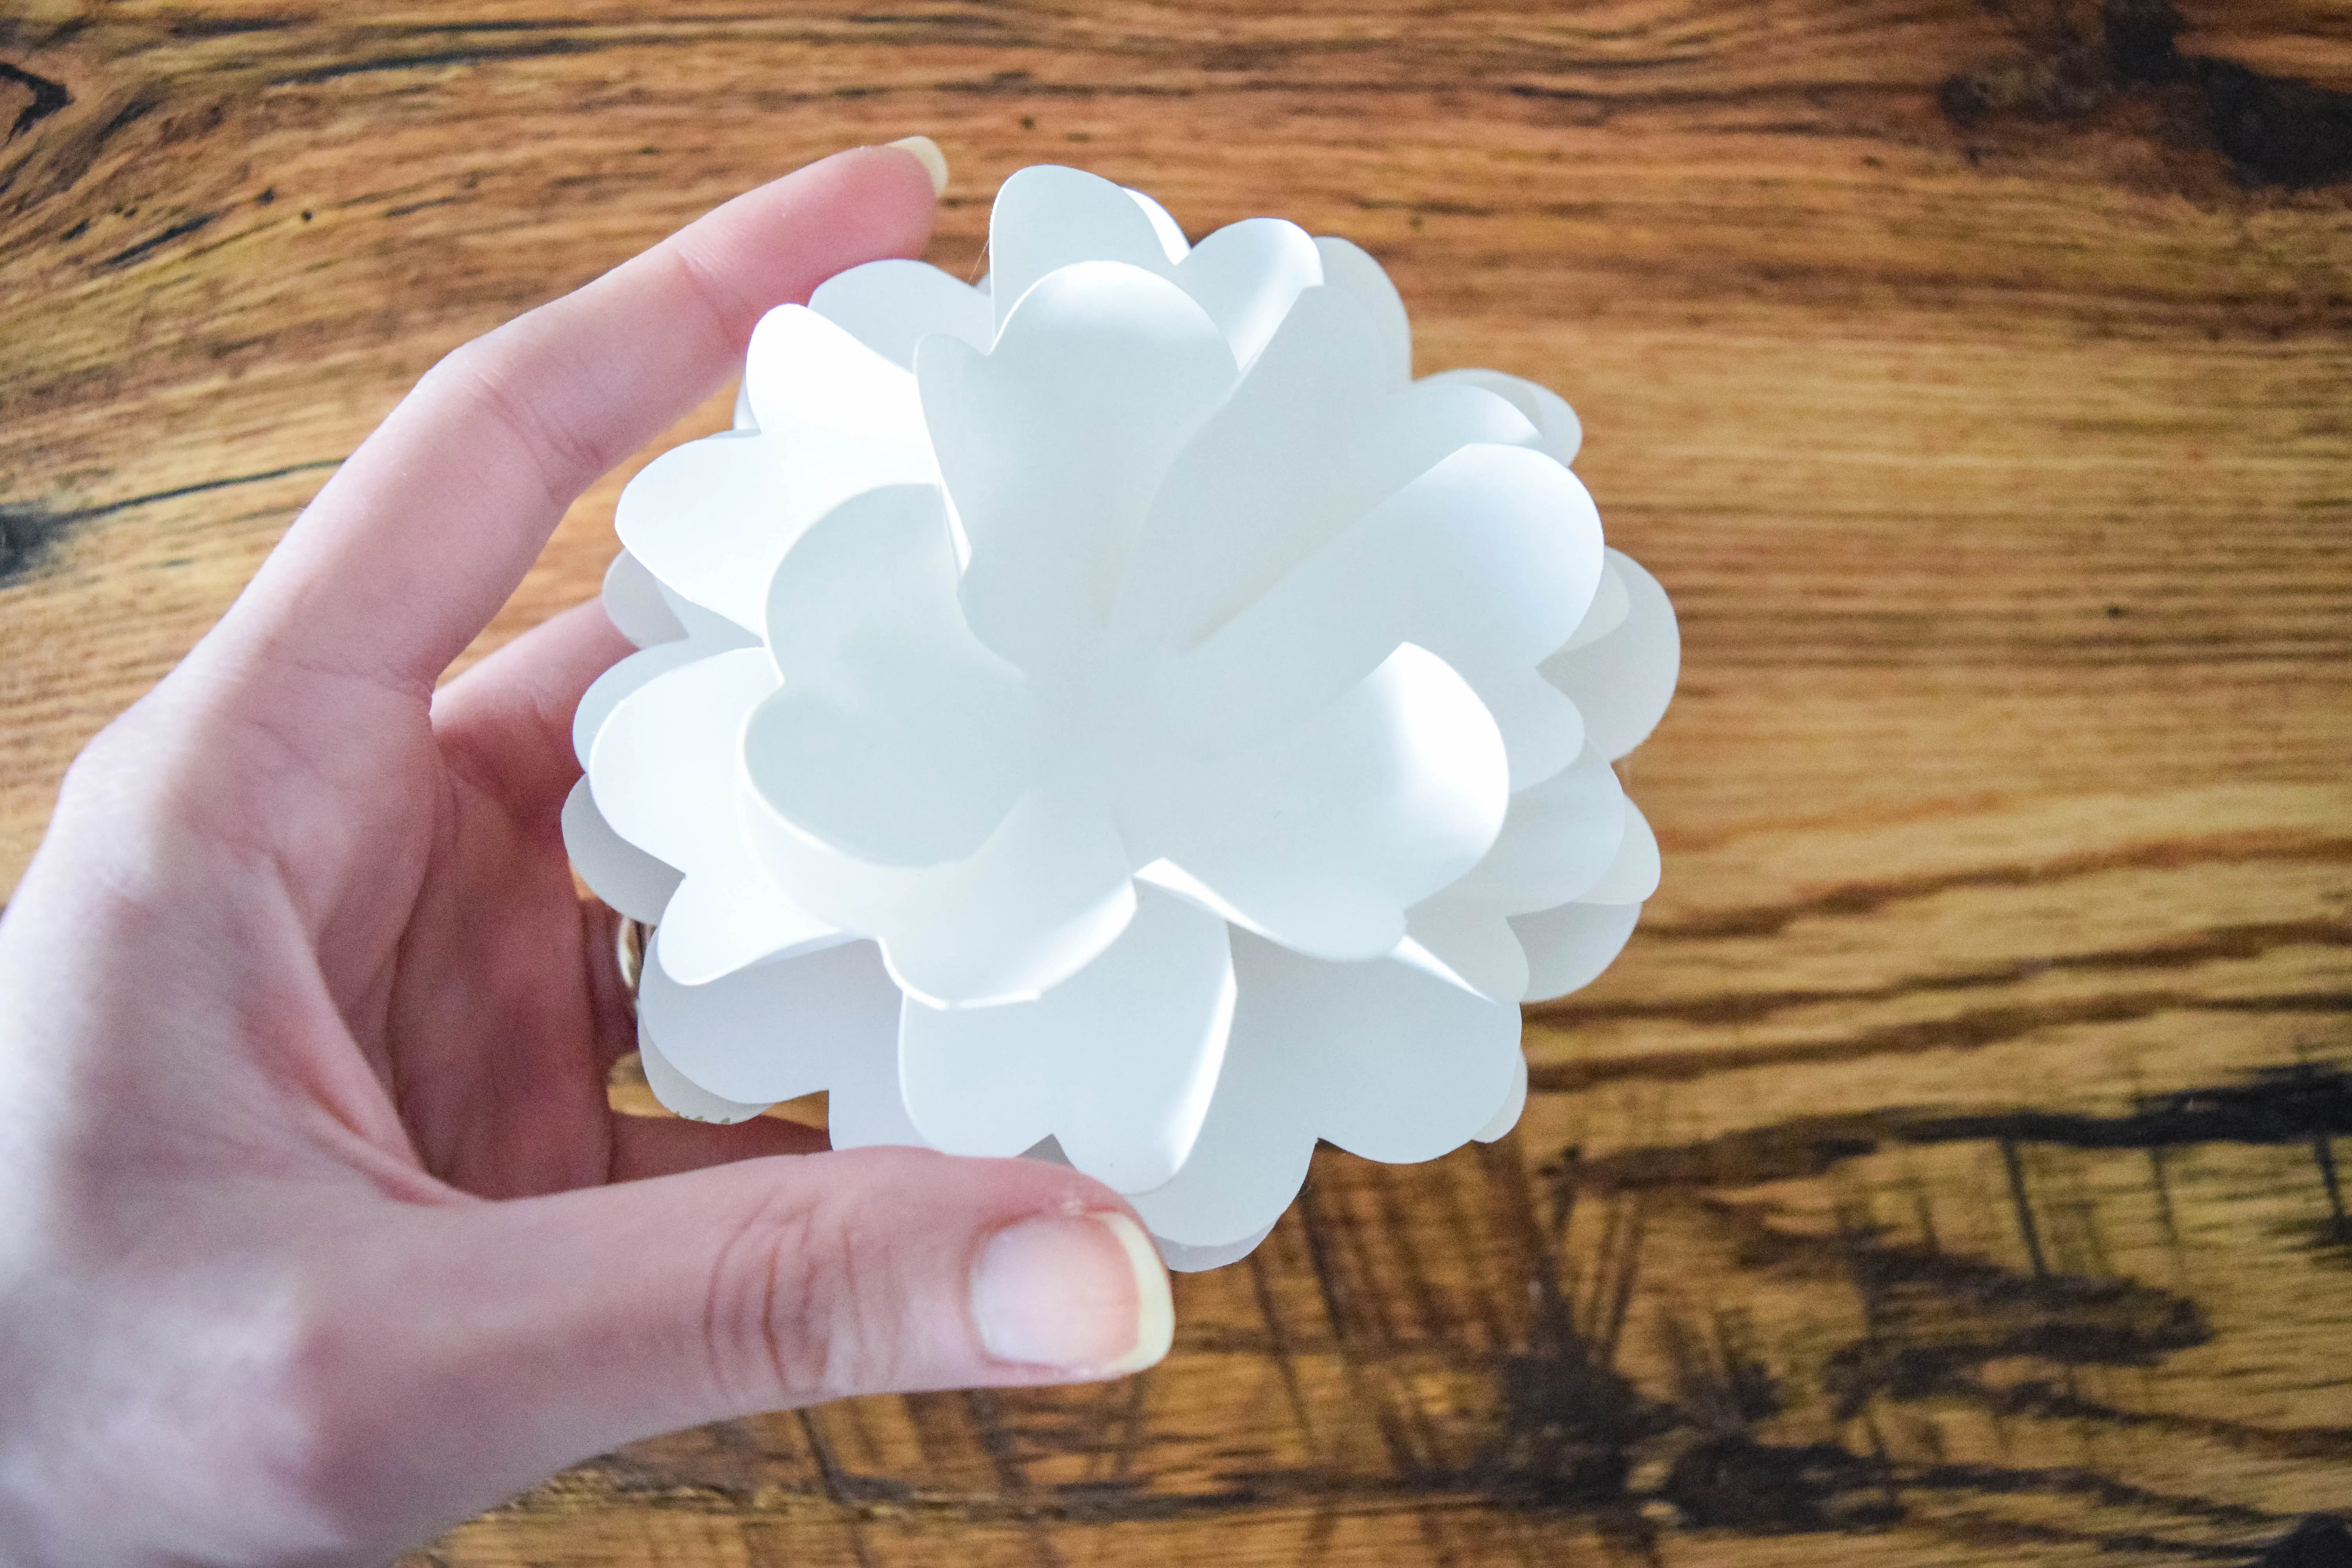
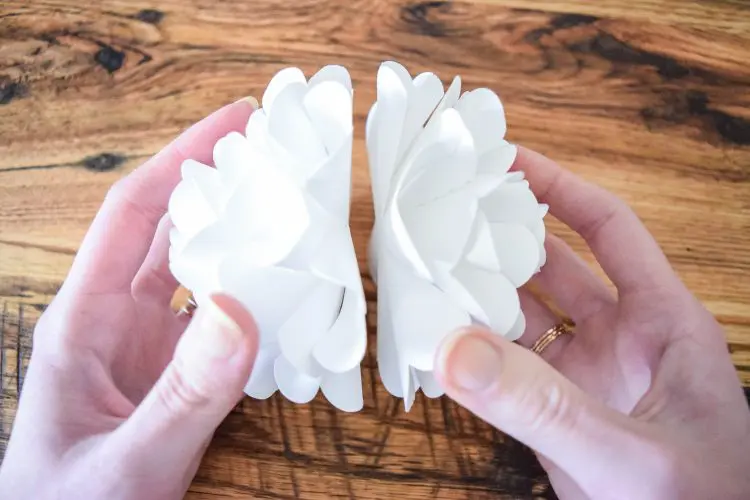
Step 13: We will now glue the two roses back to back to create the pomander flower ball. You will naturally see how they meet together like a fitted puzzle piece.
If you want to hang them, use some ribbon or twine to glue between the petals. Or, follow the step-by-step garland tutorial below to add some greenery to your vines.
Step 14: When using twine or ribbon- add a bit of glue between two petals that naturally overlap and glue in your string. This is perfect for wedding aisle decor (and so many other uses!)
Creating these pomander kissing balls and garland is perfect for Valentines Day, Wedding, Spring-Time, or anytime decor piece. However you choose to use it. I know you will love it!

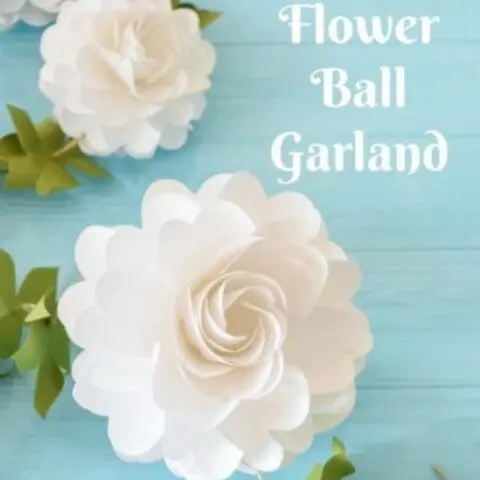
Paper Flower Ball Garland Video Tutorials
Watch the FULL Video Tutorial Here:
Here is how to make your Paper Flower Balls into a beautiful garland:
DIY Paper Flower Balls
Learn how to make these elegant paper pomander flower balls! Attach them to twine for a classic paper flower garland using this step-by-step tutorial.
Materials
Instructions
1. Prep the pomander flower layers. You need 12 layers total, six for each rose. Follow the below measurements for small, medium, and large pomander flowers:
- Small pomander – 3 x 3 inches
- Medium pomander – 3.7 x 3.7 inches
- Large pomander – 5 x 5 inches
- Greenery – any size you prefer. I scale mine between 2.5-3.5 inches
2. Next, begin making two roses to glue back-to-back. Use a thin wood dowel to curl all the petal’s edges inwards. Repeat for all petal layers. If you are using the Paper Blooms shaping mat & toolset, roll the center of all six petal layers.
3. To start assembly, add glue to the bottom of one petal layer and gluing it on top another. Rotate the petal layers so they not directly stacked. Fold each petal layer slightly up as you glue them together.
4. For the remaining three petal layers, fold them up and tuck them all in the same direction. Glue this group into the center and fan the petals outward once glued.
5. Repeat the tuck and twist with the last two petal layers.
6. Now repeat the whole process to create a second rose.
7. Now glue the two roses back to back to create the pomander flower ball.
8. To add greenery and make a flower ball garland, watch the DIY flower ball garland video tutorial below!
Discover More
Share what you’ve been up to by using #DIYwithAbbi. I would love to see your creativity in the works, so flaunt your flower power magic! You are a huge source of my inspiration!
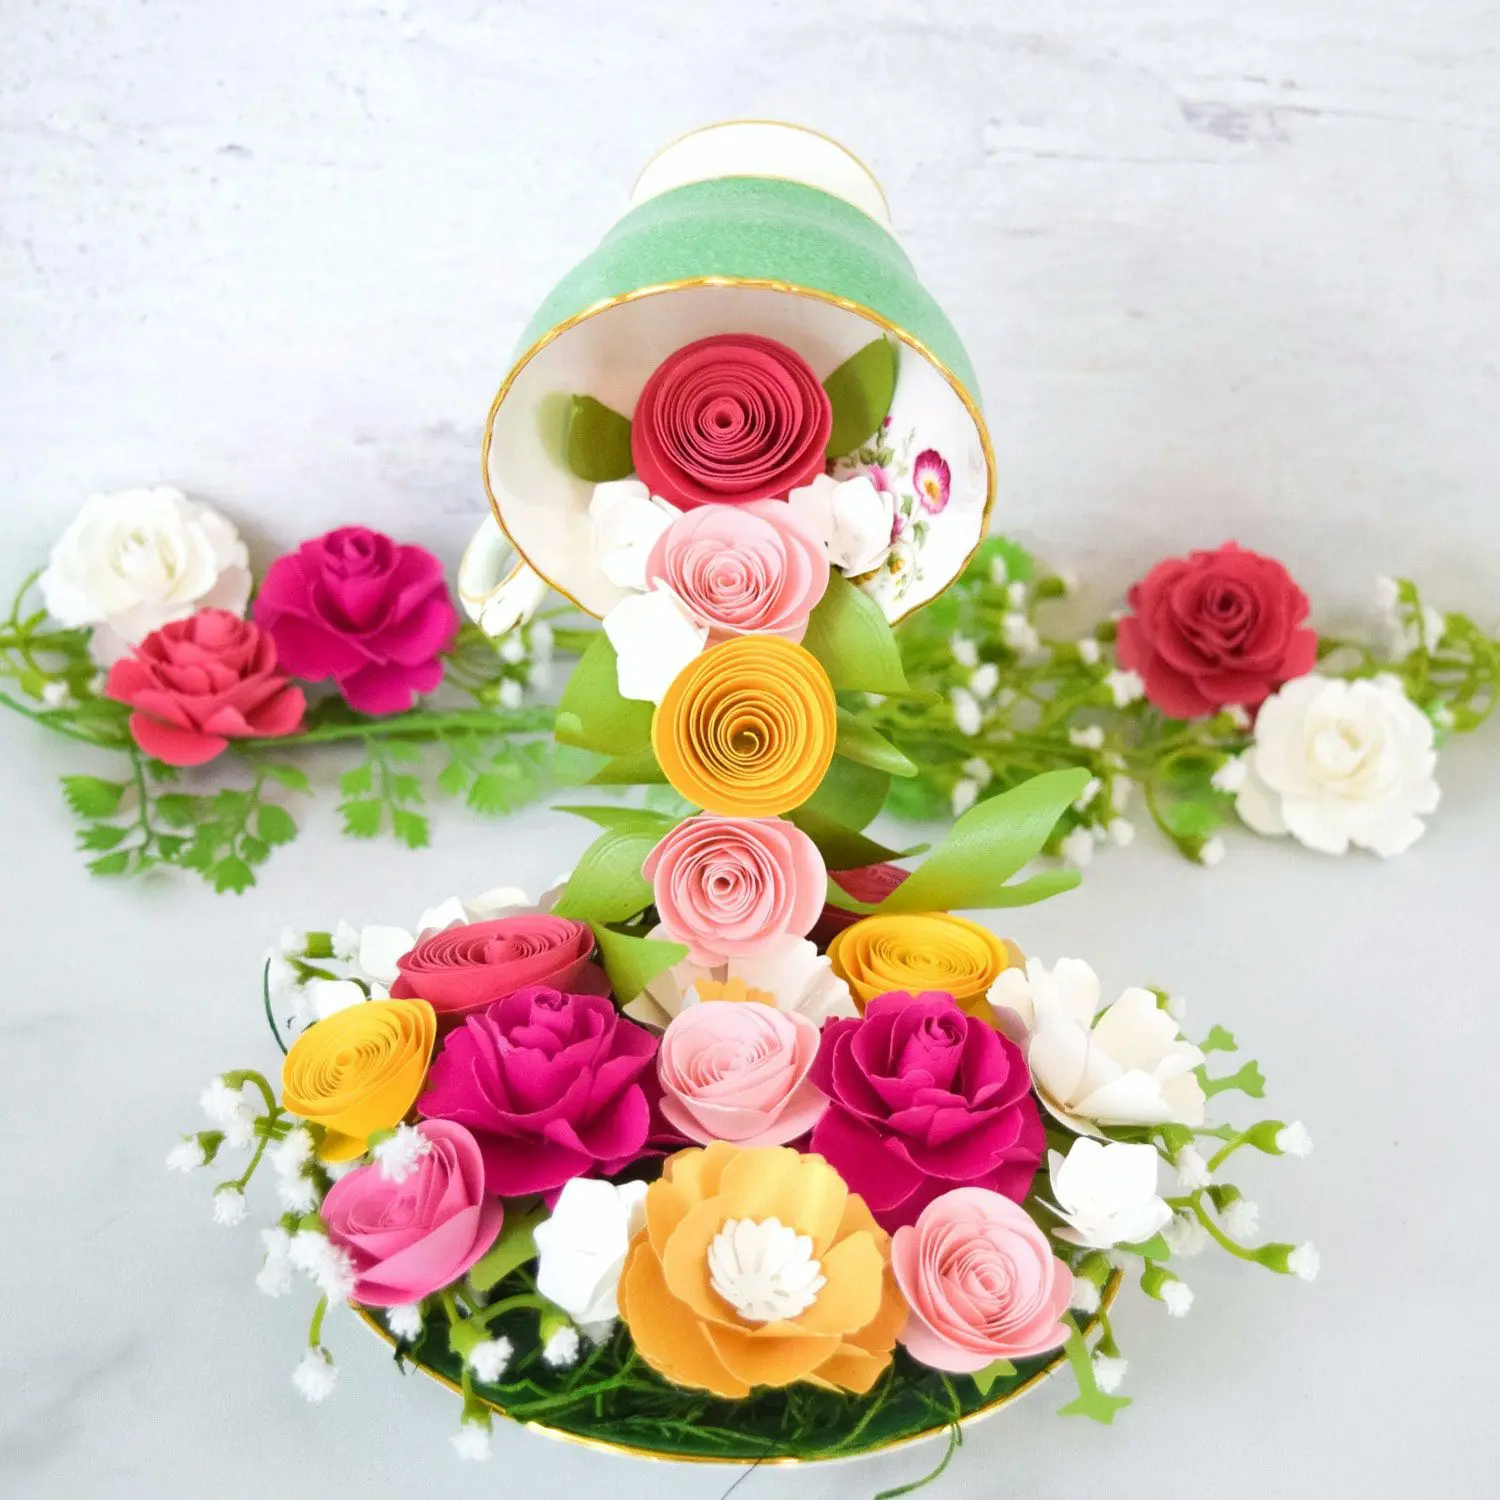
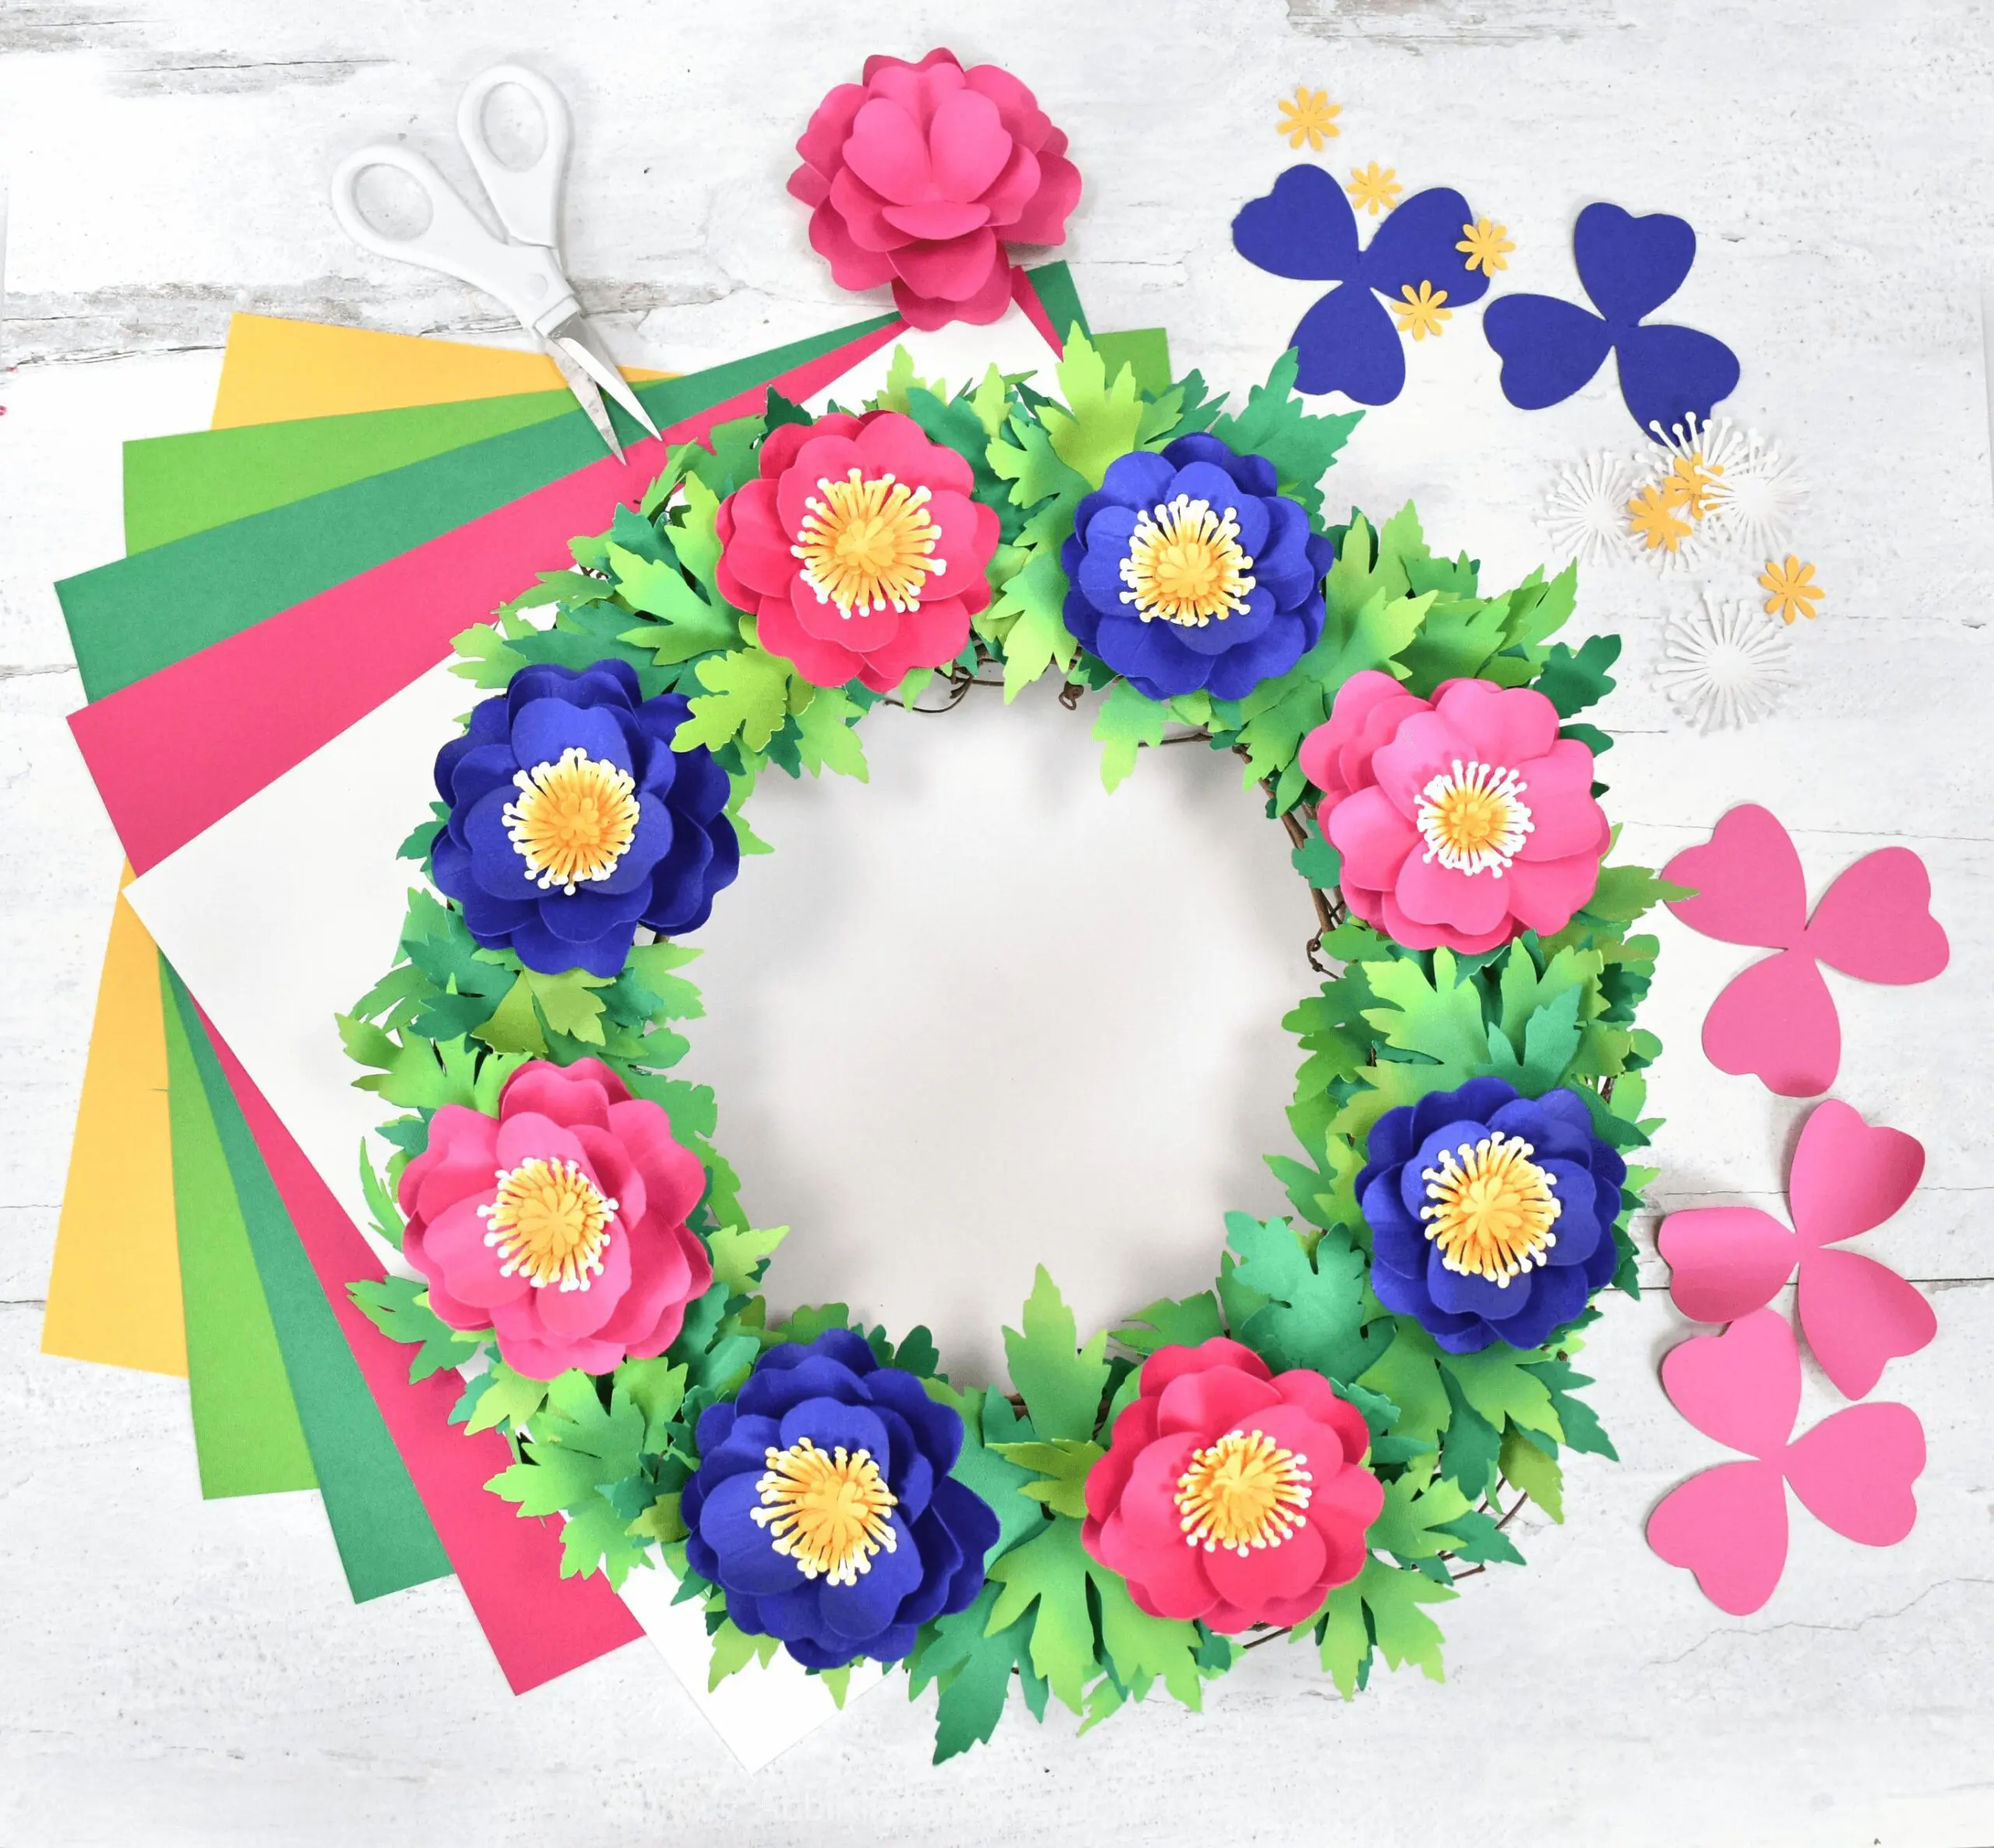
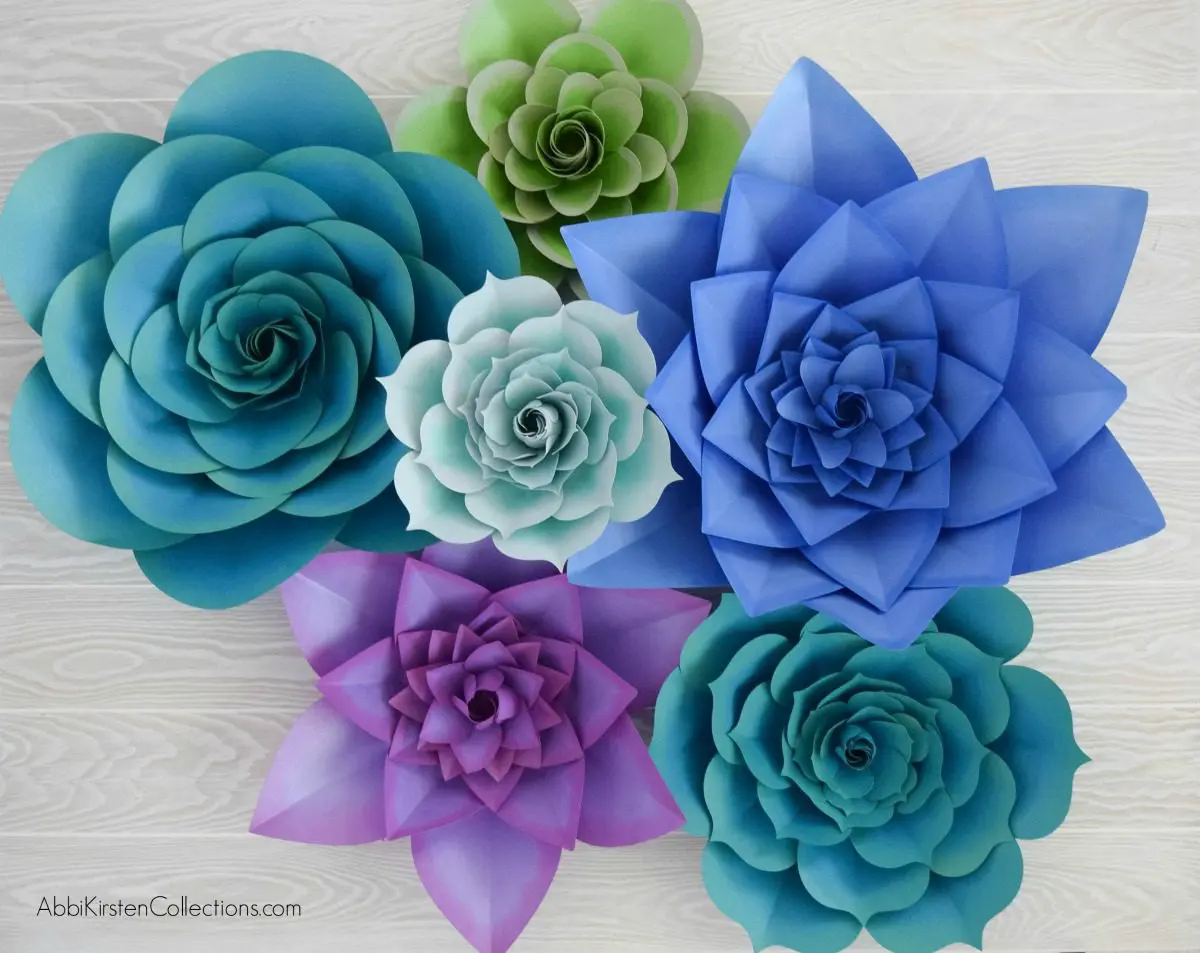
My mission is to inspire you to nurture the creative magic inside your soul by bringing you fun, easy to learn DIY projects, and quality template designs. Interested in more flower tutorials?! We offer dozens of signature designs – starting with my bestseller, The Art of Giant Paper Flowers, my Giant Flower Library, and my shop of endless designs.
Feeling overwhelmed? Start here with my tried and true Resource List!


I would like the link for the Pomander Flower Ball Garland for my cutter. I would be happy to pay for the product.
Hi, The links can be found in the supply section of the post.
These are very beautiful! I would have never thought to make a flower ball like that. Thanks for the great freebie library!