Easy Paper Agave Plant Tutorial
This post may contain affiliate links that won’t change your price but will share some commission.
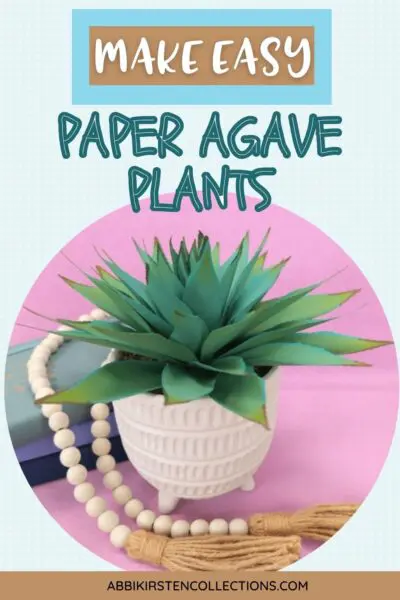
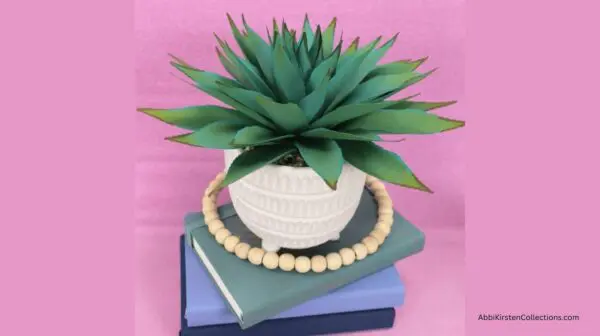
If you love modern botanical décor but don’t love caring for real plants, this paper agave plant is the perfect project. In this tutorial, I’ll show you how to make a realistic agave plant using cardstock, simple shaping techniques, and a few easy coloring methods to create incredible dimension. Whether you’re decorating your home, creating centerpieces for a southwest-themed event, or adding to your paper plant collection, this DIY project is both beginner-friendly and has designer-quality results.
This paper agave pairs beautifully with our California paper poppies and other paper succulents from the Cali Botanical Collection to create a stunning paper succulent displays that lasts forever.
Create A Lifelike Agave Plant With A-Star Crafters
The paper agave design templates are available to A-Star Crafters. Read on to get the templates, find the supplies needed to make the craft, and follow my detailed hands-on video as well as the step-by-step instructions included with this tutorial. Ready, set, create!
Get The Paper Agave Plant Templates
If you’re an A-Star Crafter, you already have access to the paper agave design templates for uploading. The templates are designed to work seamlessly with your cutting machine.
- As an A-Star Crafter, log in to access and download the Agave Plant templates here.
- If you haven’t yet joined A-Star Crafters, click JOIN A-STAR CRAFTERS below, create your account, log in, and go directly to the Agave Plant designs here. Join A-Stars to get access to the templates for this fun project and so much more!
Get This And Hundreds More Craft Templates By
Becoming an A-Star Crafter!
Supplies and Materials
Before getting started, gather the following supplies:
- Medium-weight cardstock (shades of green)
- Cutting machine or scissors (if cutting PDF printables by hand)
- Hot glue gun
- ¼-inch or ½-inch wooden dowel
- 18-gauge floral wire (and floral tape, if covering the wire)
- Needle-nose pliers
- Acrylic paint pens (green and brown recommended)
- Distress ink or distress oxide ink
- Ink blending brush
- Vase and rock gravel
- Foam for the vase
- A-Star Crafters Paper Agave Templates
Paper Agave Plant Video Instructions
The video below shows how easy it is to create this paper agave plant. You can also read on for the step-by-step process in assembling this fun craft.
Steps for Making The Paper Agave Plant
1. Download the Templates.
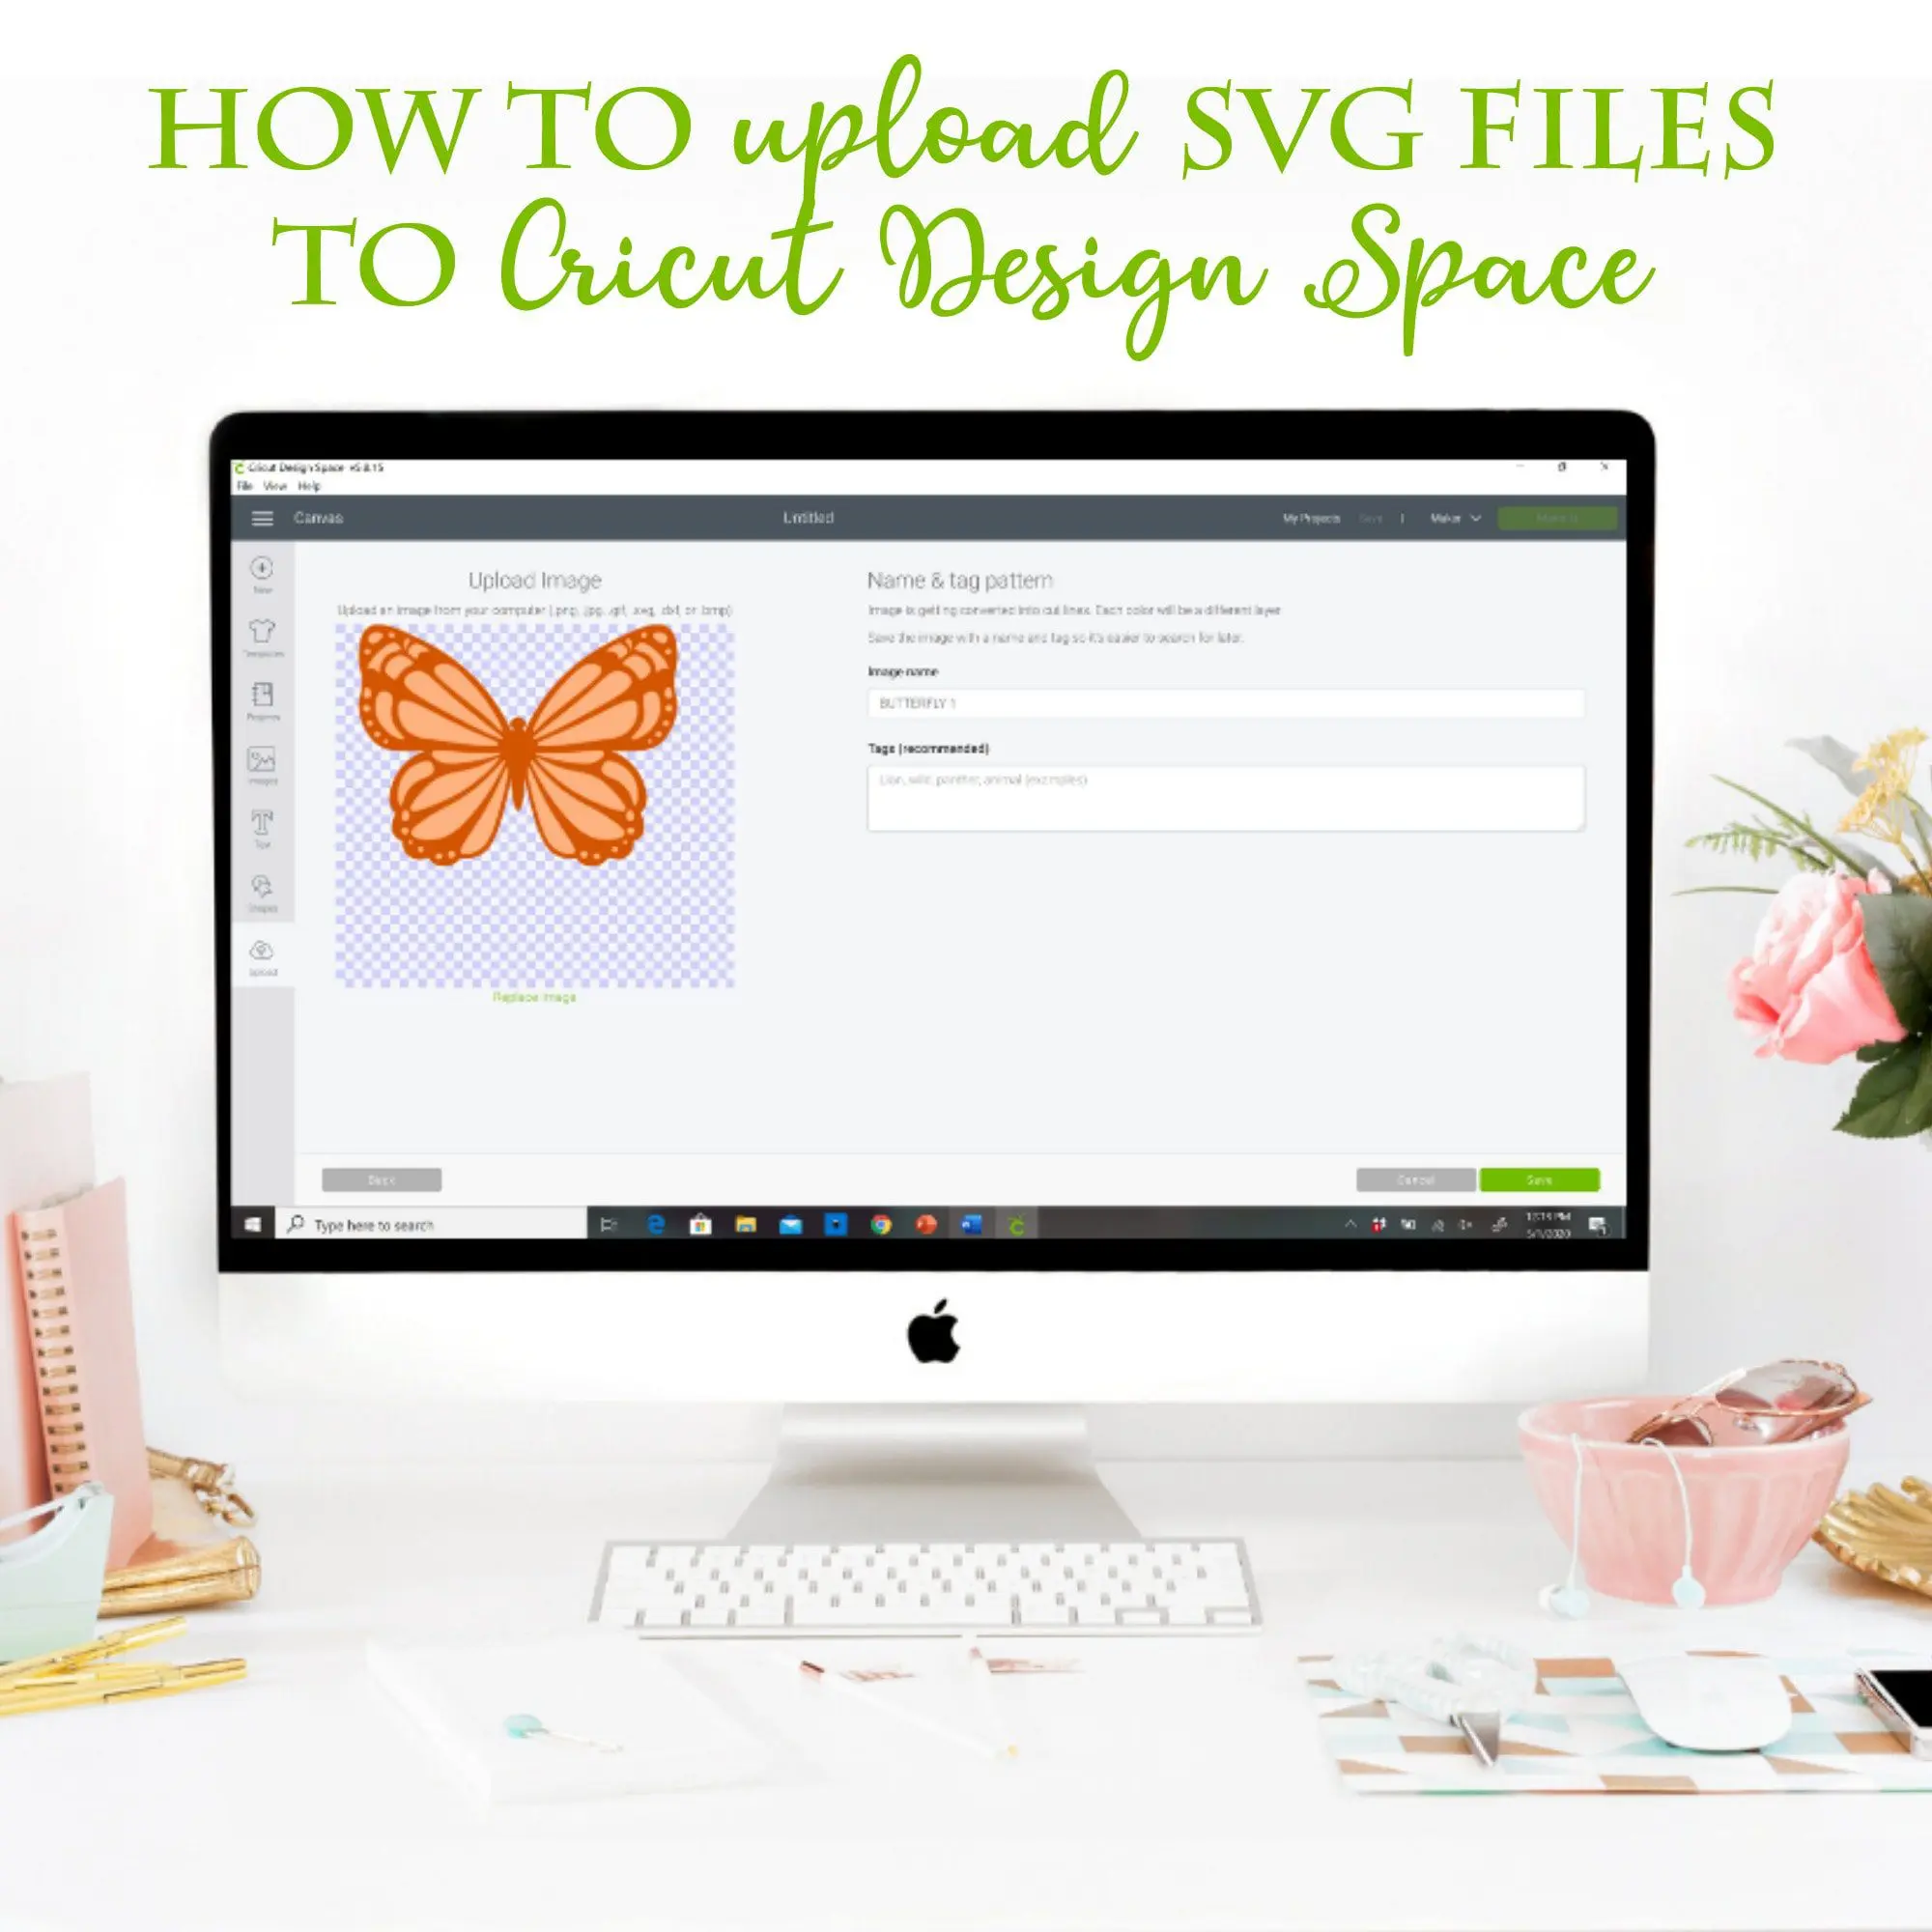
Download the Paper Agave templates from the Craft Vault, then upload them to Cricut Design Space. This craft is part of a collection of botanical designs within Abbi Kirsten’s A-Star Crafters. Whether you’re cutting by machine or with scissors, the templates make this project easy to recreate.
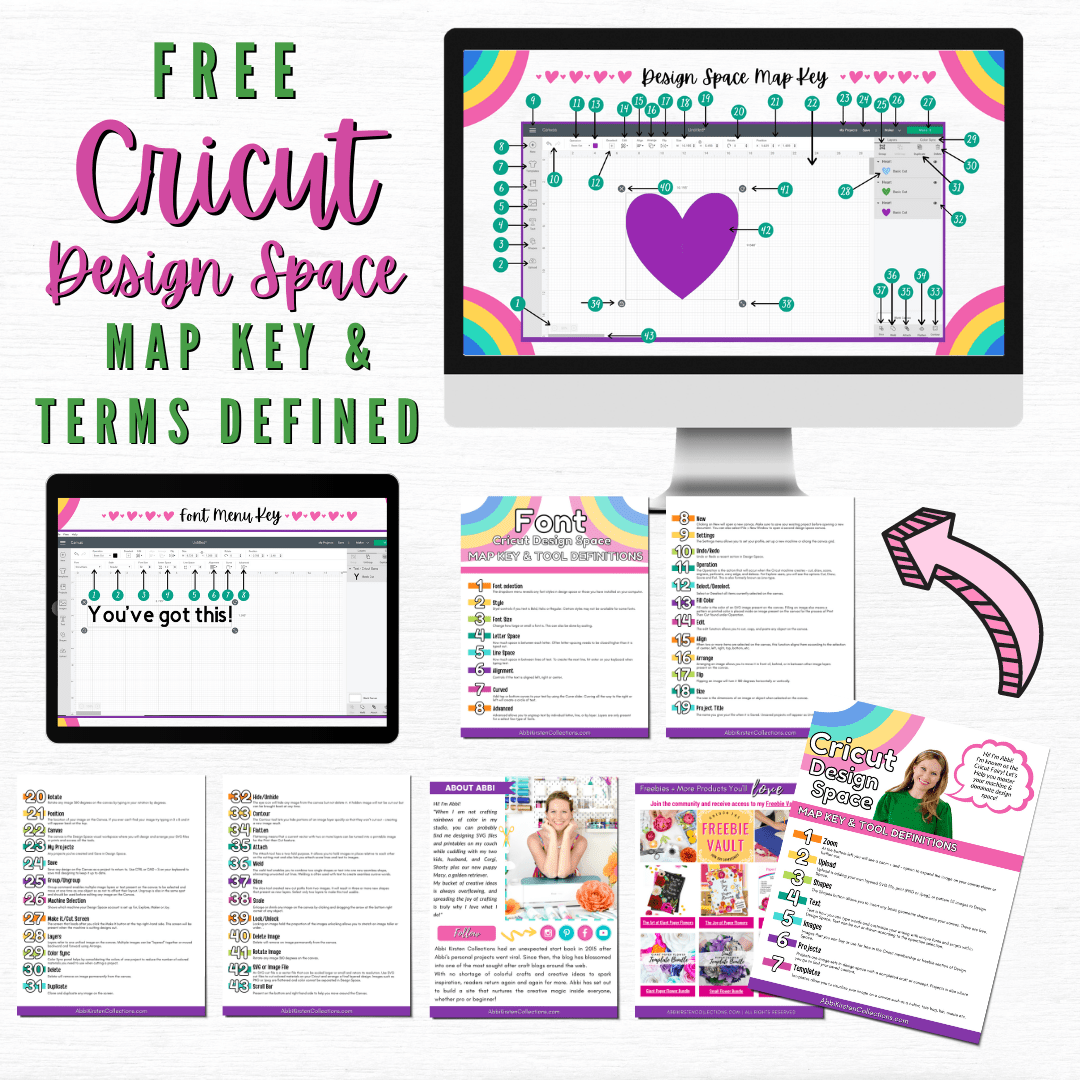
If you’re new to Cricut, read my tutorial on uploading an SVG file to Design Space. I also offer a free Cricut Freedom Workshop on how to master your Cricut with real, actionable steps – but without the tech confusion and overwhelm!
2. Cut Out Your Agave Pieces.
Begin by cutting all of your template pieces. For one agave plant, you’ll want to cut:
- 2 extra large leaves
- 2 large leaves
- 2 medium leaves
- 2 small leaves
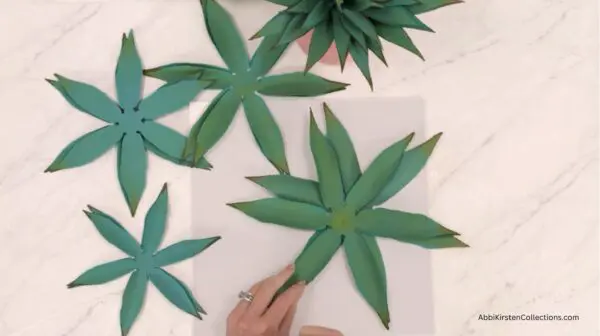
You can cut the pieces with a Cricut or other cutting machine using the SVG files or with scissors using the printable PDF templates. If you’re using a cutting machine, feel free to resize the templates or experiment with additional leaf sizes to create larger or smaller agave plants.
3. Add Realistic Color And Shading.
One of the easiest ways to make your paper agave look realistic is by adding subtle layers of color before assembly.
First, using a blending brush, apply the distress ink or distress oxide to the center of each leaf. For my agave plant, I selected the Peacock Feathers distress oxide color, but you can, of course, choose your own.
- Starting near the base of the leaf, blend upward toward the tip.
- Leave a small amount of the original cardstock color visible near the tip.
- Ink both the front and back of every leaf for a natural appearance from every angle.
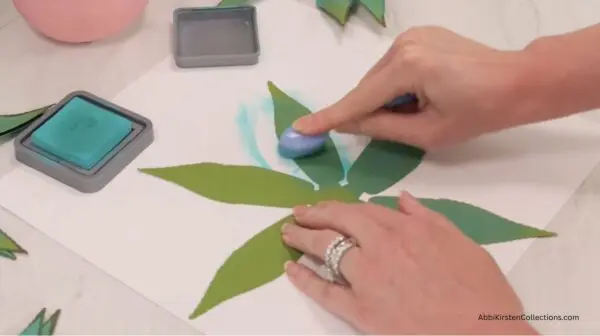
Next, use acrylic paint markers to enhance the details.
- Trace the edges of each leaf with a dark green marker.
- Add a small amount of brown to the pointed tips.
- Apply light, natural strokes to create subtle shading.
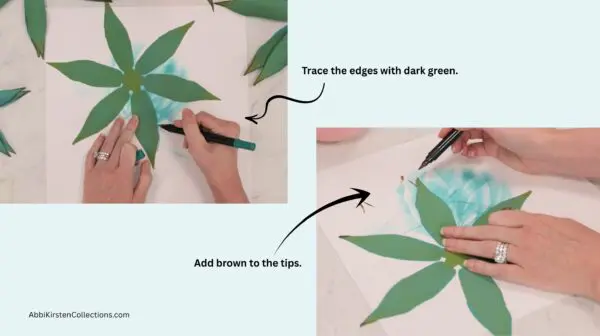
Pro Tip: Taking the time to incorporate a few simple coloring techniques adds beautiful depth and realism to your paper plants and flowers.
4. Shape the Leaves.
Now that we’ve added realistic color to the leaves, let’s shape the agave to give it a sculptured appearance.
- Using a wooden dowel or pencil, curl each side of the leaf upward.
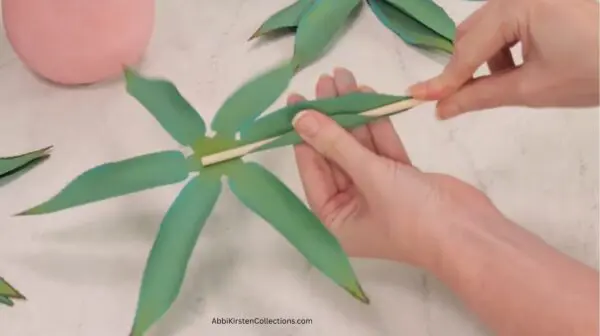
- Gently crease each leaf up toward the base (where the base meets the center). Avoid overworking the cardstock—small curves create the most realistic effect.
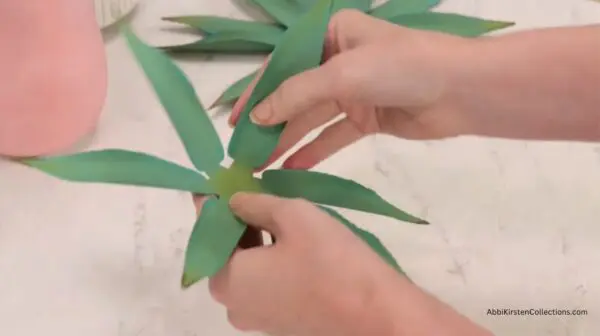
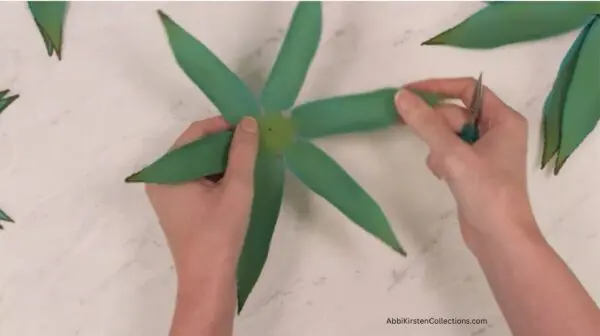
- Finally, carefully punch a small hole in the center of each leaf. This opening allows the floral wire stem to pass through once we begin to assemble the plant.
5. Create The Wire Stem.
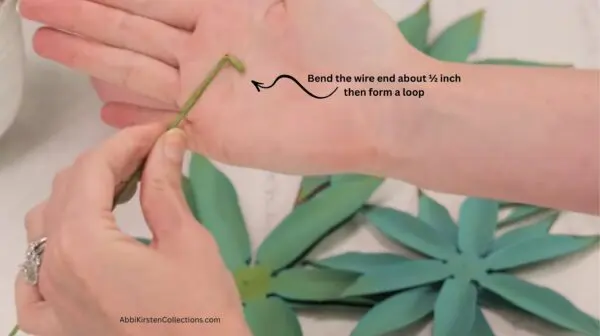
To create a sturdy base for the agave plant, use 18-gauge floral wire. Grab your needle-nose pliers and bend down approximately ½–¾ inch of the wire. Then, form a small loop at the end so that it’s at a 90-degree angle. This small loop acts as a stopper that keeps the first layer securely attached while the glue dries.
6. Assemble the Center of The Agave Plant.
Now we’re ready to begin assembling the agave.
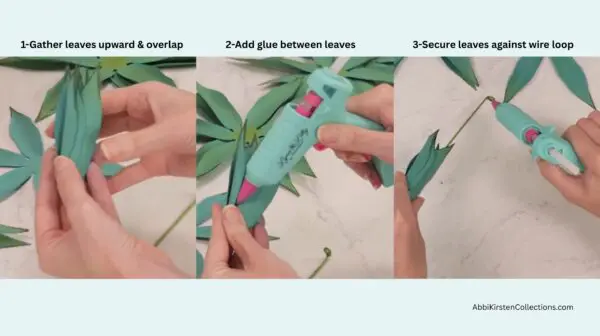
- Starting with the smallest leaf layer, gather the leaves upward into a tight cluster, slightly overlapping them to create a closed center.
- Add small dots of hot glue between the leaves to help them stay upright.
- Thread the leaf onto the floral wire and secure it against the wire loop with hot glue.
- Repeat with the second small layer, allowing it to open slightly more than the first while still maintaining an upright shape.
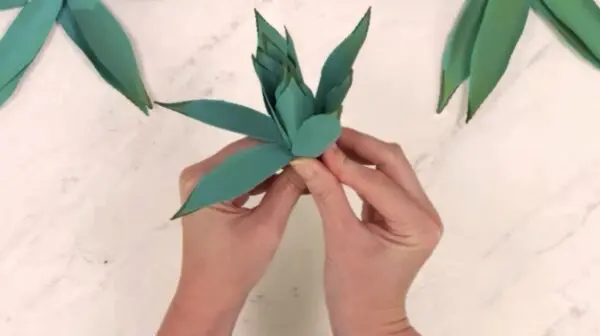
7. Continue Building The Plant.
Working from the smallest pieces to the largest, continue adding each layer onto the wire.
- As you add each new layer, rotate the leaves so the points alternate between the previous layer. Apply hot glue near the base to secure the leaves, allowing each layer to open slightly wider than the one before it.
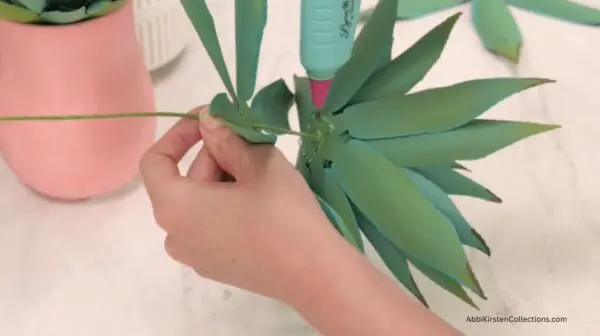
- Gently bend and adjust the leaves as you work. As the plant grows larger, you’ll need less glue because the wider outer leaves naturally hold their shape.
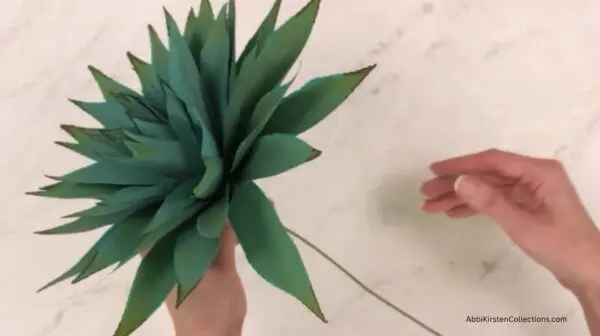
Don’t worry about perfect symmetry. Slight variations in leaf height and angle make the finished agave look even more lifelike.
8. Prepare the Paper Agave Plant For The Container.
Once all eight layers have been assembled, here’s the best part: styling your beautiful agave plant!
- First, trim the floral wire to fit your planter.
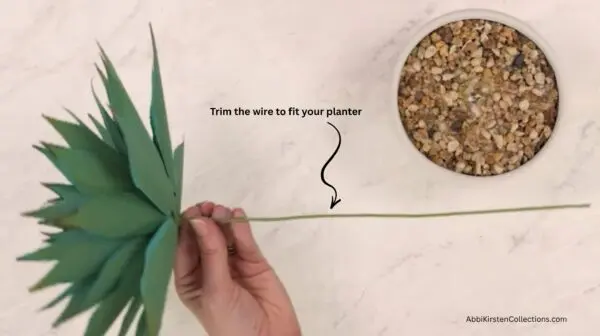
- Prepare your container by placing floral foam inside the planter and covering the foam with decorative rocks or gravel.
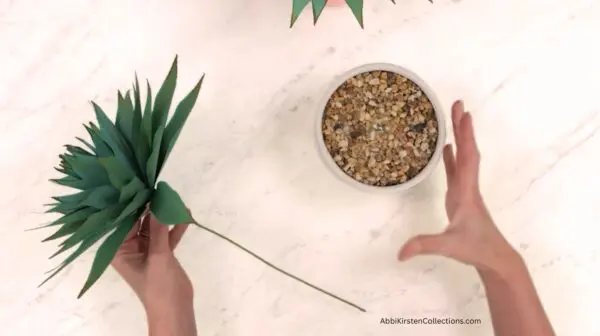
- Insert the wire into the foam until the agave sits securely near the surface of the rocks. Adjust the leaves as needed, gently spreading them to create a full, natural shape.
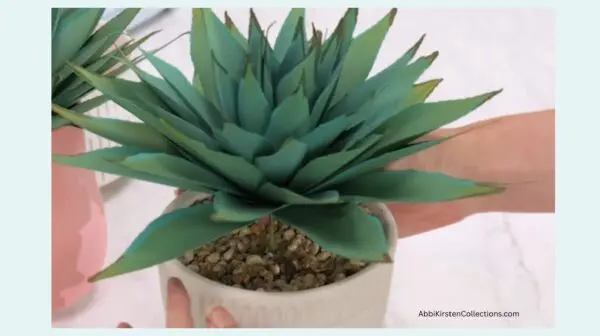
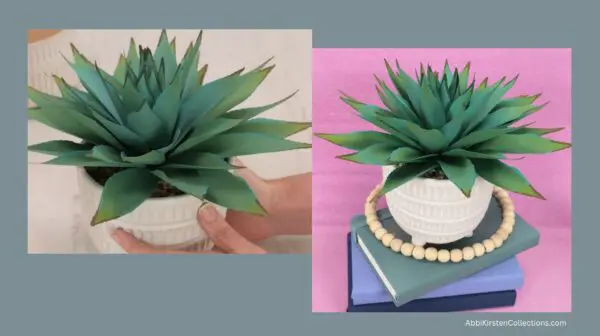
Your realistic paper agave is now ready to display!
Create a Botanical Garden!
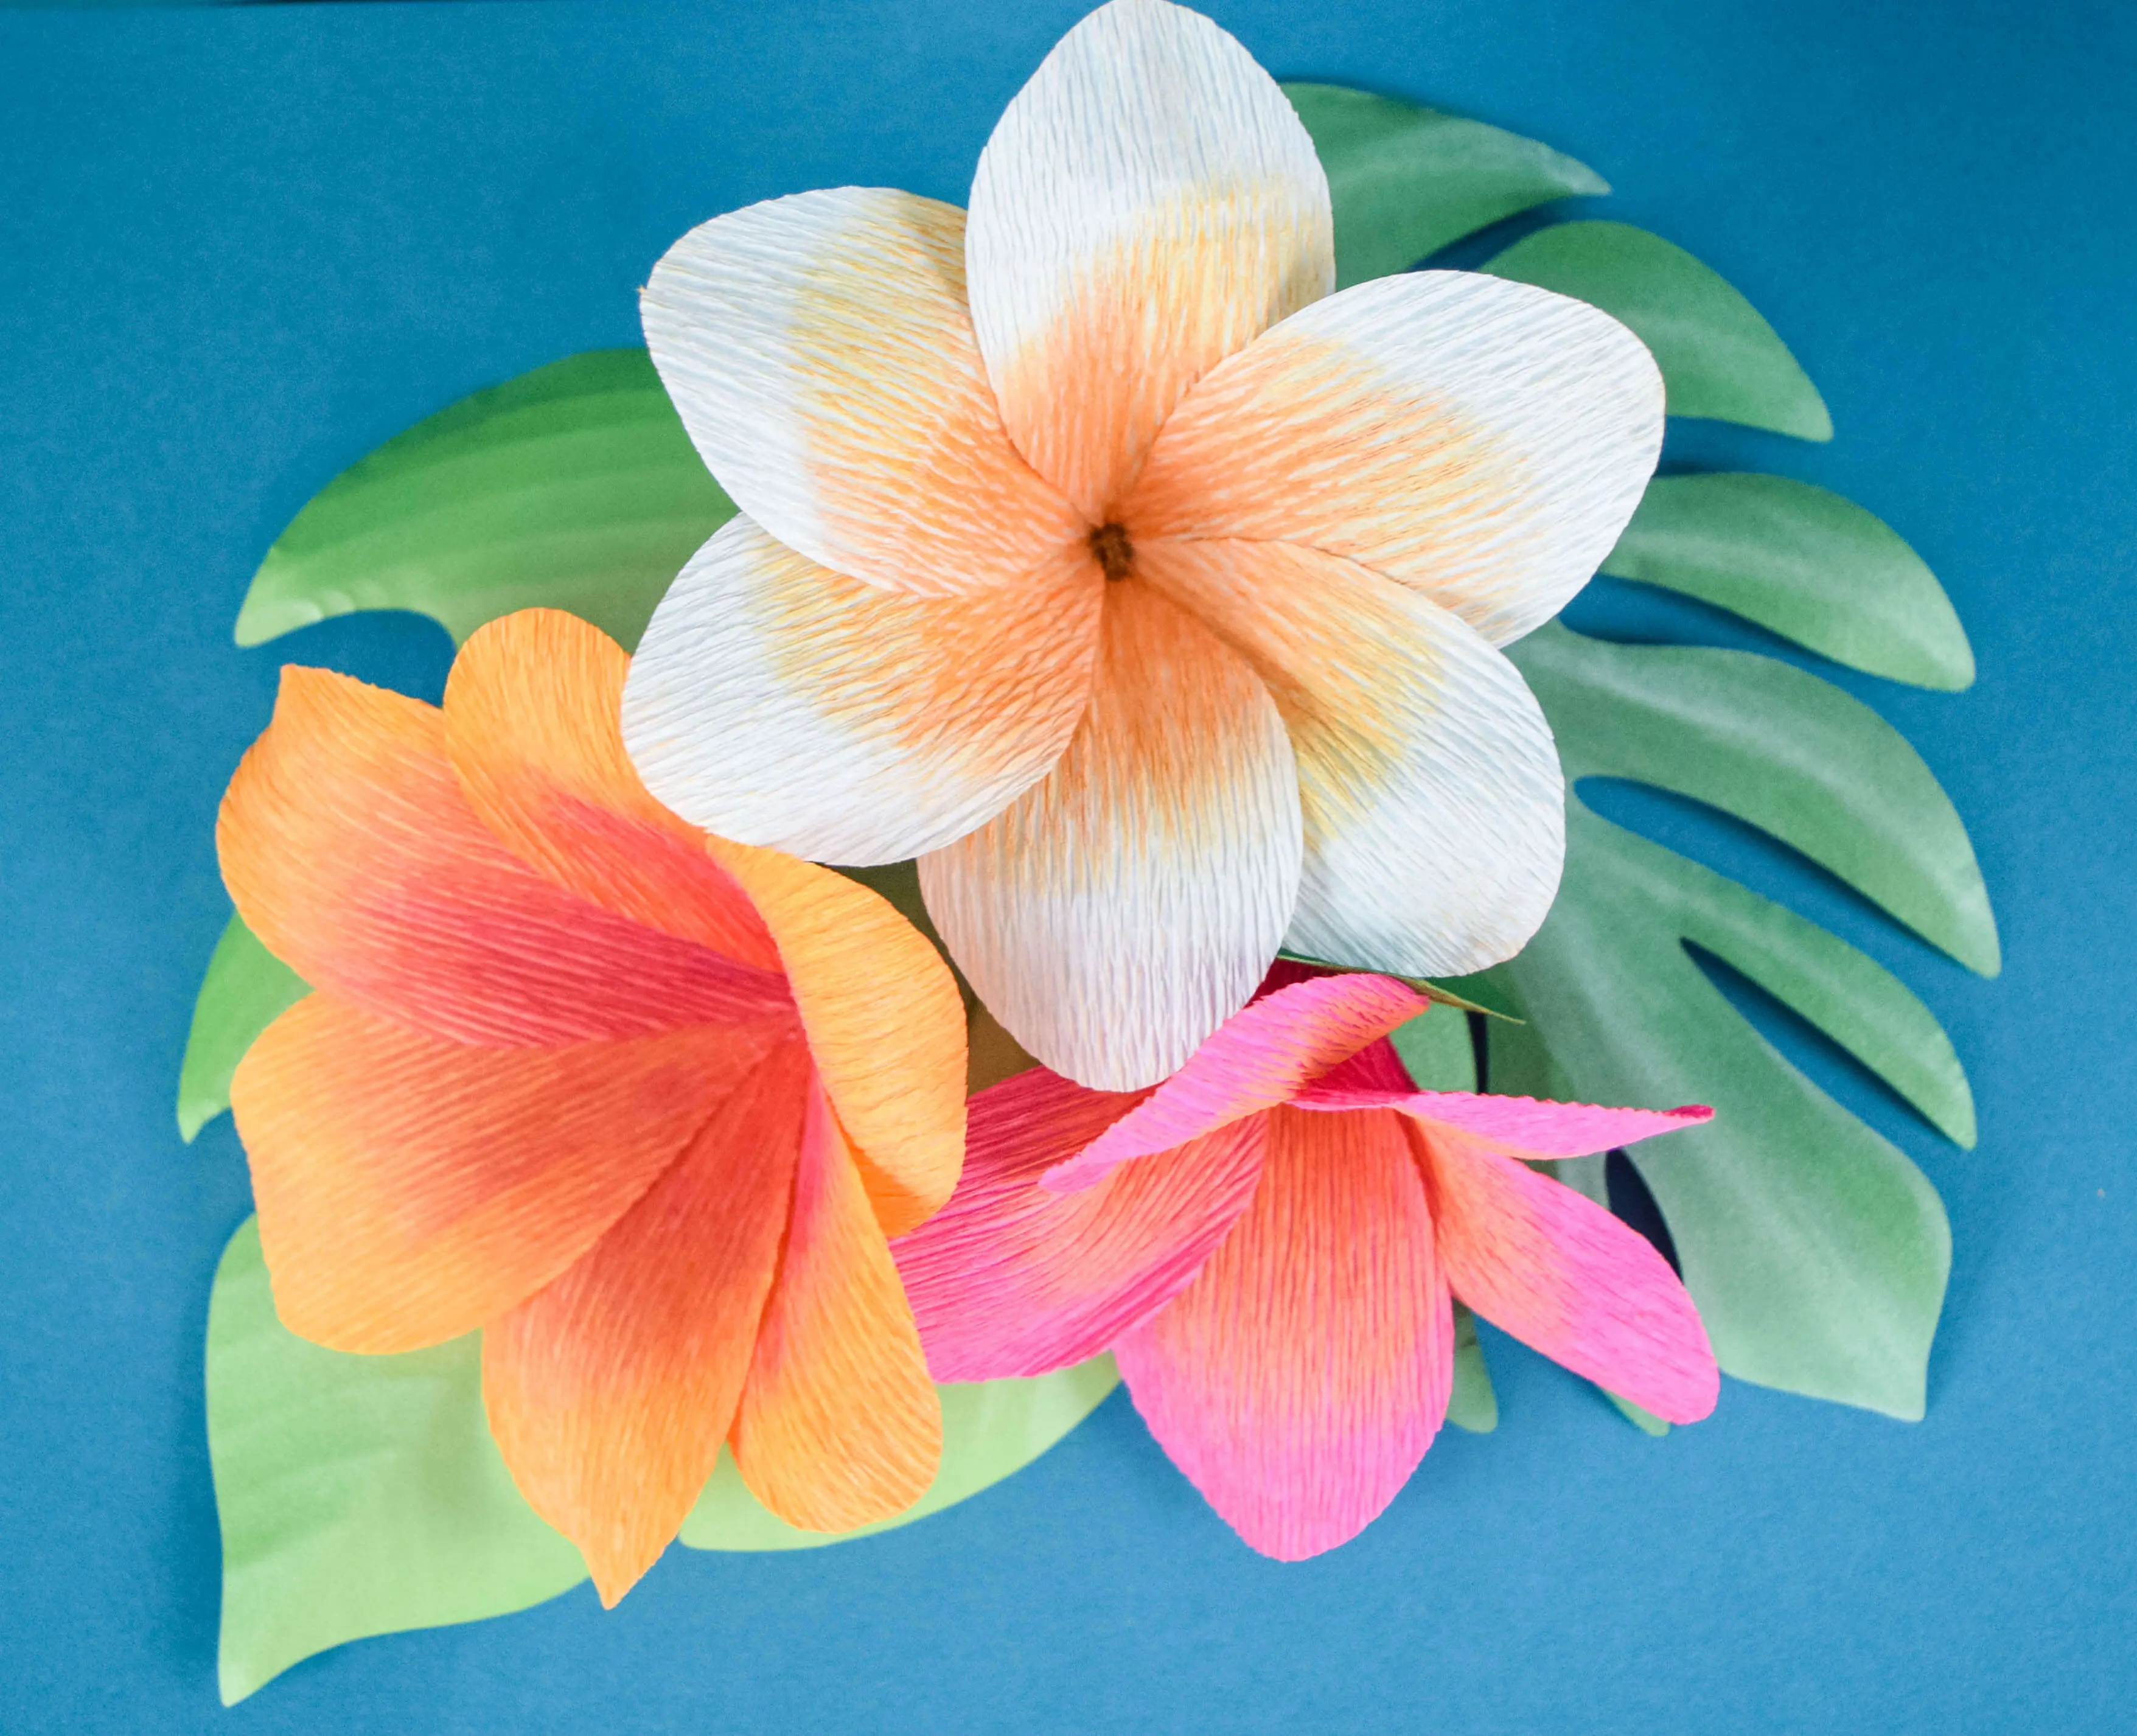
This paper agave is a beautiful project on its own, but it’s even more striking when paired with other paper botanicals. Mix and match it with our California paper poppies, succulents, and prickly pear cactus that are a part of the Cali Botanical Collection and create your own realistic southwest-inspired arrangement that stays beautiful year after year!
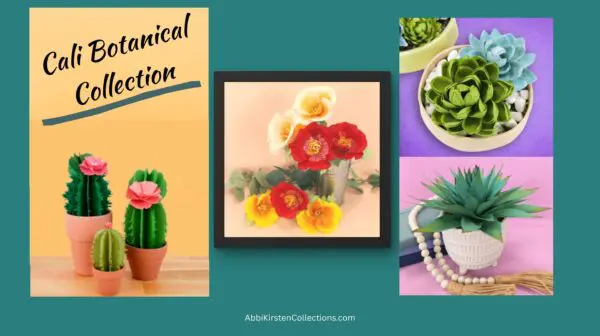
When you finish your succulents, I’d love to see your creations! Be sure to share your finished project and inspire fellow paper crafters with your own unique succulent arrangements.
Looking for More Creative Crafting?
We have so many paper flower crafts, gift ideas, holiday decorating fun, and more at Abbi Kirsten Collections, with free Cricut workshops and our free 3-part series on creating your own SVGs from Scratch.
And if it’s more paper flower creations you’re looking for, be sure to check out the Enchanted Woodland Collection – a grouping of 9 delightful paper creations (easy access when you become an A-Star Crafter) – as well as these crafters’ favorites:
Find Hundreds Of Free Templates In The Craft Vault!
Did you make this craft?
We would love to see what you have created! Tag @abbi_kirsten_collections on Instagram so we can see your creations!