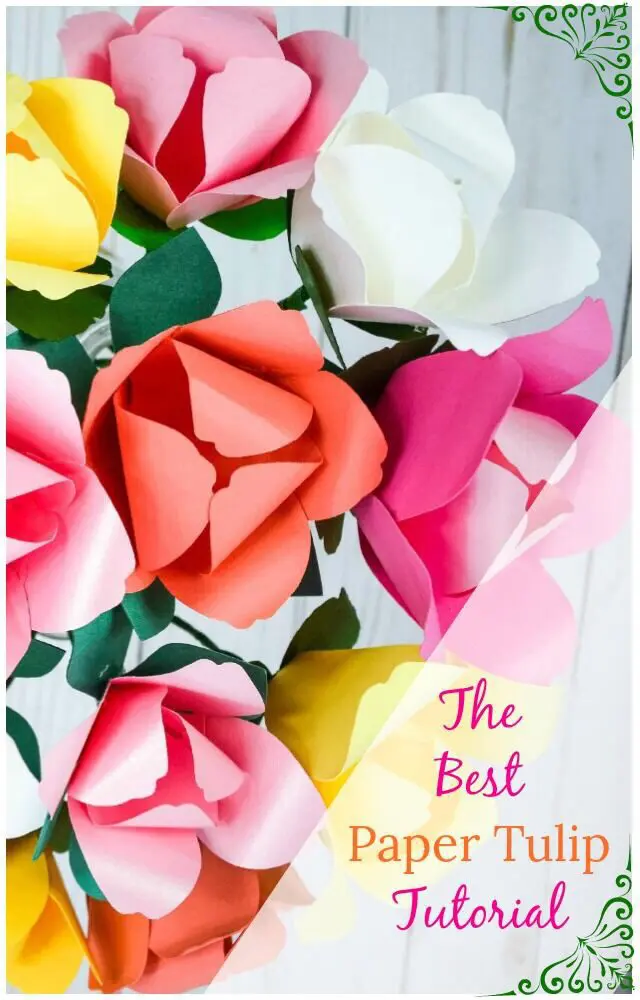
Spring Tulip Paper Flower Tutorial
This post may contain affiliate links that won’t change your price but will share some commission.
Spring is just around the corner and that means fresh blooms, bright colors, and sunny days outside. If you just can’t wait for those first spring days or you’re looking for the perfect decor for that Easter party with family and friends, then learning How to Make Paper Tulips is PERFECT!
Let’s get started by adding a little color to your next celebration! Check out the end of the post for the step-by-step video tutorial and get to crafting!
How to Make Paper Spring Tulip Flowers
Supplies for paper Spring tulip flowers:
- Tulip flower templates from Etsy or Catching Colorflies (the templates include PDFs & SVGs for making the tulip petals and leaves)
- Glue Gun
- 65-pound cardstock
- 18 gauge wire
- Wire clippers
- Scissors and/or cutting machine (Cricut Explore Air 2 Machine)
- Thin wooden dowel for rolling
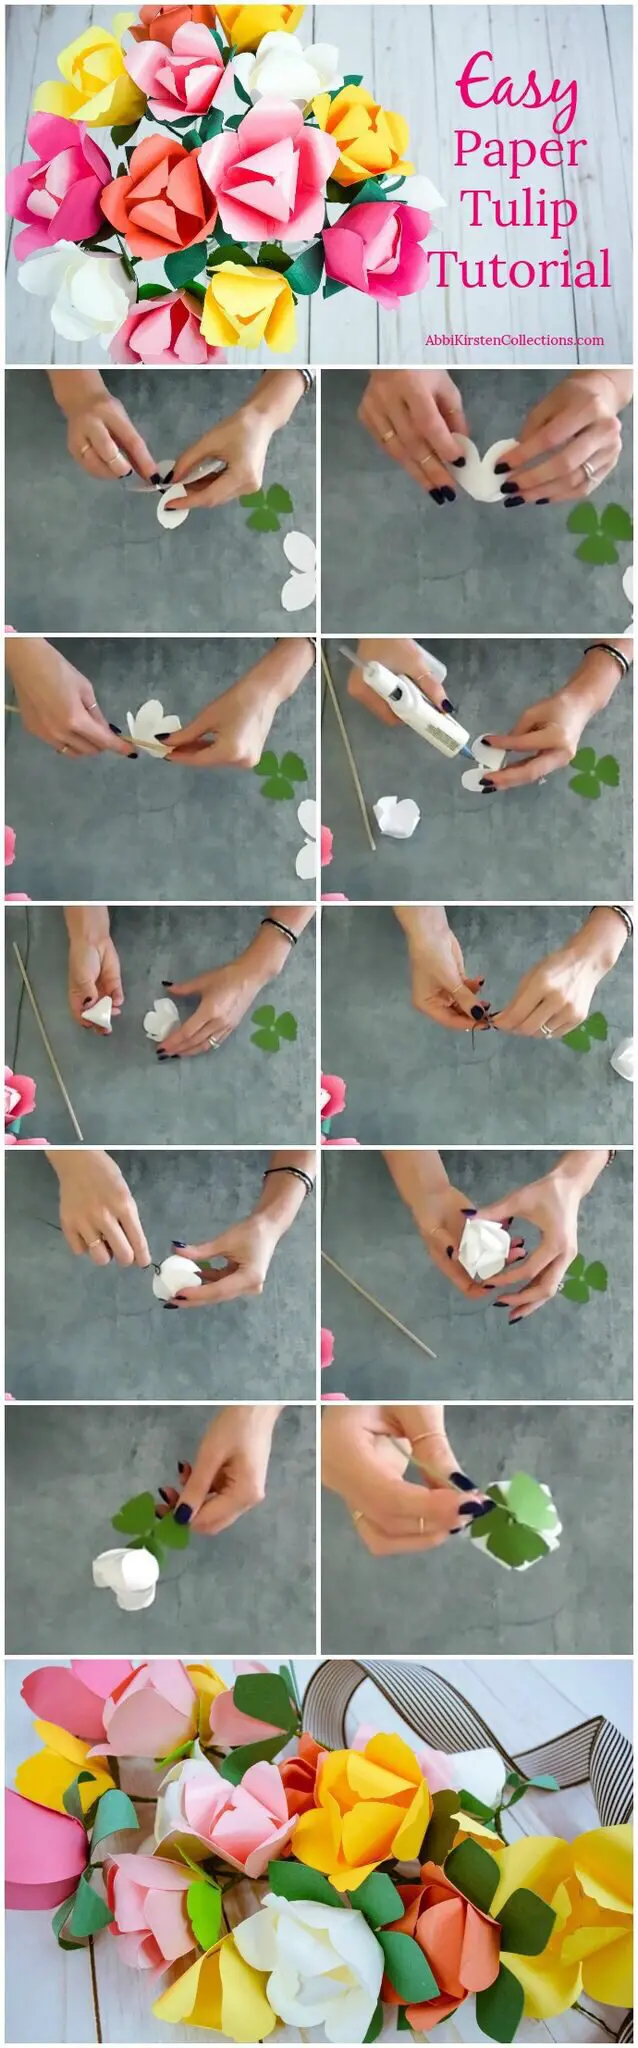
Ste-by-Step Paper Tulip Tutorial
- For one tulip, cut out one 5-point petal, one 3-point petal, and one base.
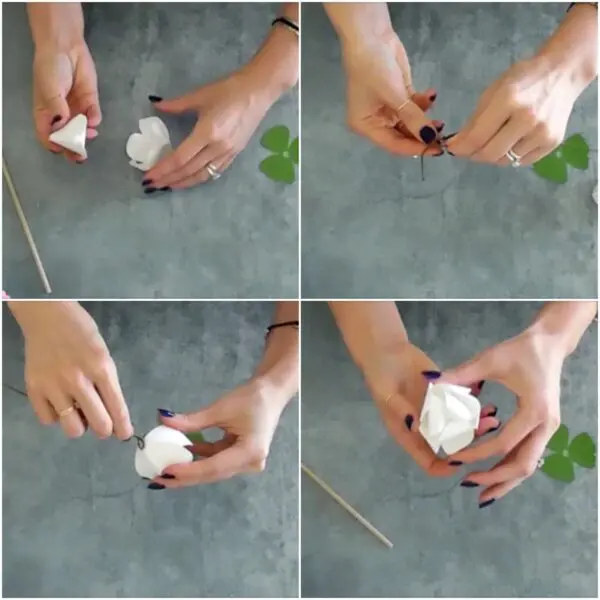
- Fold each of the small tabs on the sides of each petal inward and add a small dot of glue to the outside. Secure each tab to the inside edge of the neighboring petal so that the tabs are hidden inside the flower.
- Your tulip base will now form a cup shape that will hold your inner petals.
- Using a small wooden dowel rod, curl the tip of each petal around the rod and inward.

Repeat the same process with the 3 petal piece, folding each tab and gluing them to the neighboring petal.
- Use the small dowel rod to curl each inward, this time starting the curl further down to create a deeper curl.
- Putting a dot of glue on the bottom of the 3-petal piece, glue it inside of the 5-petal piece.
- Next, we’ll use the 18 gauge wire to create a stem. Bend the tip at a 90-degree angle and then shape a small circular loop.
- Secure the loop to the bottom with a dot of glue.
More Spring Paper Flower Tutorials:
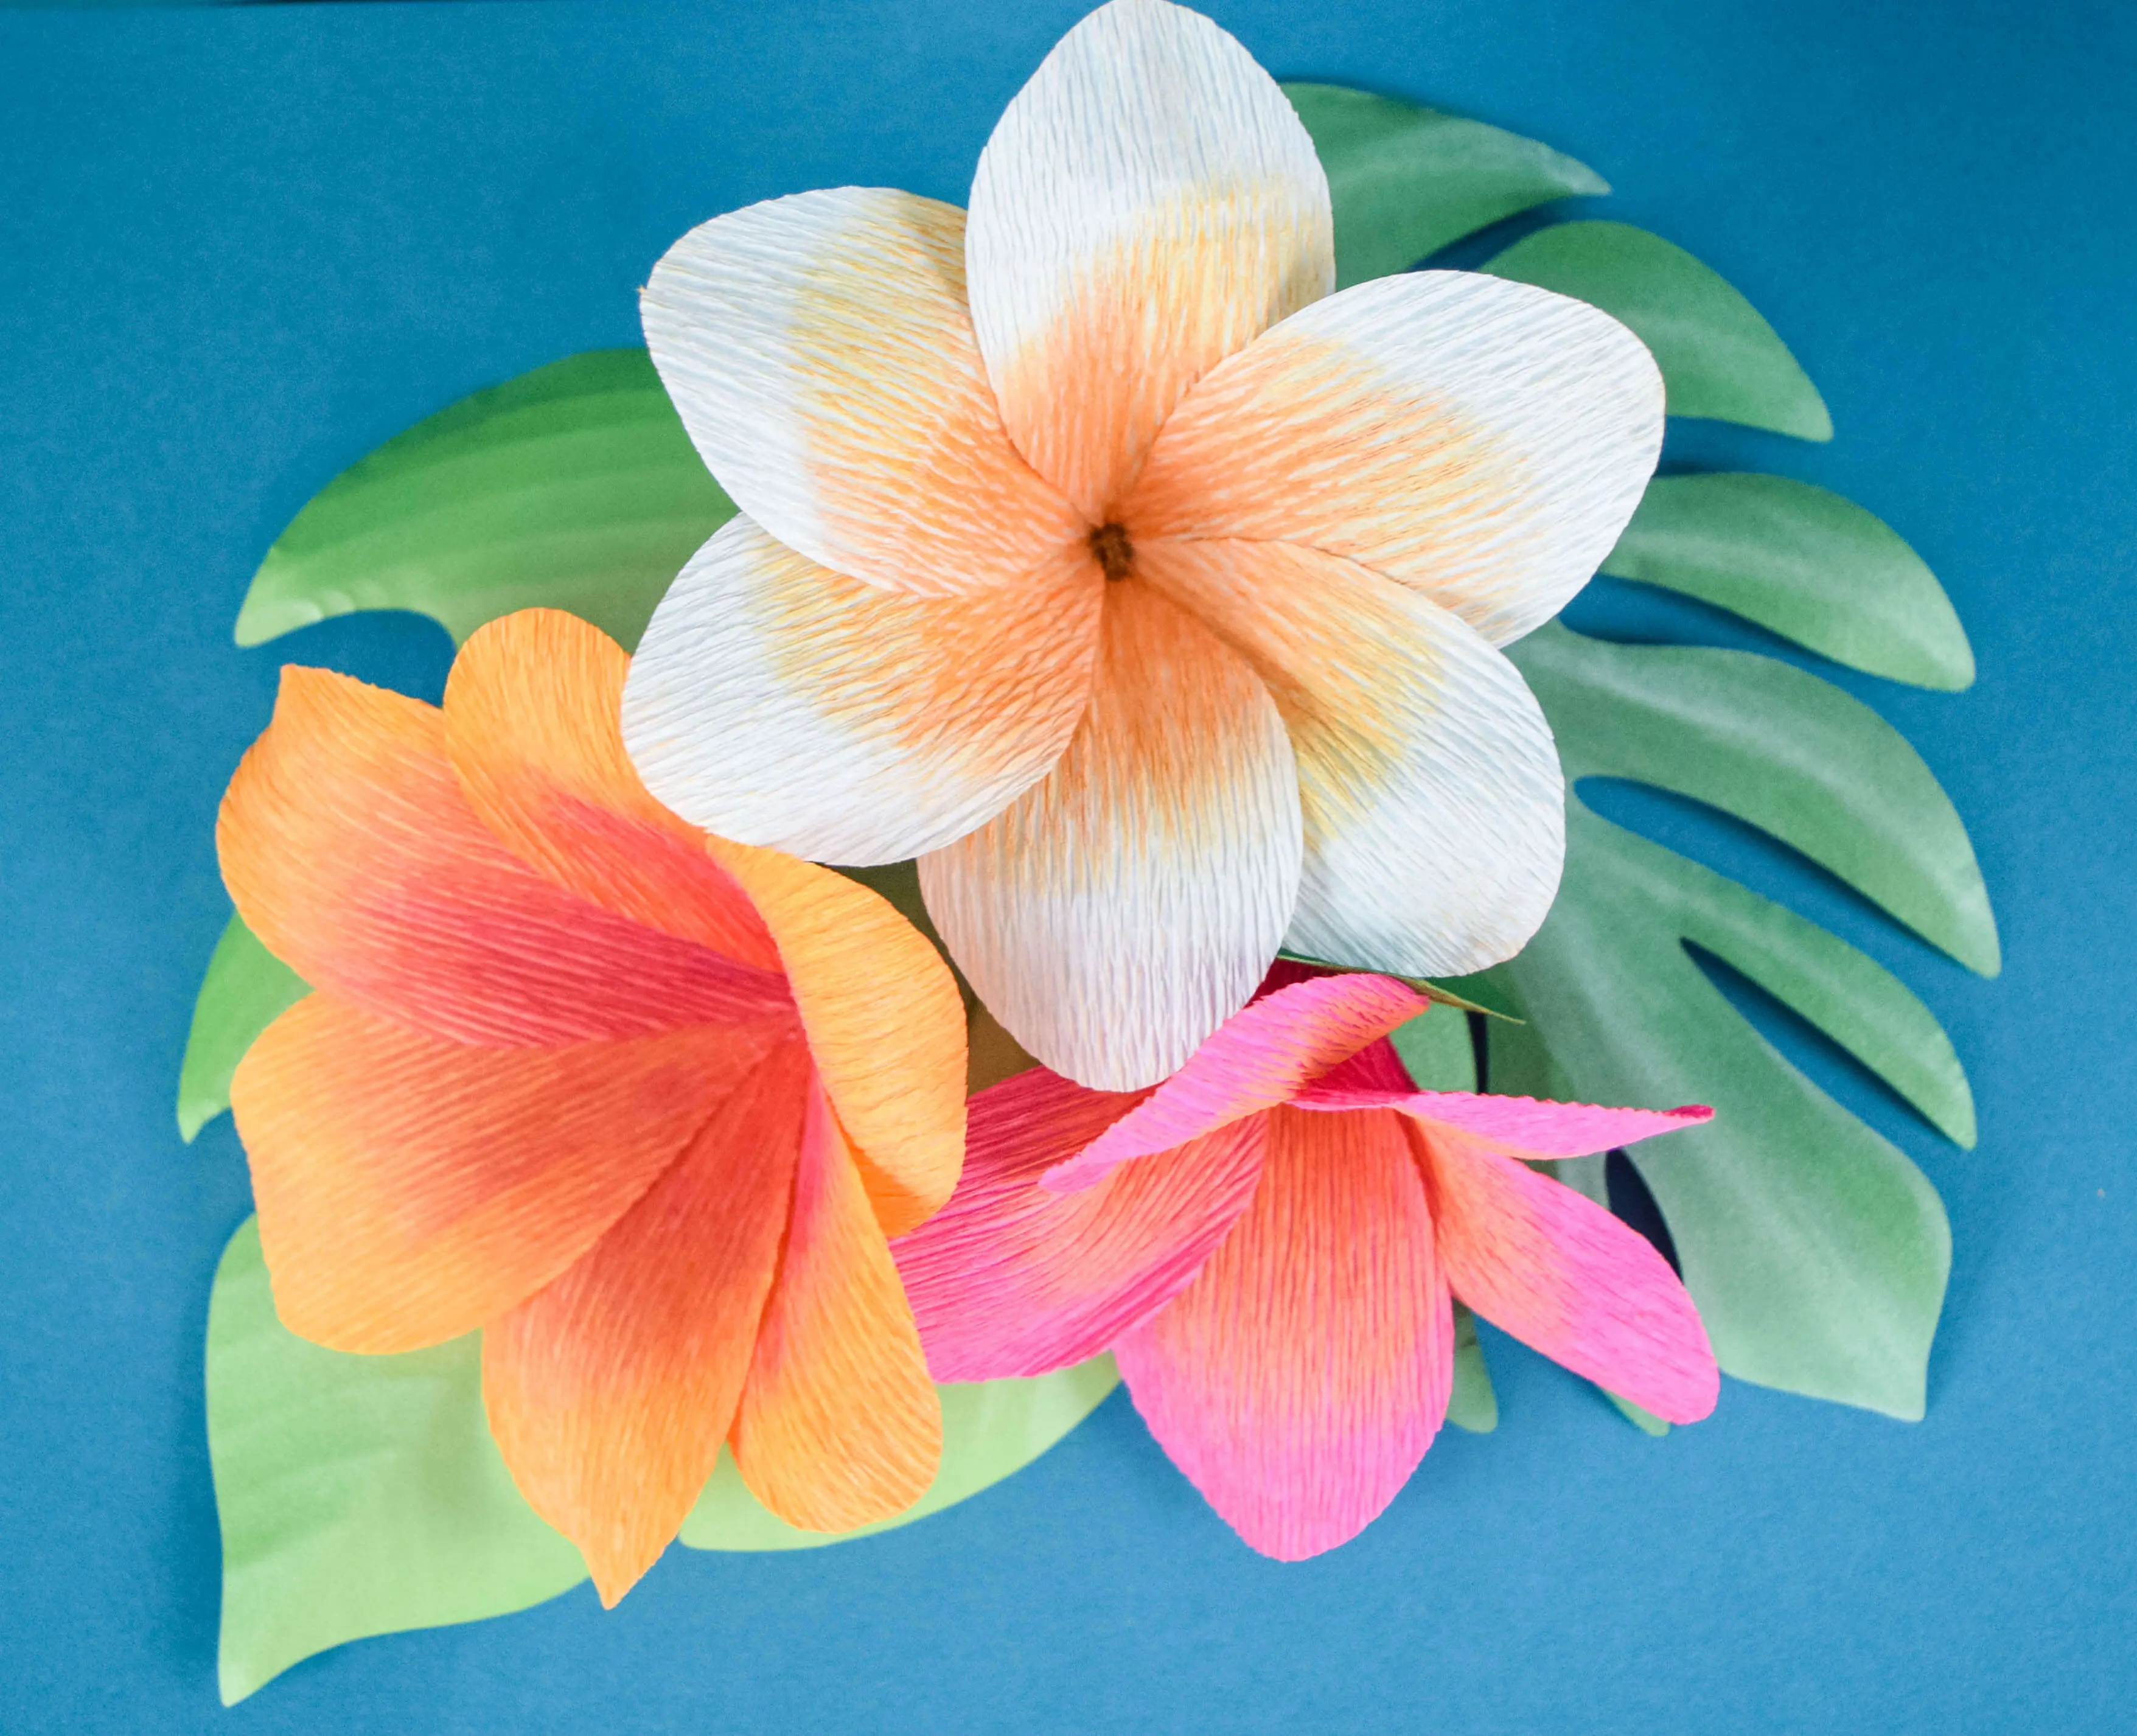
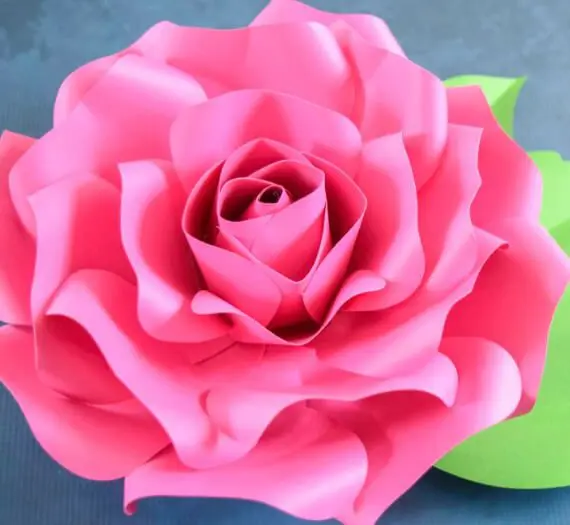
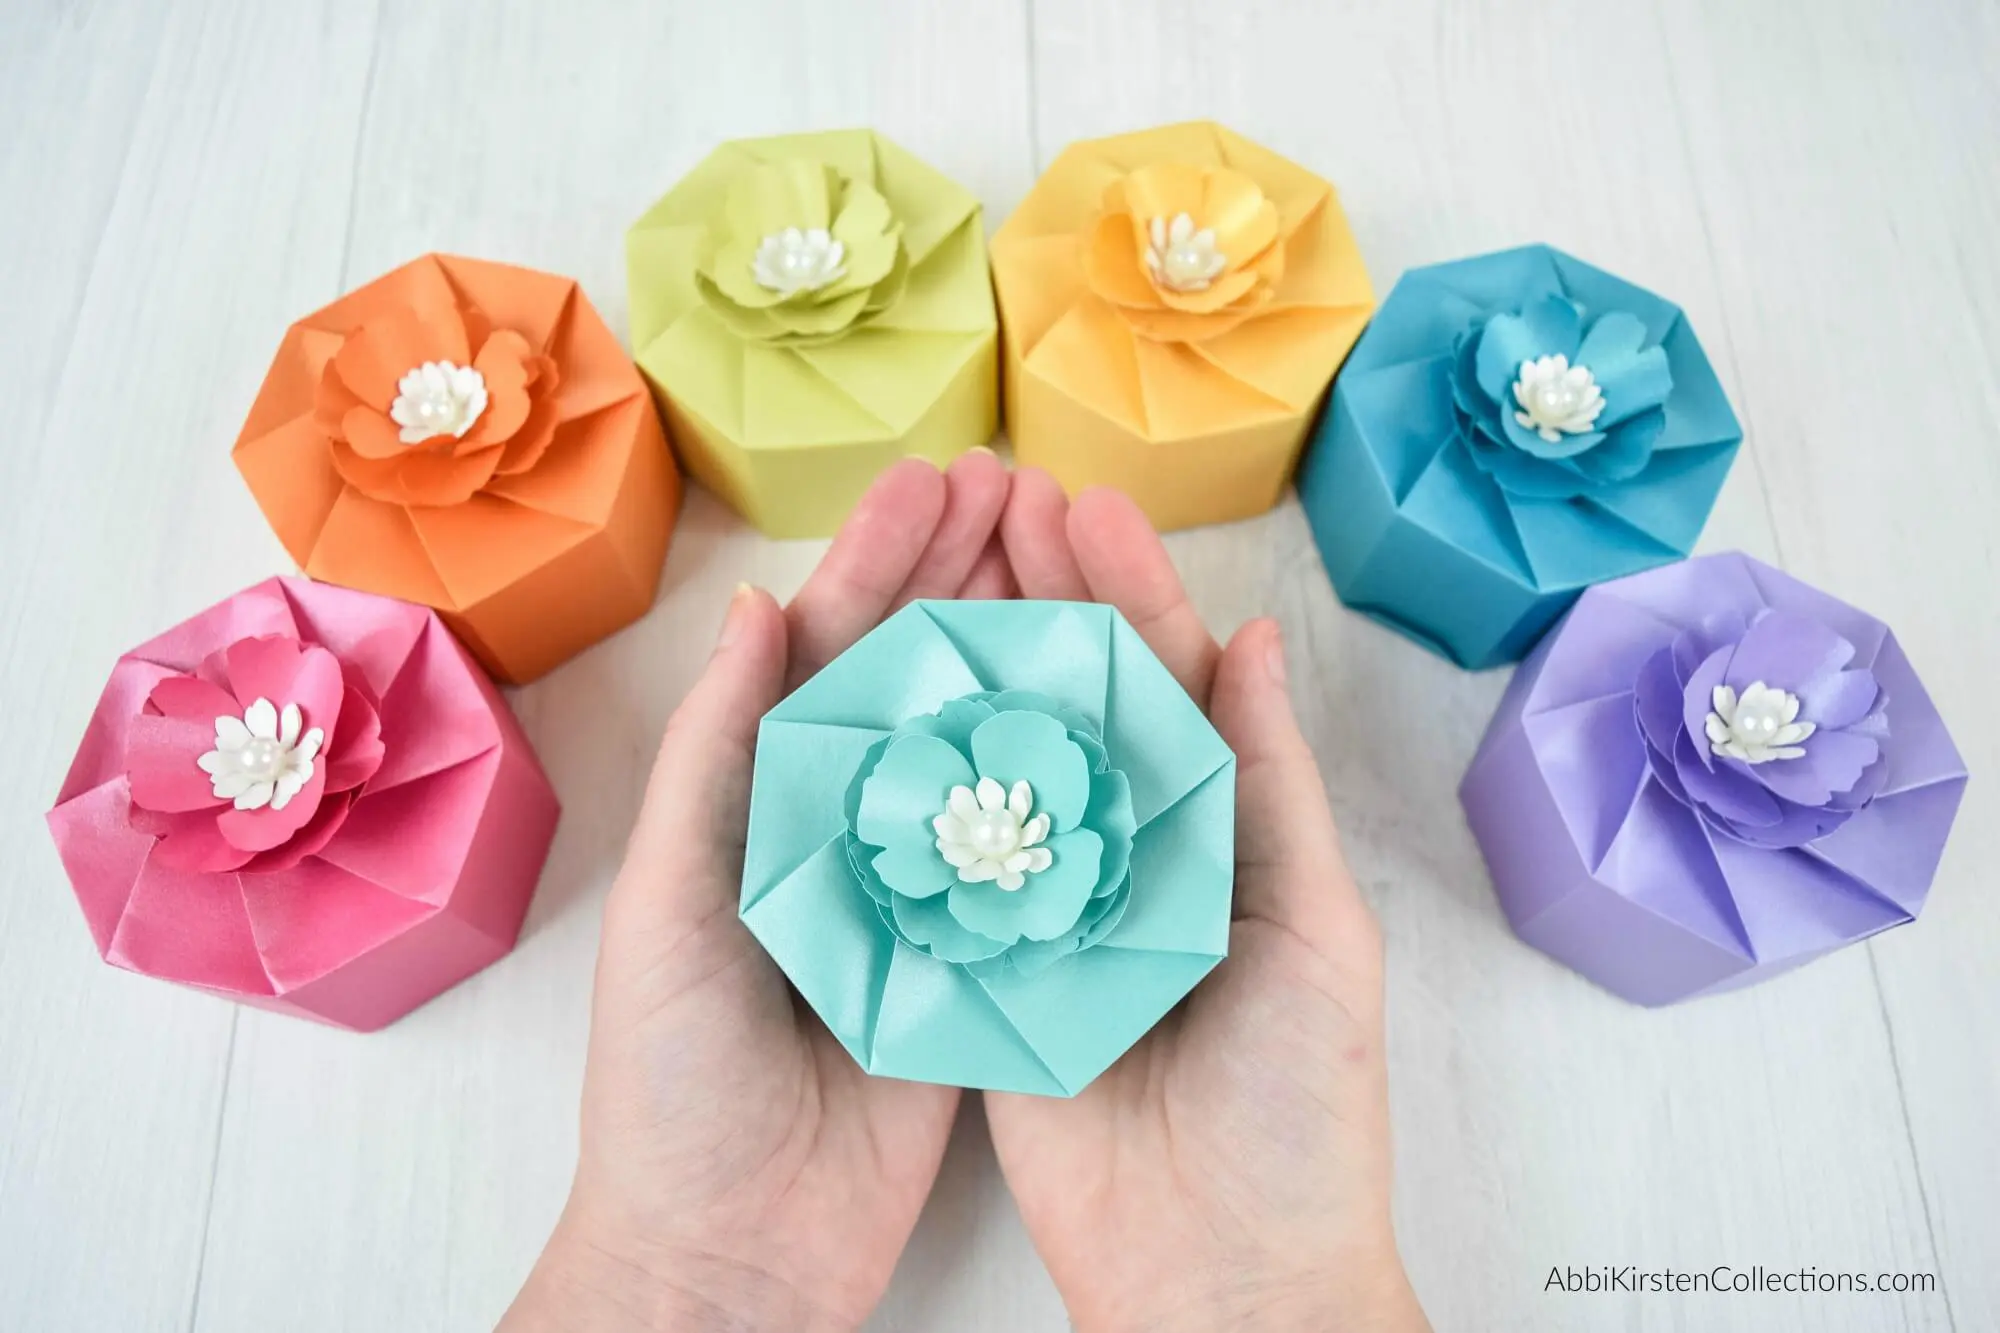
DIY Paper Flower Pomander Balls | Step by Step Paper Peony Tutorial | Springtime Calla Lilies | Hanging Paper Wisteria | Crepe Paper Tulips
If you’re hand-cutting the paper tulip flowers, you can use a hole punch for the center. Thread the base up the stem.
- Add some glue to the upper side of the flower base and press against the flower until dry to secure.
- Trim the stem of your flower to the desired length.
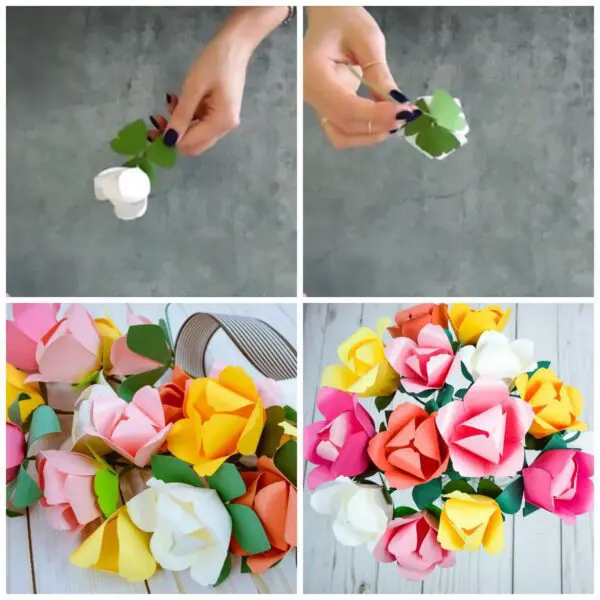
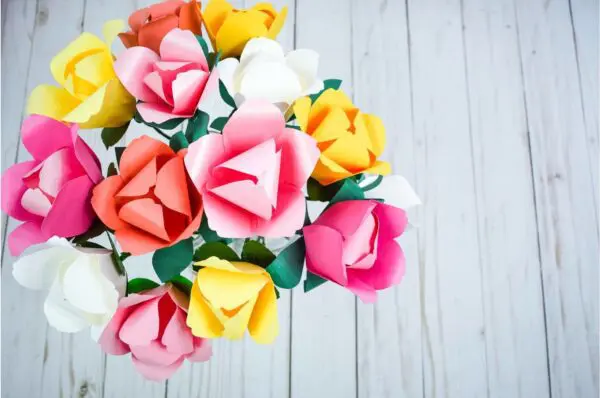
Group a few colorful tulip blooms together to make the perfect centerpiece for your upcoming spring celebrations! Craft away and give your party a touch of lovely. I hope you have enjoyed learning how to make paper tulips! Share your thoughts with me in the comments below and catch the full video tutorial below as well!
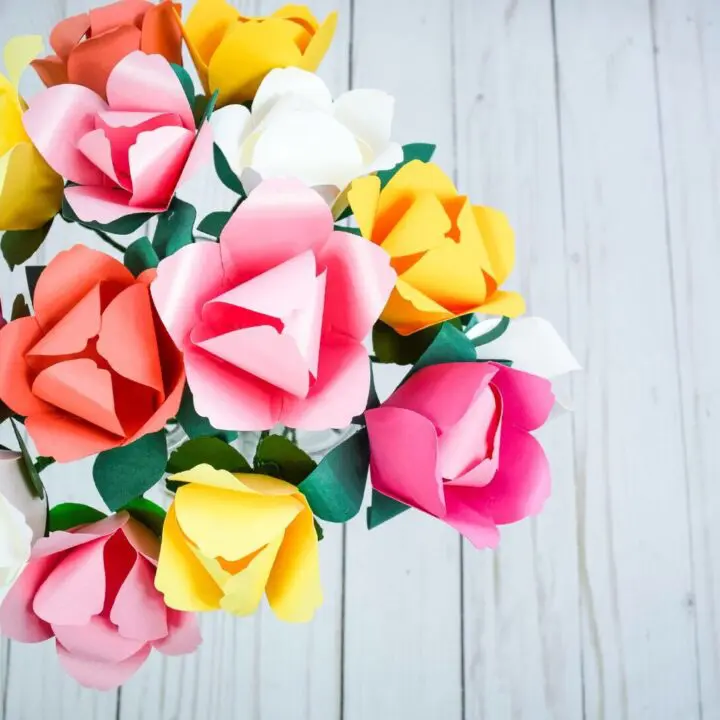
Paper Tulip Flowers
These gorgeous paper tulips are so easy to make! Add some color to your Spring decor with this easy step-by-step paper tulip flower tutorial.
Materials
Instructions
- For one tulip, cut out one 5-point petal, one 3-point petal, and one base.
- Fold each of the small tabs on the sides of each petal inward and add a small dot of glue to the outside. Secure each tab to the inside edge of the neighboring petal so that the tabs are hidden inside the flower. Your tulip base will now form a cup shape that will hold your inner petals.
- Using a small wooden dowel rod, curl the tip of each petal around the rod and inward.
- Repeat the same process with the 3 petal piece, folding each tab and gluing them to the neighboring petal.
- Use the small dowel rod to curl each inward, this time starting the curl further down to create a deeper curl.
- Putting a dot of glue on the bottom of the 3-petal piece, glue it inside of the 5-petal piece.
- Next, we’ll use the 18 gauge wire to create a stem. Bend the tip at a 90-degree angle and then shape a small circular loop.
- Secure the loop to the bottom with a dot of glue.
- If you’re hand-cutting the paper tulip flowers, you can use a hole punch for the center. Thread the base up the stem.
- Add some glue to the upper side of the flower base and press against the flower until dry to secure.
- Trim the stem of your flower to the desired length.
- Group a few colorful tulip blooms together to make the perfect centerpiece for your upcoming spring celebrations!
Discover More
Share what you’ve been up to by using #DIYwithAbbi. I would love to see your creativity in the works so flaunt your flower power magic! You are a huge source of my inspiration!
My mission is to inspire you to nurture the creative magic inside your soul – bringing you fun, easy-to-learn DIY projects, and quality template designs. I share a variety of projects but specifically love paper crafting and paper flowers. Interested in more flower tutorials?! I’ve created dozens of signature designs for you to enjoy – starting with my best seller, The Art of Giant Paper Flowers, the Giant Flower Library, and my shop of endless paper designs and flower templates.
Feeling overwhelmed? Start here with my tried and true Resource List!
Thanks for letting me pop into your day!

Spring Tulip Paper Flowers Video Tutorial