DIY Paper Flower Supplies: Step-by-Step Guide to Crafting Realistic Blooms
This post may contain affiliate links that won’t change your price but will share some commission.
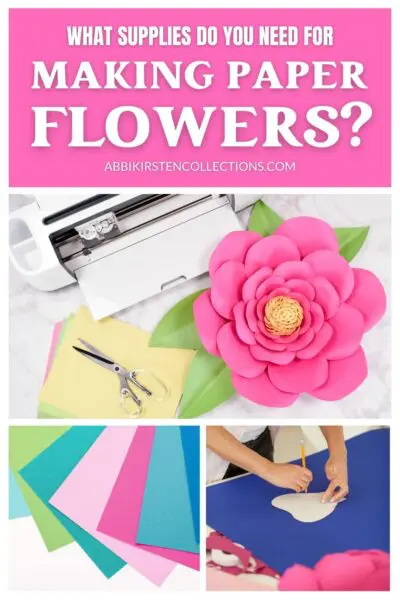
Are you a paper flower artist or hobbyist looking for a go-to resource to learn all the tips and tricks for crafting stunning paper blossoms? Look no further! In this comprehensive guide, I’ll be sharing all the essential paper flower supplies and resources you need to create beautiful DIY paper flowers for yourself. I’ll be covering some of my favorite tried-and-true options for:
- cardstocks and papers
- cutting machines/tools
- curling tools and mats (for shaping petals)
- glue
- stemming
- distress inks/oxides/applicators and
- creative ways to display your flowers.
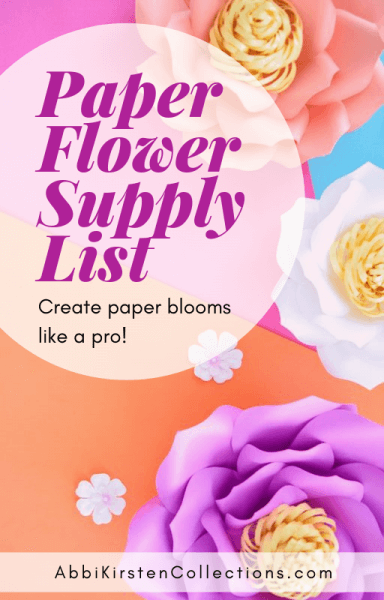
Free Printable Supply List Guide
Read through all the resources below, and also, make sure to download the printable flower supply list in the Craft Vault.
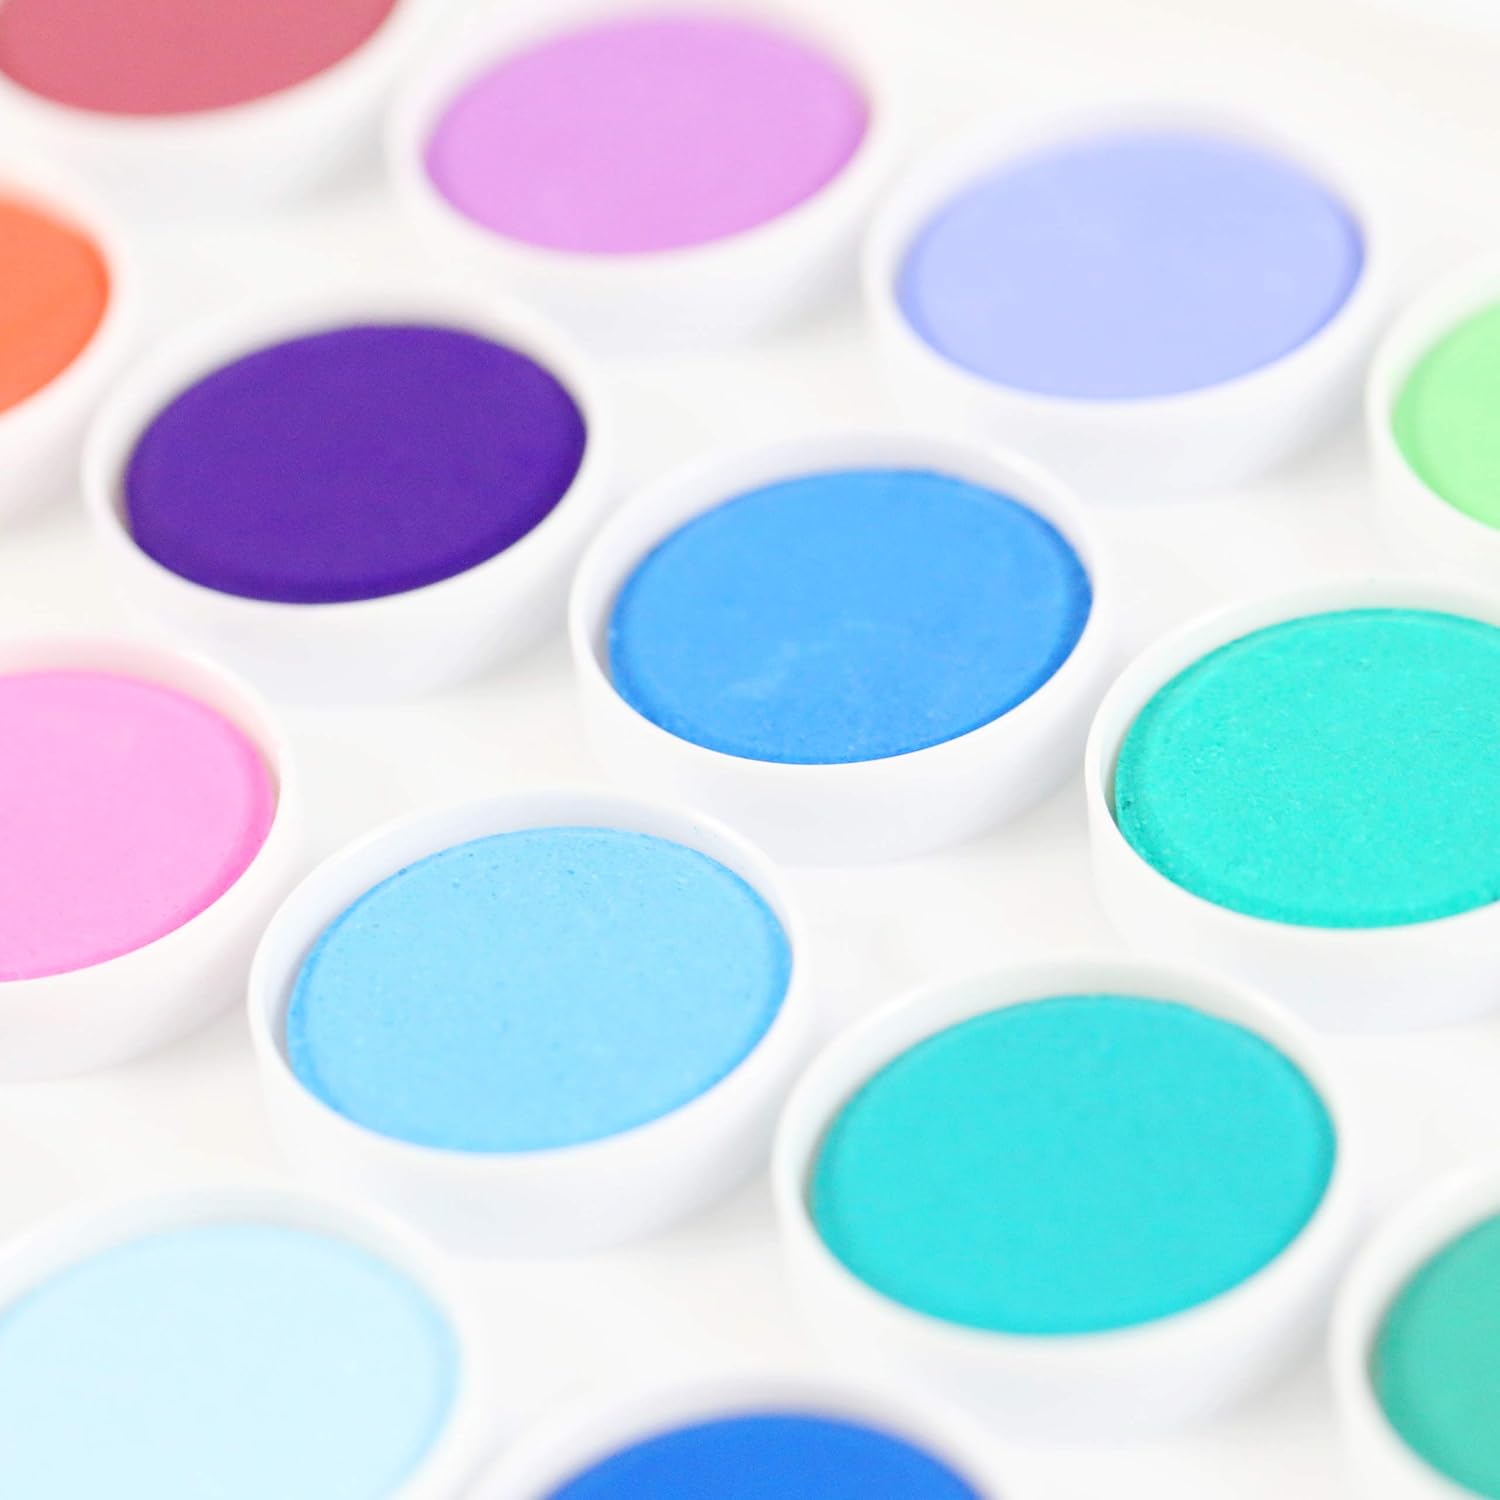
Paper Flower Supplies – Best Paper for Paper Flowers
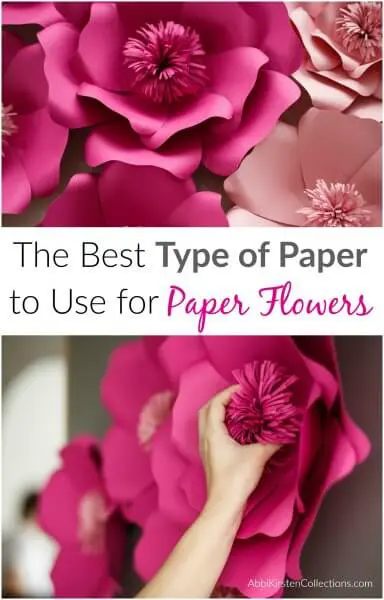
Best Cardstock For Paper Flowers
Let’s start with the most important part of your paper flower supplies: the paper.
I’ll share my top favorite paper resources below, and for more details on the types of cardstock, weight differences, etc., check out this dedicated post on the best paper for making paper flowers.
Where to Find Cardstock For Paper Flowers
There are loads of places, both online and in craft stores, to find cardstock and crepe paper for making paper flowers. The most important key with the cardstock is to only purchase solid core so that the paper is the same color through and through.
Online Options For Cardstock
12×12 Cardstock Shop: My favorite online resource for cardstock! Loads of paper in 12×12 with tons of colors, textures, and patterns to pick from, too.
Cards and Pockets: I love the metallic and color options – shades I cannot find elsewhere.
Here’s one of my peony flowers I made with metallic paper from Cards and Pockets. So pretty, right? If you want to see more flowers with metallic cardstock, check out my hydrangeas and Camellia roses.
Amazon: Is there anything Amazon doesn’t have? My husband and I joke that Amazon and Disney are going to take over the world! Amazon carries Recollections cardstock, as I mentioned above, and also has some other great paper brands.
Savage Universal Paper: If you’re looking for A LOT of paper and need to be as cost-effective as possible, I highly recommend using the large paper rolls from Savage Universal. These are most traditionally used for photo backdrops but are thick enough to cut and use for paper flowers as well. See how I used Savage paper with my poppy flowers.

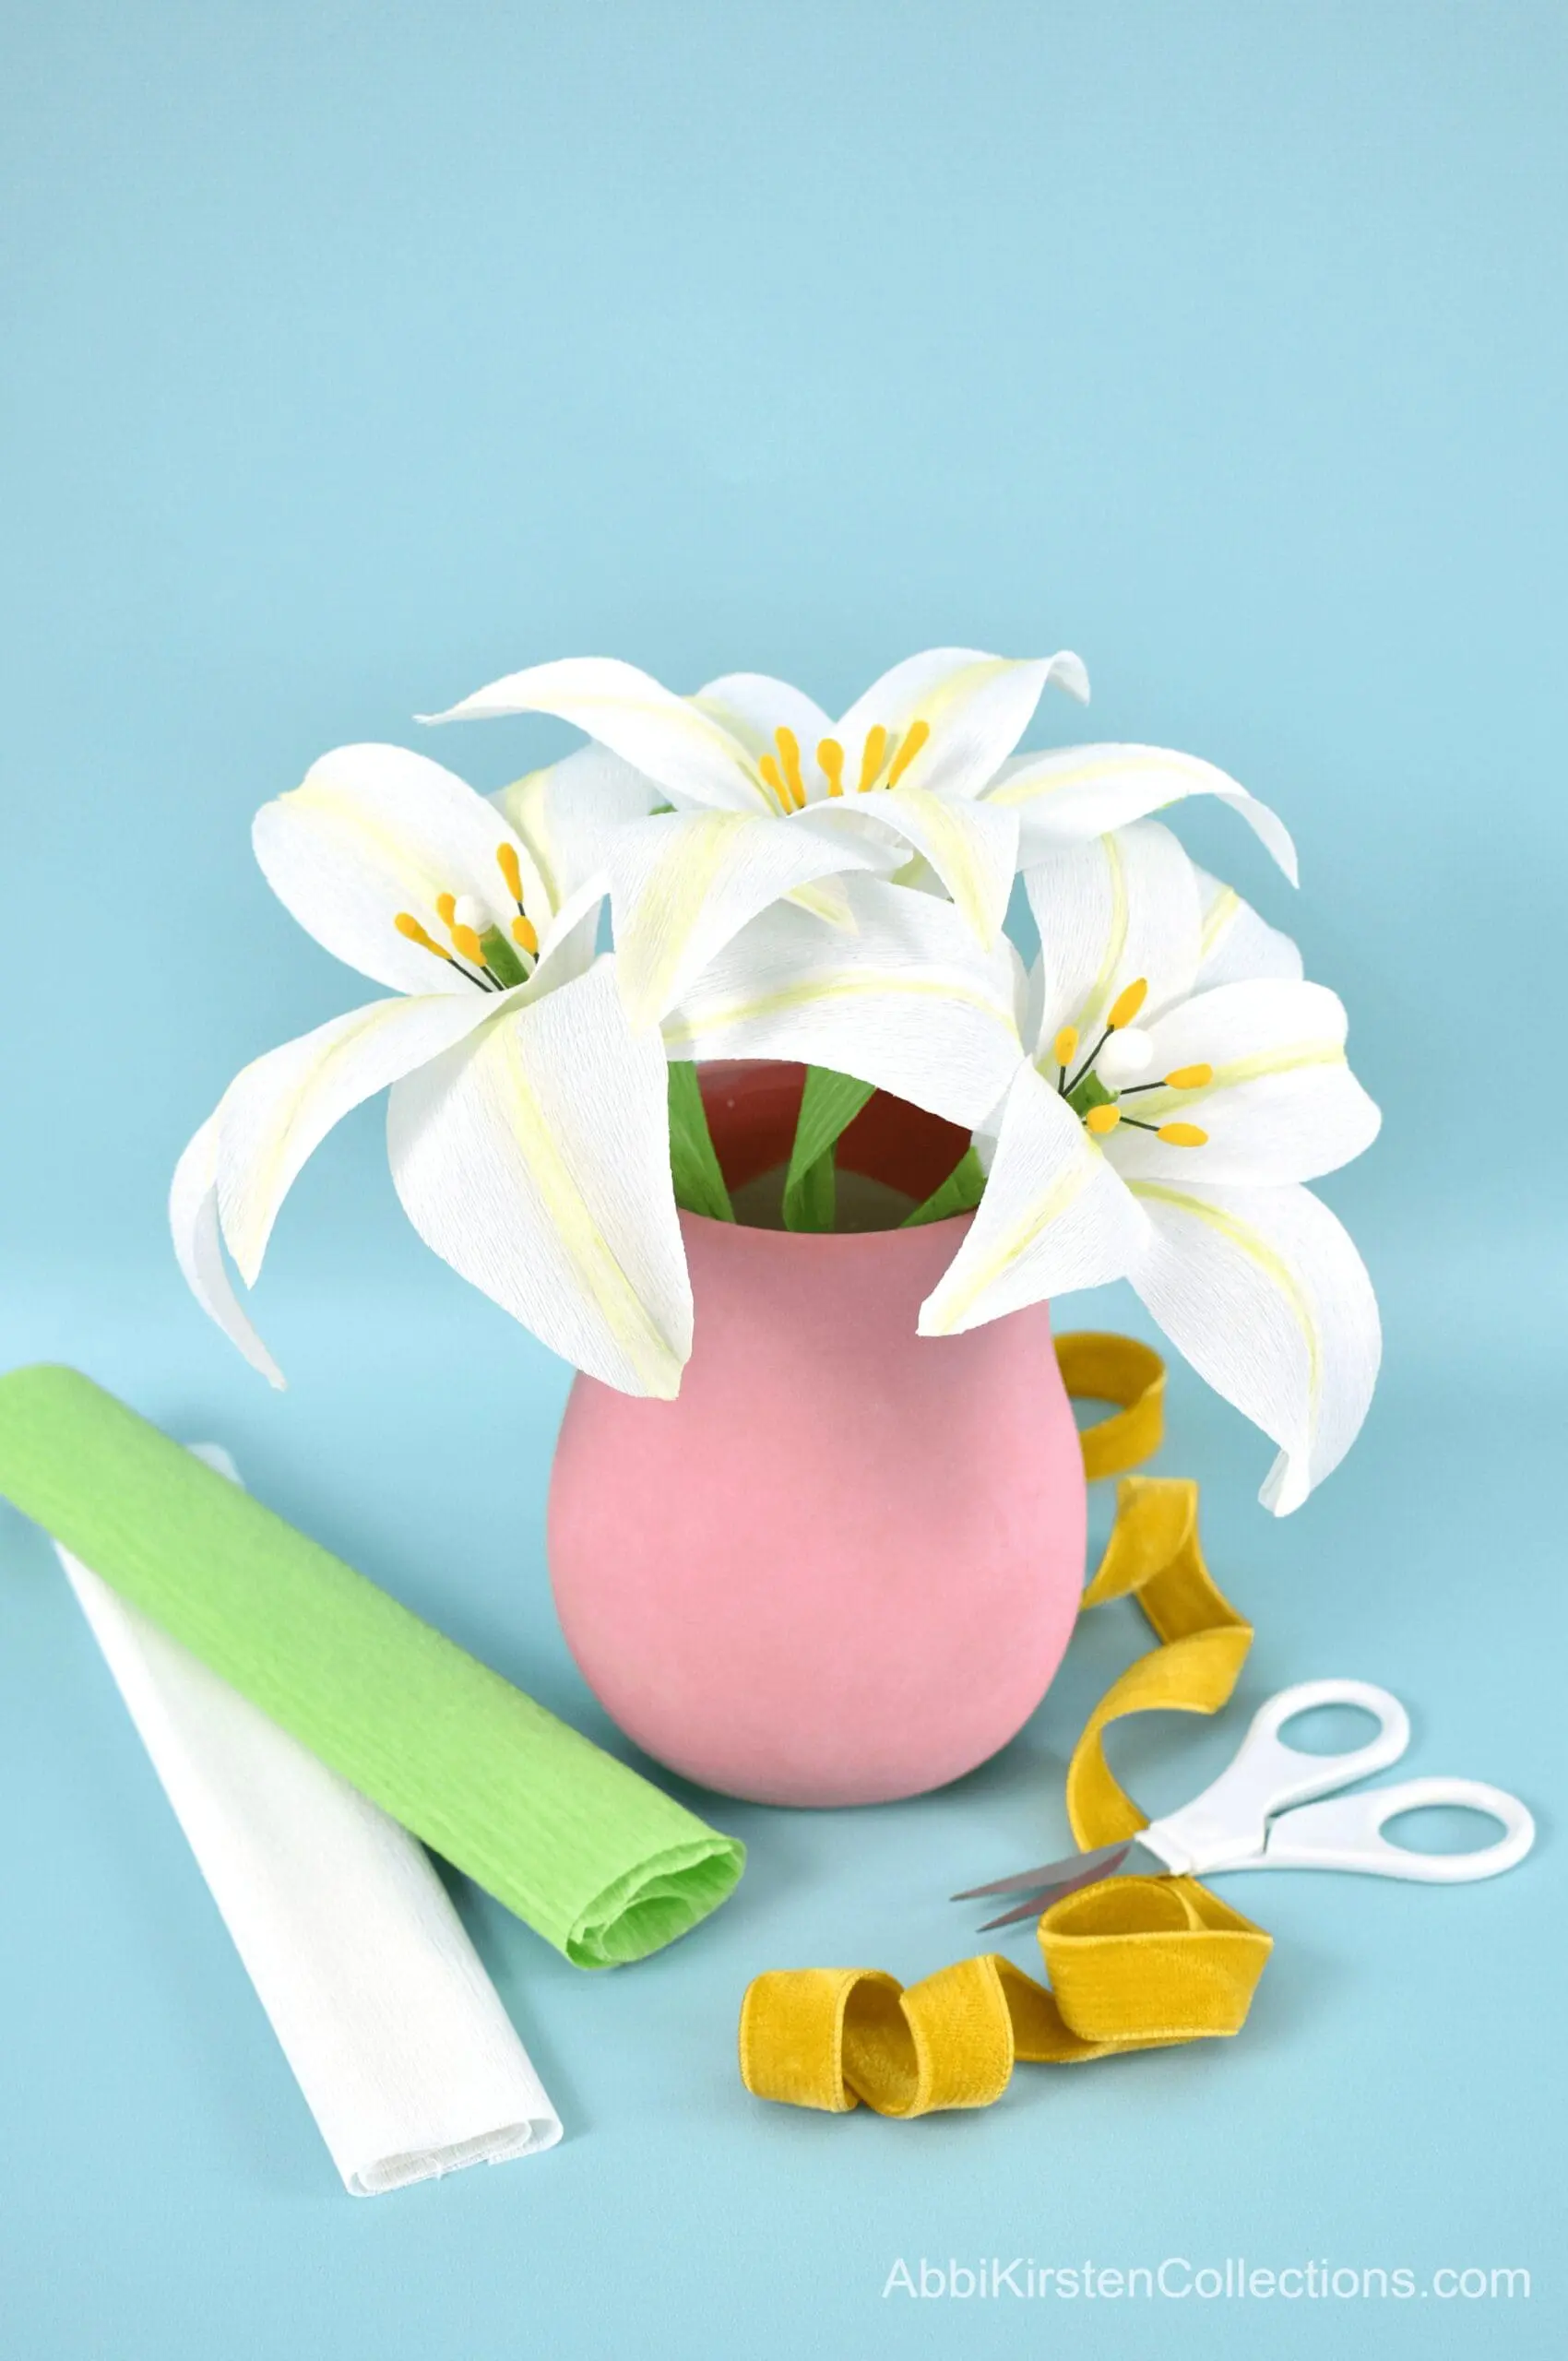
Crepe Paper: At some point, you may want to venture into the world of crepe paper flowers. In that case, you’ll definitely fall in love with Carte Fini crepe paper. I’ve tried other crepe papers out there, but this is by far the best there is.
Another close second is the Lia Griffith brand of crepe paper.
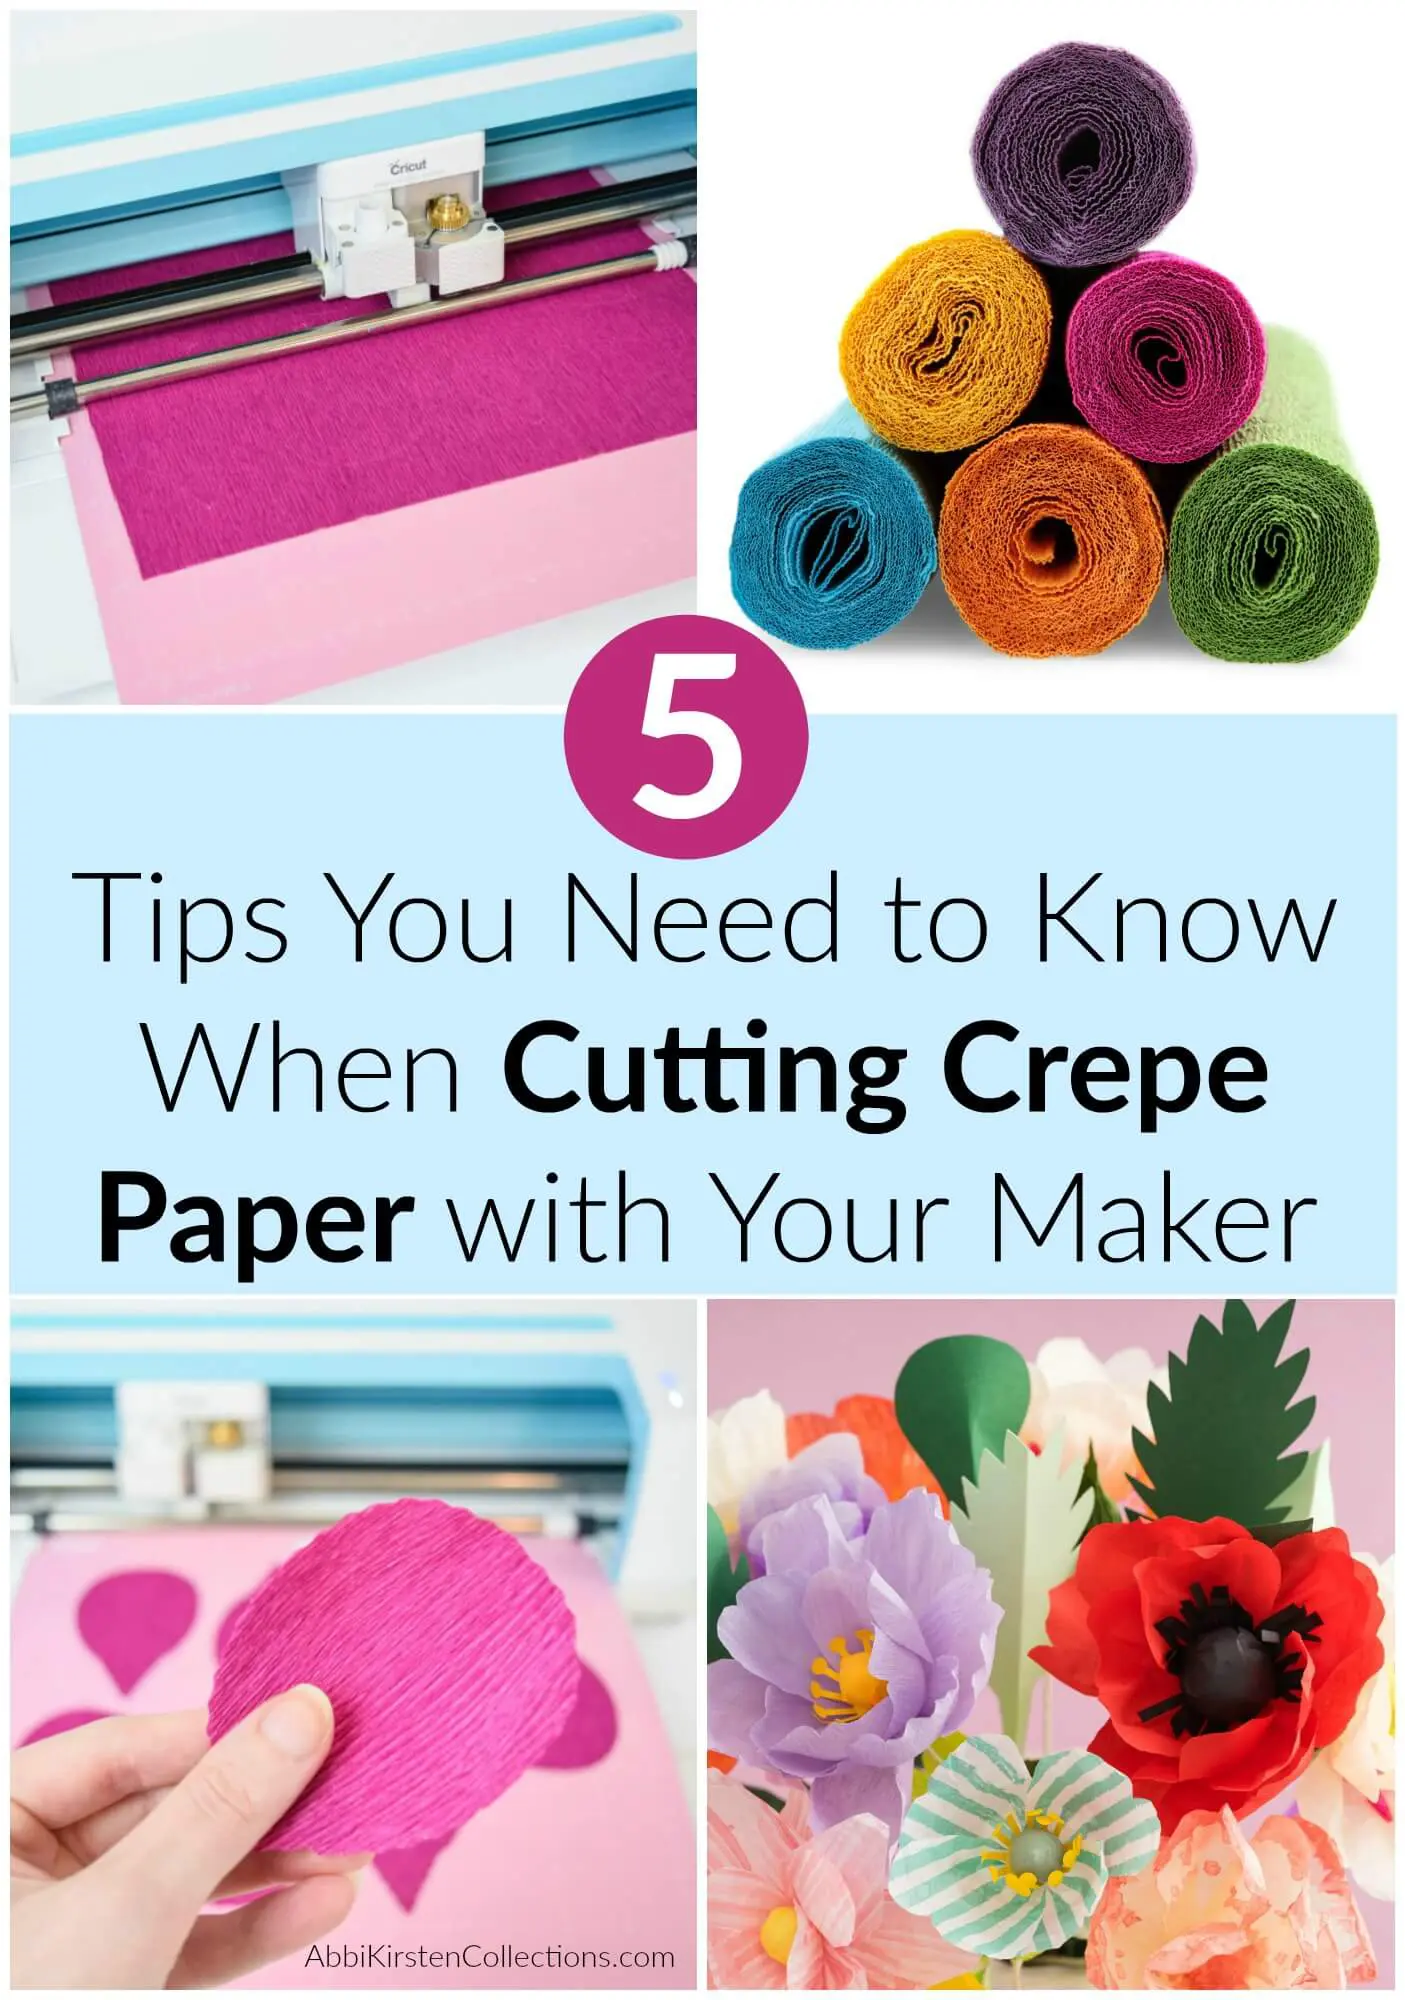
On the note of crepe paper, did you know the Cricut Maker can cut it for you? I even wrote a step-by-step guide for you.
Tissue Paper: Using tissue paper to make flowers is a very cost-effective and popular option. While my flowers generally work best with cardstock or crepe paper, it is always something to explore.
Craft Stores For Cardstock
Michael’s Craft Store: The first place I buy my paper when I need to get it in person is Michaels Craft Store; I love the Recollections brand. They have many colors to choose from and sell 50-sheet packs of paper, which are often on sale. Now, not everyone may have a Michaels store near them, but they do offer the Recollections brand paper on their website.
Also, check your other local craft stores for more paper options, such as Hobby Lobby, etc. They carry a wide variety of cardstock, including single sheets and value packs. You can also order online from them.
What weight or thickness of cardstock should you use for paper flowers?
There are a lot of different types and weights of paper to use when making paper flowers but in general, a medium weight is the best and most popular.
Here are the weights of paper I use for my flowers:
65 pound (176grams – also shown as gsm or g/m2) Medium Cardstock
For cardstock paper, I use 65-pound (176 gsm) paper. Some crafters ask me if they can use 50-pound paper. Yes, but because the paper is lighter, it may lose the shape of the petals over time.
And what about using heavier cardstock paper? Likewise, I never go above 80-pound (216 gsm) cardstock because the paper is too thick to curl without wrinkling.
Note that for all cardstock I reference, I’m using a cover weight, not a text weight; each has its own independent weights and thicknesses.
Need help converting your paper weight from pounds to grams? Check out this online conversion tool.
60-180 grams For Crepe Paper
For crepe paper, I stick with 60-180 grams weight. 60-gram crepe paper is much thinner and easier to cut. The 180-gram crepe paper is much heavier and less delicate. Each weight has its pros and cons, depending on the flower you’re making.
In general, I use heavier crepe paper for larger flowers like this newborn nest for photos and lighter crepe paper for more delicate, small flowers such as this plumeria design.
Tools to Cut Your Paper Petals
Cutting paper flower petals is a major aspect of crafting these beauties. There are some particular tools I recommend to get the cut just right.
Using A Cutting Machine For Paper Flowers
Cricut Cutting Machine: Maybe if you’re someone like me who really loves this paper flower thing, then you’re definitely going to want to invest in a cutting machine – this is a must-have on my paper flower supplies list.
I personally use and HIGHLY recommend Cricut machines. Not only can the machine help you make stunning paper blooms, but it opens up a new world of craft possibilities.
Using a cutting machine to make paper flowers also gives you the freedom to create different sizes by scaling the SVG files in software like Design Space.
If you aren’t sure which Cricut machine is a good fit for you, I can help with that too. Get a full comparison of the Explore, Maker, and Joy machines here. Likewise, you can check out other cutting machine brands such as Silhouette, Scan N Cut, etc.
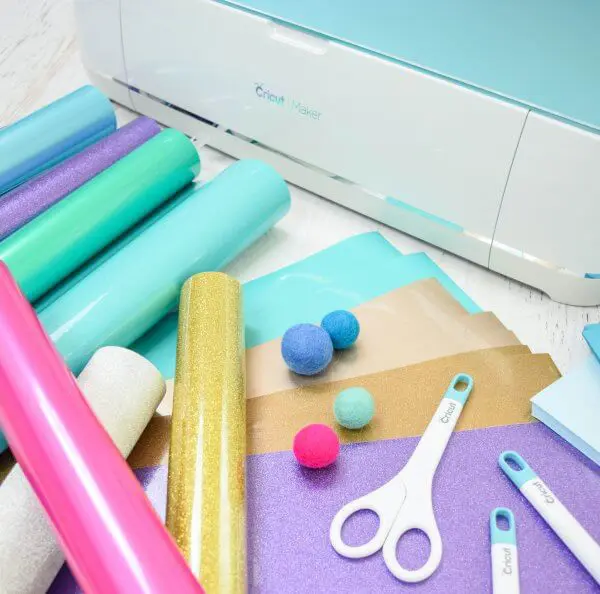
Cutting Paper Flowers by Hand With Scissors
Scissors: For simplistic flower petal shapes and with a patient hand, cutting with scissors and using printable PDF files is a great way to get started in easily making paper flowers. Even though I usually use my Cricut cutting machine, it’s also necessary to have a good pair of craft scissors in your workspace at all times.
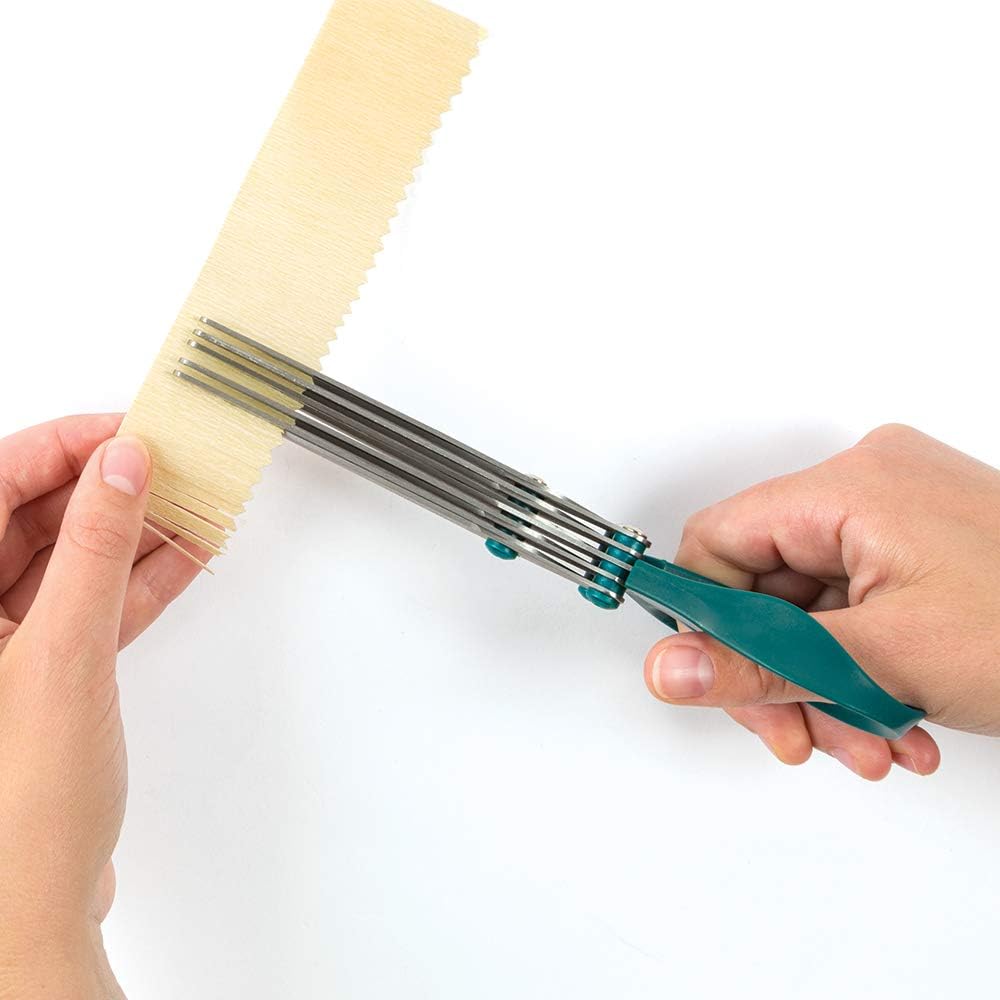
Fringe Scissors (a.k.a herb scissors): Whenever I show off these fringe scissors in a video, everyone wants to know where to find them! Most often, I use these scissors for detailed flower centers. They’re commonly known as herb scissors and can be found on Amazon or even in grocery stores.
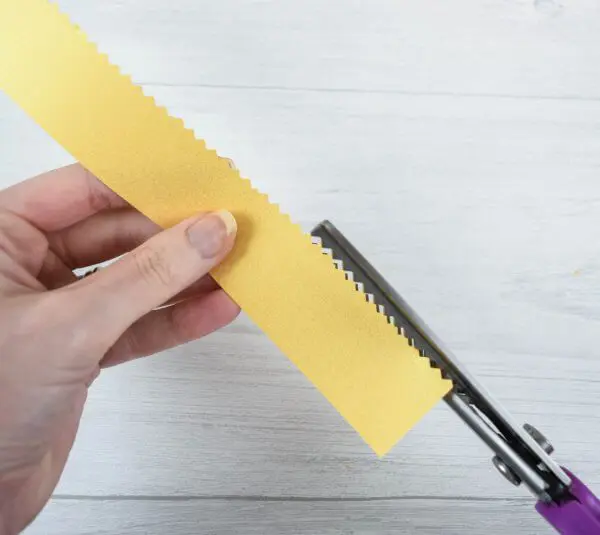
Pinking Shears: Some of the best techniques are ones that you invent. This is a little trick to add texture to the edges of your flower centers. I like to use this trick most often with my pompom centers. Using pinking sheers creates a pointed edge rather than a boxy one, and therefore, it looks more natural.
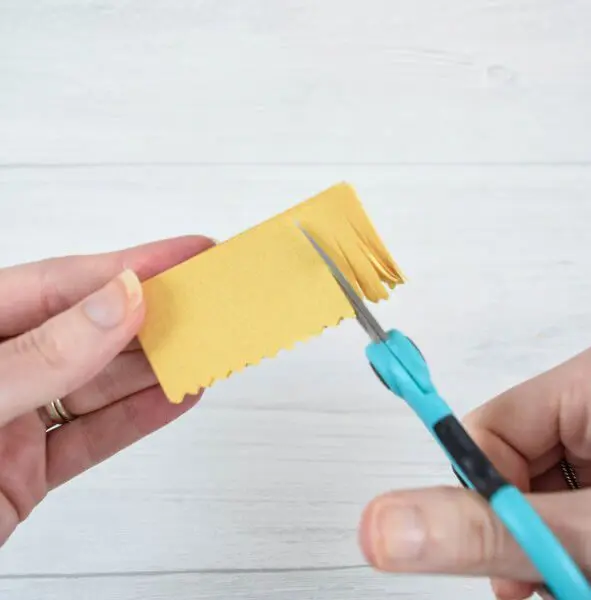
Detail Scissors: I was never a user of detail scissors, but after picking up a pair, I realized just how useful they are! They’re great for correcting small cuts or adding intricate details.
Flower Punches: In this discussion of scissors, I also like to throw in flower punches and flower die cuts because if you’re making these paper flowers by hand, there will be times when the centers of small flowers are just too intricate to cut by hand. In this case, swap the flower center for a flower punch to save your hands and time.
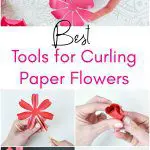
How to Curl and Shape Petals For Paper Flowers
Curling a paper flower petal is what makes the entire flower come to life. From a flat 2D piece of paper to a 3D blooming beauty jumping out at you, curling and shaping techniques are very key.
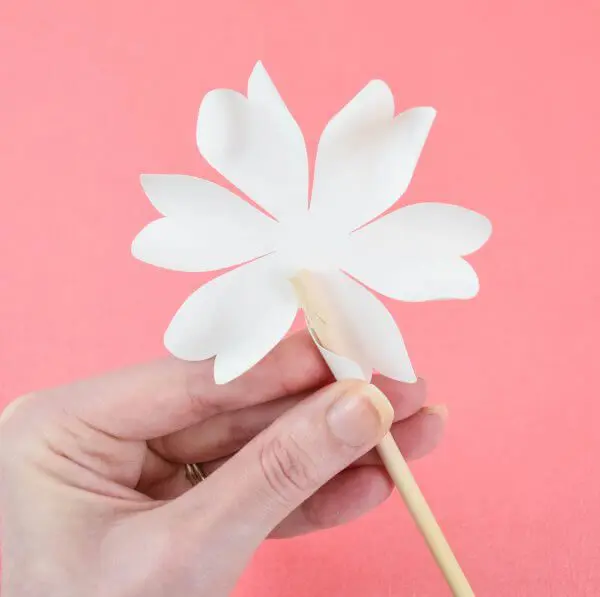
Wood Dowel: The first option I use most often is a thin wood dowel. Using a wood dowel is very effective in curling petals at angles. I usually opt for 1/4 – 1/2-inch wood dowels.
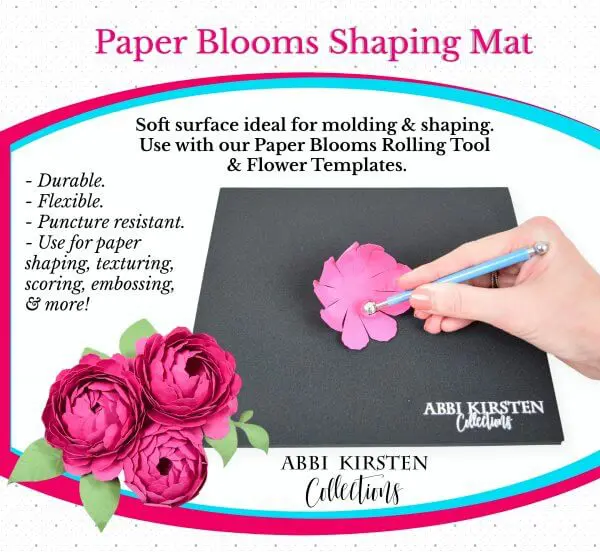
Paper Blooms Shaping Mat: This is my absolute FAVORITE way to shape petals! The Paper Blooms shaping mat and toolset lets you cup petals, curl petals, add ridges and veins, and overall, take your flowers to the next level.
Cricut Scraper: The last way I shape my petals or leaves is with a paper craft scraper tool. Since I use a Cricut machine, I love the Cricut scraper. This tool gives you the ability to curl crisp curves on leaves and petals quickly.

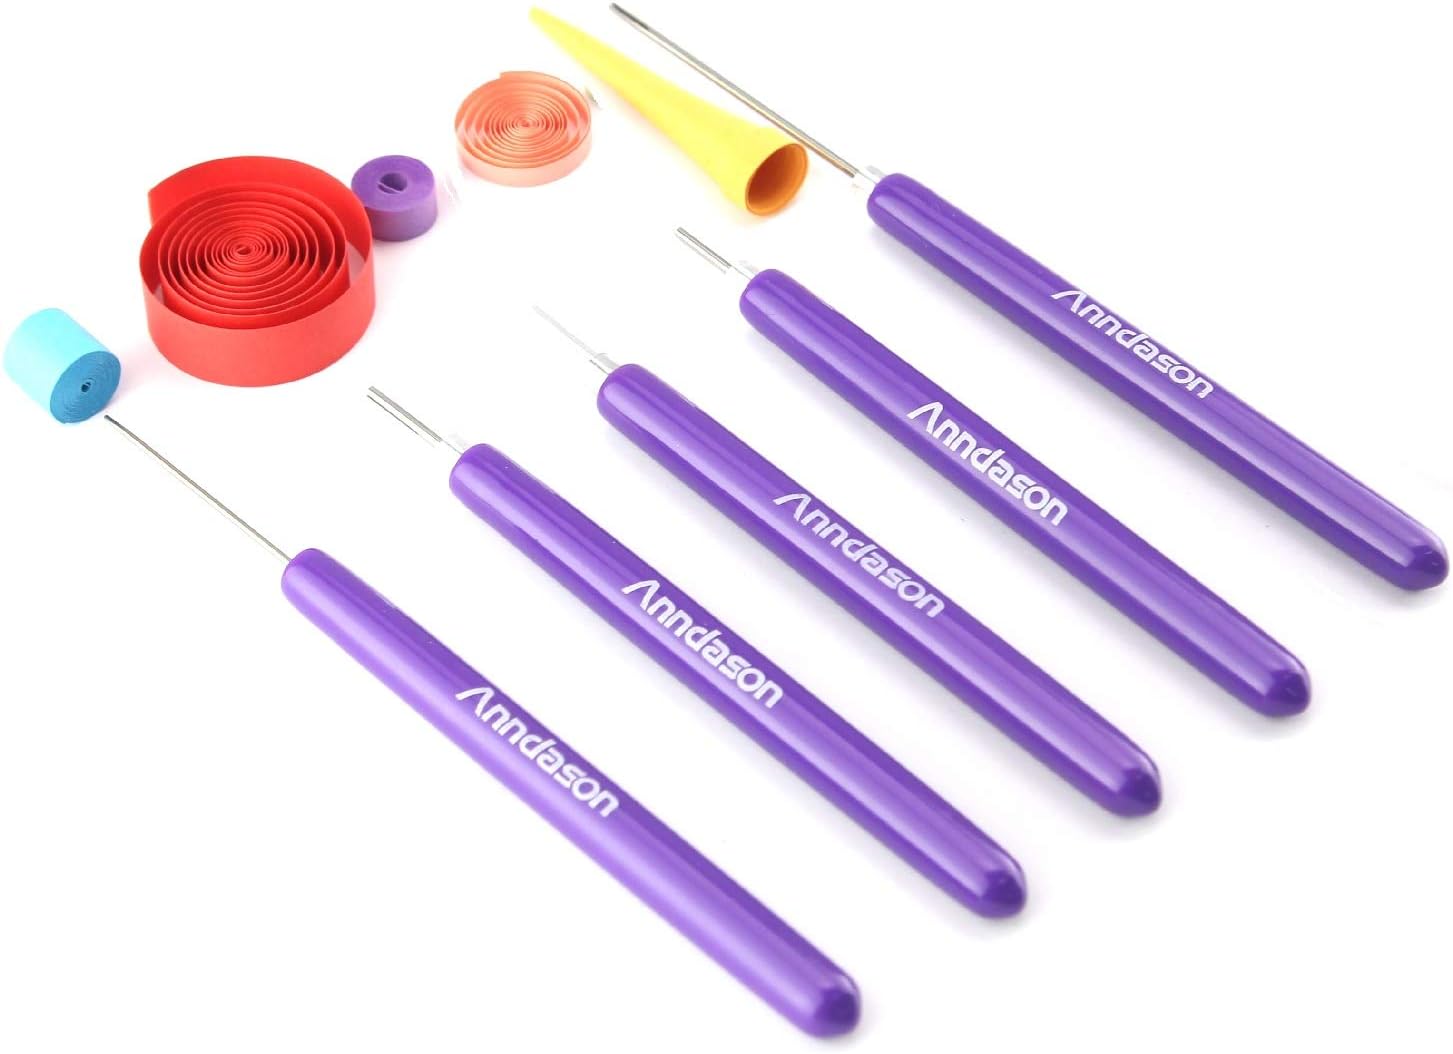
Quilling Tool: Quilling tools are perfect for helping you roll rosette flowers together in a flash. Take a peek at how I roll my flowers with these quilling tools on Instagram.
I also recently discovered this Flowtool, which is great for rolling rosettes easily.
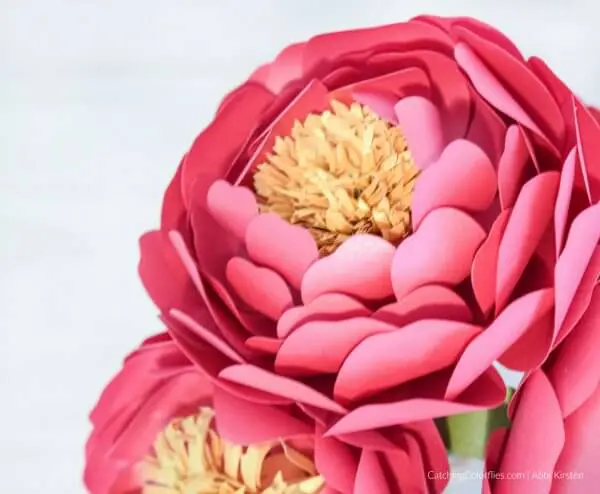
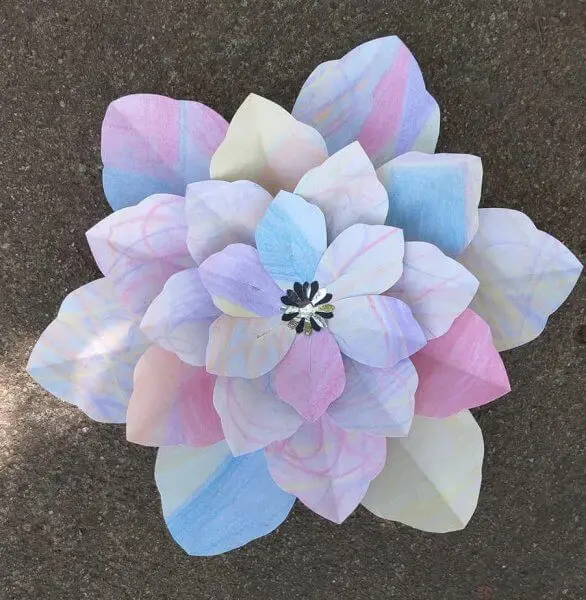
Distress Inks and Oxide: How To Add Color To Petals
If you really want to make your paper flowers look life-like, consider adding some ink to the edges or centers. This step takes a little more time but is well worth the lovely, next-level results.
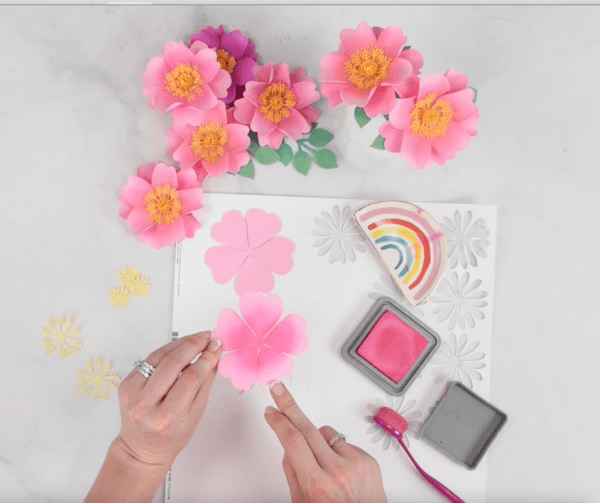
Stamp Ink: Using ink to distress my flower petals is usually my go-to option. There are so many great inks out there, but I highly recommend Tim Holtz Ink and Color Box.
Pan Pastels: Pan pastels are a more recent discovery of mine. I love how easy it is to blend colors with the pastels. If blending is what you’re after, then pan pastels are for you.
Paint/Pens: Never underestimate the power of the pen! Pen and paints are a great option for dressing up any paper flower petal. Watercolors are the best for painting petals. Whether you want to free-hand some designs or have your Cricut draw some details onto a leaf, at some point, be sure to give it a try.
Brushes and Ink Daubers: My favorite ways to apply the distress inks/oxides and pan pastels is with an ink blending brush and finger daubers. And you’ll love this glass craft board for blending and experimenting with your colors! You’ll be amazed at how much lifelike detail can be added with the shading and depth effects from inks and oxides.
The image below was a shared photo inside my Facebook group from a grandmother who had her grandkids color the petals, and then she built a flower out of it. Such an original idea and so beautiful!
The Best Glue For Paper Flowers
There are quite a few other necessary supplies for paper flower making. Let’s cover those next.
Glue Gun: Of course, we’ll need something to hold all those petals together. I always opt to use a glue gun because it holds well and dries quickly, which is exactly what you’re looking for when making paper flowers.
It can be ideal to have both a larger and mini glue gun on hand for working with both giant and small paper flowers. My favorite brand is Surebonder, and you want to opt for a high-temp hot glue gun.
And to protect those fingers, check out these finger protectors.
Bearly Art Glue: Occasionally, there will be a paper type that hot glue may not agree with – this happens to me every once in a while with glitter or metallic paper.
In that case, I love to use the Bearly Art brand. Their glue dries clear and relatively quickly. This is also great if you’re making flowers with kids or anyone you don’t want working with hot glue.
Supplies for stemming paper flowers
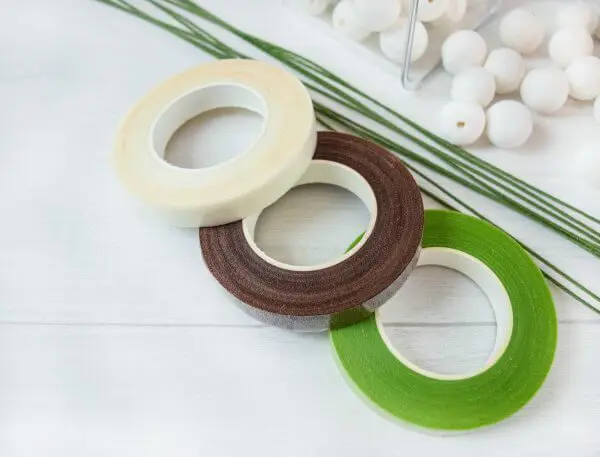
Wire for Stemming: When it comes to stemming a paper flower, arranging them on a wreath, or in bouquets, you need a reliable floral wire for your blooms.
I’ve always been happy using 18-gauge wire. It’s strong enough that your flower won’t droop, yet flexible enough that you can bend it as needed. In some cases, you may need a thinner wire for more delicate blooms or paper leaves. In that case, I recommend a 24-gauge or 22-gauge wire.
On the opposite end, you may want an extra heavy stem for some flowers like sunflowers. In that case, I recommend this thick 16-gauge paper-wrapped wire here.
I’ve also opted for some other wire variations on occasion, like this brown vine-like wire for flower crowns.
When using floral wires, you’ll also need to have some needle-nose pliers and wire clippers on hand. I like this plier and clipper set here.
Floral Tape: To cover your wire with a more finished look, opt for floral tape in a variety of colors.
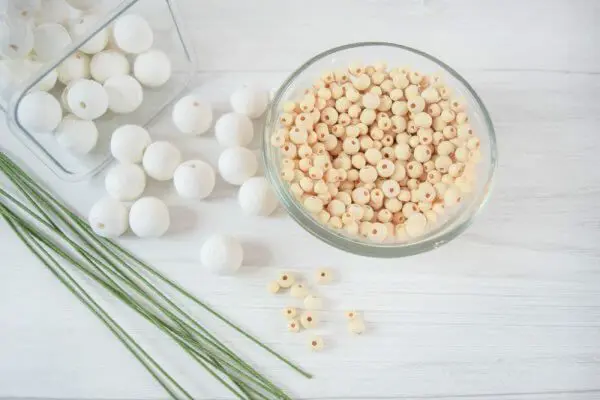
Cotton Spun Balls and Wood Beads: I love to find objects that I can use to build petals onto. Using these cotton spun balls and wood beads are perfect for detailed centers for flowers. I’ve also used 8-12mm pearls as stoppers on wires or to create small center stamen. And mini foam balls are handy for holding the stems and flowers in place.
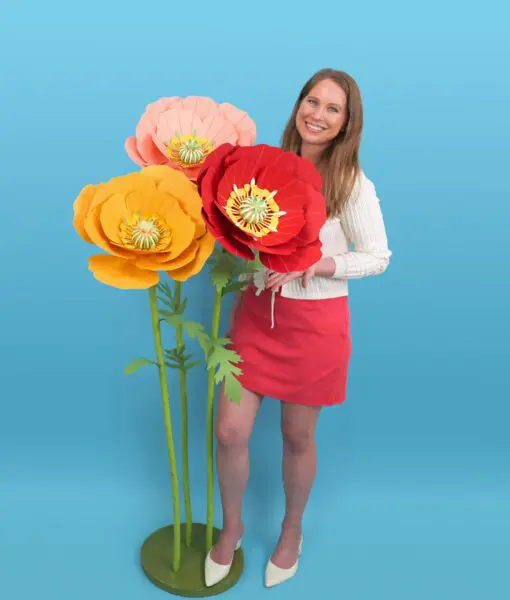
Supplies For Hanging Giant Paper Flowers
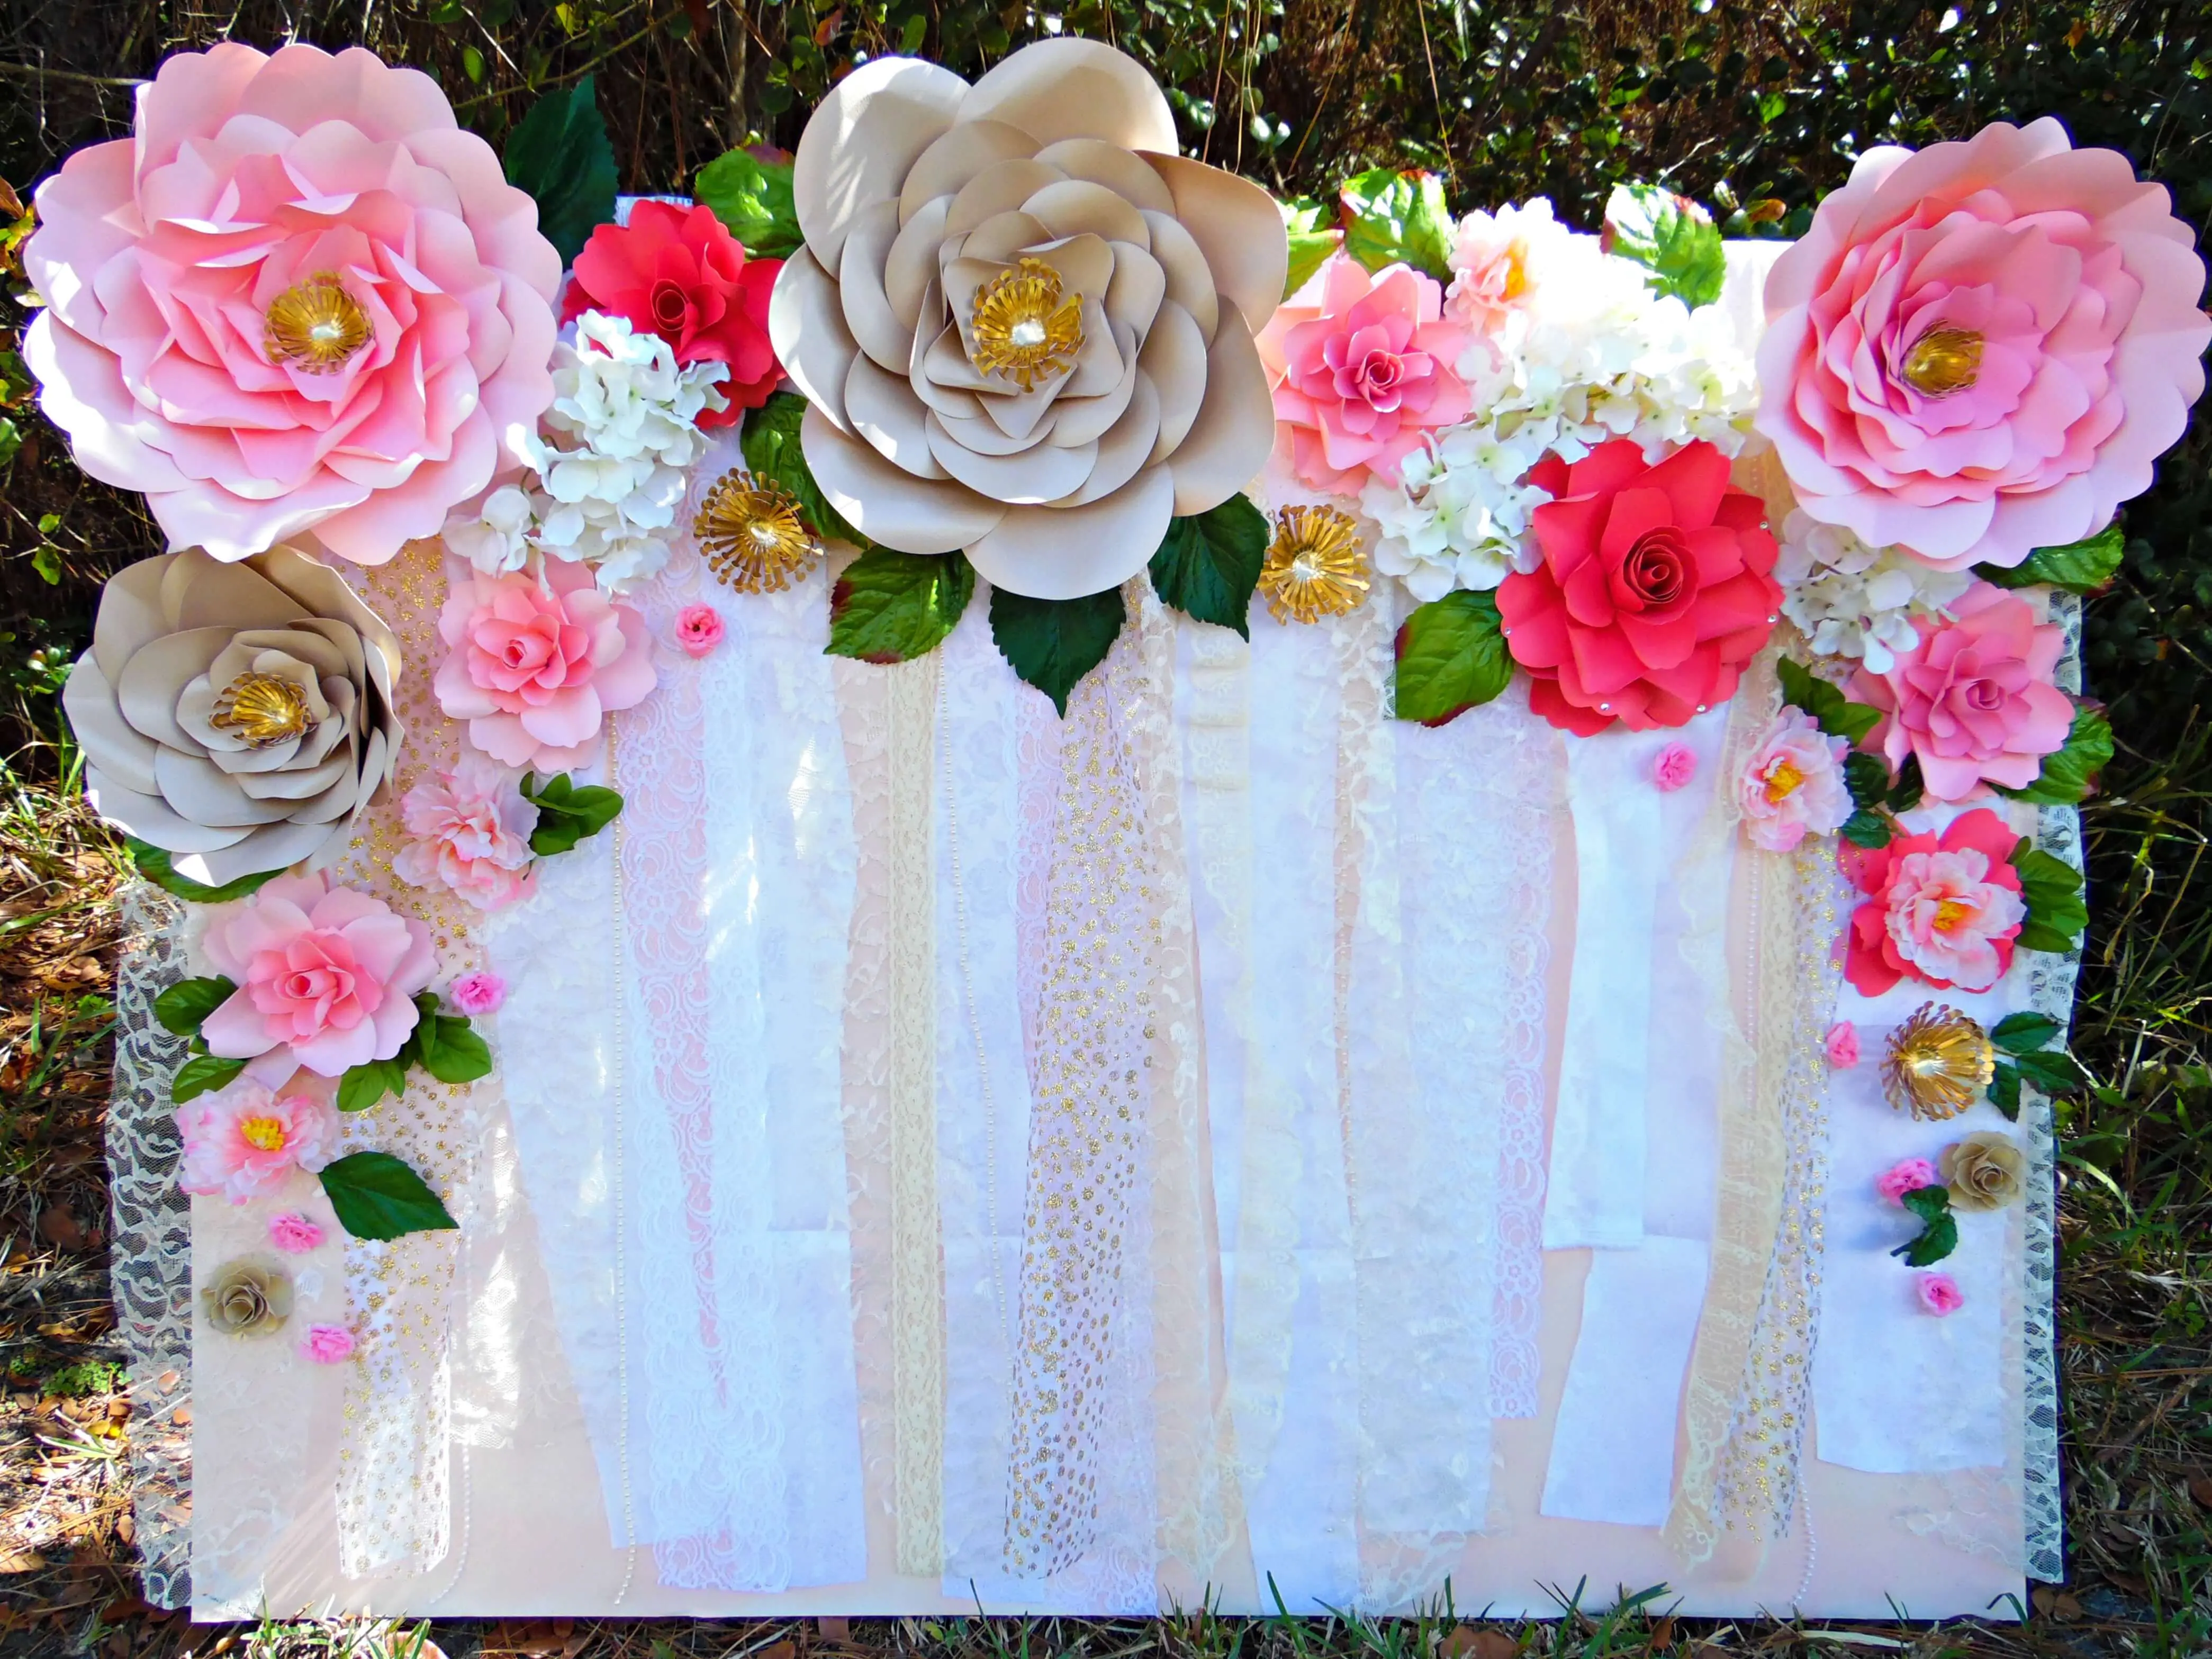
With giant paper flowers, you need to think about how you will hang them. Big flowers are assembled with large petals and then a base. The base provides the perfect area for attaching as a means of hanging the flowers. Read my full resource on hanging giant flowers here.
Here are a few quick options for mounting large flowers onto a wall or wood frame. You may also want to attach your flowers to a portable backdrop.
Command Strips: Sticky command strips or velcro command strips work great for sticking large paper flowers to a wall and are usually my first choice since they are damage-free.
Mounting Tape: Mounting tape is just like command strips but heavier duty and something you want to use for more permanent use.
Wood Frame and Draping Fabric: Attaching removable flowers to a wood frame backdrop works well to wrap the flower’s wire around. Covering the frame with draping fabric makes for a softer, finished look.
DIY Free-Standing Backdrop: If you’re wanting your flowers to be free-standing, a great alternative to a wall or ready-made wood backdrop that’s both cost-effective and simple is making your own backdrop out of PVC tubing. Check out this DIY step-by-step tutorial where I show you how to make your own free-standing PVC backdrop. It’s portable, reusable, and perfect for parties and photo booths!
Supplies For Making a Free-Standing Stem
Instead of hanging your giant paper flowers on a wall or attaching them to a backdrop, perhaps you’d rather have them be a free-standing stem arrangement, which is great for photo ops or event decor. These giant paper flower stems are so easy to make—and no drills or fancy tools are necessary!
My favorite method for creating a free-standing stem is using cement for the base and PVC tubing for the stem. Here are the best essential supplies I’ve found for creating a sturdy, free-standing stem.
Supplies for the Cement Base
For the cement base supplies, I recommend a quick-dry cement that will provide a strong support for the stem. You’ll want to have a bucket and spade (from your hardware store) for mixing as well as plastic planter molds (from the garden center at the same store), and spray paint in your choice of color (I like moss green). Also needed are 12 36-inch garden stakes, metal stakes, or wood dowels (I like to use 3 per stand), and optionally, a spare tall cardboard box.
Supplies for the PVC Stem
Supplies for the stem include a flexible PVC tube/pipe, crepe paper in green (or your choice color) to wrap the stem (PVC tube), and green painters tape to cover the 4-6 inch foam balls once they’re cut in half. A box cutter is optional.
Supplies for Attaching and Detaching the Flower
Lastly, to attach the flower to the stem, use a hot glue gun, and if you want to make the head of your flower detachable, you’ll want to use magnets (my preference), or optionally, velcro. By making the flower heads detachable, you can switch out the flowers for various occasions, creating a reusable and customizable display. A great option for event decorators!
Paper Flower Supplies – Arrangements and Bouquets
In addition to the supplies above, there are some other items that you may want for creating paper flower arrangements, bouquets, corsages, etc.
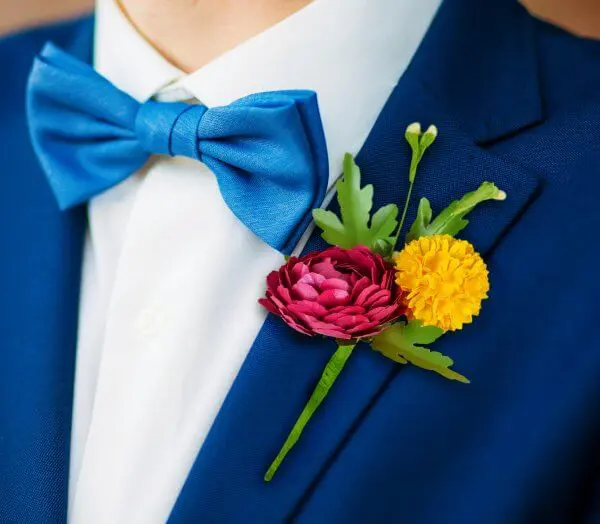
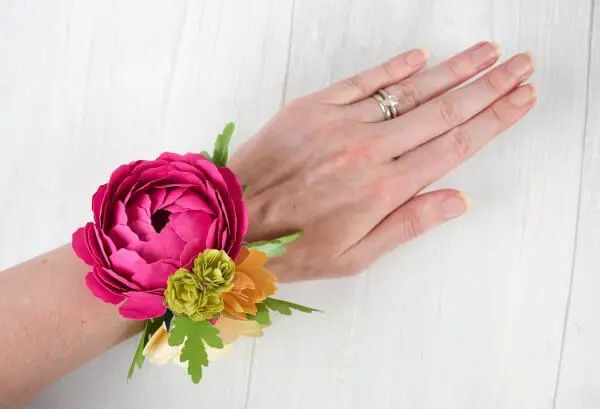
Styling for Personal Wear
Pins: Pins are important when it comes to creating corsages and boutonnieres. To pin a boutonniere on lapels, I like to use straight pins like these here.
If you’re working with a corsage, you may want the option of a flat back pin that can be glued onto the back of your flowers and pinned directly onto a dress.
Slap Bands: Okay, I know many of you are thinking, did she just say slap bands? Yes, slap bands – that’s not a typo.
Slap bands work amazingly well for wrist corsages! This idea came to me when I was playing around with slap bands to hold my vinyl rolls together (an extra bonus idea for you).
You can find inexpensive slap bands that you can wrap in ribbon to dress them up and then glue the flowers right on top.
Ribbon: Where there are paper flowers, there is ribbon! I LOVE to play with ribbon in my pictures and arrangements. I have one favorite source, Anastasia Marie Shop, for specialty ribbons that really stand out.
Styling Bouquets and Arrangements
Foam Ball: We touched on foam and cotton spun balls above, but you also may need larger foam balls when building a bouquet. I like to use an 8-10 inch foam ball for my bouquets, but I have gone up to 12-inch options for a bigger look. I always cut my foam balls in half for a more natural look.
In addition to foam balls, you may also want foam circles to stack inside vases or planters. This will help you arrange stems with support.
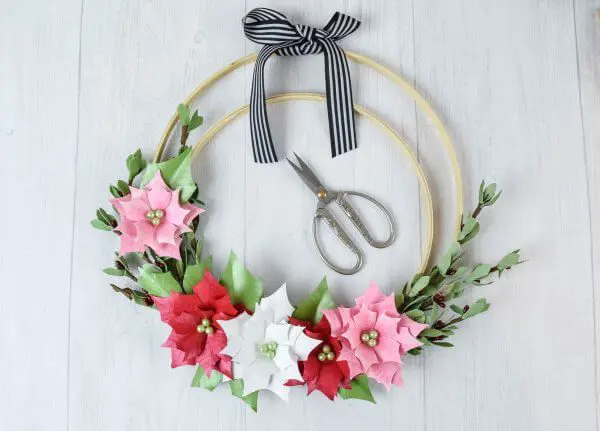
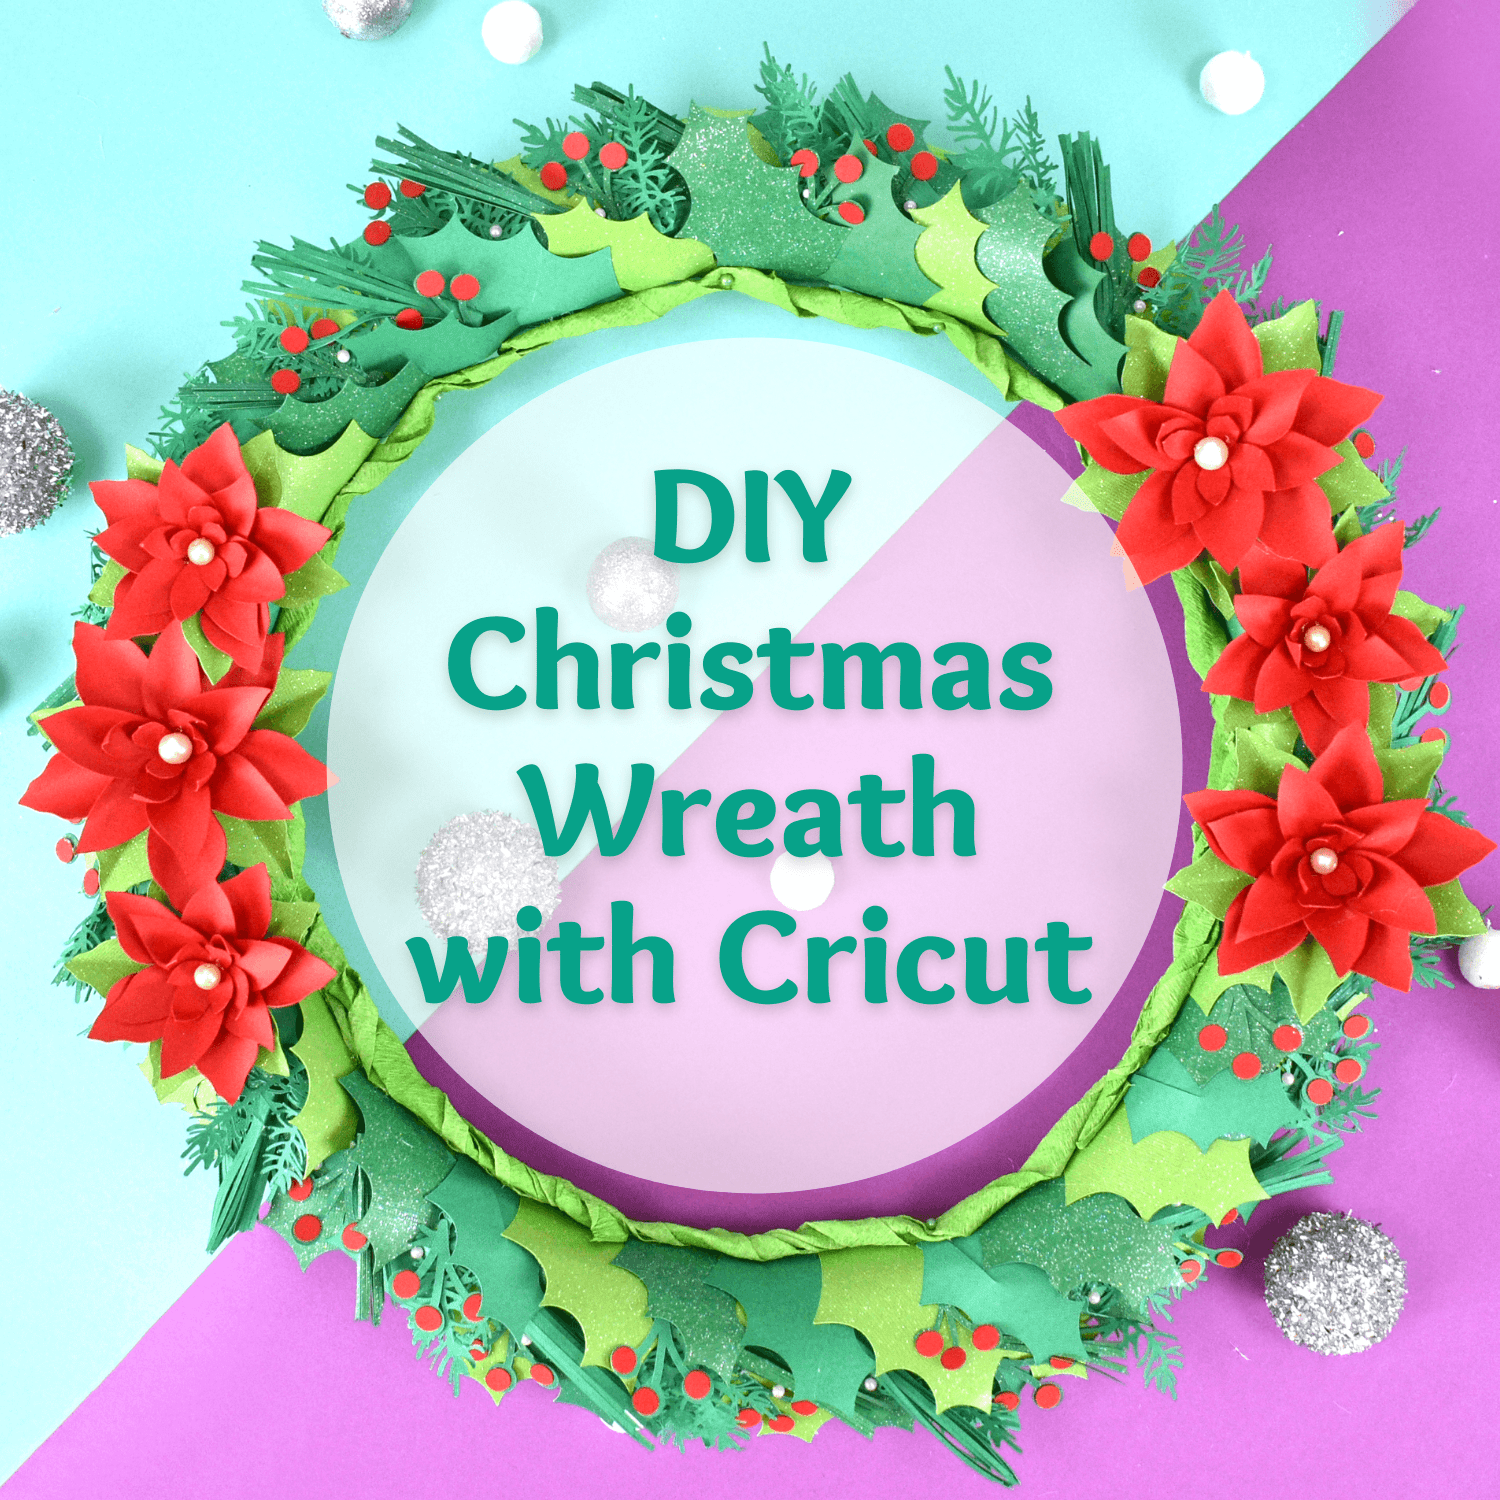
Wreath Base: Creating wreaths with paper flowers is really fun. There are some different options for bases to build upon. The first option I like to use is a foam circle base.
As an alternative, you can also use a natural vine wreath or even embroidery hoops.
Vases: If you’re building arrangements, you’ll need vases. Vases can be found at home goods stores and craft stores, but I also love and have bought several of these minimalist vases. Etsy also has some amazing vase options as well.
Vase Fillers and Vase Rocks: Vase fillers and vase rocks help your flowers stay stable and upright in your arrangements. Fillers can get expensive, but I have found a few cheap alternatives.
First, when you need to just fill space, I recommend using foam beads (the kind you use for homemade slime) as vase fillers. This is a very economical option. You can also use some stone fillers.
Other decorative items that are fun to include as natural alternatives to a wreath or vase are rattan baskets, moss, and brown butcher paper. Floral wrapping paper works well for holding the shape of your arrangement and also comes in a variety of vibrant colors! Mixing up how you display your flowers in these ways can add a warm, organic touch to your creations.
For more help with floral arrangements, check out my cascading paper flower bouquet tutorial and my holiday table arrangement design.
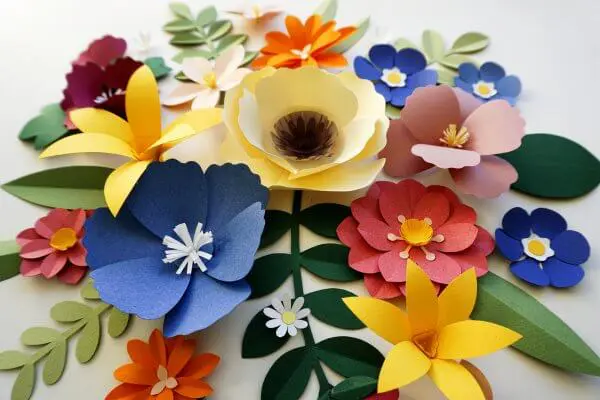
Where can I find paper flower templates?
When you create a free account to access Abbi’s Craft Vault, you can find several free flower templates to get you started. Check the free flower templates out here.
Abbi Kirsten A-Star Crafters Membership
Beyond that, there is even more for our A-Star Crafters members!
With over 150+ paper flowers, you can learn to make both giant wall flowers and small paper flowers for arrangements, bouquets, corsages, and more. Remember to refer back to these paper flower supplies when you start crafting.
Paper Flower Books
There are so many wonderful craft books out there to teach you how to make paper flowers. After being challenged by my community to create my own, I set out to write two books about paper flower making.

The Art of Giant Paper Flowers
In 2015, I wrote my book, The Art of Giant Paper Flowers, and have sold more than 10,000 copies since its release! You can grab the hardback version here or the ebook option – templates are included for both.
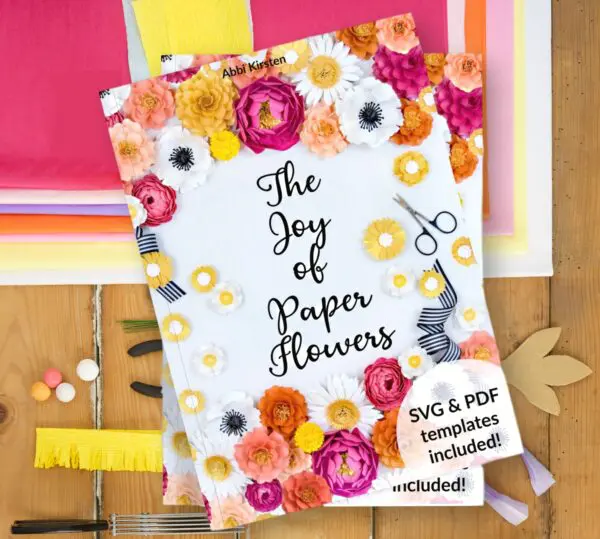
The Joy of Paper Flowers
After the first book, I received more requests for a book on making small paper flowers and arrangements, so The Joy of Paper Flowers was released in 2018! Grab The Joy of Paper Flowers here (ebook only).
I’ve created so many flower templates over the years. Here are a few highlights of the most downloaded flower templates and best-seller designs in the Craft Vault.

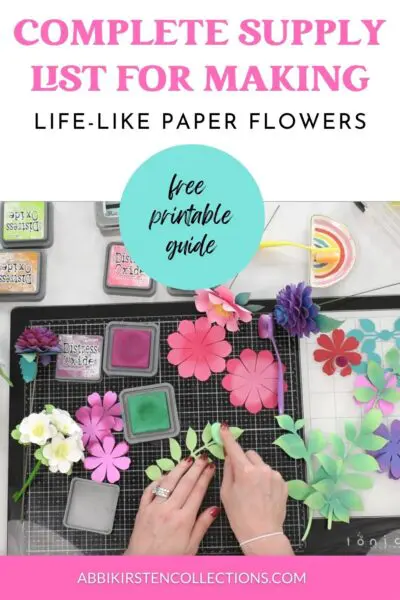
Free Printable Supply List Guide
Don’t forget to download the printable flower supply list, too, in the Craft Vault!
All in all, the information I have given you above is what I use to create all the flowers you see on Abbi Kirsten Collections, and you can totally create your own easy paper flowers with this guide. For more DIY projects like paper flowers, check out more tutorials on the blog.
And to get yourself started, don’t forget to try out all my free paper flower tutorials here.
I’d love to know your thoughts, questions, or additional suggestions to add to the list.
About Abbi Kirsten
Welcome to my colorful corner of the internet, where we play with vibrant crafts and unlock your creative magic! Hang out with me and get lost in a fun array of projects, tutorials, and products, from stunning papercraft ideas to flower templates, Cricut help for beginners, and endless crafter’s hacks.
Join A-Star Crafters and participate in monthly Craft-Alongs in our community Facebook group!


Wonderful tutorial! Thank you!
Very useful information! I have been trying to make paper flowers on my Cricut machine using magazine paper, but having trouble finding the right setting. There is no setting for magazines in the design space. Usually the paper rips. Do you have any advice on best setting for cutting magazine paper?
Good question! If the paper is ripping you may want to try to lower the pressure which can be done on the final cut screen. Since magazine paper is thin I would also make sure you are choosing light cardstock or the copy paper setting. 🙂
Thank you! That was the lead I needed. I set it to copy paper, and then had to tinker with the pressure. At about 165, that seems to be the sweet spot. Very grateful for your advice.
I love anything flowers, I’m so excited for this!!!! I’m in the middle moving so most of my crafting things are already in boxes, so I opted for the VIP All Access pass so once my craft room is put back together, I’m going to have fun with all these flowers!!! Thank you for all your hard work for putting this summit together!
Hi Melissa! It’s my pleasure! I can’t wait to see what you will create once you get settled!