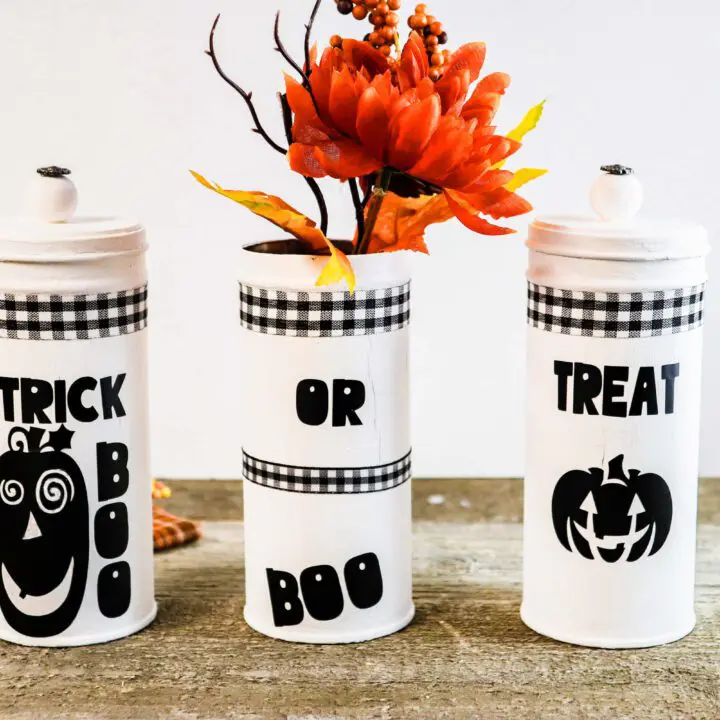
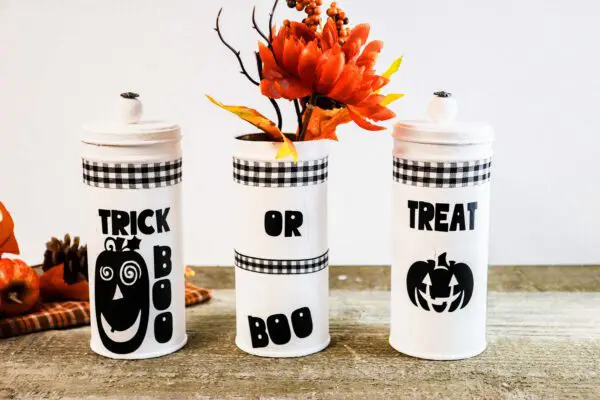
DIY Repurposed Cookie Tin Halloween Craft: Free Trick or Treat SVG Files
This post may contain affiliate links that won’t change your price but will share some commission.

Are you looking for a quick and easy Halloween craft you can make with your Cricut machine? This dollar-store craft is perfect and easy enough that kids can help with it! Repurposing cookie tins into a craft project is an affordable way to create something new for your Halloween decor at home, school, or your office.
Trick or Treat Repurposed Tins Supply List
Prep Time: 1 hour + paint dry time
- 3 Pirouline cookie tins with lids from Dollar Tree or any similar tins with lids
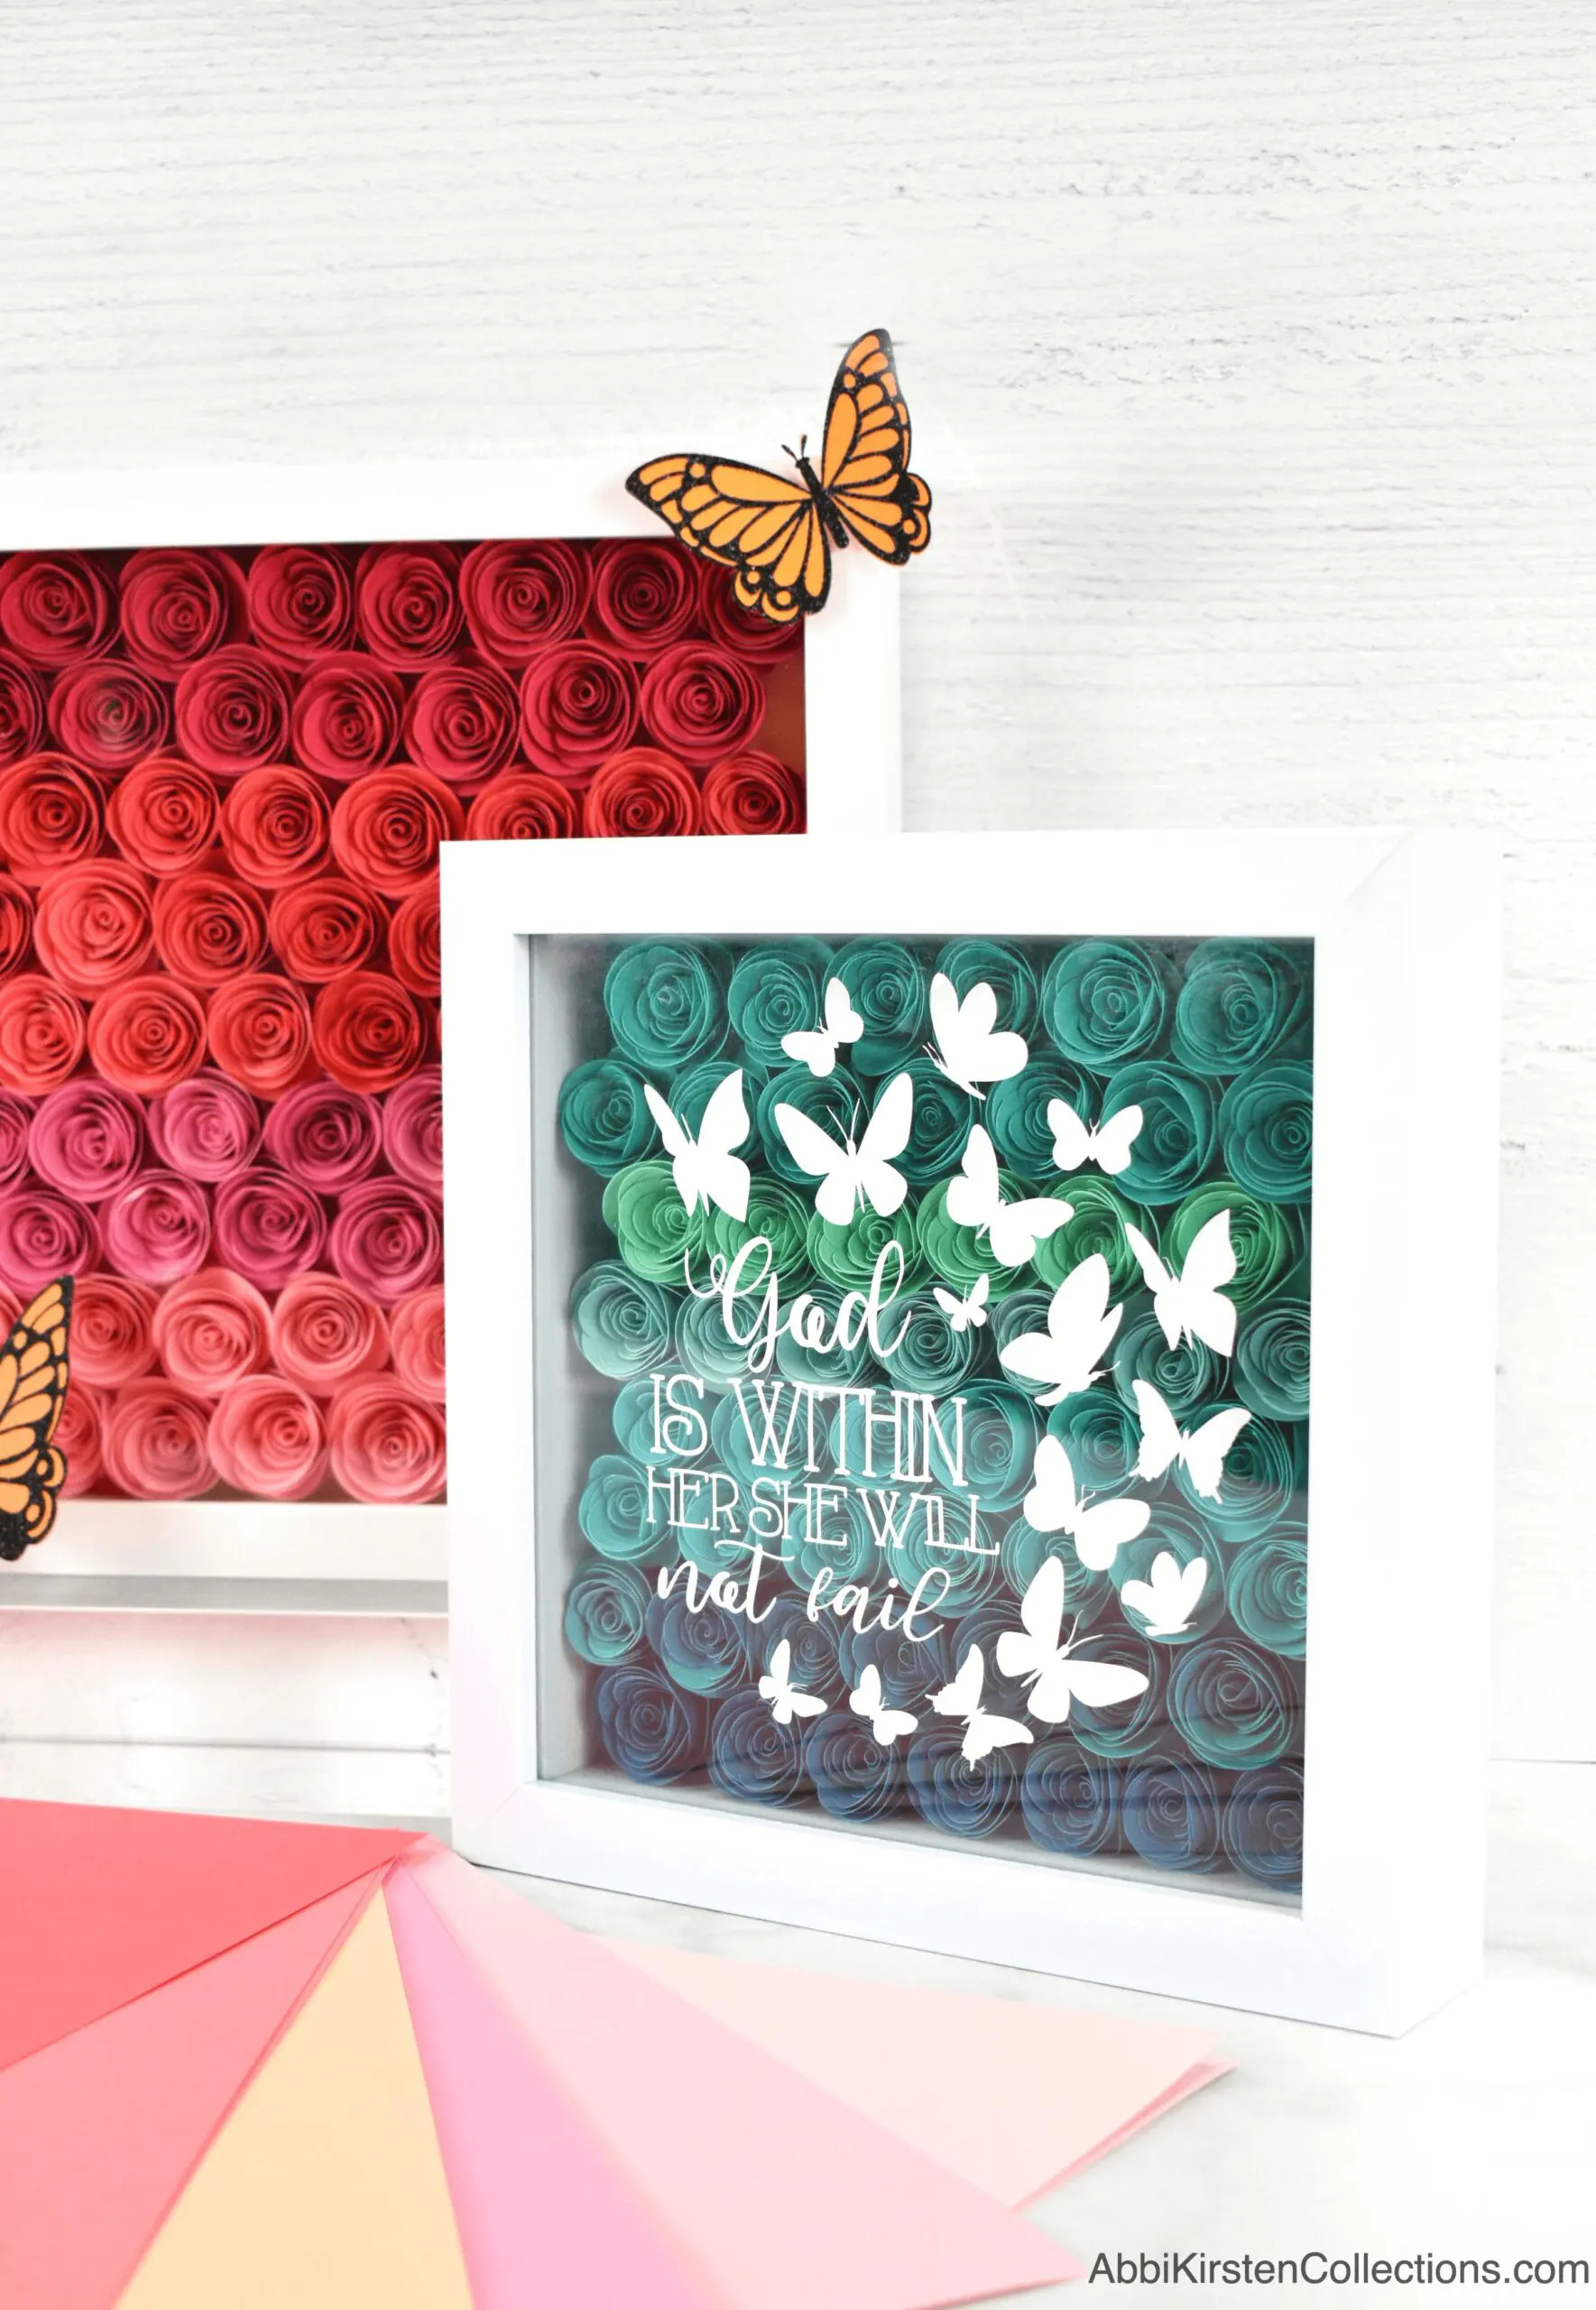
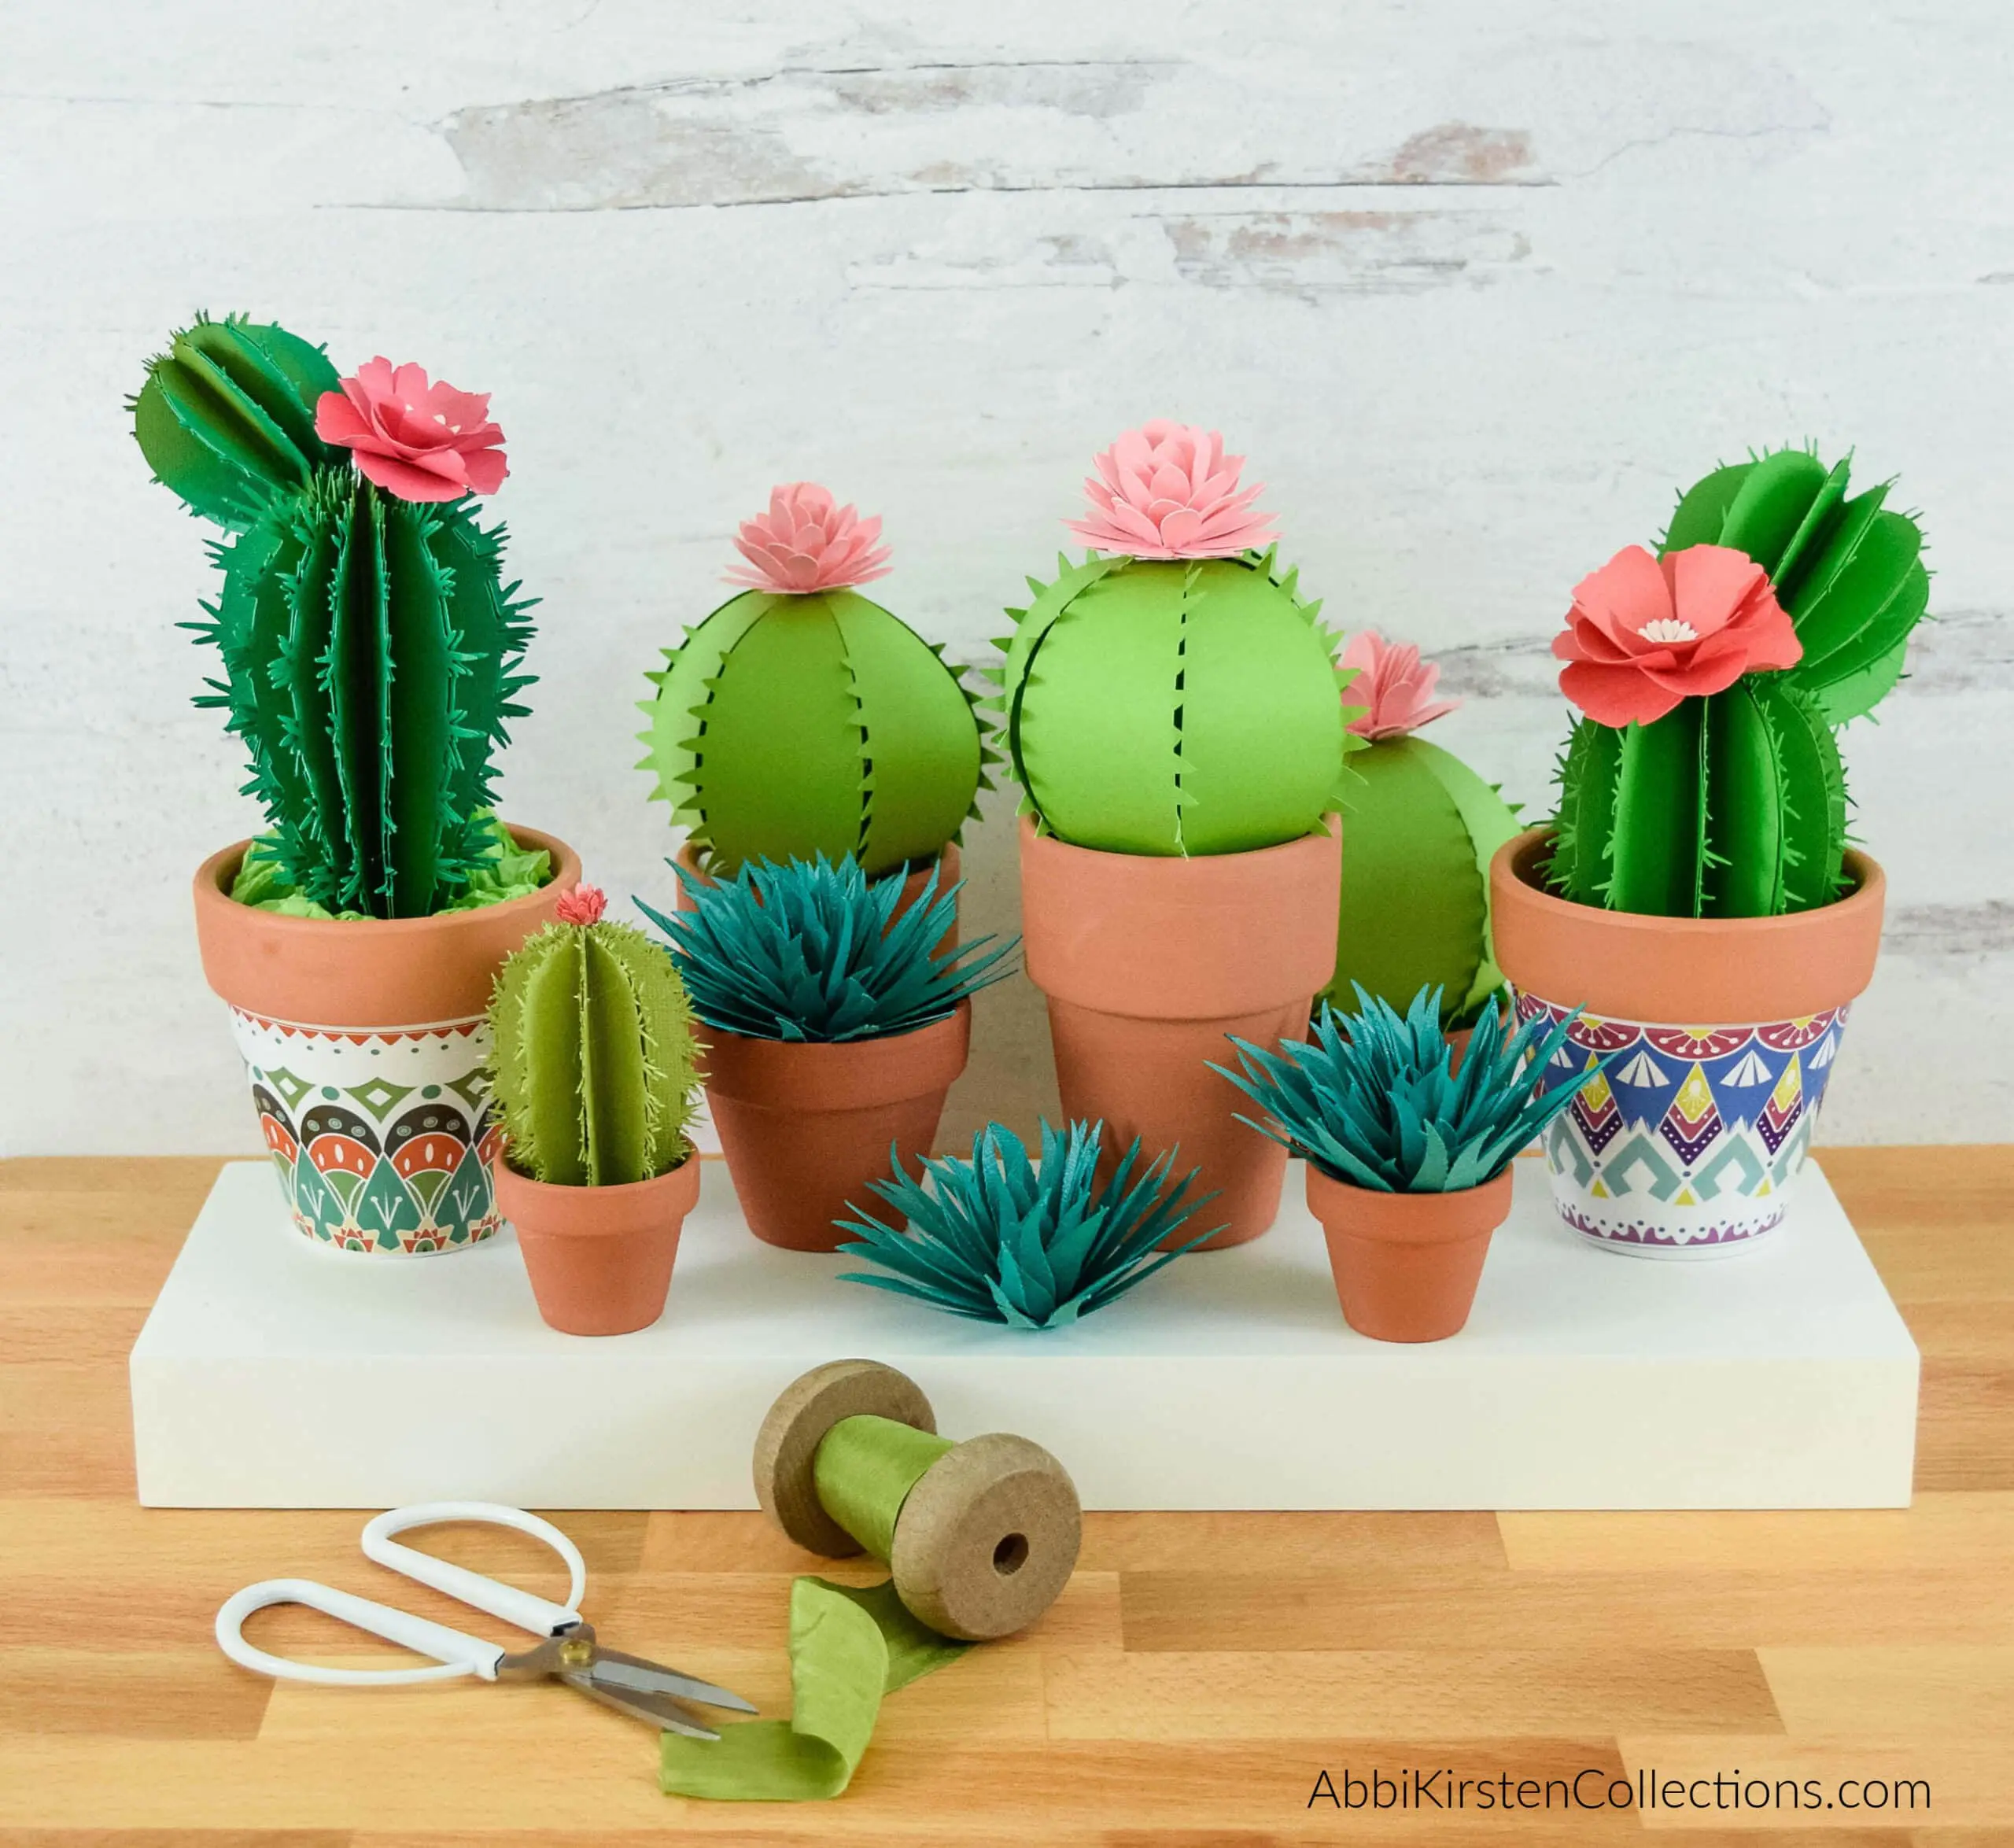
- Fall florals from Dollar Tree or a craft store. You can also make your own paper florals to create something extra unique! See all my paper flower tutorials here!
- Two large wooden beads or knobs.
- Two brass fasteners with a decorative top – if using wood beads with a hole.
- White chalk paint
- Foam brush
- Buffalo checkered ribbon
- Hot glue gun and glue sticks
- Halloween candy, Halloween toys such as spider rings, snakes, skeletons, bats, etc
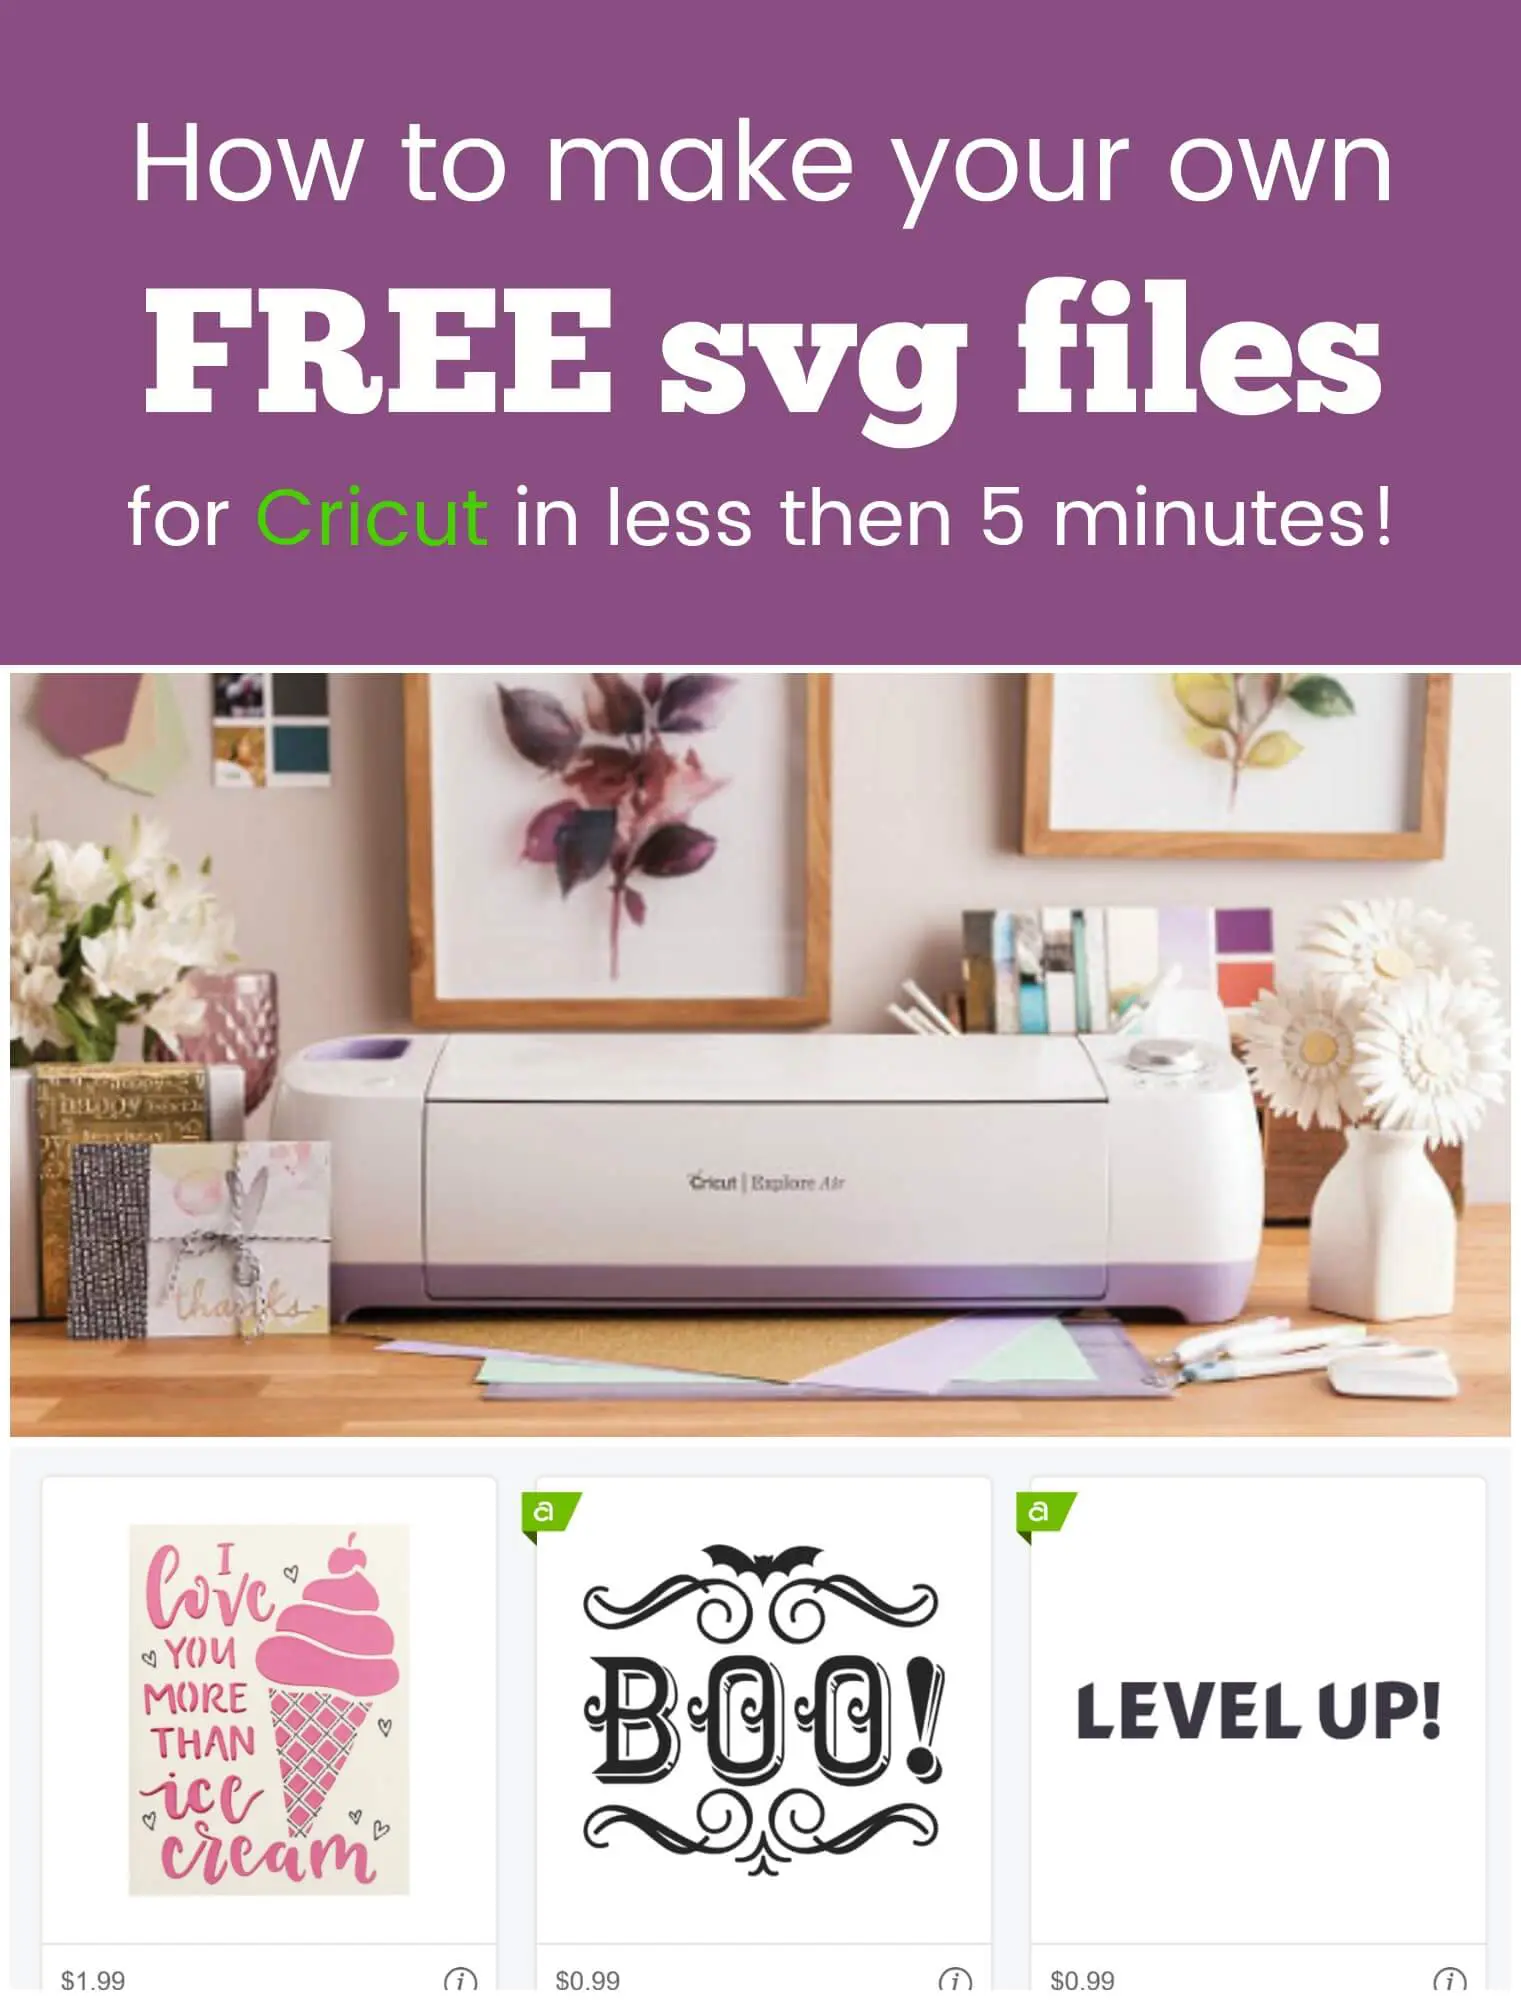
- Cricut machine to cut the FREE Trick or Treat SVG files (get them below)
- Cricut black vinyl
- Transfer tape
- Cricut weeding tool
- Cricut scraper
Free Trick or Treat SVG Cut File
Get this free trick-or-treat Halloween SVG file when you join my community below. Enter your name and email to get access to the AKC Freebie Vault. Once logged in, search the keyword “trick or treat” to download this free design. If you already have an account, log into the Freebie Vault here and search the keyword “trick or treat” or Design #635 at the top search bar.
How to make the Halloween Trick or Treat Repurposed Cookie Tin Craft
Let’s get started with this quick and easy Halloween craft. Making these trick-or-treat tins is easy enough that kids can help, too, making it a family-friendly project.
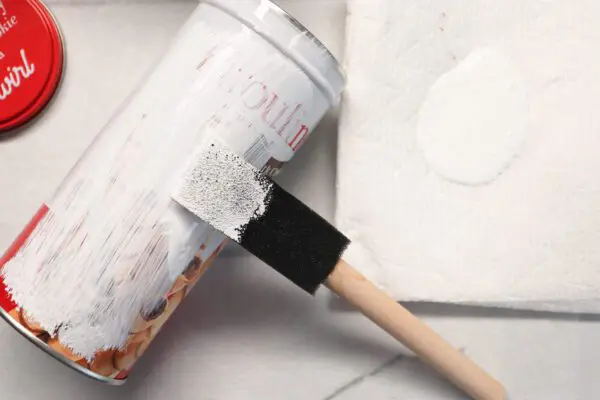
Step 1: Paint Your Cookie Tin
Paint your tins, lids, and beads white. This will take several coats. Allowing for complete dry time in between coats is recommended.
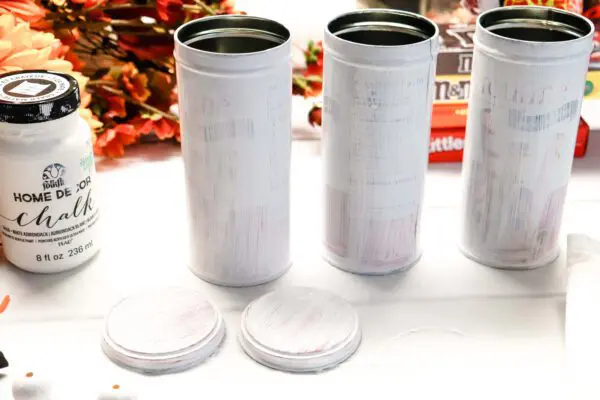
When the paint is completely dry, there may be some crackling in the paint which really adds to the Halloween look, in my opinion. And don’t be afraid to go for other colors! You can do black tins with white vinyl or even orange!
Step 2: Cut Out The Free Trick or Treat SVG File
While the paint is drying, cut out the trick-or-treat SVG files with your Cricut. Download the SVG in the Freebie Vault (details above). Upload the trick-or-treat SVG to Cricut Design Space. Place the permanent black vinyl on your cutting mat, and select permanent vinyl in the material settings.
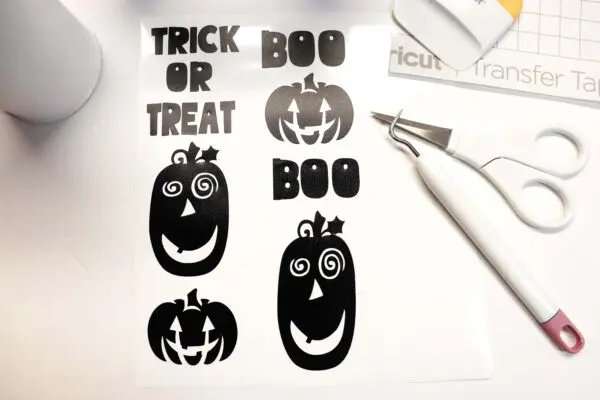
Once your Cricut is finished cutting the design, weed the vinyl by pulling the excess away from the cut words and pumpkins. Set aside.
Step 3: Add the Ribbon and Handle
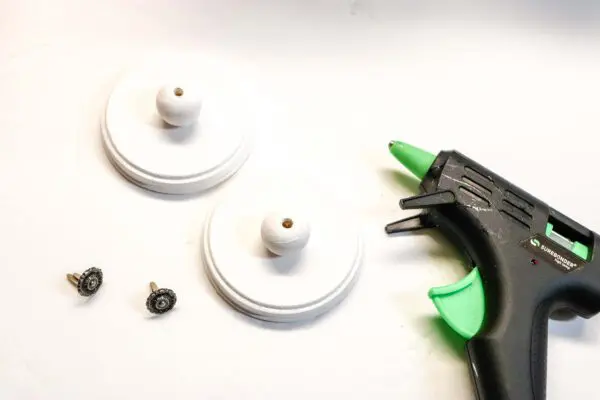
Hot glue the ribbon onto the top of the tin, securing it in the back of the tin. Likewise, hot glue the white painted bead to the top of the tin lid to act as a handle for the container. You can also add the brass fastener into the hole.
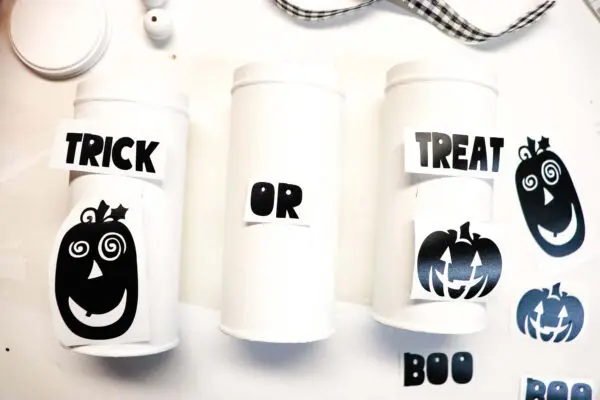
Place the design cutouts on the tins to eyeball where you will place them once you remove the transfer paper.
Use transfer tape to remove the vinyl from the liner. You can place the words on all the tins first and center the pumpkins under them or place all the pumpkins and then center the words above them.
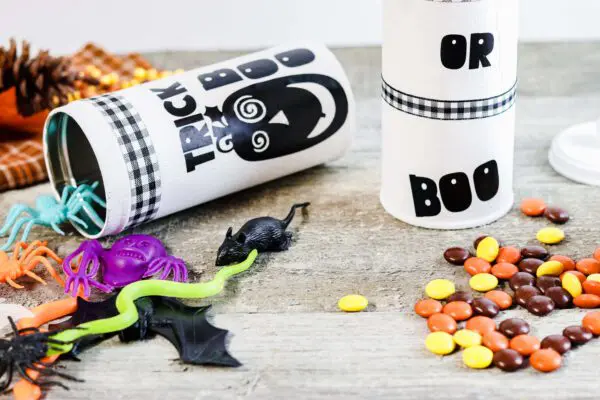
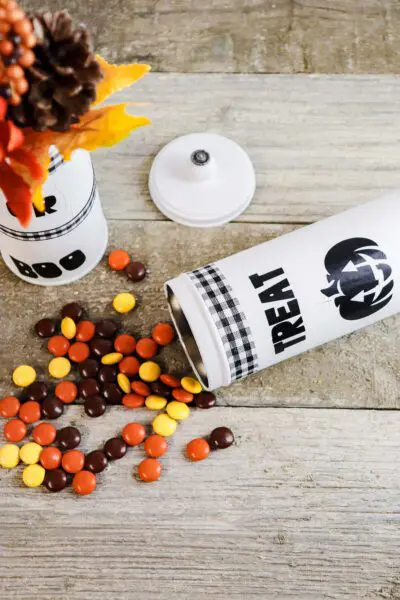
Fill the Trick tin with Halloween toys and fill the Treat tin with candy. I also think adding cookies back in is a good option, and for the trick container, you could even do a jump spring like from those snake prank cans for an extra fun result!
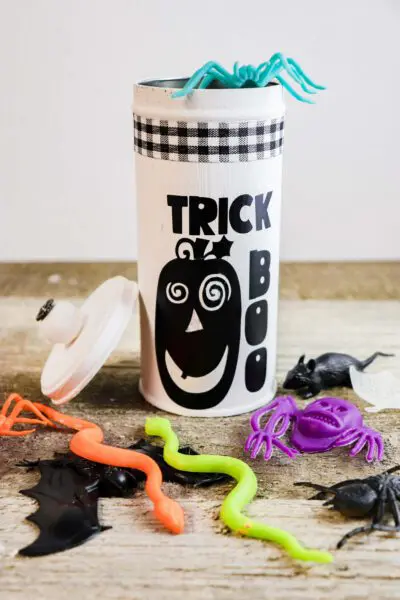
To finish, place fall florals into the center tin and set them out for display! Did you enjoy this quick and easy trick-or-treat Halloween craft? Check out all my Fall crafts here!
DIY Repurposed Cookie Tin Halloween Craft: Free Trick or Treat SVG Files
Enjoy family time by creating these fun Halloween containers using dollar-store cookie tins and my free Trick or Treat SVG files! You need minimal supplies and won’t break the bank, either! Fill these tins with plastic creepy crawlies like spiders, bats, and snakes. You can also put candy and small treats inside or use them as vases for fall floral arrangements. The possibilities are endless!
Materials
- 3 Pirouline cookie tins with lids from Dollar Tree or any similar tins with lids
- Two large wooden beads
- Two brass fasteners with a decorative top (if the beads have holes)
- White chalk paint
- Foam brush
- Buffalo checkered ribbon
- Hot glue gun and glue sticks
- Halloween candy, Halloween toys such as spider rings, snakes, skeletons, bats, etc
- Cricut machine to cut the FREE Trick or Treat SVG files (get them below)
- Cricut black permanent vinyl
- Transfer tape
- Cricut weeding tool
- Cricut scraper
Instructions
- Clean and dry your tins and lids. Remove any stickers.
- Paint the tins, lids, and beads white. Allow each coat to dry before adding another paint layer. It may take several coats.
- Cut out the free Trick or Treat vinyl using scissors, Cricut, or another cutting machine.
- Weed the finished vinyl.
- Hot glue the ribbon around the top lip of the tin.
- Hot glue the dried, painted bead to the top of the lid. Add the brass fastener if you choose.
- Apply and burnish the transfer tape to vinyl designs.
- Using the the transfer tape with the vinyls, apply designs to the dried and painted tins.
- Fill the repurposed tins with fun Halloween candy, tricks, and treats.
I hope you had a scary good time making these repurposed cookie tin Trick or Treat tin crafts!
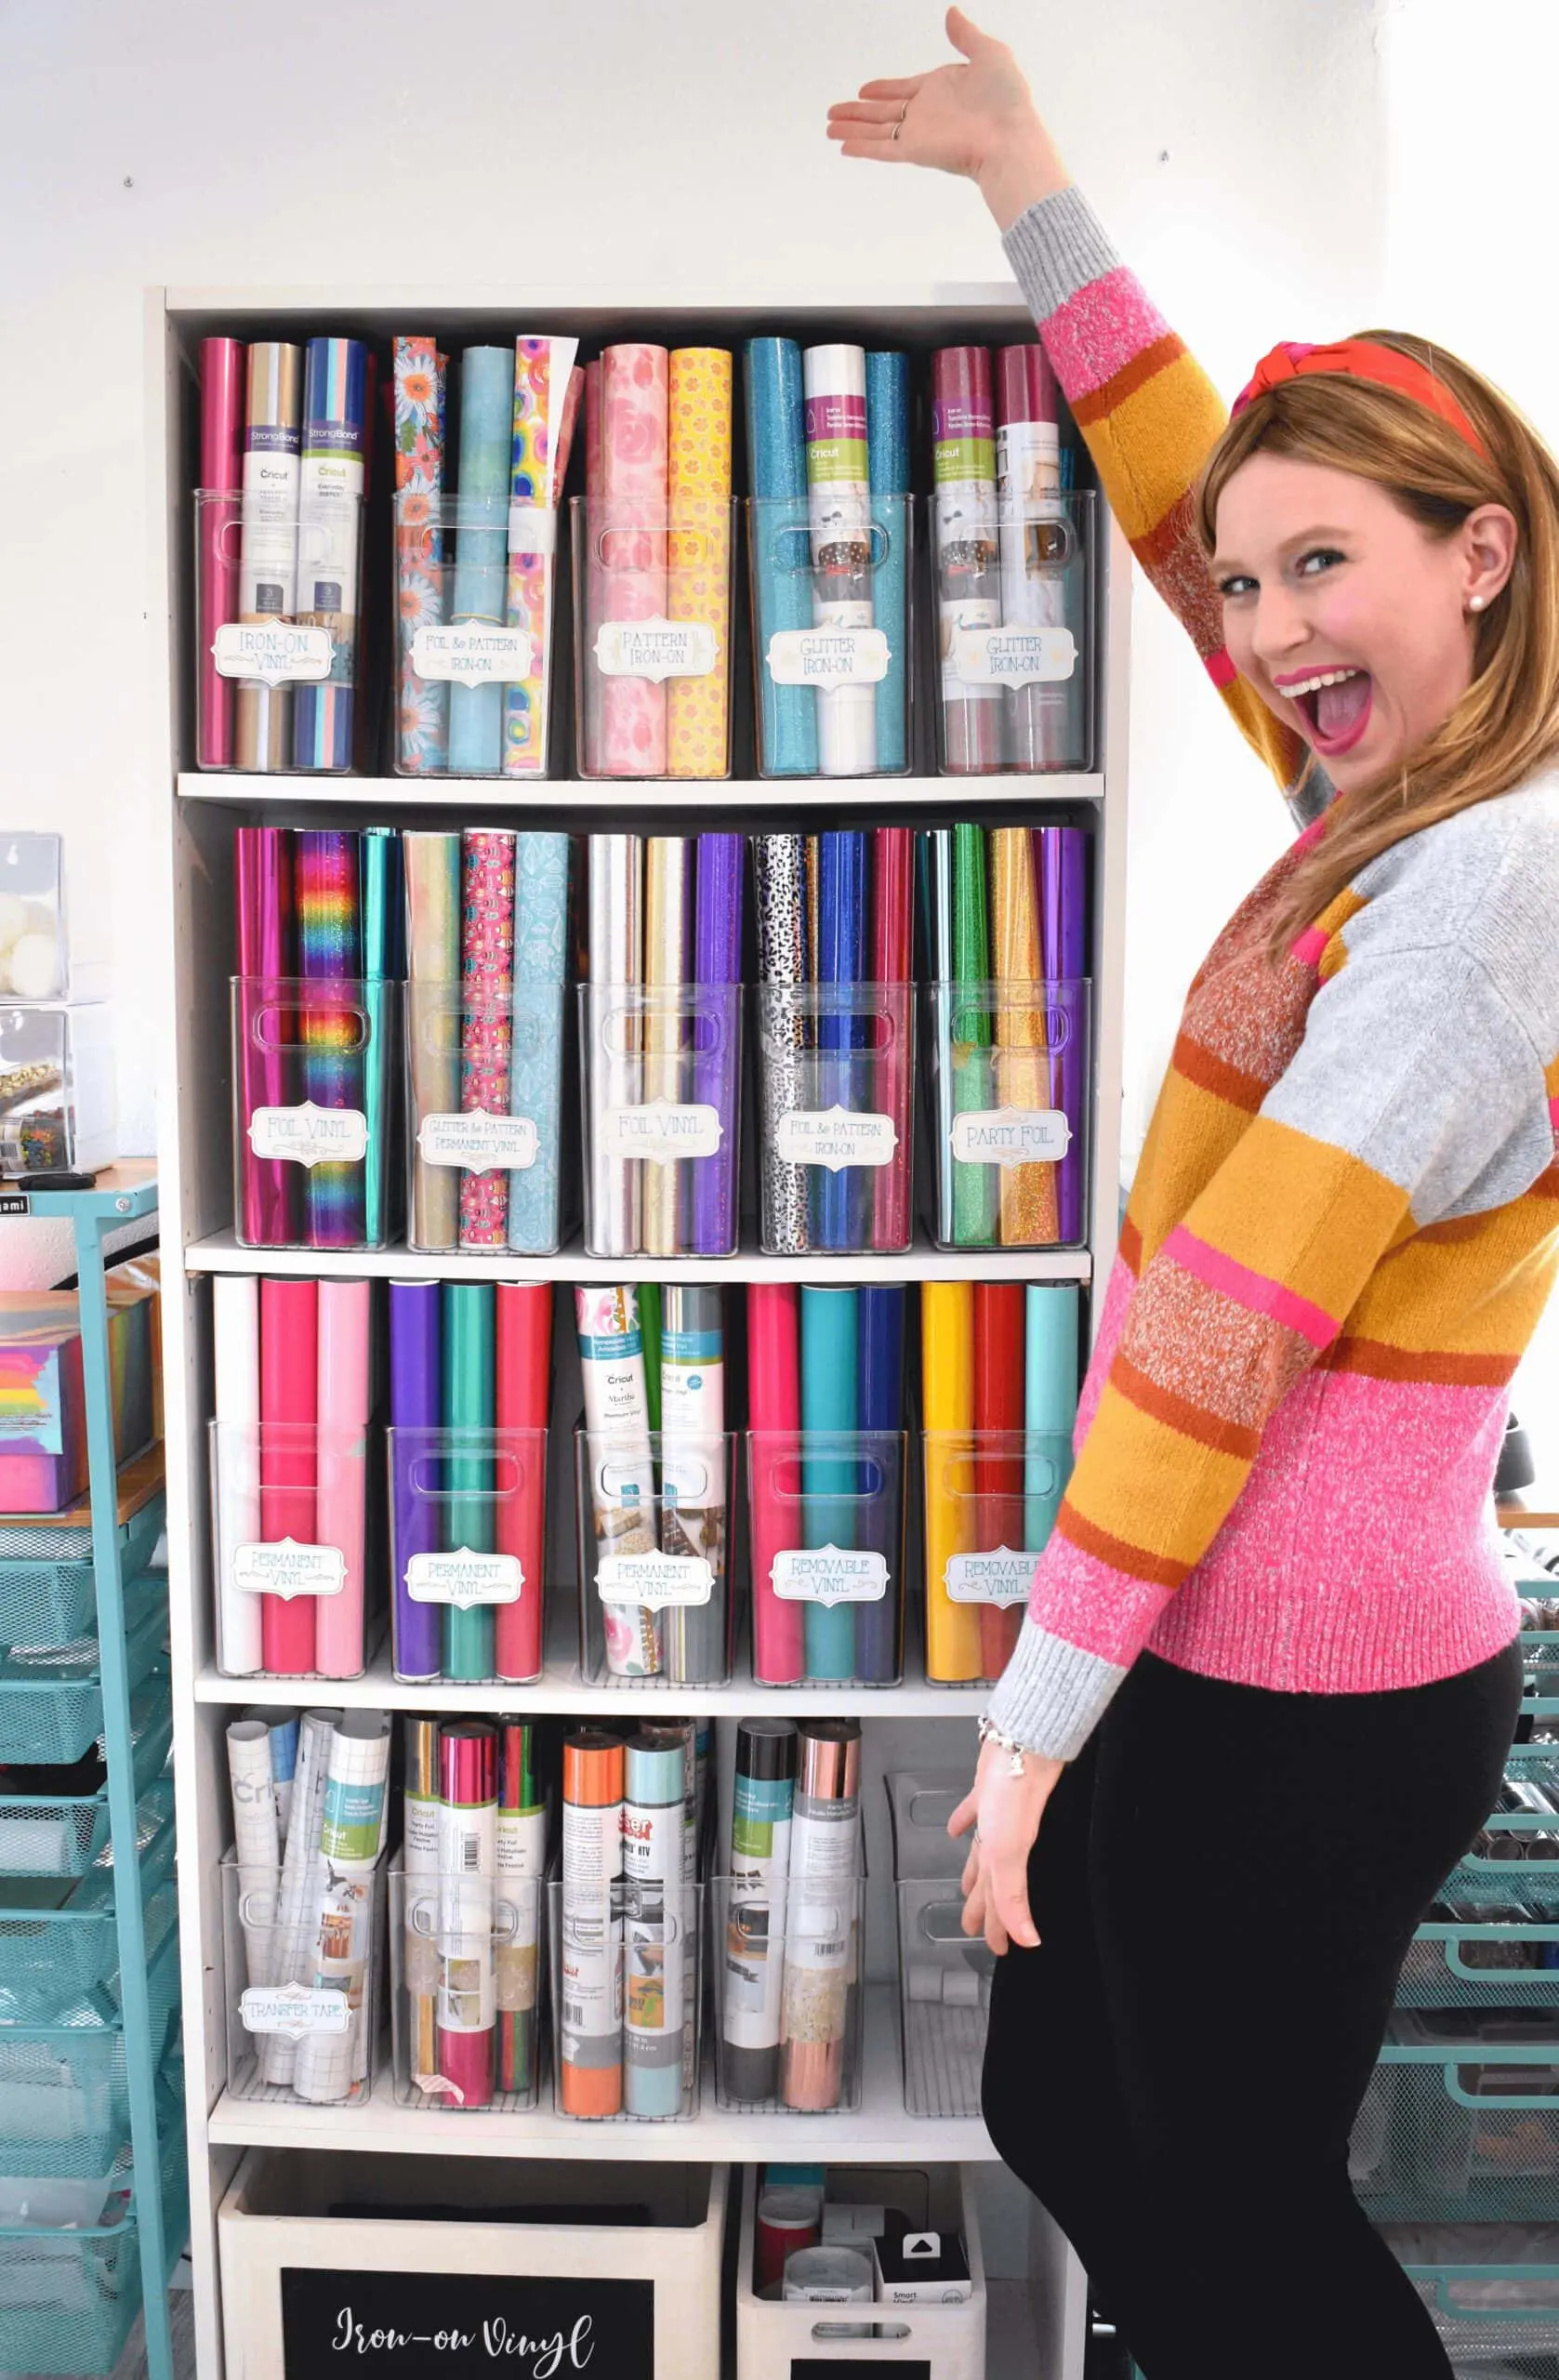
About Abbi Kirsten
Welcome to my colorful corner of the internet, where we play with vibrant crafts and unlock your creative magic! Hang out with me and get lost in a fun array of projects, tutorials, and products, from stunning papercraft ideas to flower templates, Cricut help for beginners, and endless crafter’s hacks.
Join A-Star Crafters and participate in monthly Craft-Alongs in our community Facebook group!