How to Make Paper Butterflies with Cricut Using Cardstock and Glitter Vinyl
This post may contain affiliate links that won’t change your price but will share some commission.

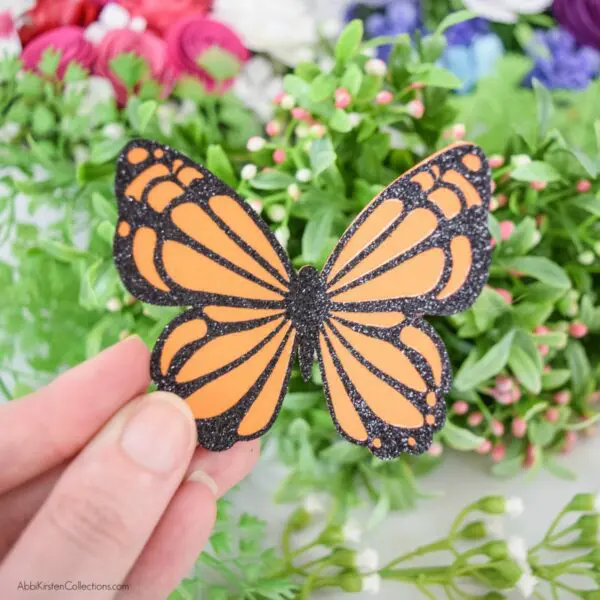
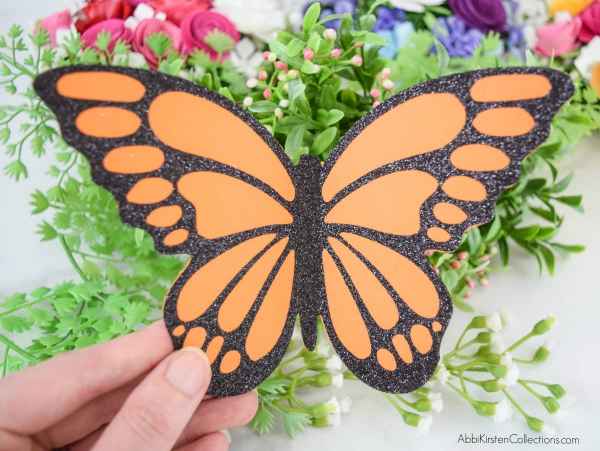
Butterflies are such a beautiful way to add a touch of whimsy to any craft project. I’ve recently fallen in love with using iron-on vinyl on cardstock paper when I created my teach appreciation crayon boxes. In this tutorial, I will show you how to make paper butterflies that stand out from the crowd! You can create these in small or large sizes using the free butterfly SVG cut files with your cutting machine. I love my Cricut! Find out why here.
Come back to this tutorial later! Pin this post here!
There are countless ways to use paper butterflies! Add them to a paper flower arrangement, decorate a wall, place them inside a shadow box, use them on cards and so much more! Last week I shared a floating teacup tutorial with paper flowers and these butterflies would be a gorgeous addition!
First, review the supply list to make these paper butterflies, and then scroll down to watch the step-by-step video tutorial!
Supplies to Make Paper Butterflies
- Cricut Maker series or Cricut Explore series machine. You could also use the Cricut Joy
- Glitter iron-on vinyl (any color works)
- Cardstock – I love to use Recollections paper packs from Michaels
- Easypress or Easypress Mini and heat safe mat or surface
- Weeding tools
- Butterfly templates. Check out all my free butterfly SVG cut files in the Vault here! Create your own Freebie Vault account below!
Download the Free butterfly SVG cut files for Cricut
Download these free butterfly templates by signing up via the form below. If you are already a member, log in right here and find it by searching the keyword ‘butterfly’ or design #91 and design #509. Need help entering the vault? Read this helpful post here.
How to Make Paper Butterflies with Glitter HTV – Video Tutorial
Click play to watch the full tutorial to make these paper butterflies with cardstock and heat transfer vinyl.
Why Should You Use Iron-On Vinyl a.k.a Heat Transfer Vinyl on Cardstock?
Why would you use iron-on vinyl a.k.a heat transfer vinyl on cardstock paper?
Firstly, with adhesive vinyl, you have to use transfer tape which is prone to ripping your cardstock when you try and transfer it to the paper design. With HTV however, the liner is much less sticky and does not rip the paper when applied!
Secondly, because HTV comes on its own liner already you do not need to waste the time, energy, or material of transfer tape moving the design from one liner to another.
And lastly, HTV comes in many more textures than adhesive vinyl which gives you more options and depth to your final projects!
What did you think of these paper butterflies? I’d love to hear your thoughts in the comments! Be sure to subscribe to my YouTube channel to see more crafts like this!
Come back to this tutorial later! Pin this post here!

About Abbi Kirsten Collections
I have spent the last 9+ years building my creative skills and sharing them with others. My flower designs are created with simplicity, color, and crafty fun in mind. If you haven’t yet, be sure to join the subscriber community to gain access to all my freebies or visit my signature design shop here!
Want to join my Facebook community to share your crafts and learn from the best? Click here to request access to my group, Crafters and Cricut Lovers.
For further color crafts and inspiration, join me on Instagram & Facebook.

Latest Posts
- Easy Paper Agave Plant Tutorial
- How To Make DIY Crepe Paper Succulents
- How to Make A Paper Cactus: Prickly Pear, Aloe Vera, and Ferocactus
- DIY Cali Poppy Paper Flowers
- Make Fruit Pop-Up Cards With Cricut