Giant Paper Rose Tutorial- Majesty Style Rose
This post may contain affiliate links that won’t change your price but will share some commission.
DIY Giant Paper Rose

For a long time I’ve wanted to create the perfect looking paper rose. The rose that trumps all other paper roses I’ve made thus far.
Working on the center was certainly the challenge for me and took several tries and fails before I felt somewhat happy with my look.
I’m sure I will improve with more practice, but I wanted to share what I’ve done so far.
Say hello to her Royal Highness, Majesty Rose. She measures a bit over 14 inches in diameter in this tutorial. If you want it to be bigger, around 18 inches, add 5th layer of extra large petals.
This is certainly an intermediate to advanced paper flower. So if you are new to crafting in generally or paper crafts I suggest starting with a more basic giant flower.
Check out this great post on ‘Easy method to building any giant paper flower’
First let’s go over supplies and petal count.
Supplies
- Scissors and/or cutting machine (I use Cricut)
- Glue gun and sticks
- Templates from my shop
- 65 lb card stock in color of your choice
- Circle punch (you can use a small cut square if you don’t have one or cut a circle with your machine)
- Patience, one more time….Paaaatienccce… I’ve been making paper flowers for almost 7 years and even I had 3 trashed attempts before I was happy enough to photograph.
Petal Count
We will be working in layers. Each layer represents a diferent petal size. There are 4 petal sizes for this flower and a center.
1st layer = Largest petal
2nd layer = Next size down.. and so on..
- 1st layer 8-9 petals
- 2nd layer 7-8 petals
- 3rd layer 6-7 petals
- 4th layer 8 petals (you will be splitting these into groups of 4)
- 2 center petal cuts
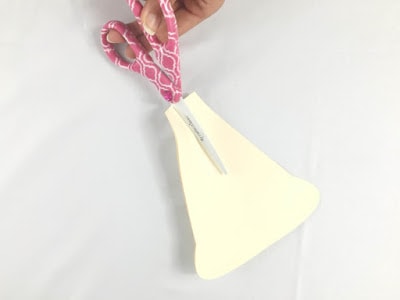
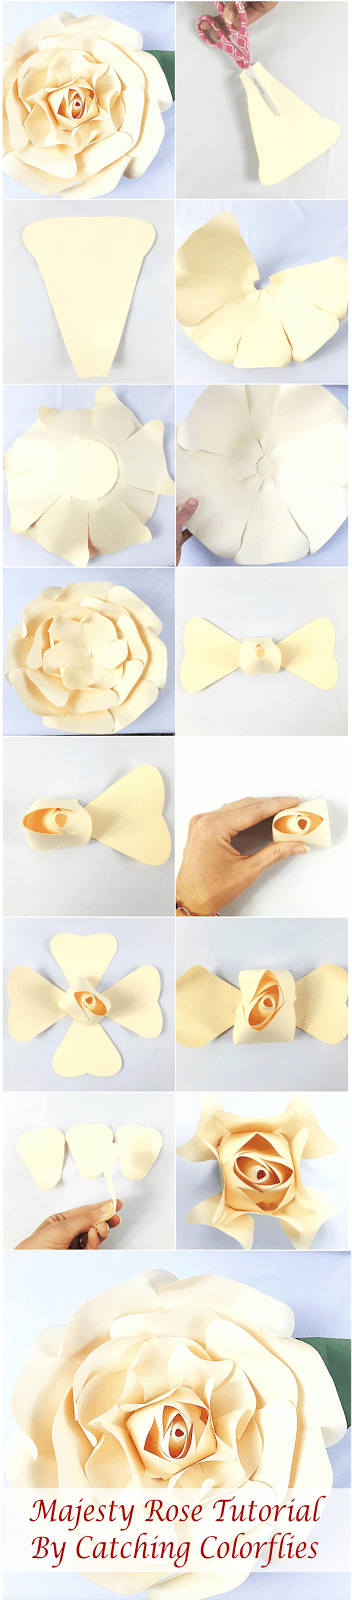
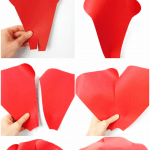
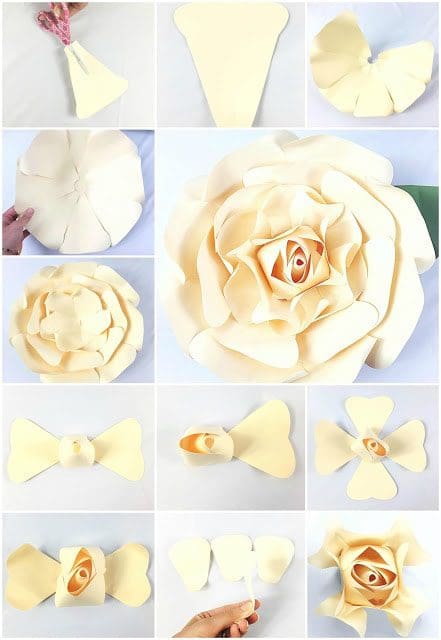
1. Begin the same way we do with all my giant flowers, by cutting 1 1/2-2 inch slits in the middle.
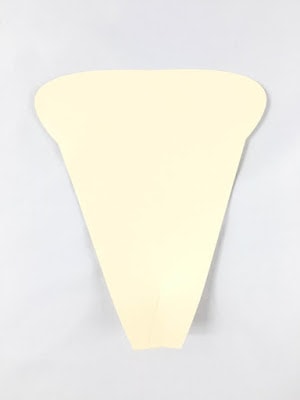
2. And then overlap slightly.
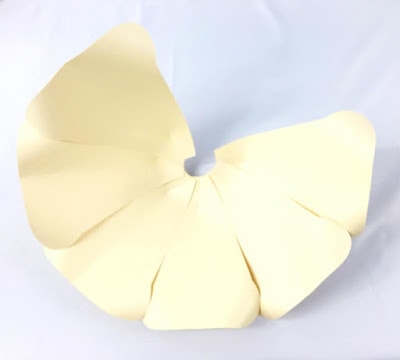
3. Glue the inner edge of the petals together forming a circle as shown above.
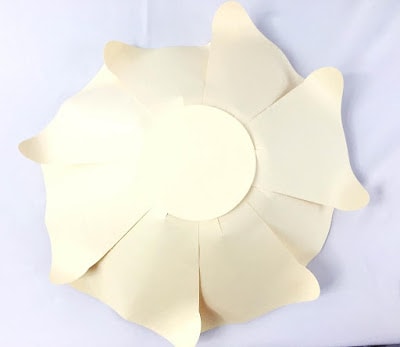
4. Connect the petals and glue a circle over the open hole on the bakcside
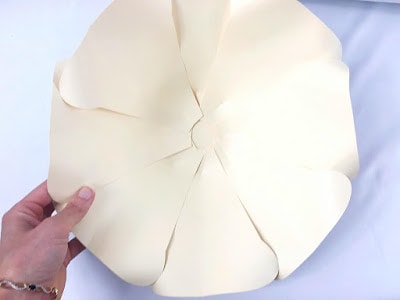
5. You can now going to continue the same way with the next 2 layers
Rose Center
6. This is where this becomes a bit more advanced..
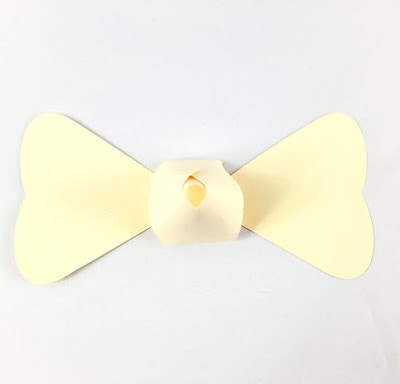
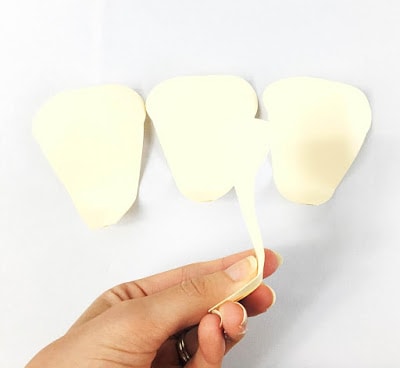
7. Start with one of your center petal cuts and wrap the two petal pieces opposite to each other around one another.
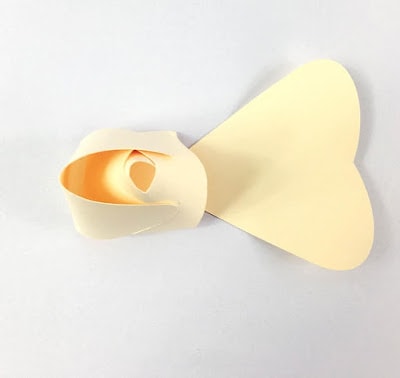
8. Repeat with the two remaining. Leaving a little space as you go.
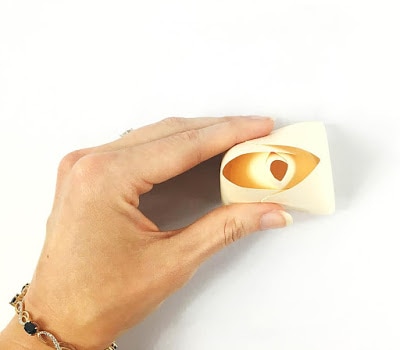
9. Glue your first center piece onto the second center piece.
10. Repeat the same process leaving a bit of space.
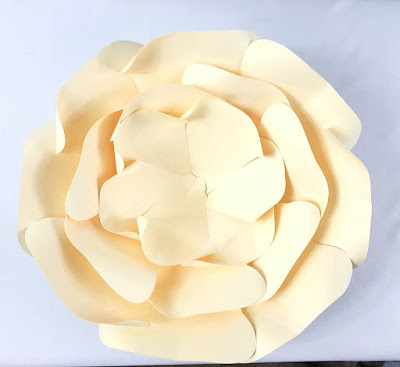
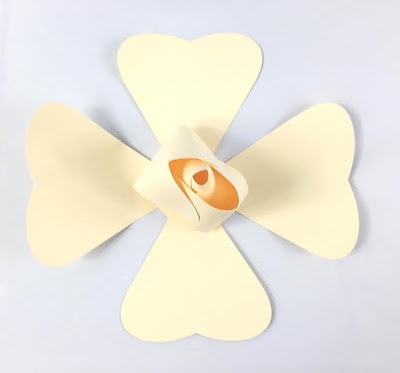
11. Now for your 4th small layer of petals you will cut slits and overlap like the other 3 layers, but with these 8 petals you will give a crease that the bottom as shown above. This is going to help them stand up better.
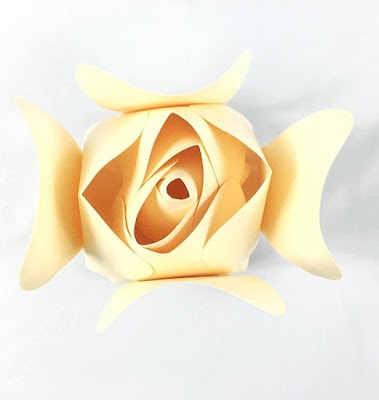
12. Glue your first 4 petals around kinda like a square.
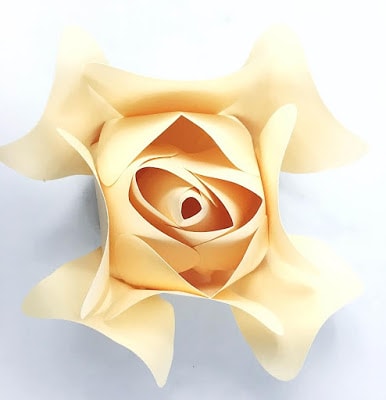
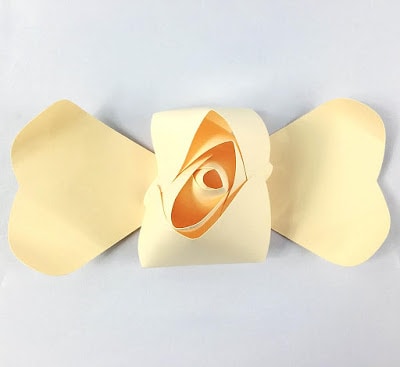
13. Then glue the last 4 between the first 4 petals as shown.
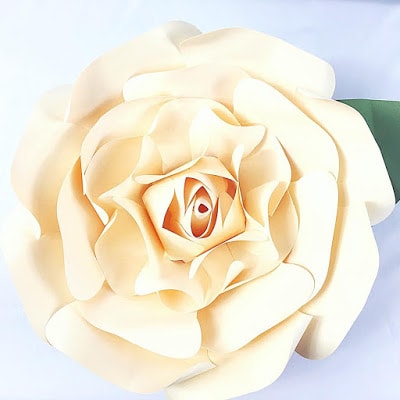
14. Glue in your center and admire your pretty flower!
Click here to purchase the Majesty templates!
PLUS! Spend $15 or more in templates and receive a 15% off deal for a limited time!
Use code: SUBSCRIBERREWARDAll rights reserved. Templates intended for personal use only please.
If you enjoyed this post please share and if you join the subscribe list you will receive a free template on me!
And you can always view my huge selection of flower templates in my shop!