DIY Paper Flower Primrose Spring Wreath With Cricut
This post may contain affiliate links that won’t change your price but will share some commission.
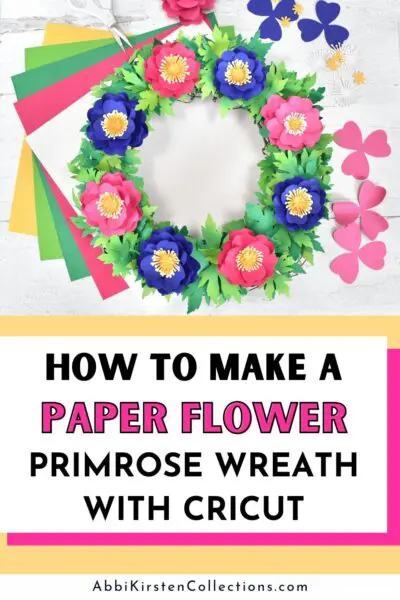
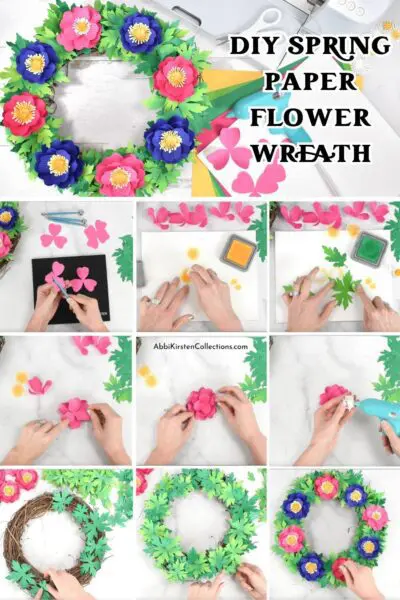
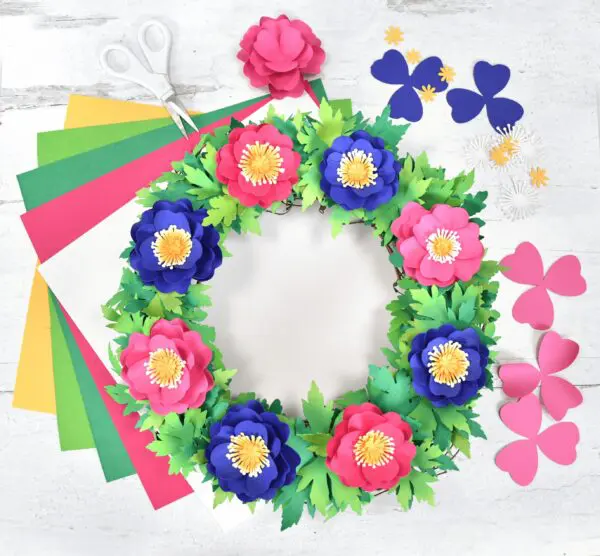
DIY Spring Wreath With Paper Primrose Flowers
Spring is officially here! Enjoy welcoming in the warm air with a DIY spring paper flower wreath. This DIY paper flower tutorial is perfect for beginners and pro crafters alike. Feel free to modify this tutorial and make it your own by opting for different colors and sizes. Let’s get started, and I will show you how to make a primrose paper wreath using a Cricut machine.
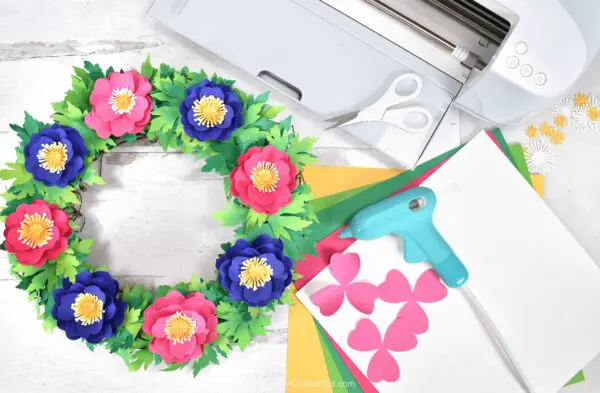
Paper Flower Wreath Supply List
- Cricut Maker 3 (you can use any other Cricut machine – even the Cricut Joy. You might just have to cut out fewer petals and leaves at a time.)
- Cricut Mat
- Cardstock paper (I use The 12×12 Cardstock Shop’s paper because it cuts really well on the Cricut, and they have many options for color and texture!) I’ll be using pink, yellow, white, and shades of green for my wreath. Primrose also comes in white and yellow in nature – like I said, don’t be afraid to get experimental and choose your own colors!
- Hot glue gun
- Brayer tool
- Distress ink
- Ink dauber
- Ink brush
- Wreath base (foam base or a grapevine wreath will work). If you opt to use a foam wreath base, I highly recommend wrapping it with ribbon or crepe paper so you don’t see foam poke through.
Download The Primrose Paper Flower Templates
To access the paper flower primrose templates and leaves, join the Premium Craft Vault experience.
Already a member? Log into your account and download the Primrose templates!

How to Make Paper Flowers With Cricut
I love to make paper flowers with my Cricut machine. I will be using a cutting machine to cut out these primrose flower templates, but you can opt to use the PDF printables included with the primrose tutorial, although the intricate nature of the center might be a little challenging.
How to make large paper flowers
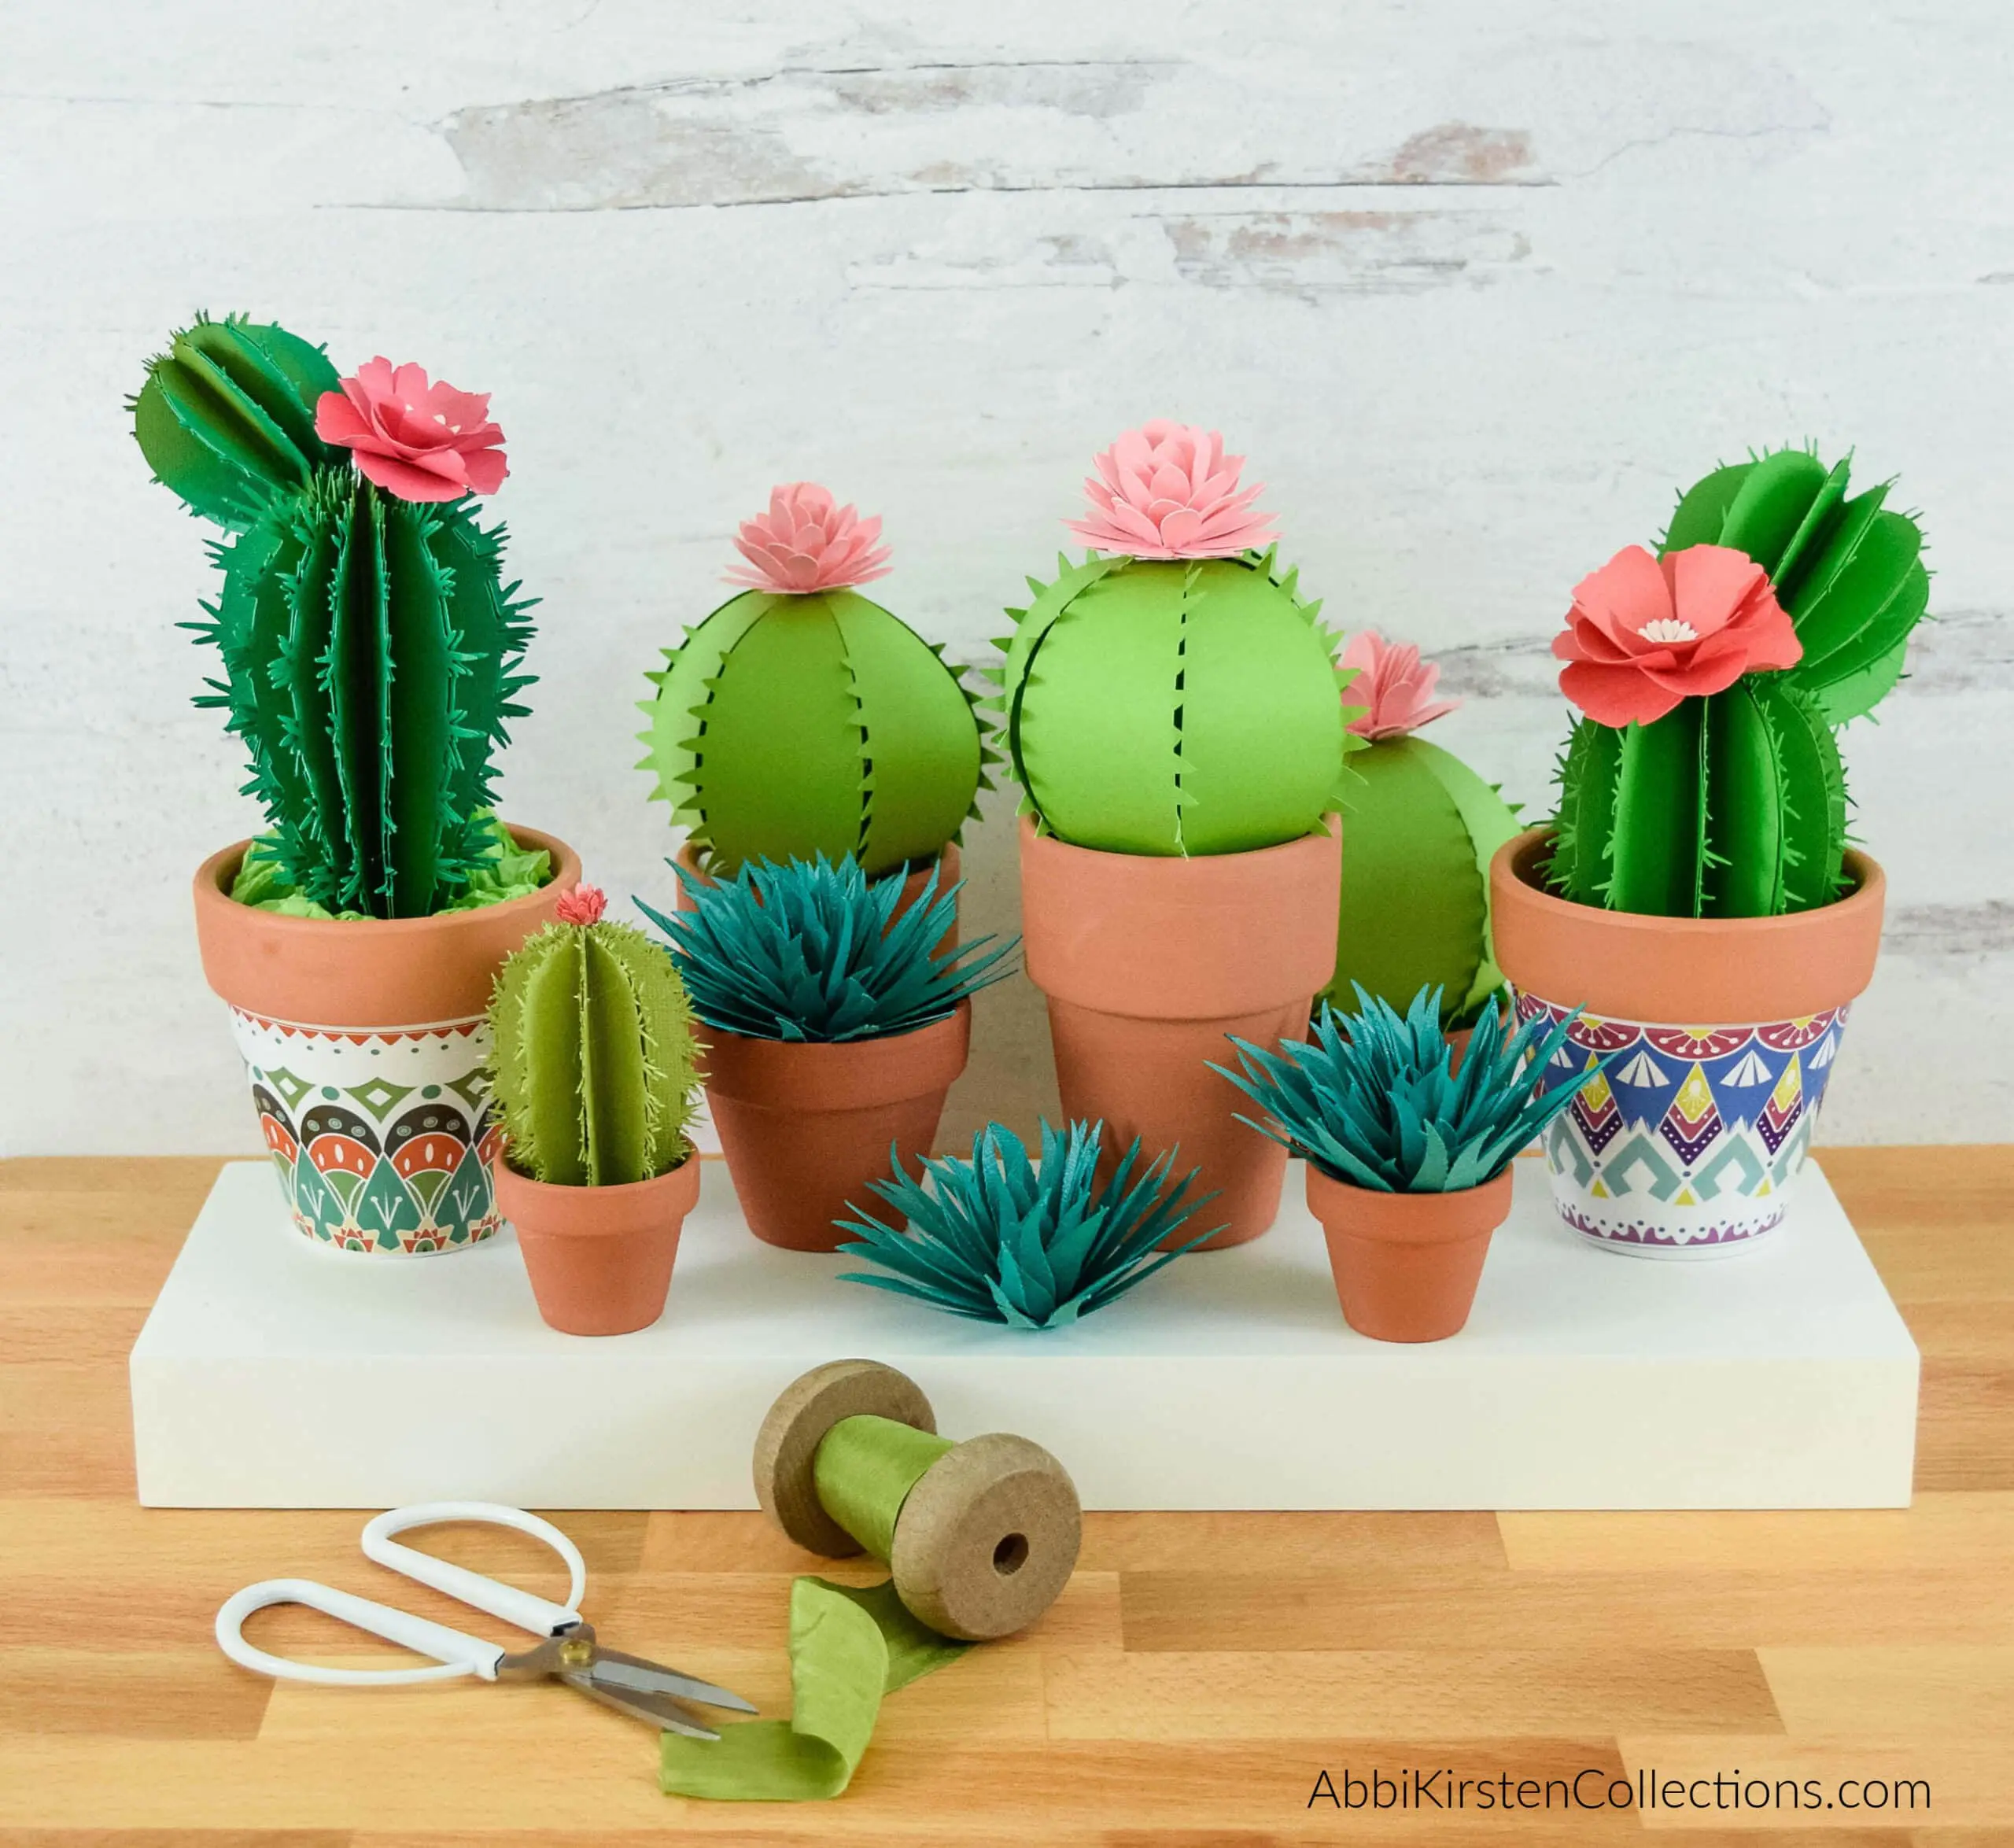
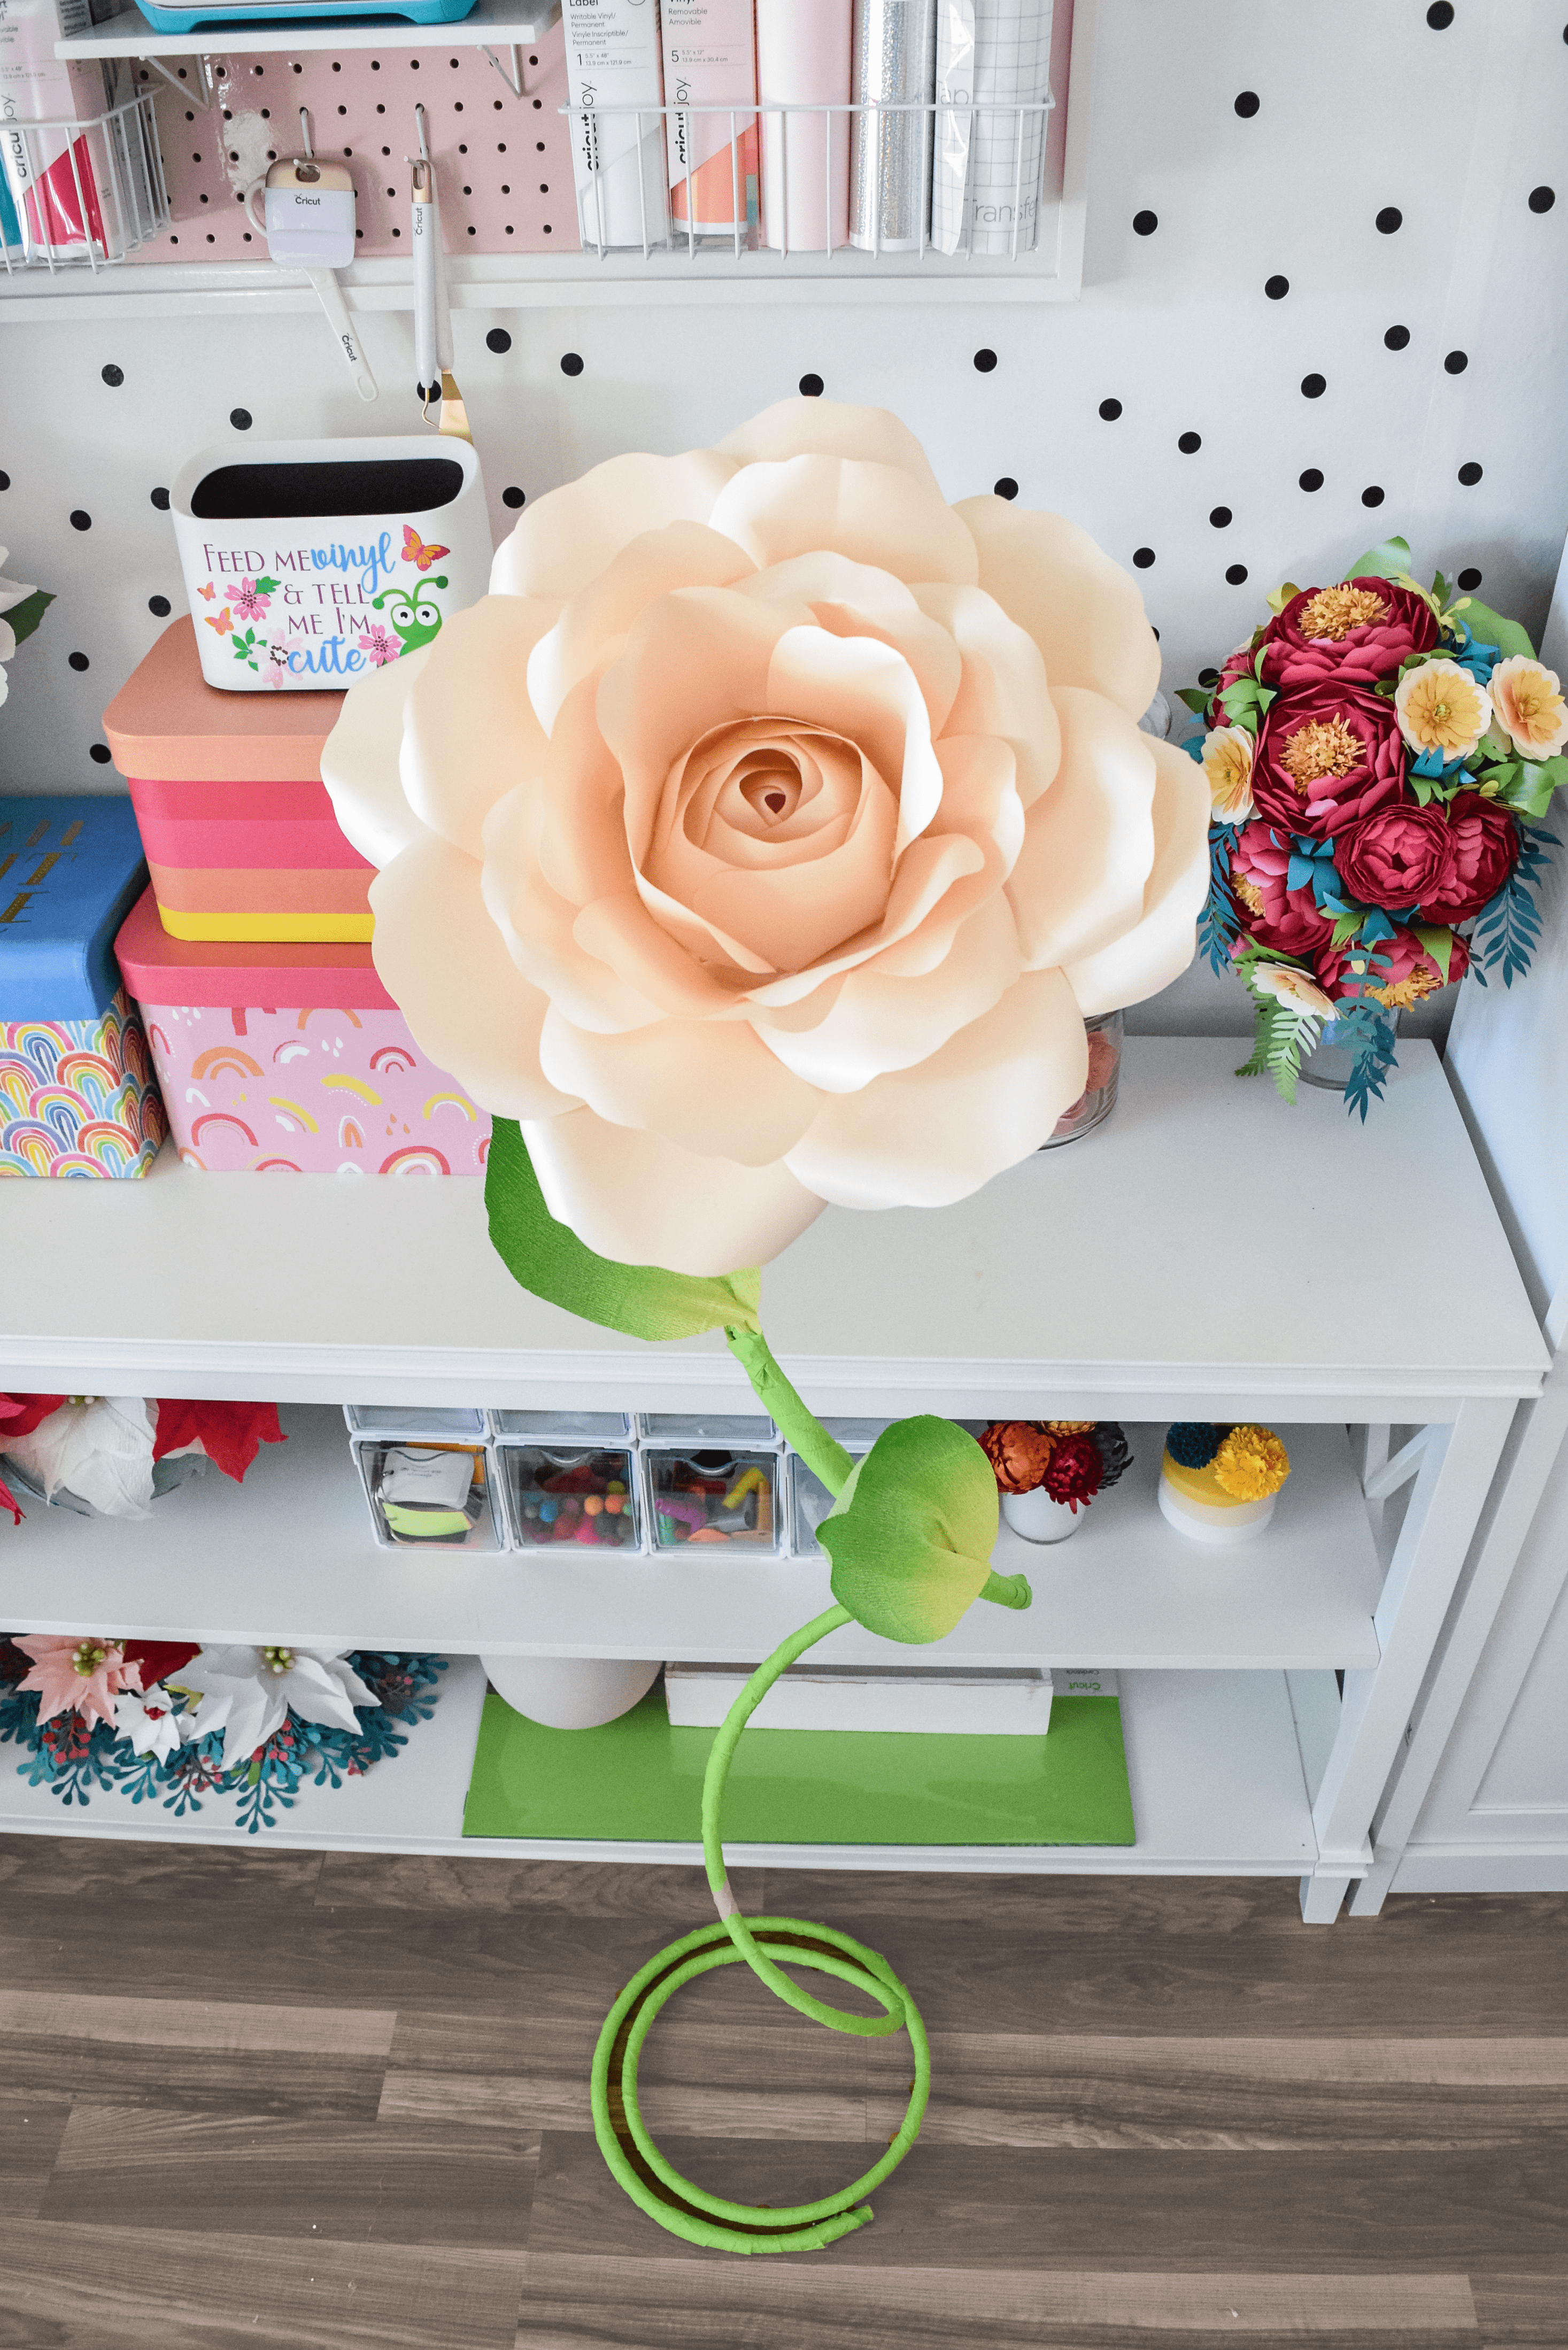
Looking for large and giant style paper flowers? Check out all my big paper flower tutorials, including sunflowers, roses, and more!
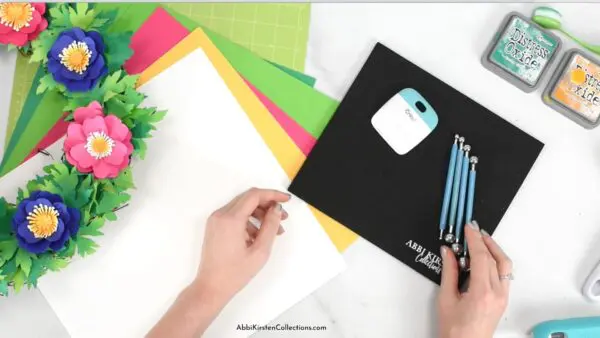
Cricut Design Space Set Up
Uploading the Primrose Templates to Cricut Design Space. Upload the flower SVG file for this primrose craft project by using the “upload” button in the Design Panel. Your newly uploaded file will be under “recent uploads.” Select the file and click “add to canvas.”
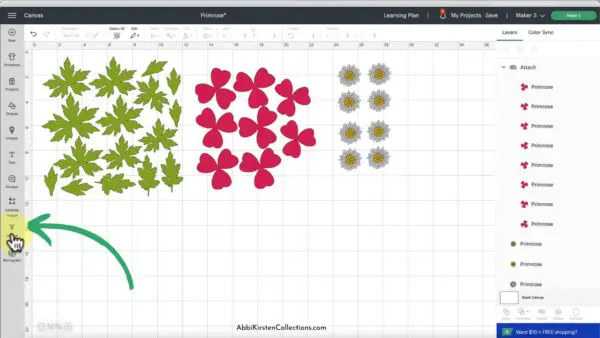
Figure out whether you’re using 8 x 11 or 12 x 12 cardstock. You’ll need to set that up in the canvas, so you’re maximizing your paper area.
Any time you bring a file into Cricut Design Space, the elements are going to be grouped together. You’ll need to ungroup by right-clicking and selecting “ungroup.” After everything is ungrouped, you’ll be able to move the individual pieces freely.
You can leave the sizes the same – you can also make things smaller or bigger depending on your preference. If you want to make a variety of leaf sizes, select a corner, hold, click, and drag larger or smaller.
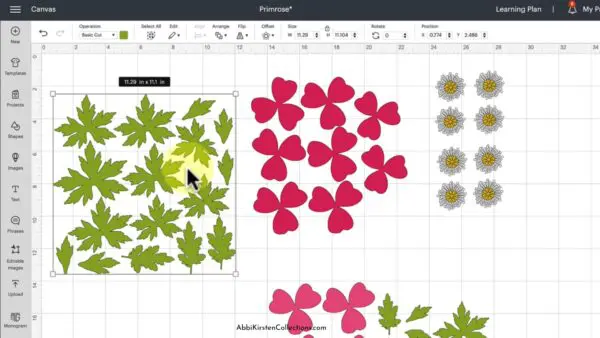
Pro tip: I duplicated my leaves several times to make just enough to fill a 12 x 12 surface area. I used my “attach” tool to hold the placement so it looks the same when I go to the cut screen. You can copy and paste to duplicate the elements to fill your paper’s size.
With the primrose petals, you’ll need three that are slightly larger and three that are slightly smaller (this totals five petals for one primrose). For the center of each primrose, you’ll need two of the white center pieces and two of the yellow center pieces. Be sure to duplicate as many as you need!
Primrose Petal Sizes
For my sizes, I ended up using a 3.2 x 3.2 inches for the larger petal base piece. The smaller petal base piece is approximately 2.8 x 2.8. The center piece measures approximately 1.5 x .1.5 inches. The little yellow center pieces are roughly .6 x .6 of an inch.
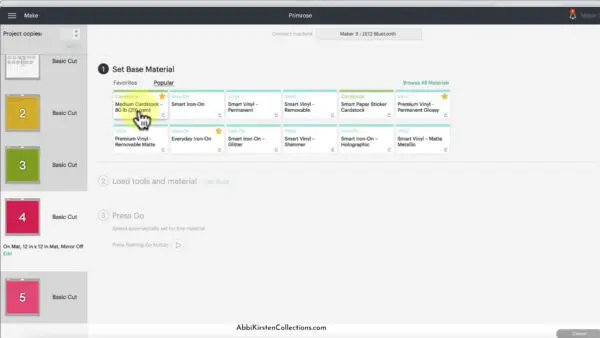
Be sure to save your work, click the “make it” button, and select the cardstock you’ll be using. I typically use medium cardstock.
Cutting Out Your Primrose Petals
Load your pink paper (for the petals) onto your Cricut Mat and use your Brayer tool to ensure the paper is sticking to the mat nicely. Since you have everything ready in Design Space, you can simply press the double-arrow button. The flashing indicates it’s ready to print!
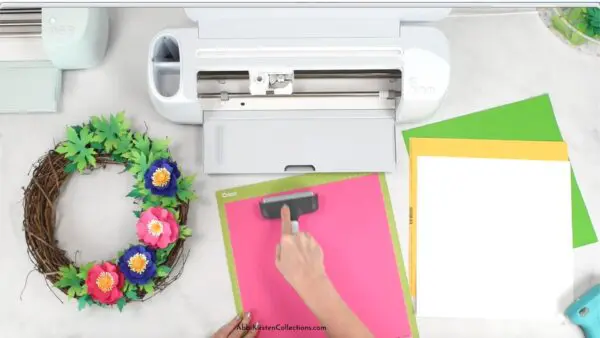
Click the “play” icon (depending on your Cricut, it may be a “C” icon) to actually begin cutting out your petals. Once it’s done cutting, click the double arrow button to unload the Cricut Mat from the machine.
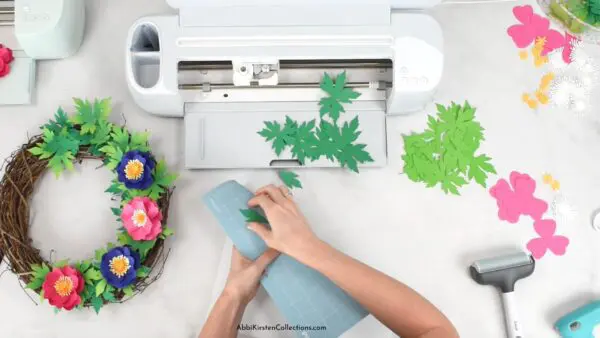
Flip the mat over and peel the mat away from the cardstock – this will prevent your paper from curling too much. Repeat this process with the remaining colors.
Building the Primrose Flower
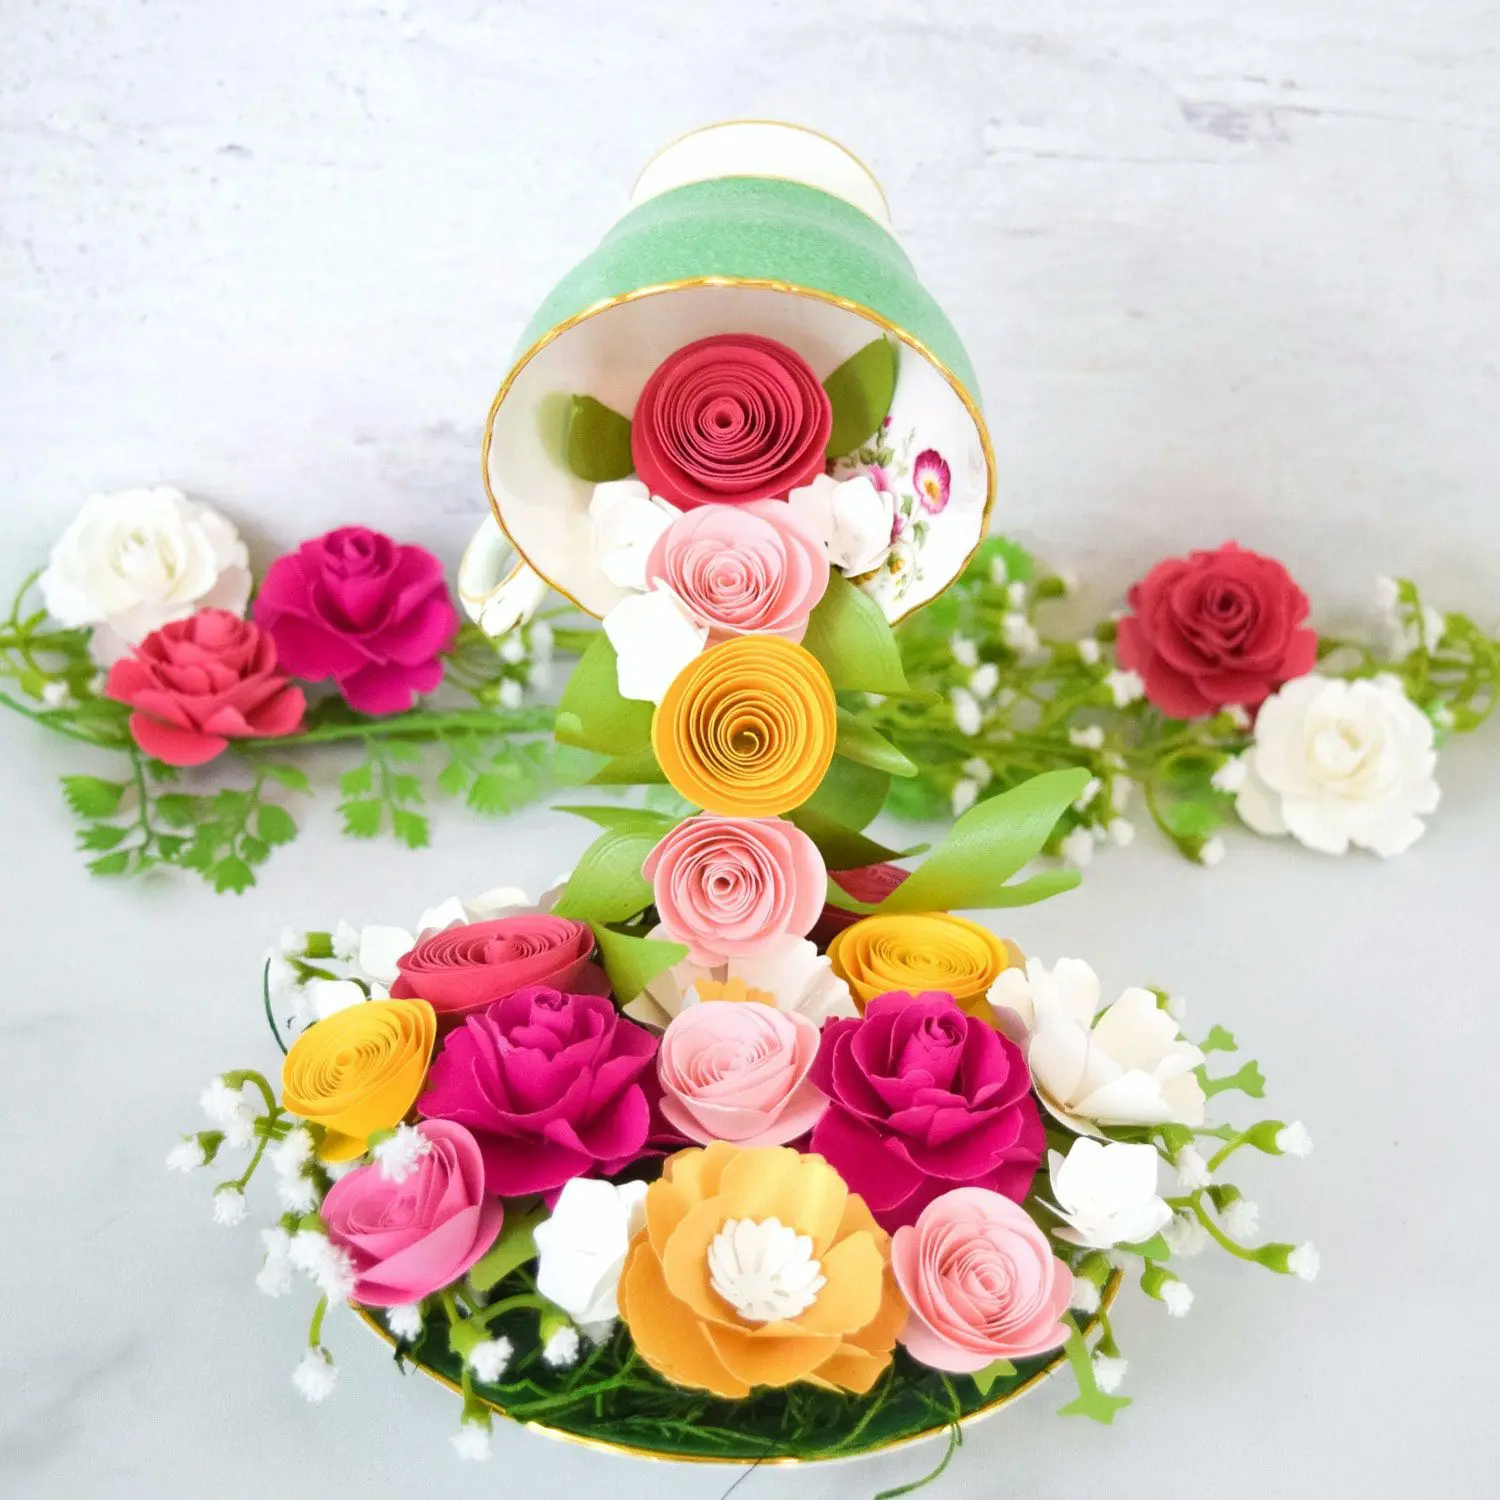
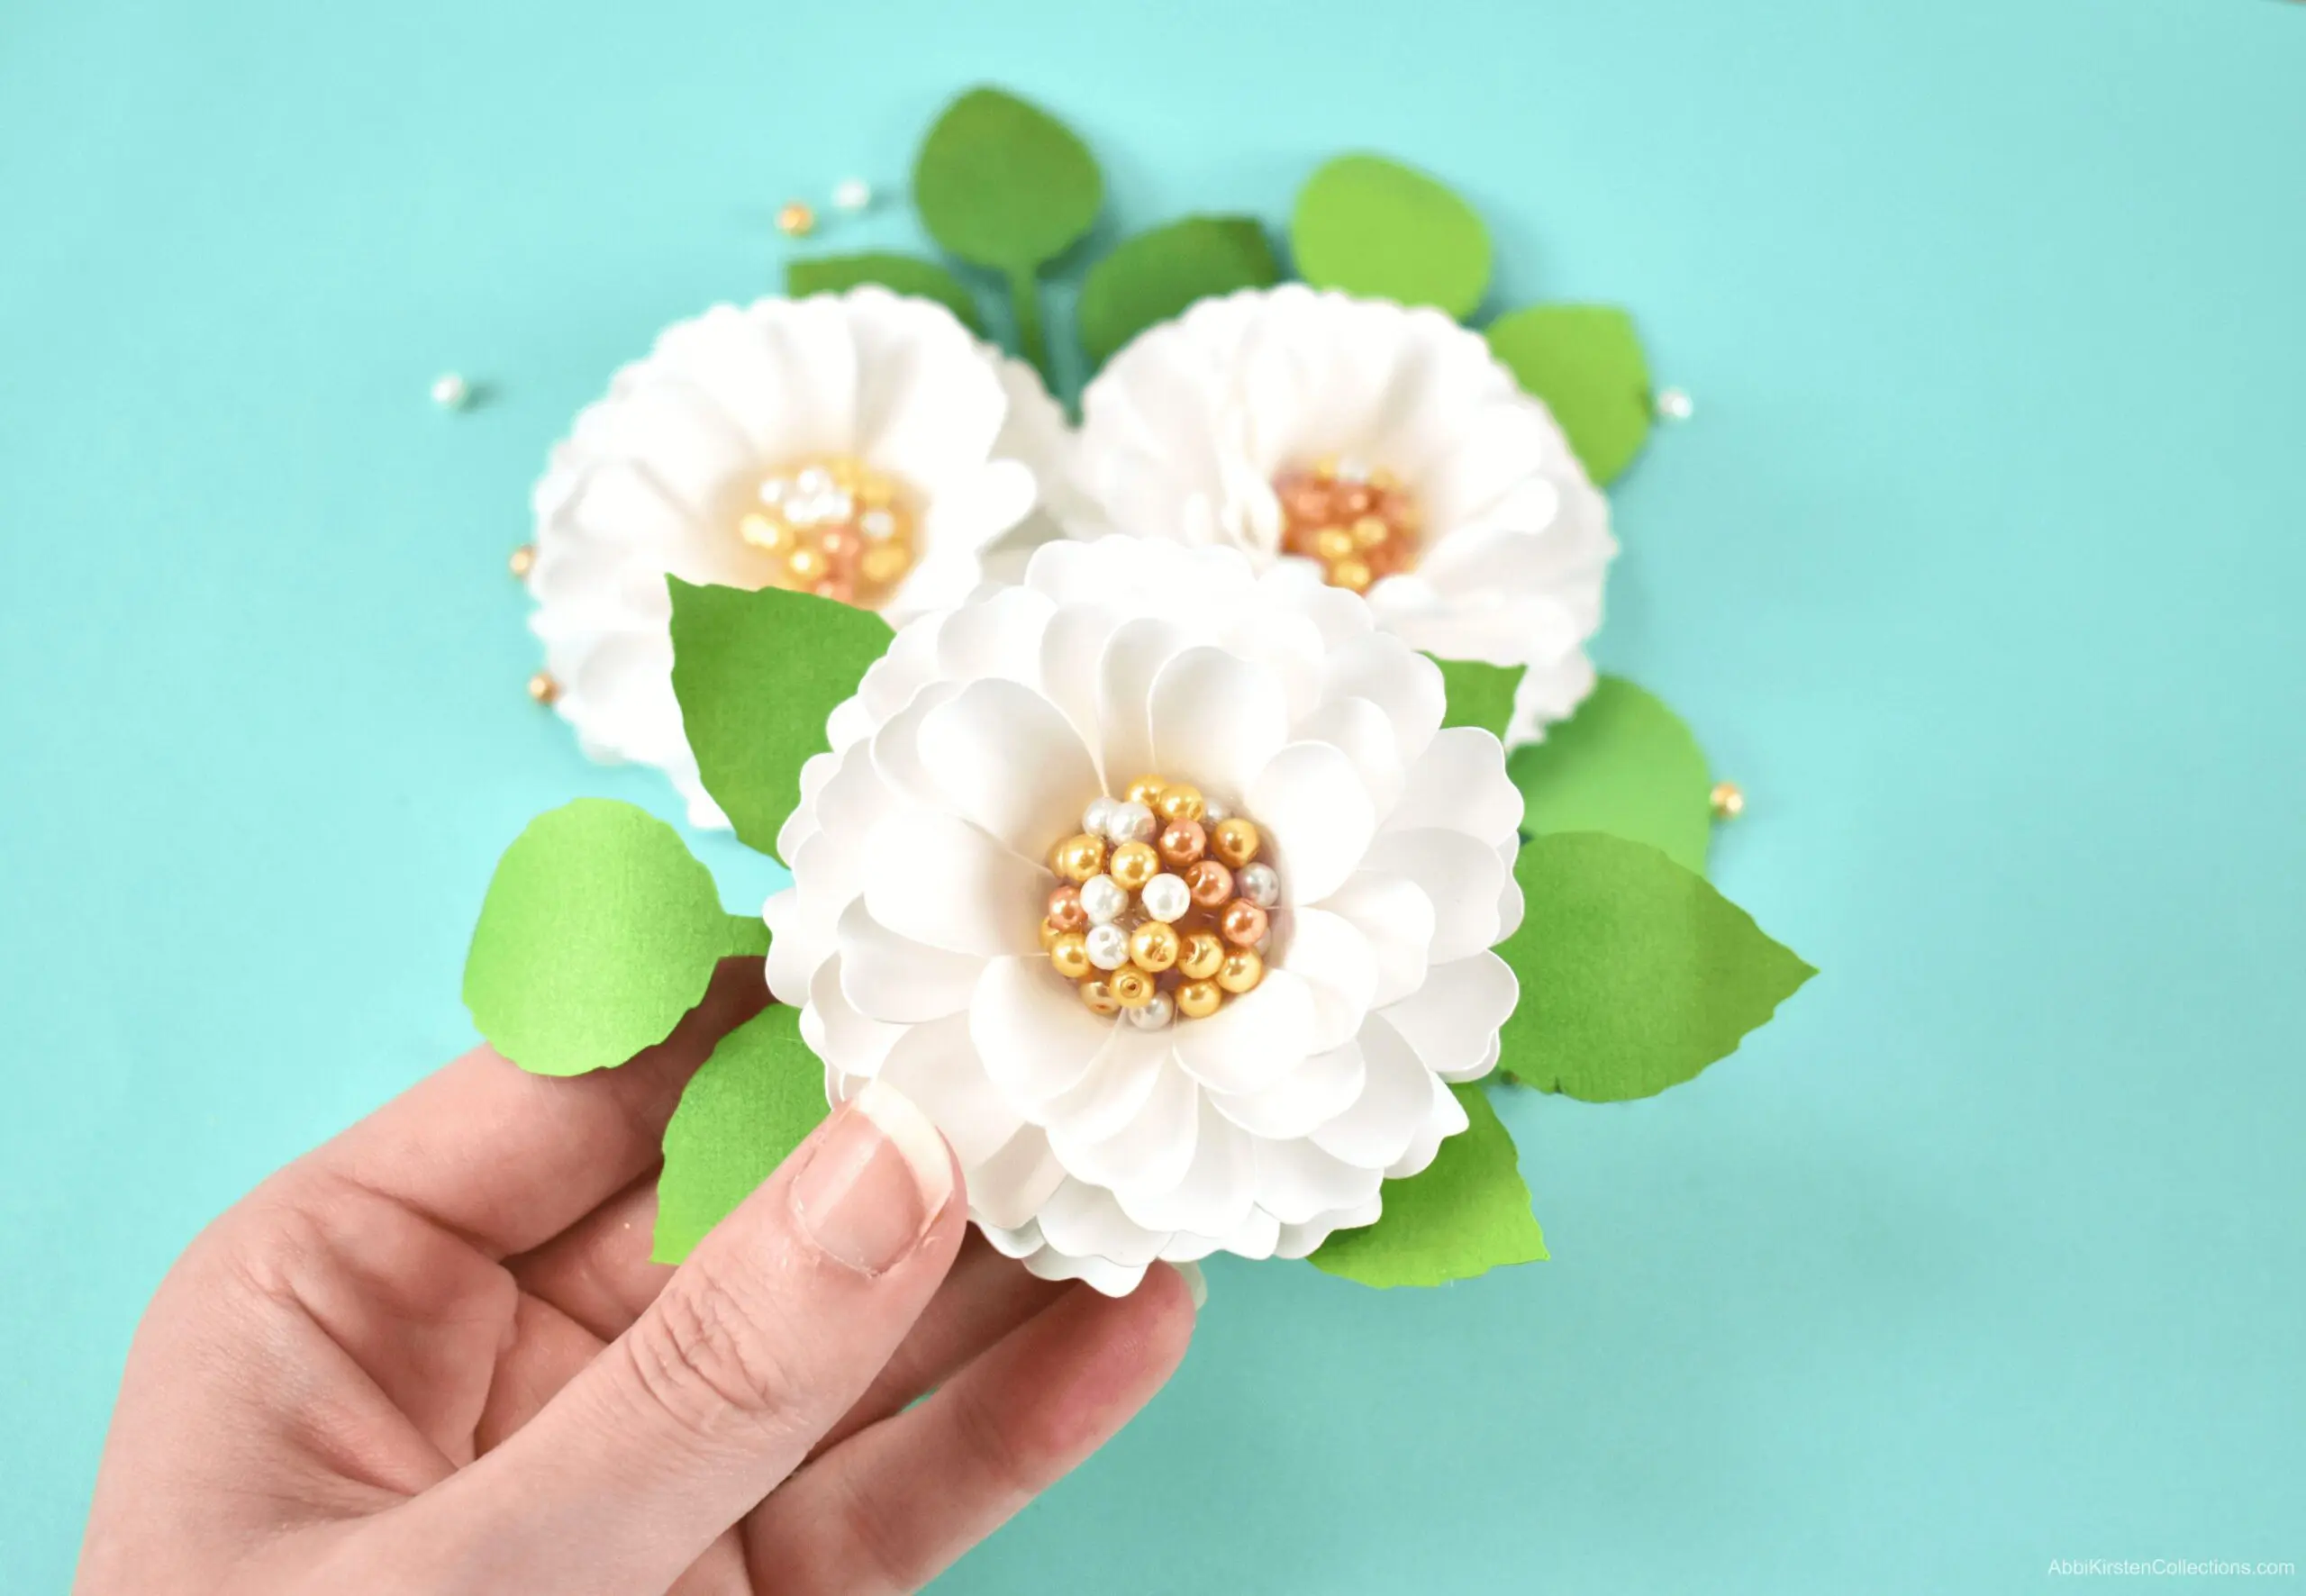
Next, we need to make our paper flowers that will go onto the spring wreath. Now you can use the ones I have here, primrose, or check out all my small paper flower tutorials on the blog.
You can use a spare glue stick or pencil to curl your primrose petals. Additionally, I have my Paper Blooms Shaping Mat and Toolset used to curl, cup, and add veining to the petals. I like to add veining to the petals for extra detail. See the video here for more details.
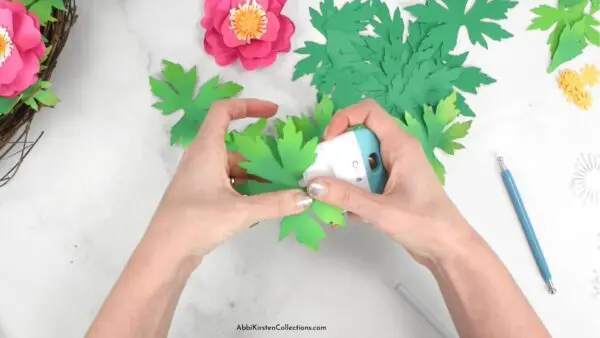
Don’t forget to curl the primrose leaves as well. I like to use my Cricut scraper tool to curl the edges.
Adding Distress Ink
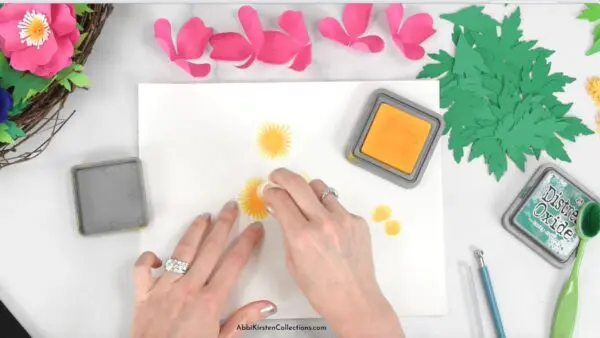
Now, move on to the center of the flower. Add yellow Distress Oxide (I used honey color) to make the white center pieces more realistic. Place a piece of scrap paper where you’ll be working to avoid ruining any surfaces underneath (the ink will be getting underneath).
Grab your ink dauber, dab it in the distressed ink a few times, and then begin dabbing the white center piece(s). You’ll be working from the center out – cover all of the white except for the very tip. To make it look more realistic, dab a little harder in the center and let it run lighter as you move toward the tip.
Next, take your lighter green leaves and add some darker green distress ink to the edges of the primrose leaves.
The goal with the wreath is to put the darker leaves on the underside and the lighter green leaves with the distressed ink on top. This will make it look like the leaves are fading from dark to light – just as you’d see in nature.
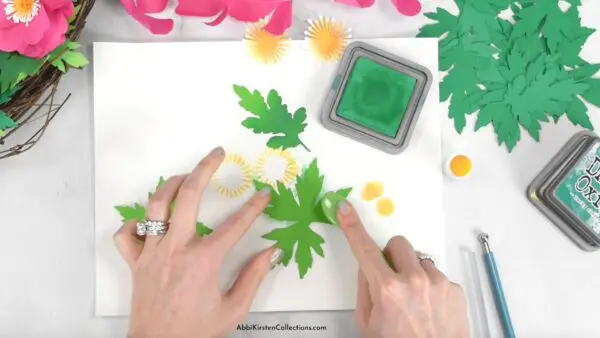
Open your green Distress Oxide (mine is called lucky clover), and grab your ink brush. Apply the ink to the brush, and apply the ink to the leaves using circular motions with the brush.
You can add distress ink to the primrose petals, too, before you curl them, I would recommend a darker pink or darker shade of whatever color paper you are using.
Build The Primrose Petals
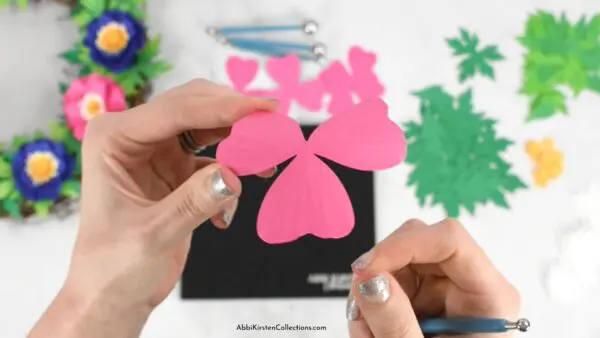
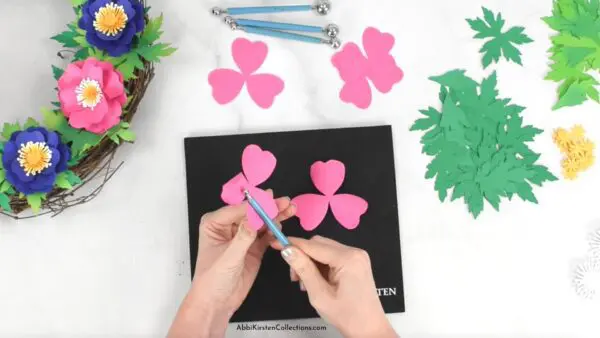
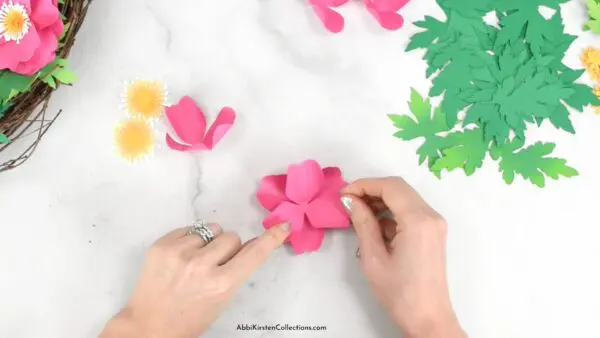
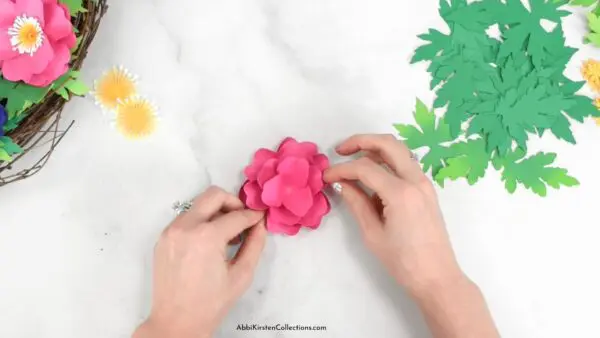
Take one of the larger of the primrose petals and place it down. Slightly flatten this piece.
Take the second piece and add some hot glue on the back. You’ll place it on top of the first piece – be sure to alternate between petal points. Repeat that process with the last large petal piece. The two smaller petals are remaining – add them to the petal the same way to complete the base of the flower.
Creating The Primrose Center
Grab the two center pieces that have distressed ink and the two smaller yellow petal layers. Add a tiny dab of hot glue in the center of one of the smaller yellow center pieces. Take the piece with the hot glue and place it on top of the other small yellow center piece (aim to alternate the petal points as you did before).
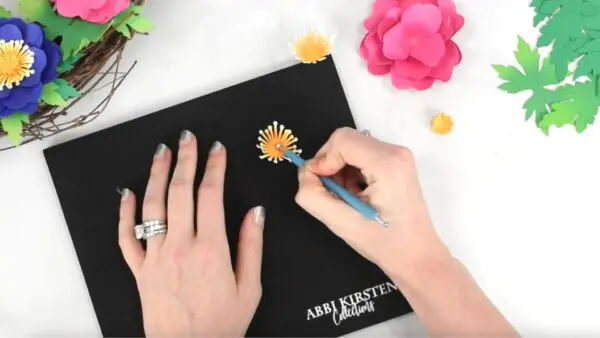
Use your fingers to slightly bend the petal points up. Dab a bit of hot glue on the bottom of one of the bigger yellow/white center pieces with distressed ink. Place that piece on top of the other. After, glue the smaller center piece in the middle of the larger piece. Complete your primrose flower by gluing it in the center.

Assembling Your DIY Paper Flower Spring Wreath
Start with placing the dark green leaves at random using hot glue. I typically start with the bigger leaves and then fill the spaces with the smaller leaves. Nature is random, so there’s no right or wrong way to do this.
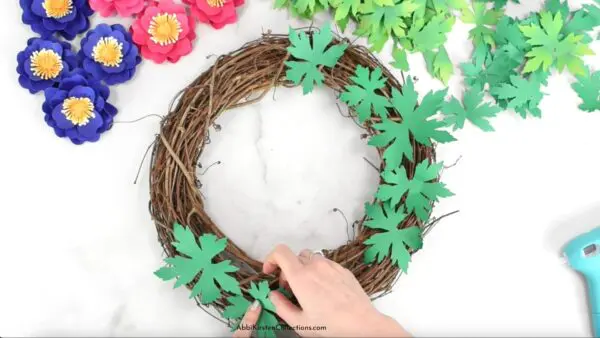
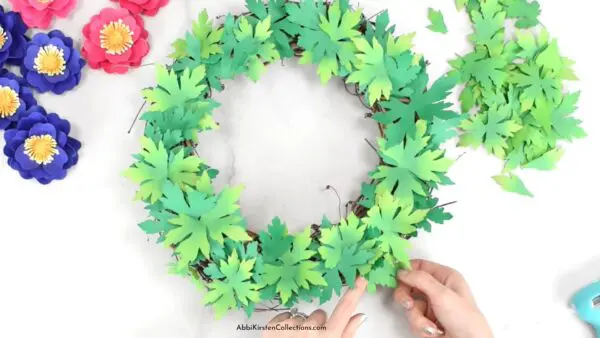
Next, repeat the process with the lighter green leaves. This step will be a little more strategic – try to slightly tuck them into the darker green leaves. If you can see the wreath’s base at any point, be sure to add a leaf in that spot to provide full coverage.
Once you’ve finished adding the leaves to your wreath, it’s time to begin adding the flowers. The styling of the primrose is up to you – you might opt to disperse them evenly or create a cluster of primrose flowers to one side for your spring wreath.
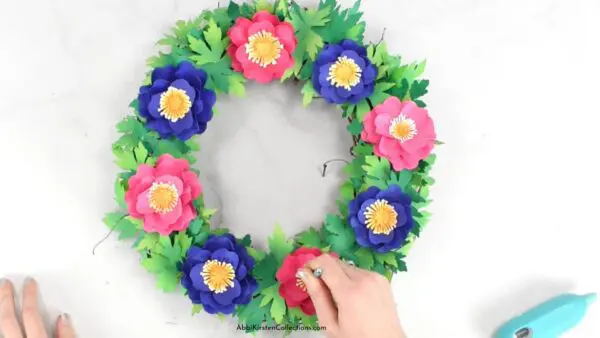
Give the leaves that will hold each primrose a little press (to flatten the area), add hot glue to the back of each primrose, and attach each primrose to the wreath. Hold each primrose in place for 10-15 seconds. Complete this step with every flower.
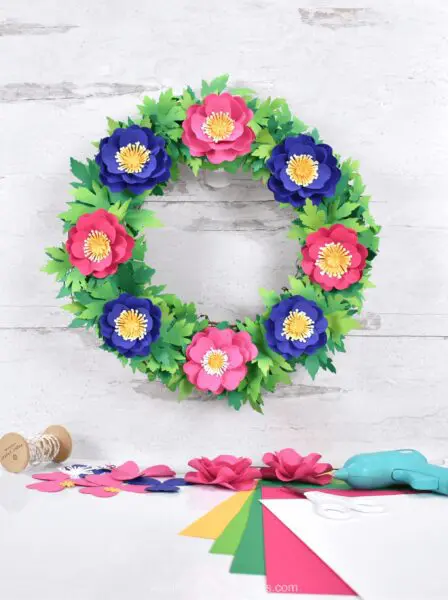
Congratulations! You’ve completed a primrose spring wreath made from cardstock paper!
What questions do you have about making a spring wreath with paper flowers? Where will you hang your wreath? Tell me below in the comments!
About Abbi Kirsten
Welcome to my colorful corner of the internet, where we play with vibrant crafts and unlock your creative magic! Hang out with me and get lost in a fun array of projects, tutorials, and products, from stunning papercraft ideas to flower templates, Cricut help for beginners, and endless crafter’s hacks.
Join A-Star Crafters and participate in monthly Craft-Alongs in our community Facebook group!

More Spring Craft Ideas