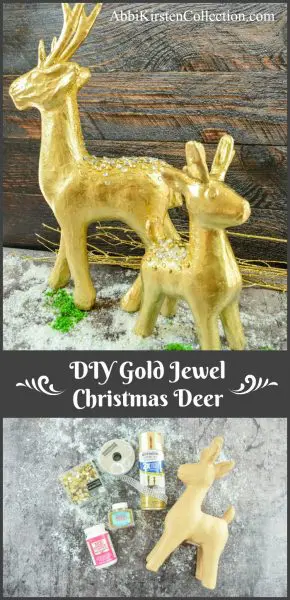
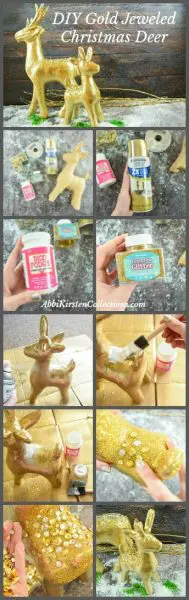
Gold Jewel Christmas Deer Craft
This post may contain affiliate links that won’t change your price but will share some commission.
Inspiration for the Gold Jewel Christmas Deer
Today I am sharing with you this super easy and amazing Gold Jewel Christmas Deer Craft.
Every year when I start my decorating I always find myself wanting to create at least one new item to add to my Christmas collection. This year I was in a few of my favorite stores: Target, Pier One, etc., looking at Christmas decor and found some amazing options. While I really wanted to purchase them on the spot, I got a little hung up on the price tag. They ranged from $40-60 each! Ouch.
Obviously I’m a crafty person so I started to brainstorm how I could make something similar for less, without sacrificing the “Christmasy” beauty of it. So today I am showing you my inspired set of Gold Jeweled Christmas Deer! I’m actually really pleased with how well they came out, and I hope you will enjoy them too! Oh yeah..and did I mention both these deer only cost $27 to make?! Plus I had a lot of leftover supplies for future projects!
gold jewel christmas deer Craft tutorial
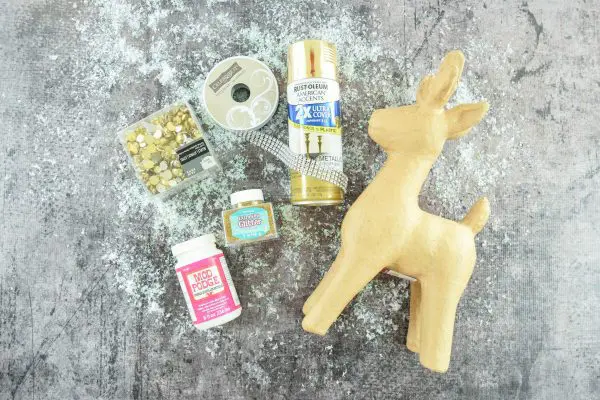
First of all, let’s review the supply list. You can modify this to your preference if you would rather have a silver deer instead of gold and so on.
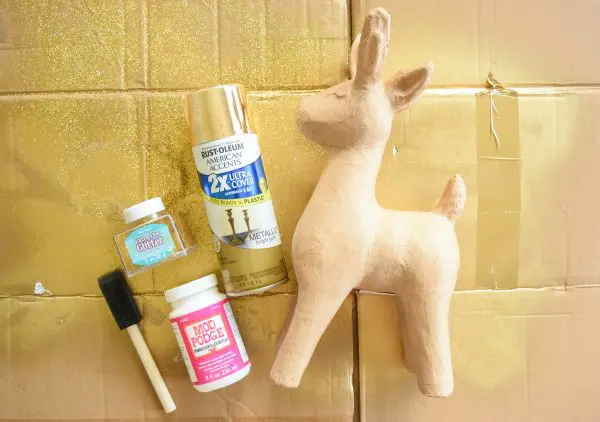
Supplies
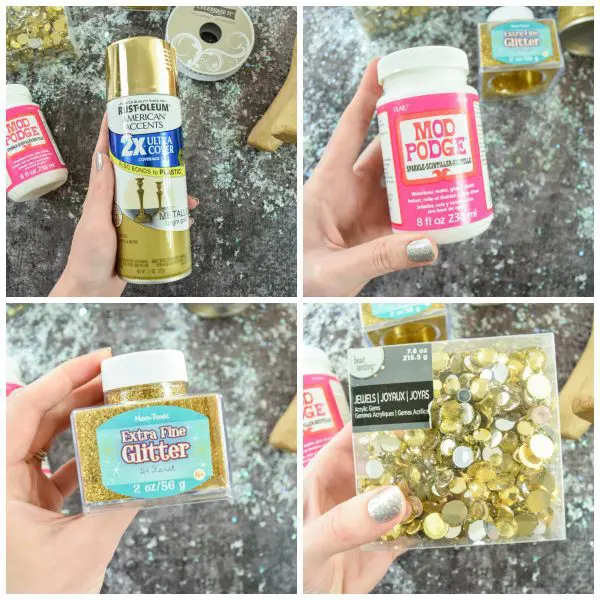
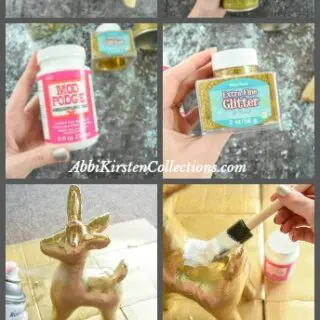
- Mod Podge
- Gold spray paint
- Extra fine glitter
- Flat back rhinestones in a variety of shapes and sizes (I used a gold and silver mix)
- Paper mache deer (I found a large and small one at my Joann’s craft store)
- Hot glue gun
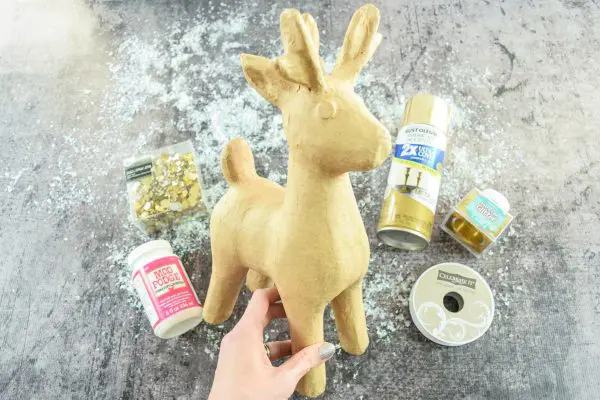
Step 1
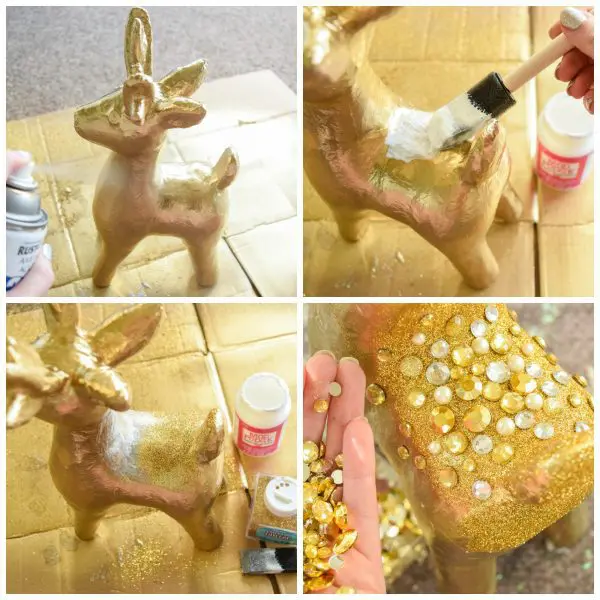
In a well ventilated area, start by spray painting the paper mache deer with your gold spray paint. Because we don’t want to end up with a clump of paint and glitter, be sure to let dry completely before going to the next step.
Step 2
After your gold spray paint has dried, coat the back of the deer with Mod Podge. I chose to just do the back, tail and the backside of the head, but you can add glitter to the whole deer if you prefer.
Step 3
Sprinkle a generous amount of glitter onto the areas that you have applied Mod Podge to. Shake the excess glitter off and let dry completely. As a result, you will end up with a nice solid coat of glitter.
Step 4
Finally, you need to apply your variety of rhinestones to the back of the deer. This took me about 25 minutes to apply all my rhinestones on with hot glue.
Once you are happy with your amount of glitter, sparkle and shine, find a great spot to display your gold jewel Christmas deer!
Oh, and don’t forget to share this with your friends and family, while bragging how much money you saved creating this beautiful project yourself! 😉
Be sure to pin this gold jewel Christmas deer craft for later!
Gold Jewel Christmas Deer
Follow this step-by-step guide to create your own beautiful gold jewel Christmas deer to display in your home this holiday season. Simple and cost-effective!
Materials
- Mod Podge
- Gold spray paint
- Extra fine glitter
- Flat back rhinestones in a variety of shapes and sizes
- Paper mache deer
Tools
Instructions
- In a well ventilated area, start by spray painting the paper mache deer with your gold spray paint. Because we don't want to end up with a clump of paint and glitter, be sure to let dry completely before going to the next step.
- After your gold spray paint has dried, coat the back of the deer with Mod Podge.
- Sprinkle a generous amount of glitter onto the areas that you have applied Mod Podge. Shake the excess glitter off and let dry completely.
- Finally, you need to apply your variety of rhinestones to the back of the deer with hot glue.
- Find a great spot to display your gold jewel Christmas deer!


I JUST LOVE EVERYTHING YOU MAKE. I HAVE BEEN CRAFTING FOR 50 PLUS YEARS RIGHT NOW I MAKE GREETING
CARDS FOR FRIENDS AND FAMILY. I REALLY LOVE DOING IT. I AM THE ONE WHO ASKED YOU ABOUT SMALLER FLOWERS
TO PUT ON SOME CARDS. I JUST WATCHED YOUR VIDEO ON THE DEER, VERY BEAUTIFUL, I WILL CONTINUE TO WATCH!!
THANK YOU VERY MUCH SURE APPRECIATE WHAT YOU DO.
It’s my pleasure Carolyn! I’m so happy you enjoy it! 🙂