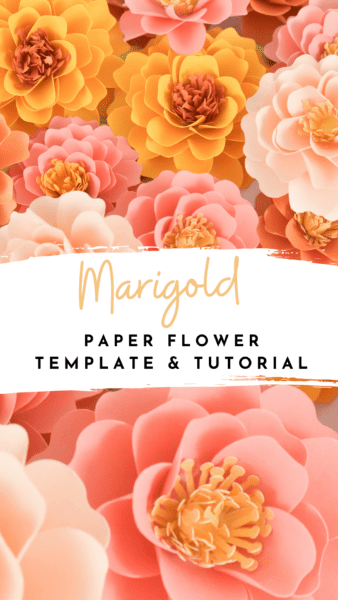
DIY Paper Marigold Flowers: Marigold Tutorial and Template
This post may contain affiliate links that won’t change your price but will share some commission.
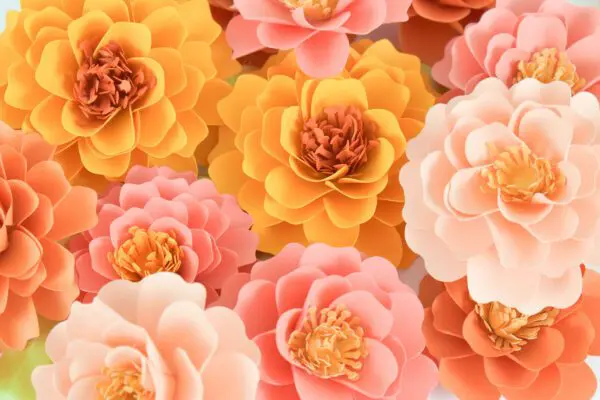
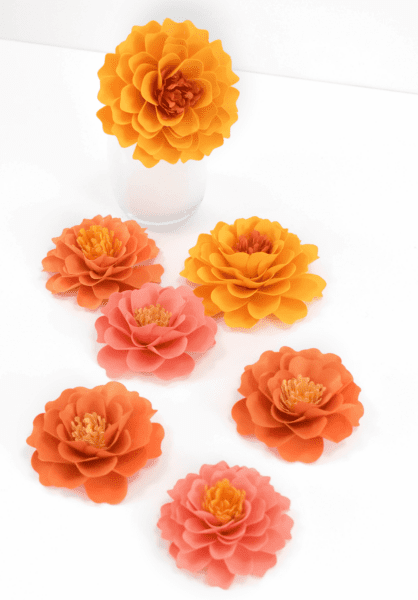
When it comes to paper crafting, what’s more festive than some fresh paper marigold flowers? Perfect for the fall or to celebrate dia de Los Muertos, this gorgeous DIY paper marigold craft is one you’ll love.
You may also enjoy my Autumn Sunburst Dahlia paper flowers and lots of pumpkin crafts here on the blog.
Paper Marigolds for Dia de Los Muertos
If you’re unfamiliar with this Mexican holiday, Dia de Los Muertos is a two-day celebration that honors the dead. Families will often build altars, or ofrendas, to remember their loved ones which are thought to guide the souls of the deceased back to their homes.
The vibrant color Mexican marigolds are thought to guide spirits home and are often used as decorations during Dia de Los Muertos.
Their nickname, “flor de Muerto” or flower of the dead, comes from this tradition. You can make these paper marigolds for wreaths and flower crowns or add them to stems for a vase.
How to Make Marigold Paper Flowers
Below is the full video tutorial for how to make paper marigolds. You can keep reading for a picture tutorial!
To make these beautiful symbols of the start of the day of the dead celebration, you’ll need a few supplies. Listed below, you’ll also see a link to the tool I use in my full video tutorial on YouTube.
Supply List for DIY Paper Marigold Flowers
- 65-pound cardstock in gold, yellow, and orange. I love 12×12 Cardstock Shop options here.
- Wood dowel
- Paper Blooms shaping mat and toolset
- Hot glue gun
- Cricut machine or scissors
- Marigold templates – get them as an AKC Premium Member inside the Vault, keyword “marigold,” or pick them up here!
Marigold Paper Flowers Step-By-Step Tutorial
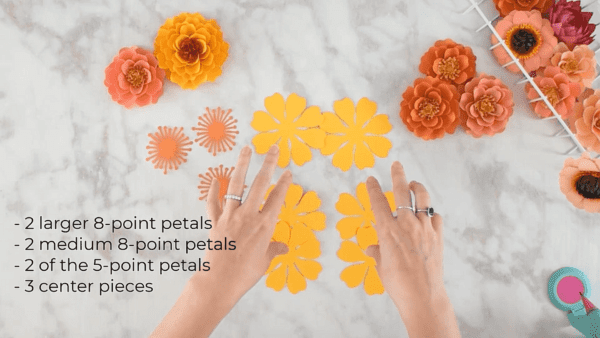
Start by cutting your flower layers. You’ll need two larger 8-point petals, two medium 8-point petals, 2 of the 5-point marigold petals, and three centerpieces from the pdf.
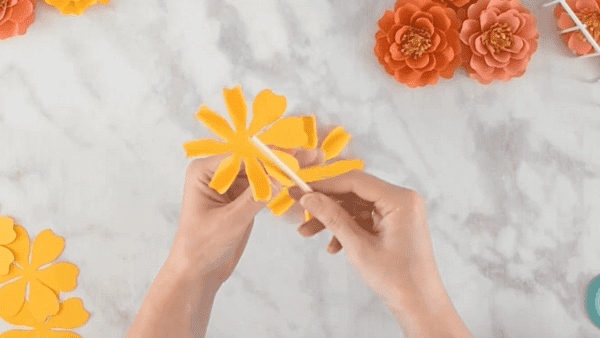
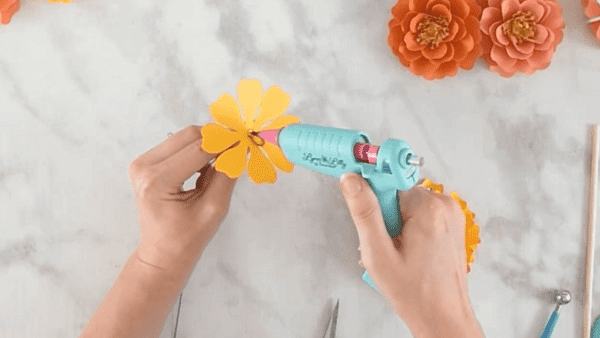
Next, you’ll want to wrap each of the petals around the dowel to give them some dimension. This will help them hold their shape and look more realistic when you go to glue them together. I like to flatten the bottom layer a bit to make them fit nicely.
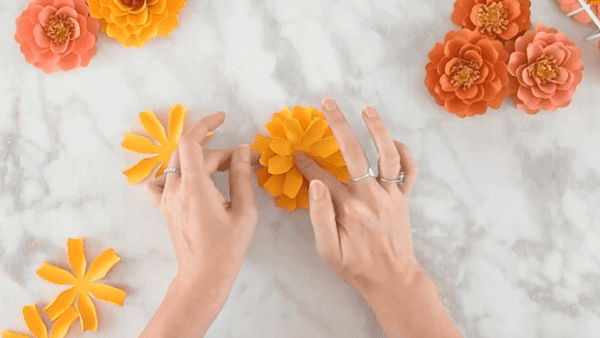
Once all your pieces are curled, gather the petals, give them a small twist, then add a dot of hot glue to the base petal layer. Place one larger 8-point marigold petal onto the other 8-point marigold petal layer, making sure the petals are alternating the petals on the layer below.
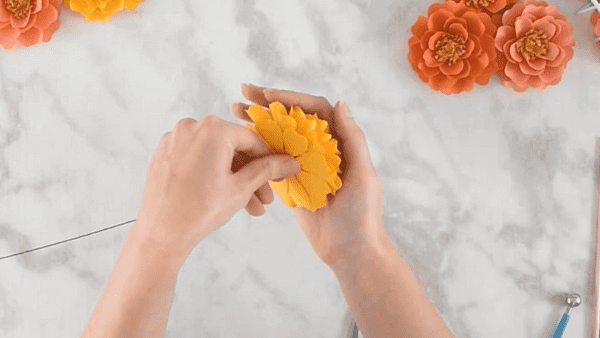
Repeat the process of adding the two medium 8-point petals and then the two 5-point petal layers.
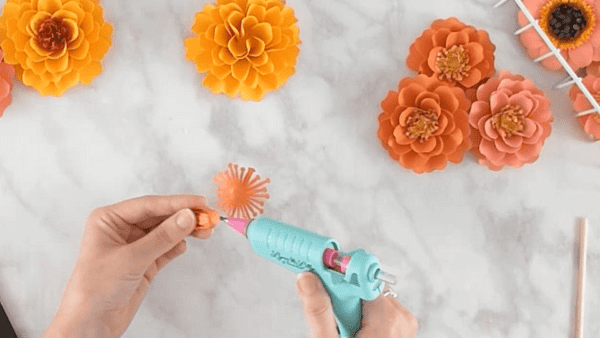
Finally, use your fingers to bend up the centerpieces of the flower, or use my Paper Blooms Shaping Mat and Toolset to cut the centers. Then layer the three pieces, and add a dab of glue to each layer of the stamen. Once you’ve layered the three center cuts together, glue them into the center of the flower, and your paper marigolds are complete.
Adding A Stem To Your Flowers
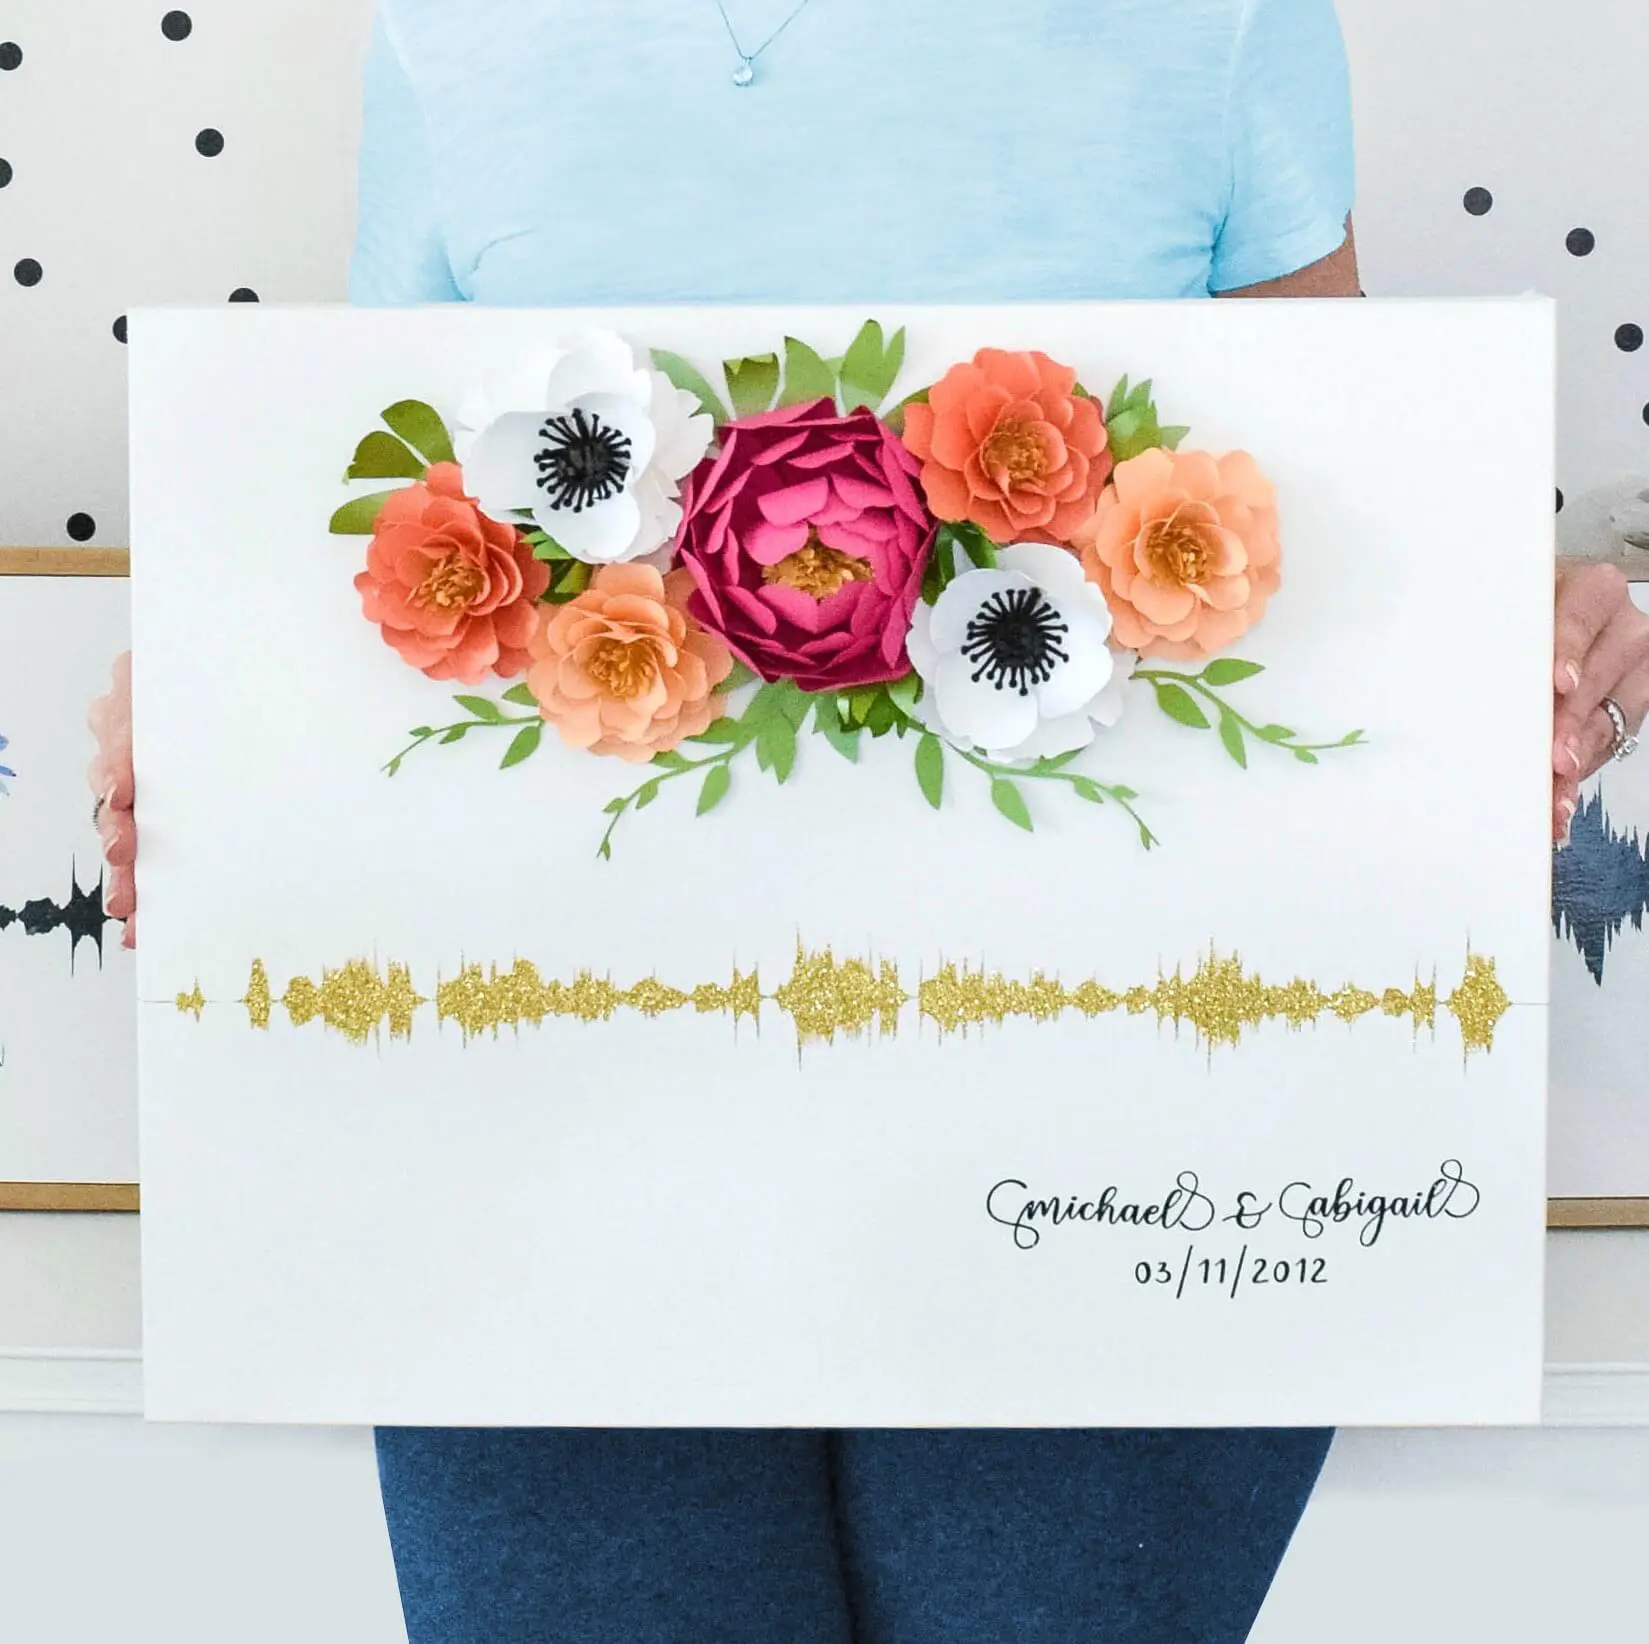
If you’re adding these paper marigold flowers to a sign or similar project, you’re ready to go, but if you’d like to add a stem so they can sit in a vase, here is how.

Simply cut an extra layer of the largest paper marigold petal.
Take an 18-22 gauge green wire and bend it at a 90-degree angle about 1 inch down from the tip. Then form a small circle at the top to create a base. Punch a tiny hole through the petal layer.
Thread the wire through the hole and move it around a bit until you’re satisfied with how the flower is sitting. Use a generous amount of hot glue to attach the petals to the bottom of the marigold flower, sandwiching the wire circle stem in between the extra petal layer and the finished marigold flower.
Let the glue dry with the flower face down. Trim the stem, and that’s it!
These pretty flowers are a very beginner-friendly craft that’s perfect for DIYers who are new to the paper craft world or older children who like to make paper projects.

Find lots more DIY paper flowers here!
You can watch my full tutorial on YouTube for more tips and tricks on how to make these perfect paper marigolds.
Whether you’re decorating for Dia de Los Muertos or just want to add some pretty fall flowers to your home, these paper marigolds are the perfect craft. So gather your supplies and have fun!
About Abbi Kirsten
Welcome to my colorful corner of the internet, where we play with vibrant crafts and unlock your creative magic! Hang out with me and get lost in a fun array of projects, tutorials, and products, from stunning papercraft ideas to flower templates, Cricut help for beginners, and endless crafter’s hacks.
Join A-Star Crafters and participate in monthly Craft-Alongs in our community Facebook group!