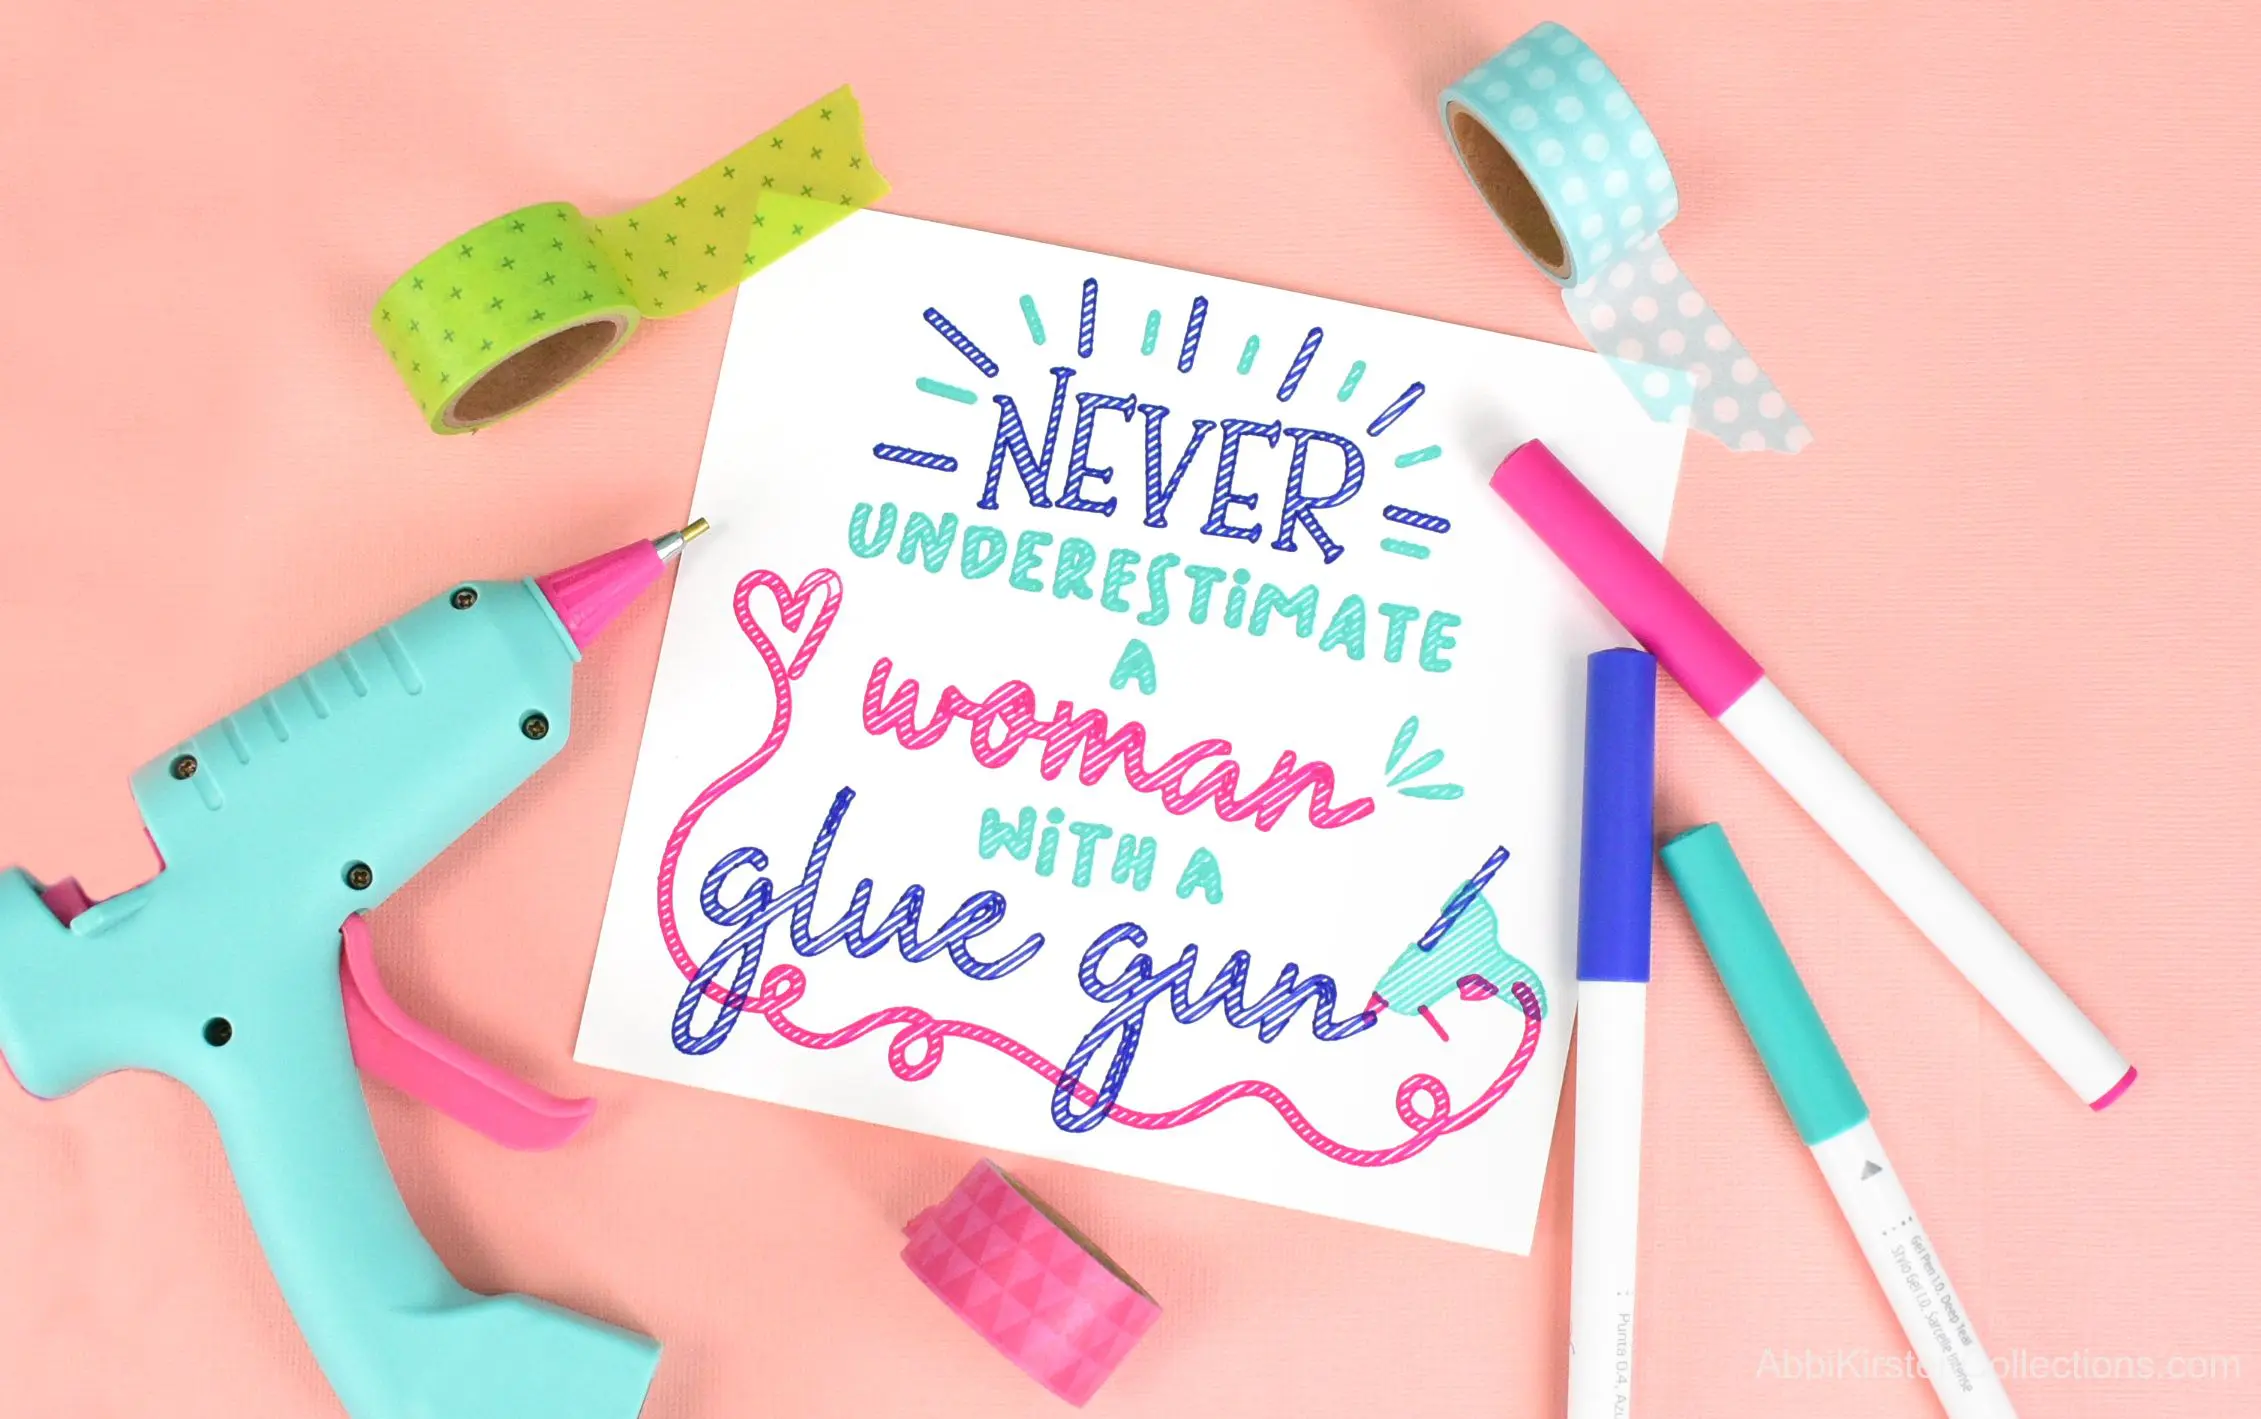
The Ultimate Guide To Using Vinyl and HTV on Wood: Plus How To Seal Wood Sign
This post may contain affiliate links that won’t change your price but will share some commission.
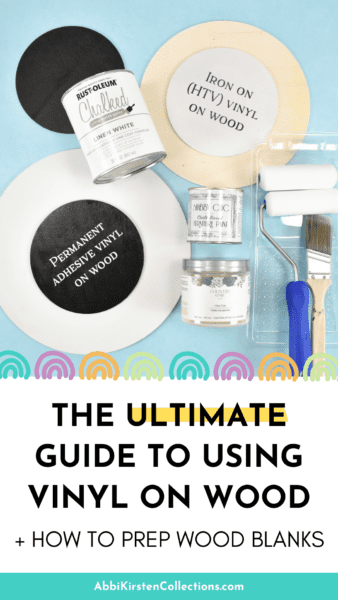
Learning to make custom wood signs with Cricut is a must-have skill because you can create many different concepts and themes for all occasions. From holiday decorations, to back to back-to-school signs, special event decor, nursery wall art, outdoor signs, and much more. Today I am covering everything you need to know about using vinyl on wood, including when and how you should seal your signs for outdoor display. I will also compare permanent vinyl on wood versus HTV on wood so you can decide which is best for your Cricut project.
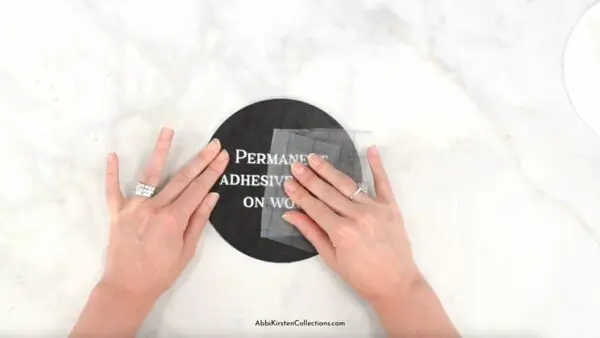
Using Cricut Vinyl On Wood Signs
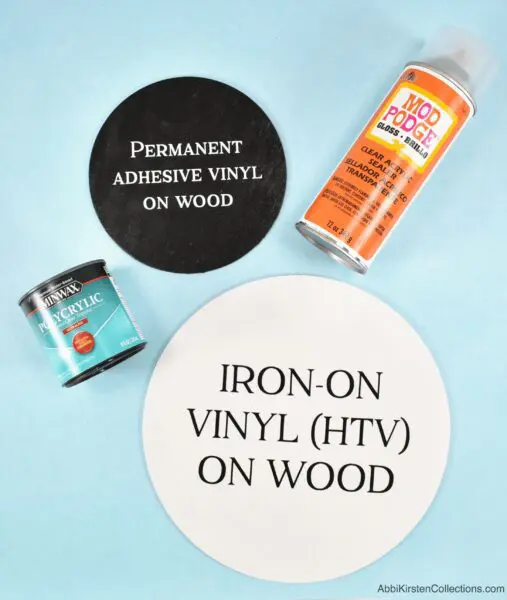
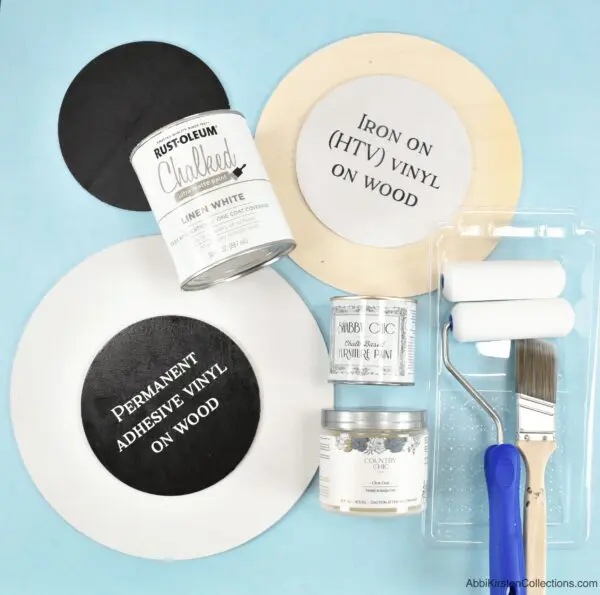
When making wood signs with Cricut, you have two primary choices. The first is to use permanent adhesive vinyl, which can come in many textures and colors. The second option is to use heat transfer vinyl on wood, also known as iron-on vinyl. Both types of vinyl can work, and each has advantages and disadvantages. Alternatively, you can explore using vinyl stencil material to paint the design onto your wood sign. Learn more about Cricut stencil vinyl here!
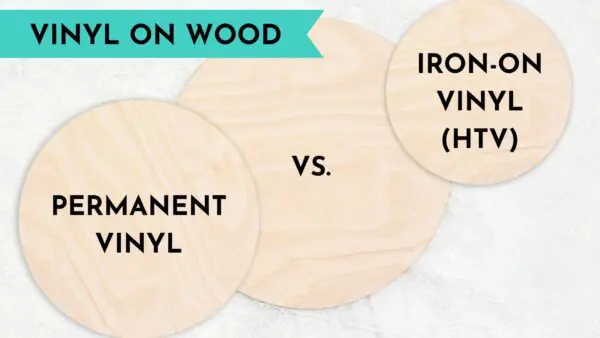
Heat Transfer Vinyl vs. Permanent Vinyl on Wood
Let’s compare the reasons for using iron-on vinyl (also known as heat transfer vinyl) on wood and using permanent vinyl on wood.
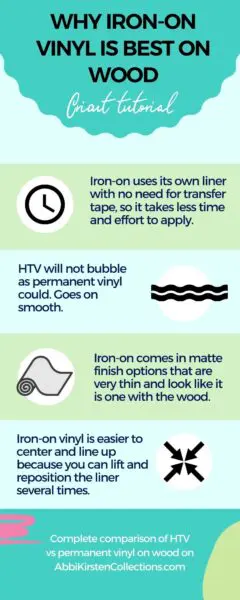
Pros of Heat Transfer Vinyl on Wood
- HTV uses its own liner with no need for transfer tape, so it takes less time and effort to apply.
- HTV will not bubble as permanent vinyl could.
- HTV has plenty of matte finish options, which makes the final sign look more like it was painted on naturally rather than the look of a decal applied.
- Iron-on vinyl is easier to center and line up because you can lift and reposition the liner several times.
- HTV is very thin, making the result on a wood sign look like it is one with the wood.
Cons of Heat Transfer Vinyl on Wood
- HTV requires having a heat press and heat-safe surface to use the iron-on. If you do not have a heat press, then this is an incurred cost.
- Iron-on vinyl (HTV) can sometimes be a little more costly, especially in certain textures.
- Tricky to apply if you try and use a regular iron.
Pros of Permanent Vinyl on Wood
- Permanent vinyl requires inexpensive transfer tape but does not require a heat press which is an extra cost.
- Glossy vinyl finishes and exclusive textures/colors that may only be available in permanent vinyl.
Cons of Permanent Vinyl on Wood
- It looks more like a decal sticker on the wood and therefore gives a cheaper look to the final project.
- If your wood is rough, the vinyl may not stick well, or you may see a bumpiness to the surface of your vinyl on the wood sign.
- If you decide to seal, permanent vinyl risks peeling up if the sealer gets underneath it.
I want first to cover the process of prepping an unfinished wood blank for vinyl. If you already have a finished sign ready to apply vinyl, skip down to the tutorial for applying HTV and permanent vinyl to wood.
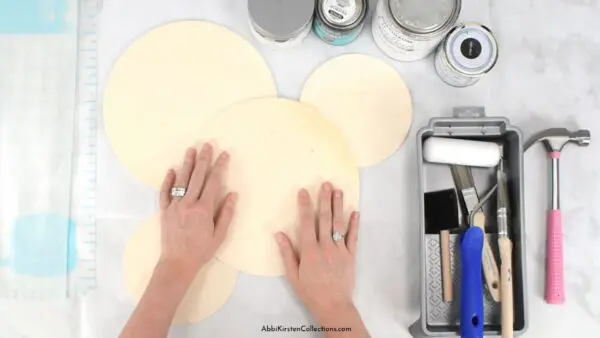
Prepping Your Unfinished Wood Blanks for Vinyl
If you choose to paint an unfinished wood blank in preparation for applying vinyl, there are some specific steps to take to ensure success. The same process will apply regardless if you opt for HTV or permanent vinyl for your DIY wood signs.
Painting And Sealing Wood Blanks Video Tutorial
Watch the video for prepping wood blanks, or keep reading for instructions!
Paint Your Sign
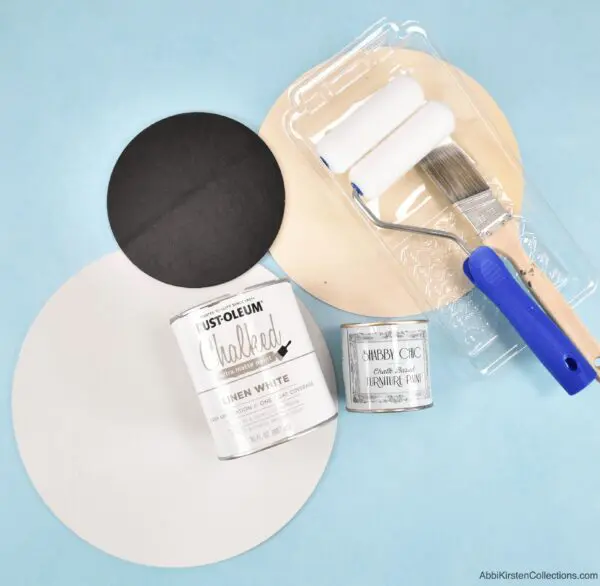
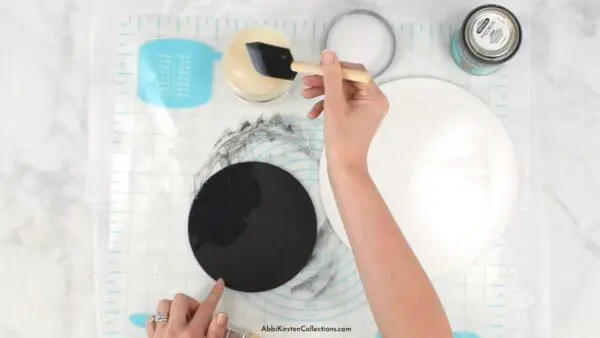
Before you paint your sign, make sure it is free from dust, dirt, and lint. Wipe down your unfinished blank wood sign with a simple damp cloth or paper towel to remove any debris.
Choose your paint. I love this matte white chalk paint and this black chalkboard paint here. There are some other color varieties as well. You will also need a quality paintbrush. You can use a foam brush, but I find a fine-bristle paint brush works best.
And, of course, you will need a wood blank. Amazon has several options, and local craft stores like Michaels Craft Store often carry a large variety.
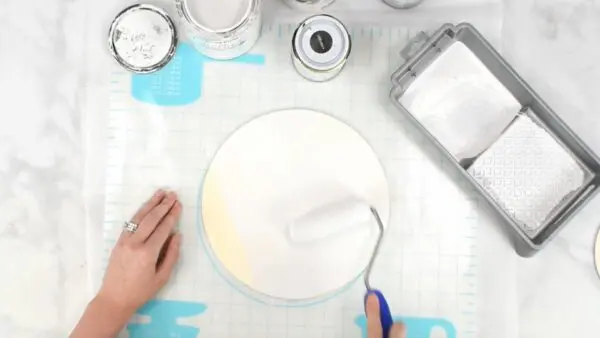
Place your sign on some scrap paper, or use a silicone mat to protect your working surface. Apply long, even strokes of paint. I find with the chalky paint, one coat is usually enough, but you can do two if you wish.
Spray paint is not recommended for painting unfinished wood signs because the wood too easily absorbs the spray paint, and several coats are required to get the blank looking rich in color. You can, of course, give it a go, but it may take 3-5 coats to get a rich color. In my opinion, this is wasteful and time-consuming.
Seal Your Painted Wood Sign
After your painted wood blank has cured for 24 hours, coat the paint with a clear sealer. Sealing your paint is important here because, without a sealer, your transfer tape and the HTV vinyl liner will likely lift the color off. Country Chic satin finishing sealer or clear water-based polycrylic sealers work best.
Apply at least one generous coat of sealer to the sign and let it dry and cure for 24 hours before applying vinyl.
I recommend batching the preparation of your unfinished wood blanks so you have plenty on hand when a project idea strikes!
You can also follow this process with a stain for wood in place of the paint as well. I recommend at least two coats of sealer with a stain for sure. Also, check out these gel paint stains!
Adding Vinyl to Painted wood
Now that you have prepped your wood sign, it’s time to apply our vinyl! Let’s go over the process of applying heat transfer vinyl to wood and comparing that with permanent vinyl on wood so you can decide which is right for you! You can watch the full video on adding permanent vinyl to wood here on applying permanent vinyl and iron-on vinyl to a painted wood surface!
I also have several free SVG files perfect for DIY wood signs that you can get inside the Freebie Vault. Join via the form below to grab free SVG files to practice making your wood signs!
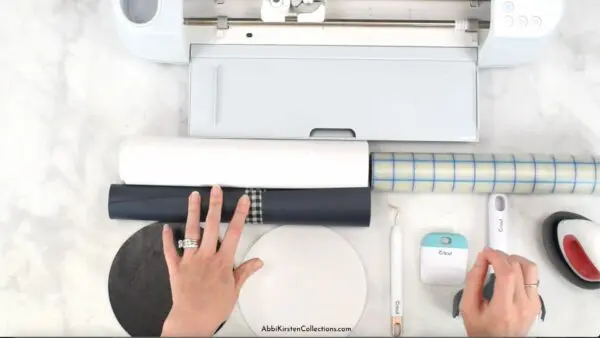
Once you decide on a design for your sign, create a new project in Cricut Design Space and upload the SVG files.
Applying Iron-On Vinyl (HTV) to Wood
My personal favorite is using iron-on vinyl on wood (a.k.a HTV). The overall application and result always look better to me. Watch the video tutorial for layering heat transfer vinyl on wood, or keep reading for more.
Supplies for Applying HTV to Wood
- Cricut machine (I’m using the Cricut Maker 3, but you can also use the original Maker, Cricut Explore Air 2, the Joy, or other cutting machines)
- Standard grip-cutting mat
- HTV iron-on vinyl (try Smart Vinyl if you own a Maker 3 or Explore 3!)
- Weeding tool
- Heat-safe surface (EasyPress pad)
- EasyPress – you can use the full-size EasyPress or EasyPress Mini
- Uncoated butcher paper or Teflon heat sheet
Heat transfer vinyl on wood: Temperature and Time
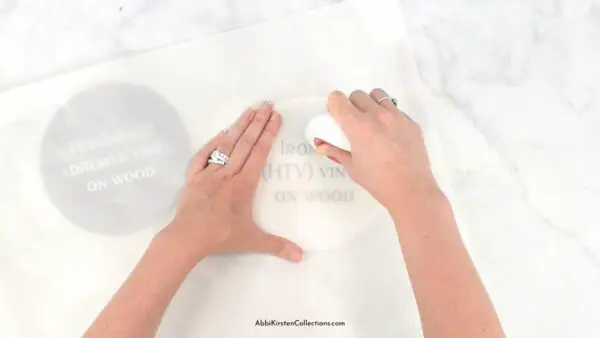
- Cut out your HTV on your Cricut. I am using Cricut Everyday Iron-on. Don’t forget to mirror your project in Design Space when using iron-on vinyl!
- Heat up your EasyPress while you weed the design. Cricut recommends setting your full-size EasyPress to 300 degrees for 40 seconds for a single layer of heat transfer vinyl. If you plan to layer your iron-on, I recommend setting the EasyPress to 280 for 30 seconds. For the EasyPress Mini, I recommend the Medium setting.
- Position your HTV design onto your wood blank. If you don’t get it centered the first time, just lift it and try again – this is one of the benefits of working with HTV on wood!
- Once the design is centered, cover the entire wood surface with uncoated butcher paper to protect your wood from scorching. Then press your design to the wood. Once the time is complete, lift your press and let the design fully cool – this is known as a cool peel, and it is essential to getting your HTV to stick to the wood.
- If you are adding another layer, repeat this process until all layers are finished.
Applying Permanent Vinyl on Wood
The second method of making wood signs with Cricut vinyl is using permanent adhesive vinyl and transfer tape.
Supplies for Applying Vinyl To Wood
- Cricut machine (I’m using the Cricut Maker 3, but any current Cricut model can cut permanent vinyl).
- Standard grip-cutting mat
- Cricut Premium Vinyl (make sure it is permanent and not removable vinyl, which will not stick well to wood).
- Weeding tool
- Transfer tape
- Cricut scraper tool
- Parchment paper (optional)
One of the biggest struggles of using permanent vinyl on wood is getting the vinyl to stick to the wood sign surface and centering your designs. Two tricks can help with this, which I will discuss below.
- First, ensure your wood sign has been wiped down and is entirely free from dust, lint, and debris – this will help your vinyl stick well. Watch the video on adding permanent vinyl to wood to see my burnishing tips when applying the vinyl.
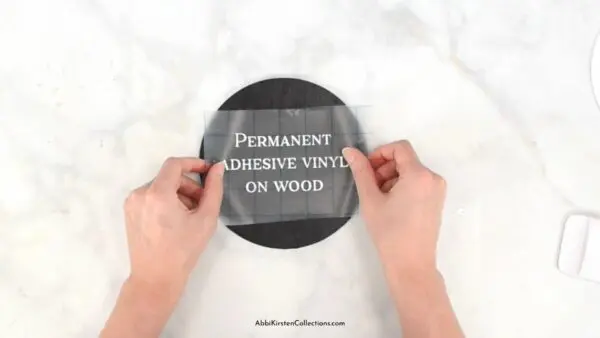
- Cut out your permanent vinyl on your Cricut. I like to use the Cricut Premium Glossy Vinyl.
- Weed your vinyl.
- Apply transfer tape to the weeded design and burnish the liner’s front and back. Check for any air bubbles and work those out with the Cricut scrapper tool. For tips on removing air bubbles from vinyl, read all my Cricut vinyl hacks and tricks here!
- Flip the design over and peel the liner away from the transfer tape.
- If you struggle with alignment, try using parchment tape to center your design before pressing the transfer tape down. See how I use the parchment paper trick here!
- If you have additional layers, repeat steps 2-6.
How To Seal Vinyl On Wood
The last step is to decide if you need to seal your wood signs made with Cricut. Do you need to seal iron-on vinyl on wood? What about sealing permanent vinyl on wood?
Do I need to seal vinyl on wood?
Sealing vinyl is important if you are working with any sign that will be outdoors or exposed to moisture, sunlight, or heat—for example, DIY porch signs or front door signs. If you are not placing your sign outdoors, there is no need to seal your permanent or heat transfer vinyl on the wood sign.

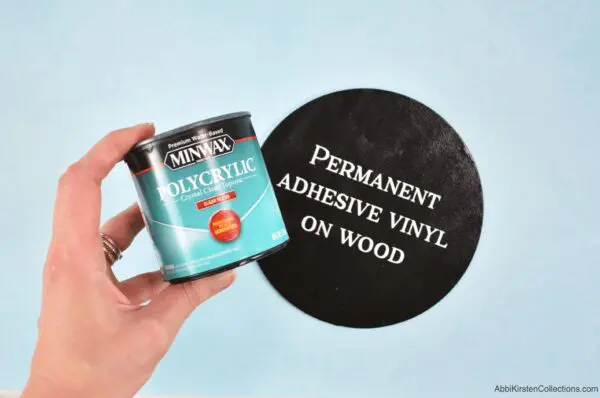
The Best Sealers to use on wood signs with vinyl
Clear water-based polycrylic sealers or spray mod podge work best when sealing your HTV or permanent vinyl. You can also explore dishwasher-safe mod podge, but this takes many days to cure completely, so I do not recommend it.
How To Seal Vinyl On Wood For Outdoors Video Tutorial
Sealing Wood Signs With Polycrylic Sealer
I prefer the polycrylic sealer, which comes in a glossy and matte finish. Add a generous coat of sealer over the top of your sign with a brush. You do not need to coat the edges or back of the wood sign, just the top surface where the vinyl is. I recommend 1-3 coats of sealer. Three coats will be best if you plan to place the sign in intense sunlight or moisture.
Sealing Wood Signs With Mod Podge Spray
After testing and applying polycrylic to both permanent and iron-on vinyl, I found that the HTV looked hazy after it dried, which I didn’t like. I decided to test a mod podge spray sealer to see if that helped, and it was much more clear when it dried and still offered protection to the HTV on wood.
When applying the mod podge sealer to wood, spray at about 10 inches away from the surface in short bursts, let it dry for at least 30 minutes, then repeat 2-3x for best results.
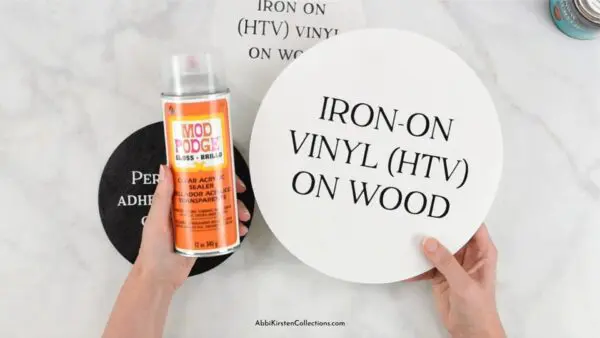
The final consensus is that polycrylic is best for permanent vinyl and mod podge spray is best for HTV (iron-on vinyl). You can also use mod podge for the permanent vinyl if you wish.
Once the sealer has been applied to the wood, let everything fully cure for 24 hours before placing outside in the elements.
Make Wood Sign Ideas With Cricut: Free SVG Files
Below are some other DIY signs and SVG cut files you can find in the Abbi Kirsten Collections Vault! Several are free, but if you want access to hundreds of designs and new projects weekly, join the Member Vault or check out our free designs in the Freebie Vault! Join via the form below and search the keyword “DIY sign” to find all these SVG designs.
- Outdoor BBQ porch sign
- Camping sign
- Back-to-school sign
- USA Rhinestone effect sign
- Farmhouse sign
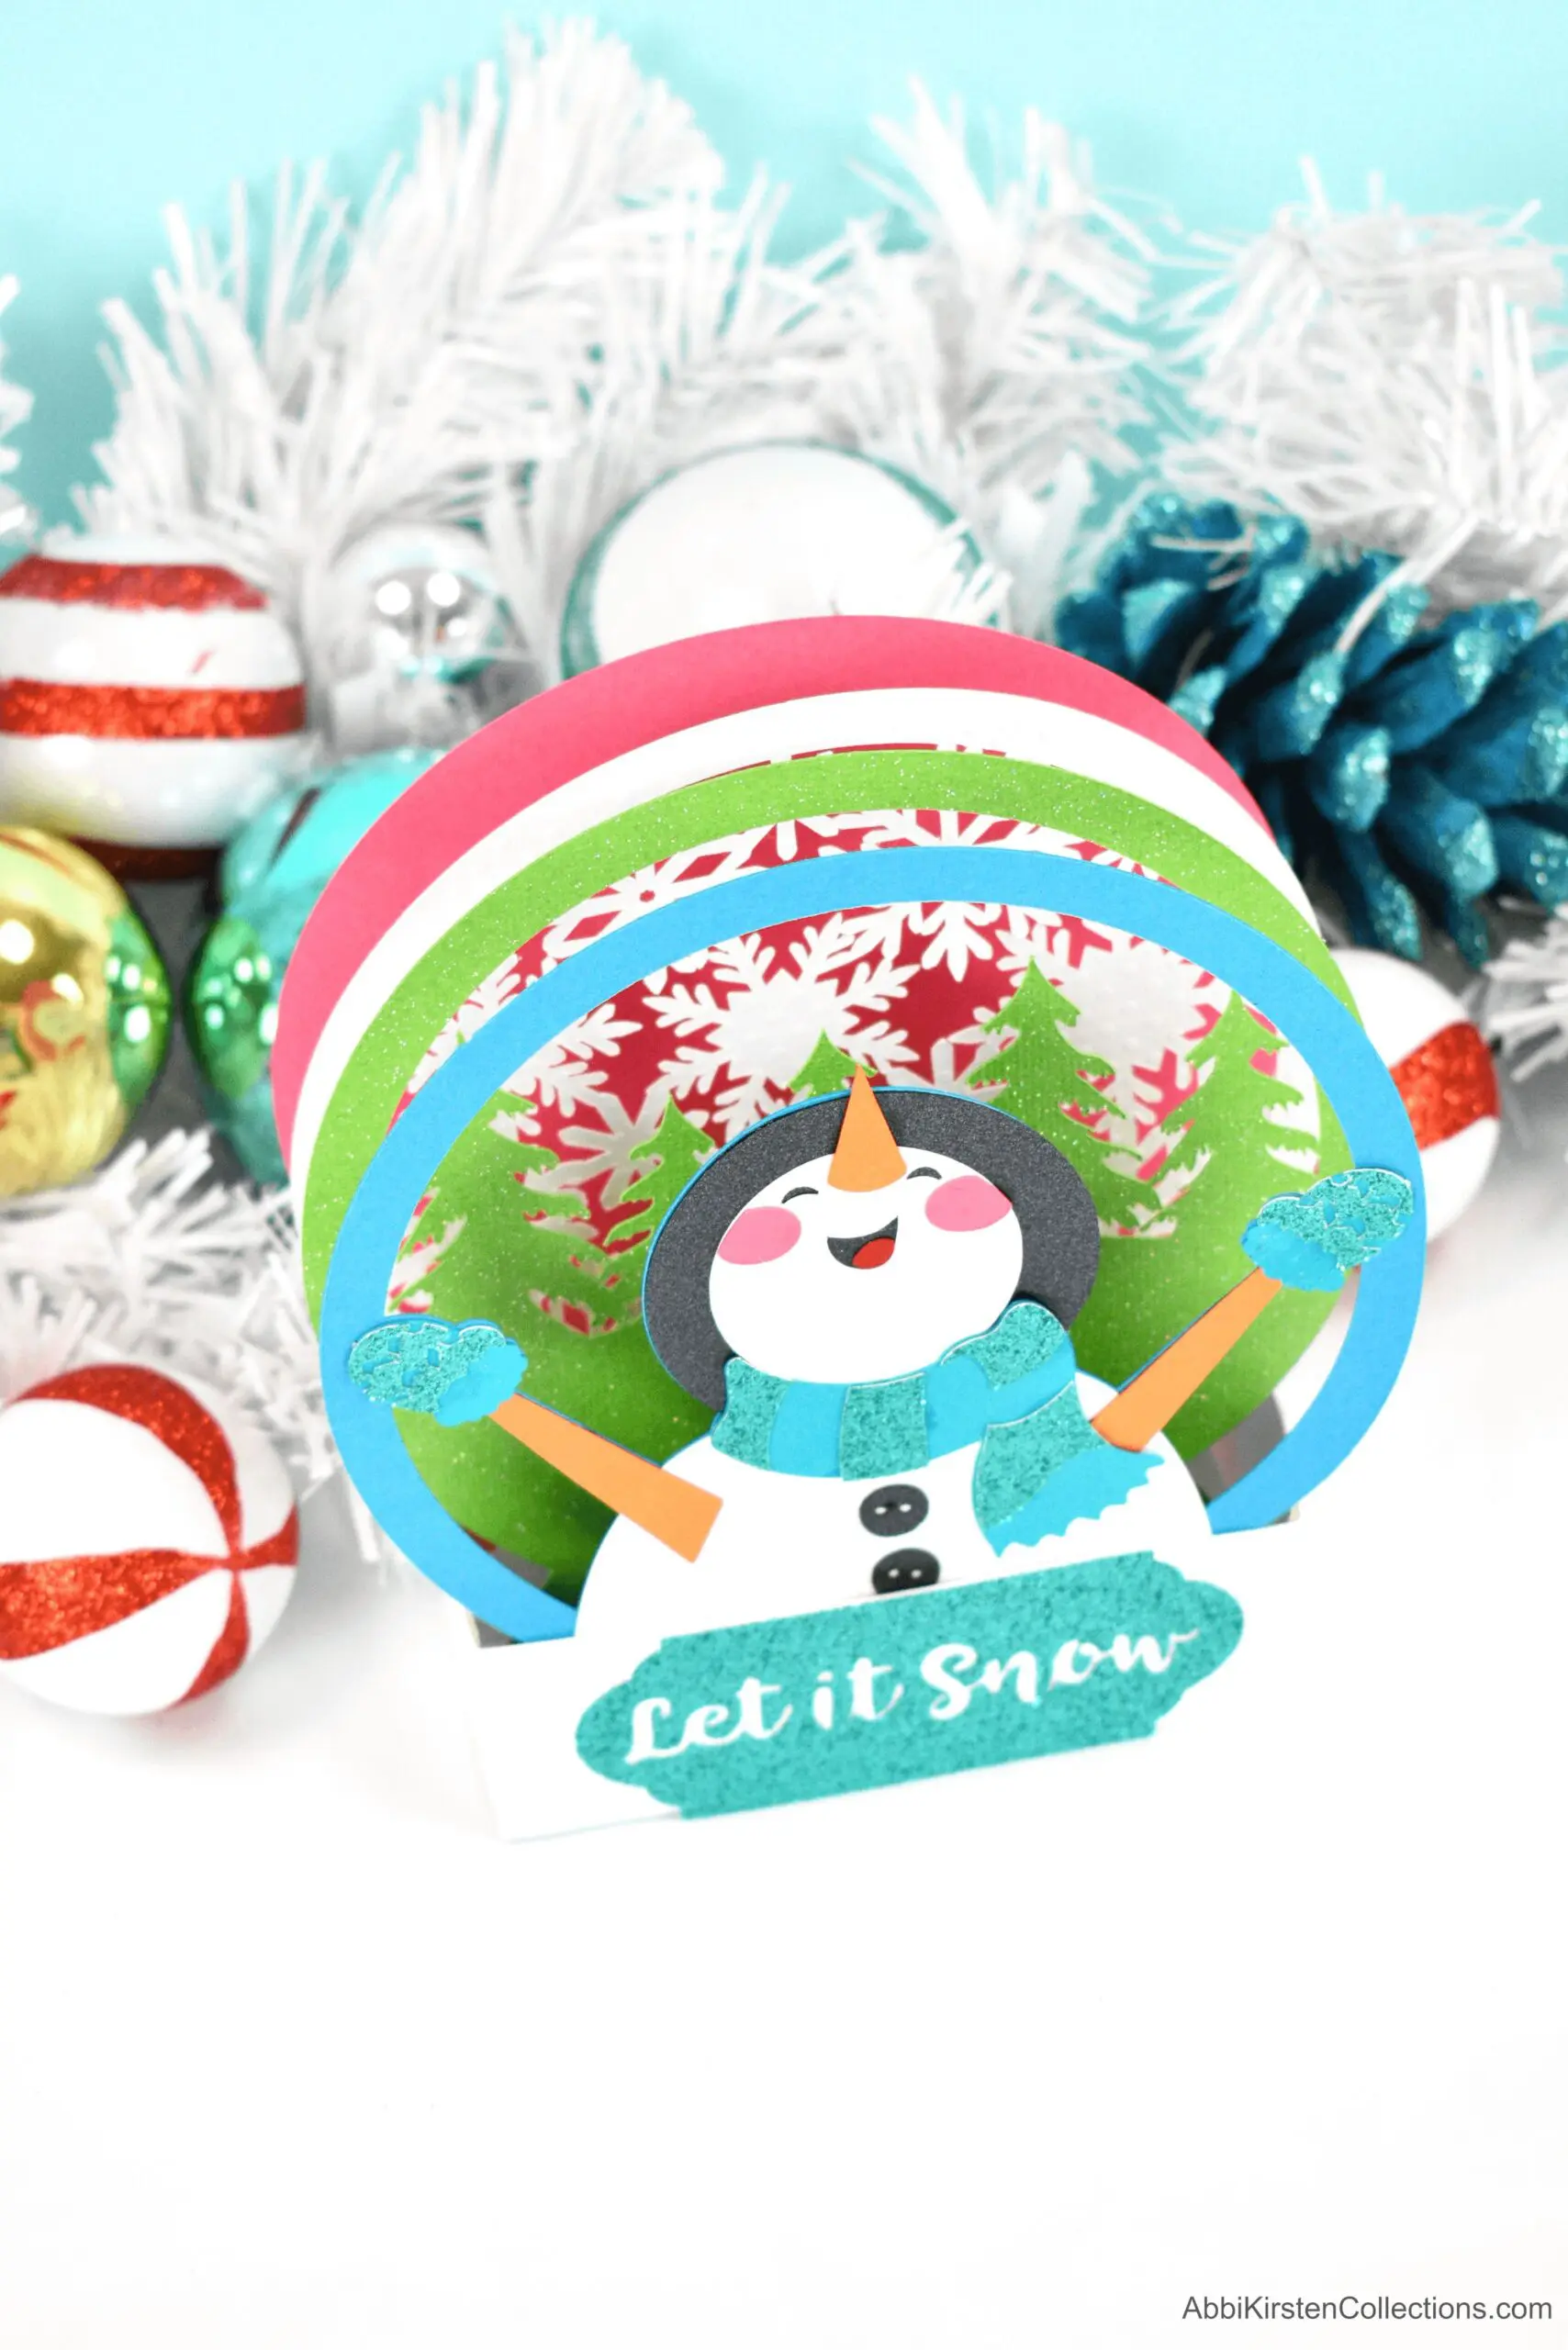
- Snowman hello winter sign
- Pumpkin hello fall sign
- Hello Spring truck with flowers sign
- Give thanks sign
- Watermelon hello summer sign


What other custom wood sign ideas do you have? What questions do you have about making signs with Cricut? Ask me in the comments!
About Abbi Kirsten
Welcome to my colorful corner of the internet, where we play with vibrant crafts and unlock your creative magic! Hang out with me and get lost in a fun array of projects, tutorials, and products, from stunning papercraft ideas to flower templates, Cricut help for beginners, and endless crafter’s hacks.
Join A-Star Crafters and participate in monthly Craft-Alongs in our community Facebook group!


Thanks so much for your very clear and informative workshop!
Can you layer HTV? I have designs with multiple colors and like the idea of using HTV vs matte permanent vinyl. Thanks.
Hi! Yes, you can! Here is a tutorial on layering HTV. https://www.abbikirstencollections.com/how-to-layer-iron-on-vinyl-on-a-shirt/ You can layer on wood too. https://www.youtube.com/watch?v=7EEOaQXdRpk&t=3s
what can you do if small parts of your permanent vinyl come loose? will the sealer help with this?
A sealer can help, yes. I recommend sealing over the paint though and that will provide a better surface for the vinyl to stick to!