Wedding Centerpiece- DIY Paper Flower Arrangement
This post may contain affiliate links that won’t change your price but will share some commission.
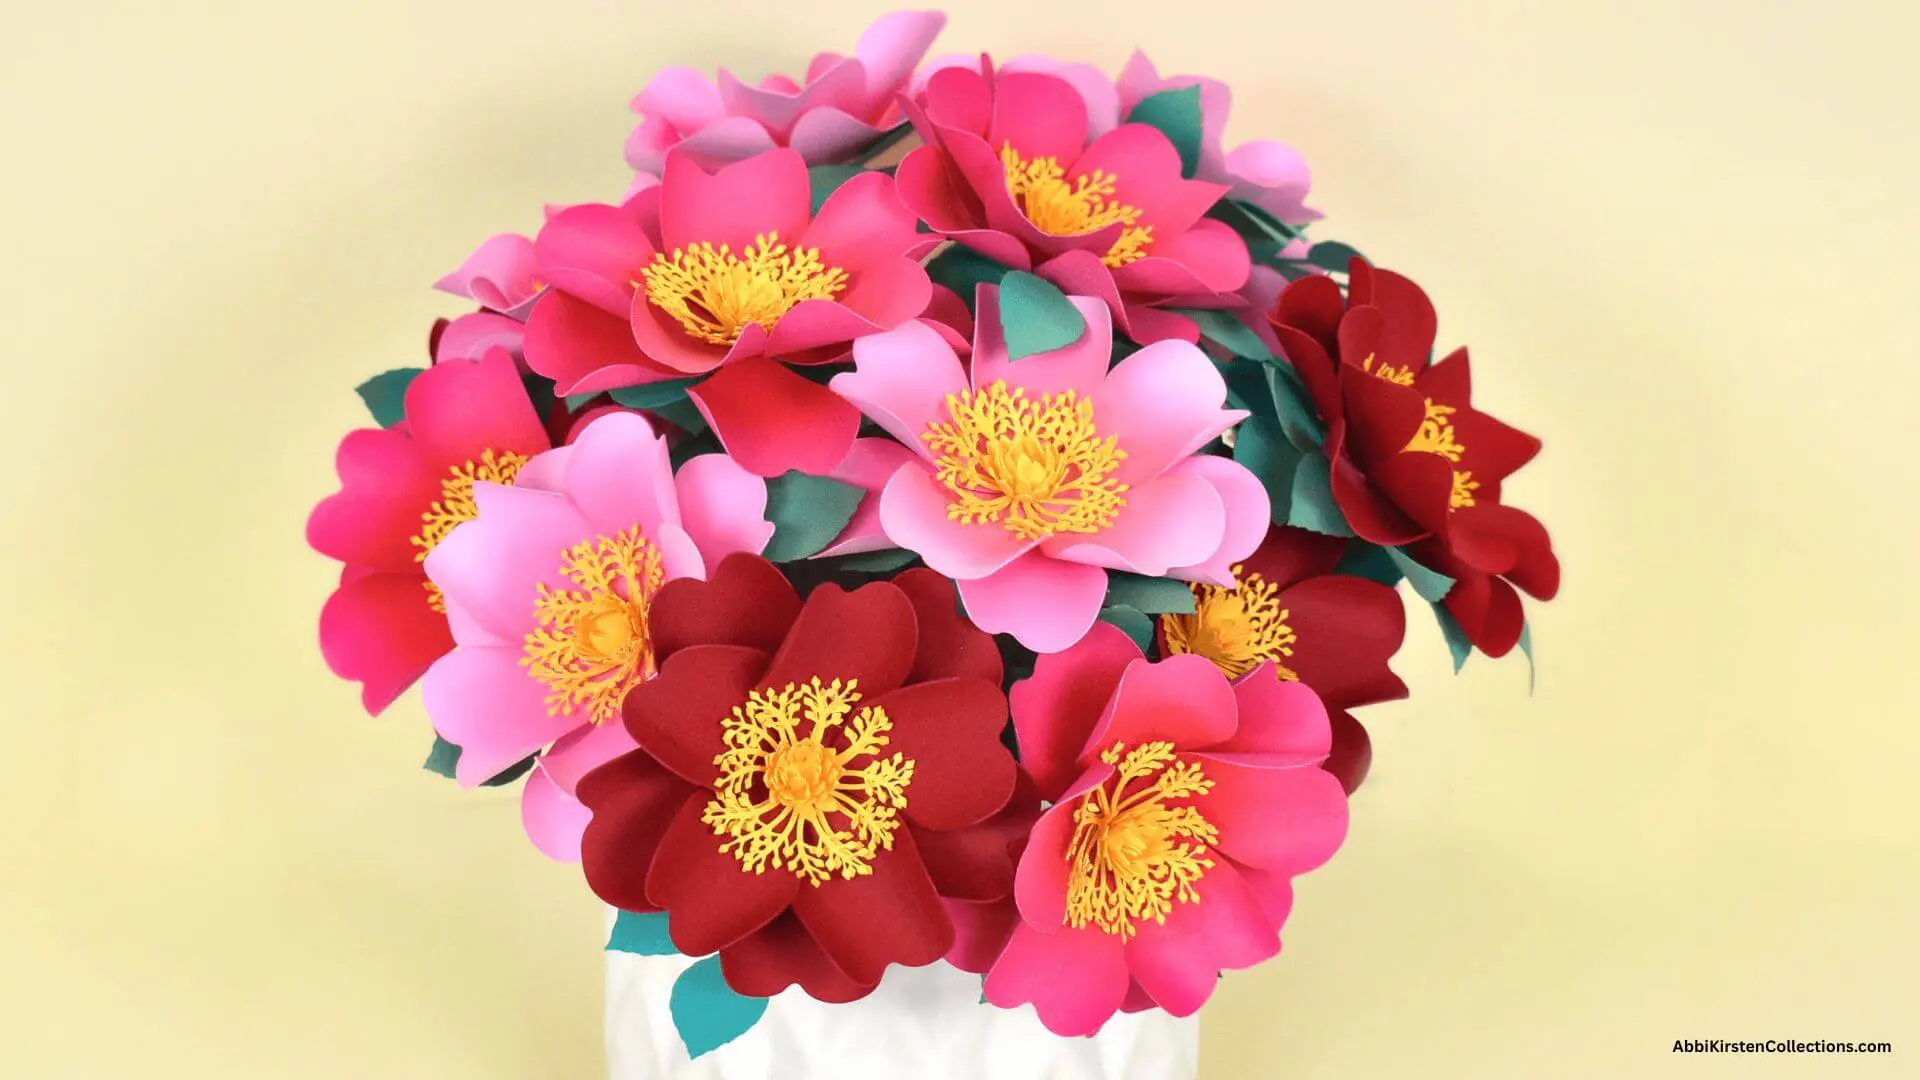
DIY Paper Flower Arrangement. Budget Wedding Ideas.

If your a bride on a budget then DIY centerpieces will no doubt be your best friend! These easy paper flower centerpieces require no special arranging skills and can be used for weddings, showers, parties, or even home decor.
Supplies Needed for the DIY Paper Flower Wedding Centerpiece
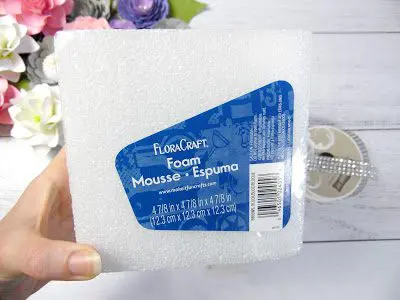
- 4 7/8 inches x 4 7/8 inches foam block
- Ribbon or fabric
- Glue gun
- Stemmed paper flowers or silk flowers
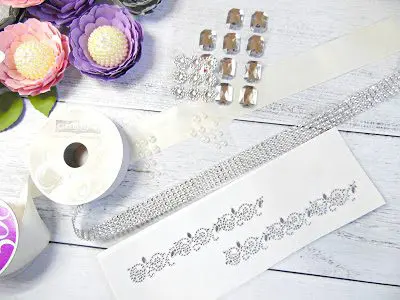
- Rhinestone ribbon
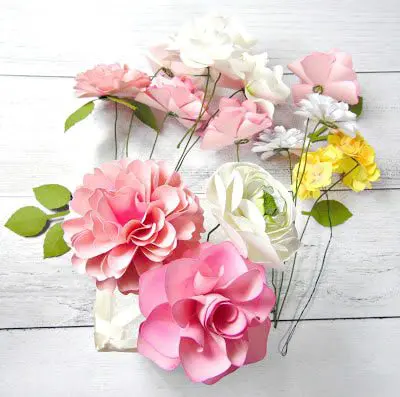
I chose to use my Dahlia, Ansley rose, ranunculus, and hydrangeas templates. Videos are included with each download to teach you how to build each flower.
And check out how easy it is to stem a paper flower here!
Alright moving on. Once you have at least 12-14 flowers made you can move on to getting the base ready.
How to Make a DIY Paper Flower Wedding Centerpiece
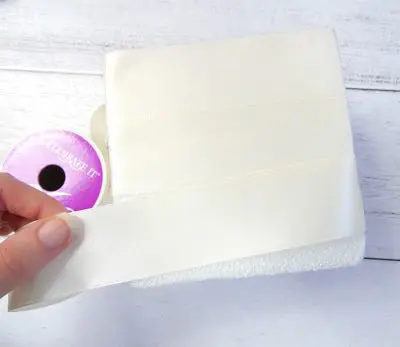
Step 1: Wrap the Foam Cube
I used some cream satin ribbon I had on hand to cover the block, but I would also recommend buying a yard of fabric and basically “wrapping” the foam block like you would a gift. Probably would look a little nicer.
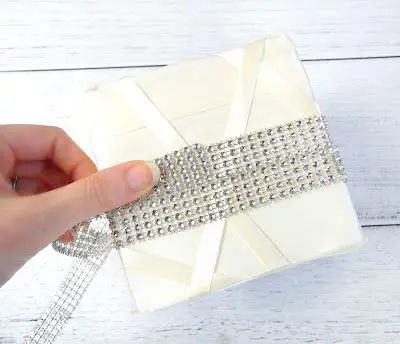
I added on thinner ribbon in a zig zag pattern and then wrapped my rhinestone ribbon around the center. Find great prices on rhinestone ribbon here!

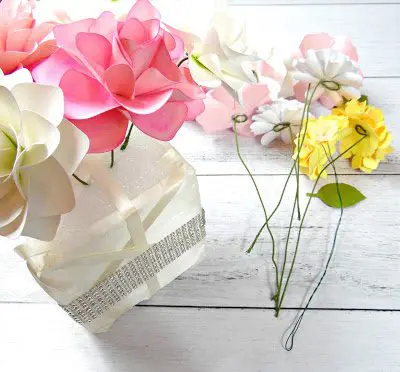
Step 2: Add the Stemmed Paper Flowers
Starting with your largest flowers in the middle, slowly add the flowers by pressing the stems down into the foam block as far as you want.
Using 18 gauge wire is best so it does bend easily on you when pushing into the foam. And try to avoid moving them around to many times.
Get a feel for how your flowers are coming together and spread them as evenly as possible.
Once you get all your flowers placed in where you like you will probably notice small gaps between flowers. This is where greenery becomes your best friend. Use as little or as much as you need to fill out the arrangement to look round and full.

My centerpiece ended up being about 10 inches high and 11 inches wide. Great for any event. And I added a little place card which can be made with a couple flowers and folding a 4×6 inch piece of card stock in half.