How to Make a Wild Rose Paper Flower
This post may contain affiliate links that won’t change your price but will share some commission.
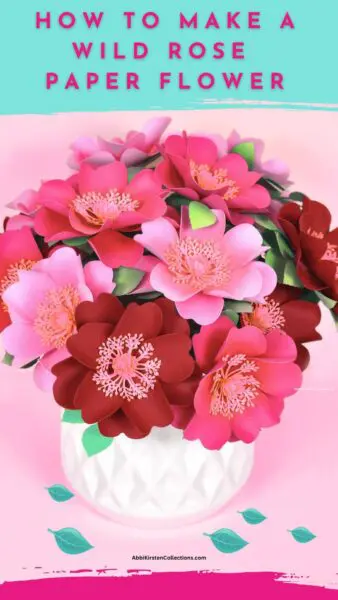
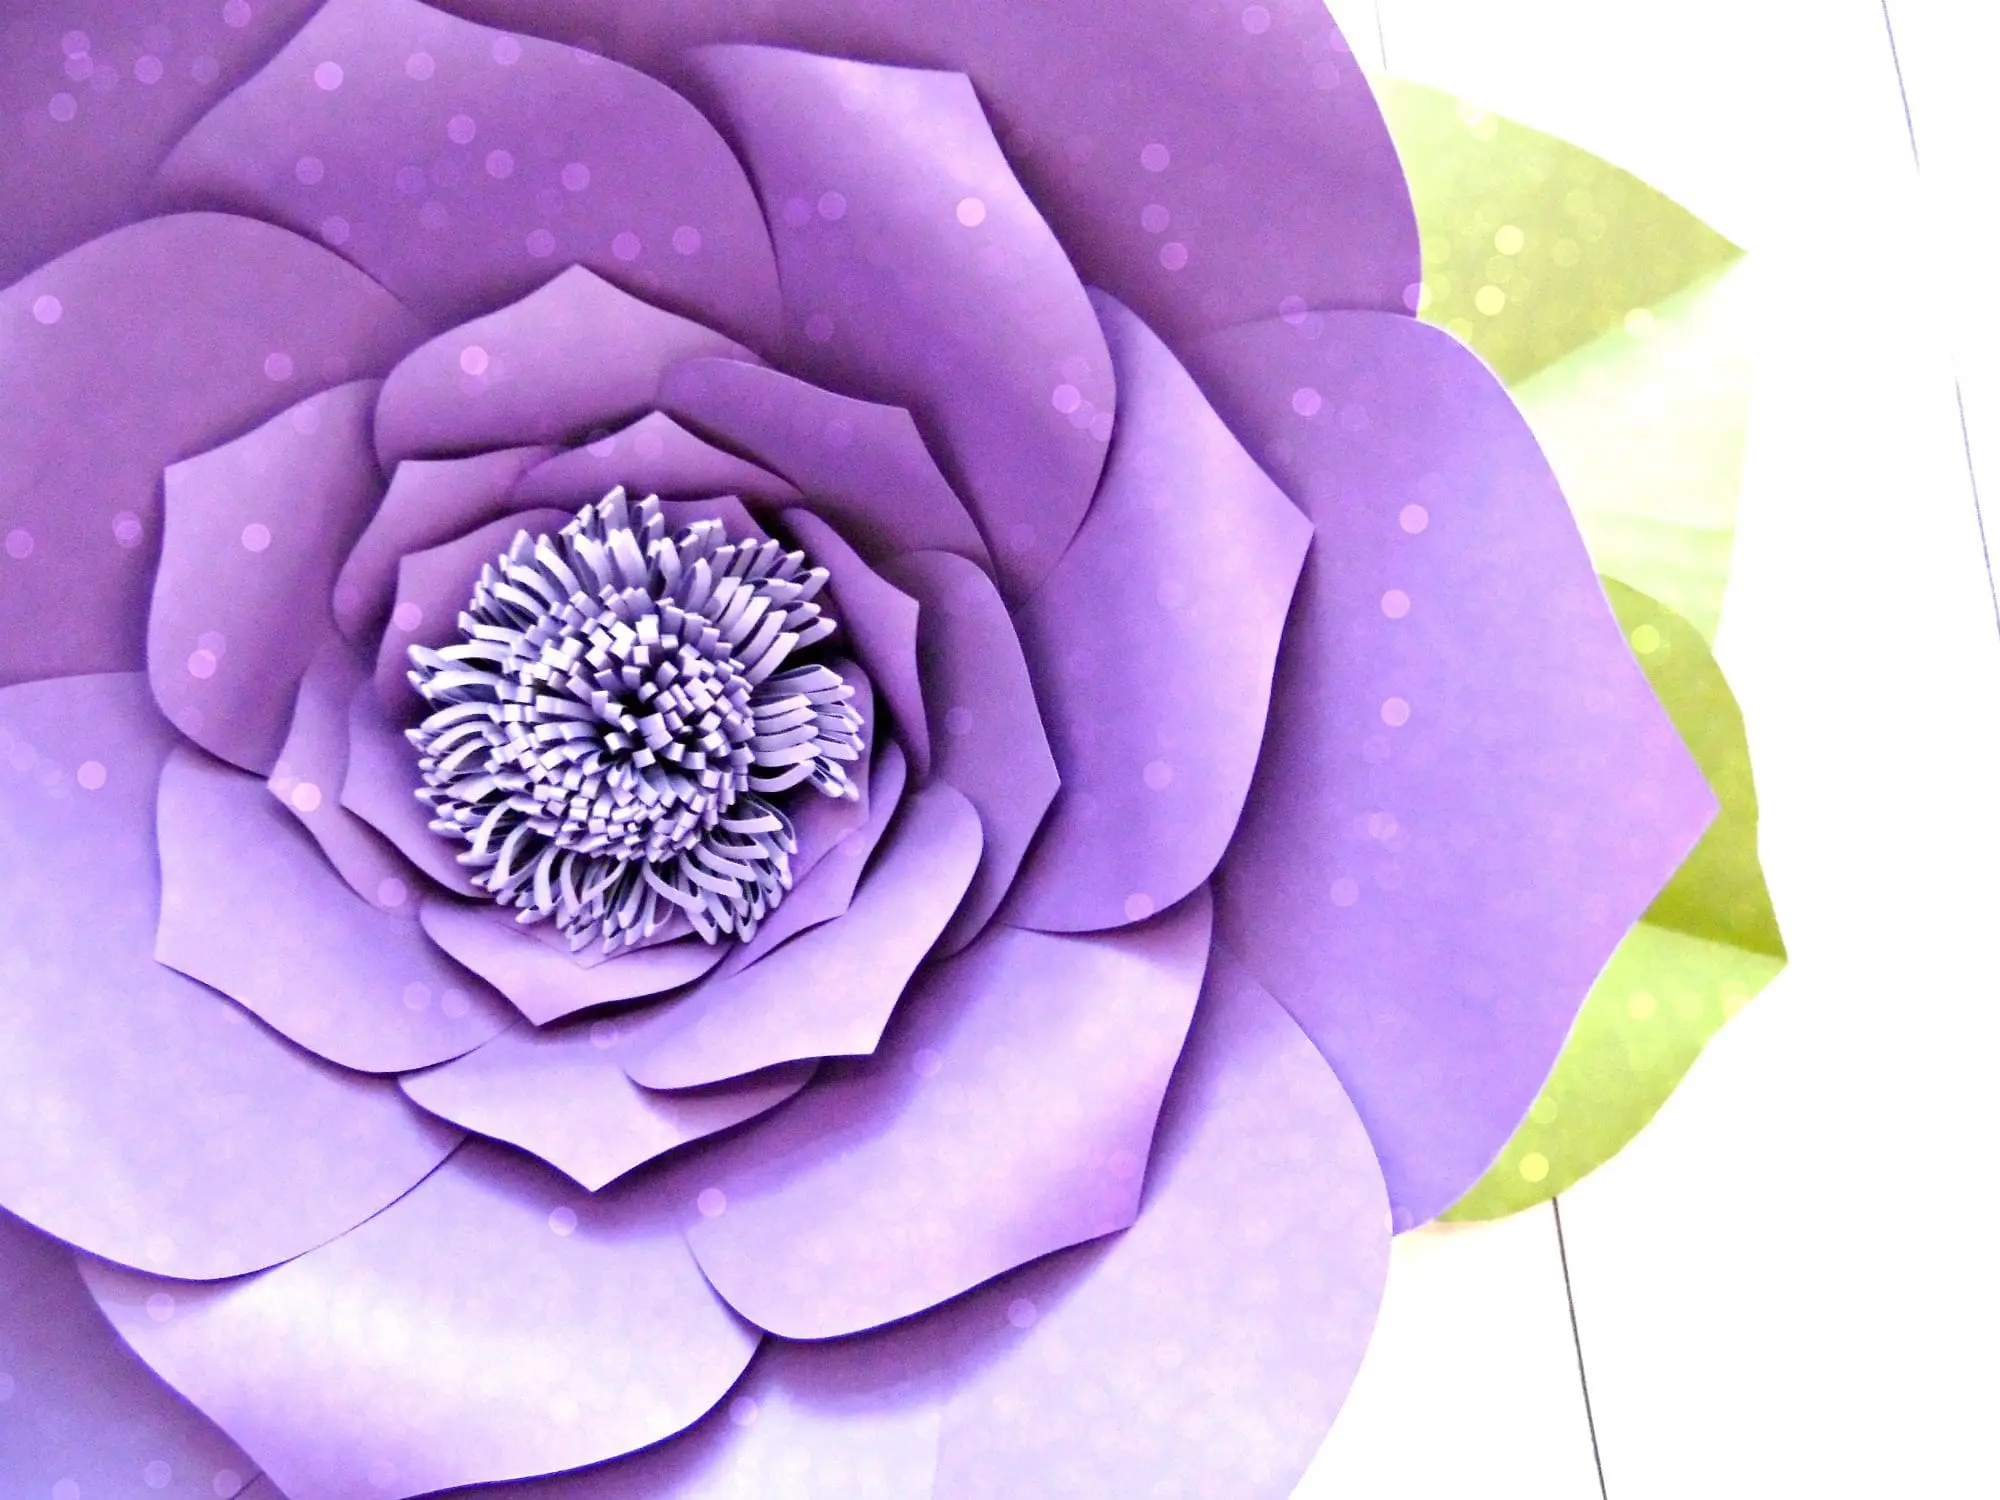
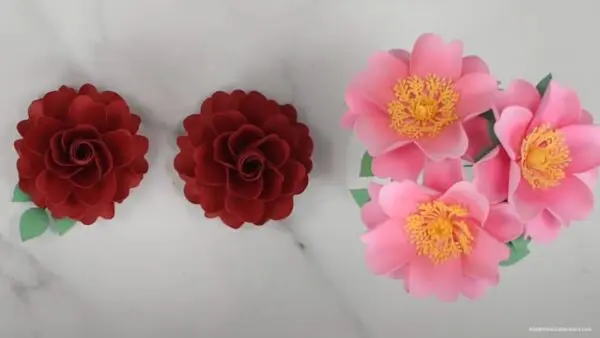
In this tutorial, you’ll learn how to create a beautiful wild rose paper flower then using the same base template, make a classic rose paper flower. Whichever DIY rose flower you choose, you can make two totally different flowers just by slightly modifying one template!
What is a Wild Rose?
Wild roses look a little different from classic roses in that wild roses are traditionally a five-petal flower. The easiest way to distinguish a wild rose in nature is by its color because they’re usually pink. I love the simple elegance and sweetness of the wild rose, and it has a lovely history as well, being called the “small rose of the prairies.”
How Do You Make a Simple Rose Out of Paper?
If you’re new to making paper flowers, you’ll be pleased to know that crafting this wild rose paper flower is easy enough for beginners and produces elegant, life-like results! Learn what’s the best paper to use for making this wild rose paper flower, how to shade the petals, stem the flowers, and more. I’ll include my personal recommendations for all supplies needed, including crafting tools needed, and pro tips for creating these beauties.
And check out this comprehensive guide for the best essential paper flower supplies and resources which includes a handy free printable supply list guide for you to download.
Supplies for Making The Wild Rose Paper Flower
If you’re new to making paper flowers, both the simple wild rose and classic rose are a great beginner project. Here are the basic tools you’ll want to use to have a successful creative experience crafting your DIY rose flower.
- Cricut, Cricut Joy or cutting machine compatible with SVG cut files or scissors
- Paper flower punch (if you’re not using a cutting machine)
Note: If you’re cutting by hand, we do include PDF printables. However, when it comes to the intricate flower center parts, these are not friendly to cutting by hand. Therefore, I recommend getting a simple paper flower punch from your local craft store.
- 65lb cardstock Wild roses are typically light pink or darker pink in their natural environment, but of course, let your own personal creativity in color choices always lead the day!
- Wood dowel (for curling petals)
- Cricut mat or Paper Blooms Shaping Mat
- Brayer tool
- 18-24 gauge wire
- Wire clippers
- Needle-nose pliers
- Scissors
- Cricut scraper (for shaping leaves)
- Glue or glue gun (high-temp)
- Distress ink or distress oxide – optional (for coloring and shading petals)
- Ink brush
- Wild Rose Paper Flower Templates
Download The Wild Rose Paper Flower Templates
Download the Wild Rose Paper Flower Templates here.
To get other templates that pair beautifully with this Wild Rose template, check out the entire Wildly in Bloom Collection. And my posts for the Classic Dahlia tutorial and the Mini Daisies tutorial are a part of this lovely garden collection.
Existing Members: Log in and download the Wildly in Bloom Collection in the Craft Vault.
Get This And Hundreds More Craft Templates By
Becoming an A-Star Crafter!
How to Make a Wild Rose Paper Flower: Video Tutorial
Check out the video below as we walk through all the steps for making the wild rose paper flower. The video also includes how to make a basic DIY rose flower using the same template.
Let the creativity begin!
Steps for Making the Wild Rose Flower
To make one wild rose flower, you’ll need to cut:
- 2 flower petals
- 2 larger stamens
- 2 smaller stamens
Duplicate for however many flowers you wish to create.
Step 1: Cut out the wild rose paper flowers and centers.
- Using the brayer tool, flatten the cardstock to the cutting mat.
PRO TIP A brayer tool is super helpful in pressing cardstock and vinyl to your cutting mat.
- In Cricut Design Space, select the medium-weight cardstock setting to cut out the flower petals.
- For the intricate flower centers, be sure to choose the cardstock for intricate cut setting. Also, to avoid tearing, don’t go too small on the size of the centers.
PRO TIP To avoid tearing the small flower centers, choose the cardstock for intricate cut setting on your Cricut machine.
- Now, peel the mat away from the cardstock.
- Duplicate this cutout process times the number of desired flowers.
Step 2: Add ink to the petals.
- With the flower petals and center cut out, you have the option to add distress ink or oxide to the petals. Applying distress ink adds that authentic, life-like appearance to the petals and is really a lot of fun to work with. I like to apply the ink from the centers then outward so the outer edges of the petals mirror the way they are typically in nature.
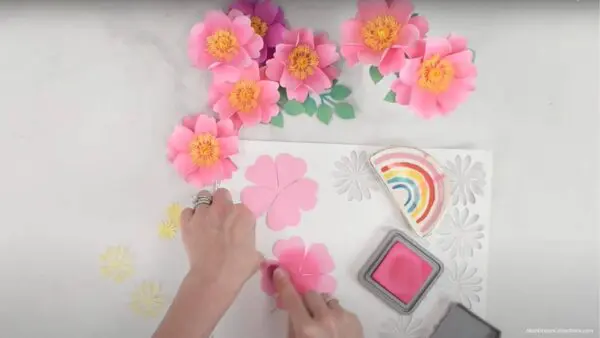
Step 3: Curl the edges of each petal.
With the ink side up, curl the sides of each flower petal toward you using the wood dowel as you see below.
PRO TIP Using a thinner wood dowel (¼ inch) allows a deeper curl which gives flexibility for curling to your preference.
Step 4: Shape the centers.
- Cup and curl the smaller centers. To shape the smaller centers by hand, bend the centers upright. If you have the Paper Blooms Shaping Mat and Tools, run the smallest ball tool over each of the petal points then cup the centers to produce a curled closed effect.
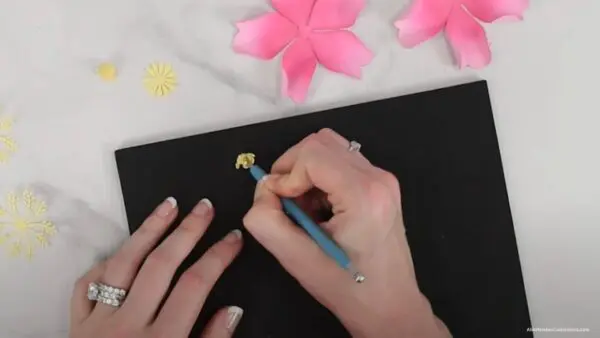
- Cup the larger centers. Bend these centers upright either by hand or using the shaping mat and tool.
Step 5: Glue the three smaller centers.
Glue the smaller centers together, one inside the other, and press them together into a little ball.
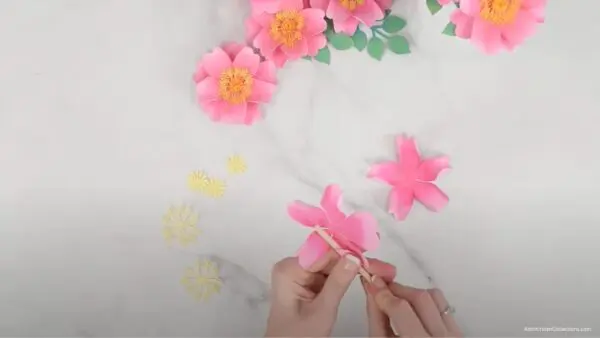
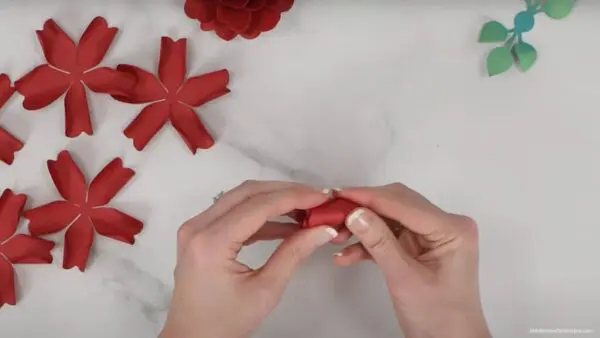
Step 6: Tuck the petals then glue the two base petals together.
- For each base flower, tuck (layer) the petals, one in front of the next, so they slightly overlap, until they’re all tucked together; slightly pinch the bottoms. They should look like rosebuds.
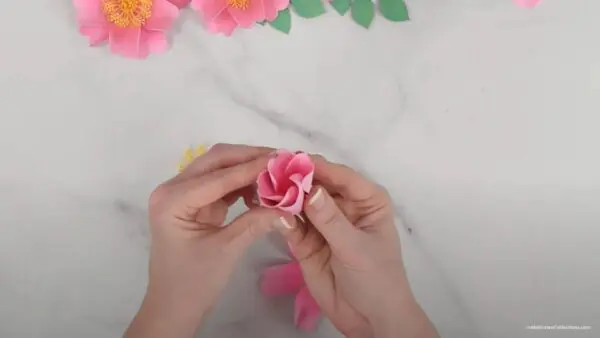
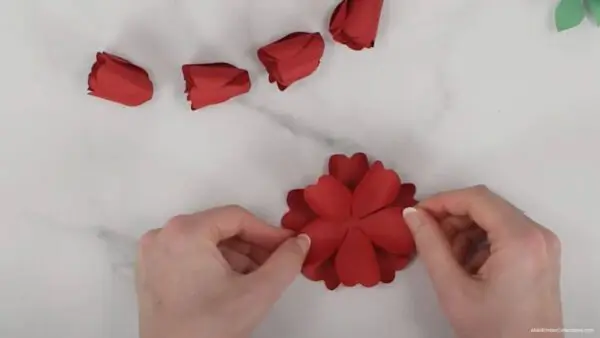
- Open the petals, add glue to the bottom of one of the flowers, and place it on top of the other flower so that their petal points overlap (alternate).
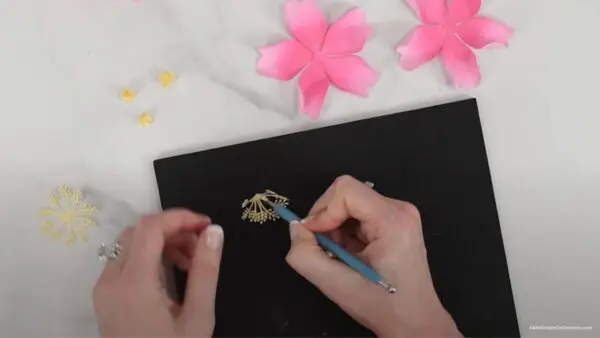
Step 7: Layer and glue the larger centers together.
Glue the larger centers together so that their points overlap (alternate).
Step 8: Combine the centers, then glue them to the flower.
Add the ball center inside the larger center, gently folding it up around the ball center. Glue the center to the flower. Slightly fan out the center.
Stemming and Adding Leaves to Your Paper Flower
When you stem and add leaves to your paper flower, you’re putting the final touches to your realistic paper flower creation. It’s an easy process that you can complete in just a few steps!
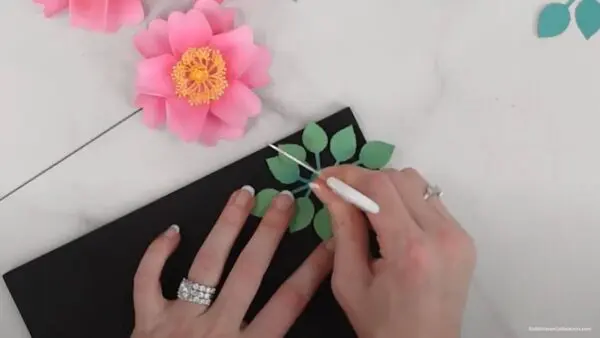
Step 1: Punch a Hole in the Leaf for the Wire Stem.
Punch a little hole in the middle of the center part of the leaf pattern with your scissors.
Alternatively, place the leaf on your mat and carefully punch the hole; this tends to minimize tearing the leaf.
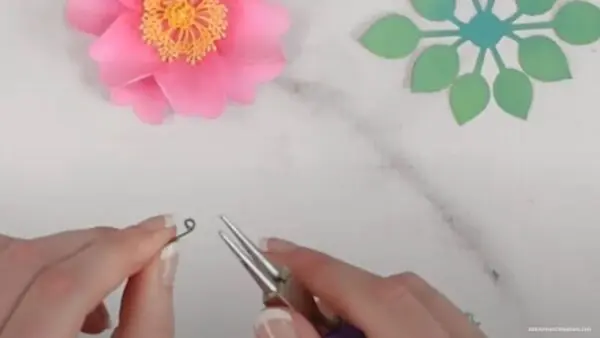
Step 2: Bend the Wire stem to create a base.
Using 24-gauge wire for the stem, grab the very top end of the wire with the needle-nose pliers and curl it downward into a little circle. Bend back again to a 90-degree angle. This curled end is your base.
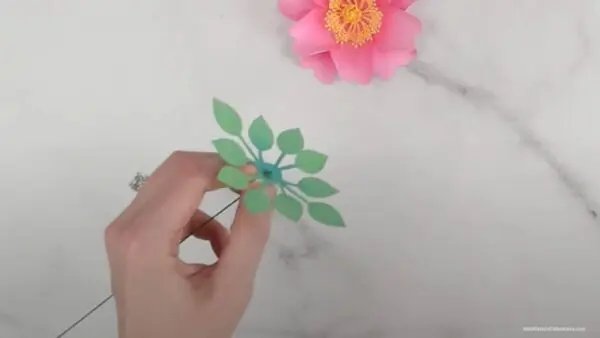
Step 3: Thread the Wire Stem.
Thread the uncurled end of the wire through the hole of the leaf all the way up to the curled end. You now have a nice little base to attach your flower petal to.
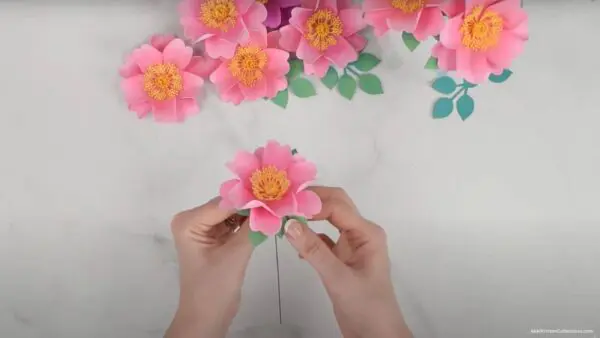
Step 4: Glue the Flower to the Base.
Add some glue to the top of this base and place your flower on top of the base. Hold the flower to the base for several seconds to help the glue adhere firmly.
Step 5: Curl the Leaves (optional).
Check out around 15+ minutes into the Wild Rose Paper Flower video tutorial where I show you how to create realistic leaves by curling them with your Cricut scraper or wood dowel. This can easily be done either before or after attaching the flower petal to the base.
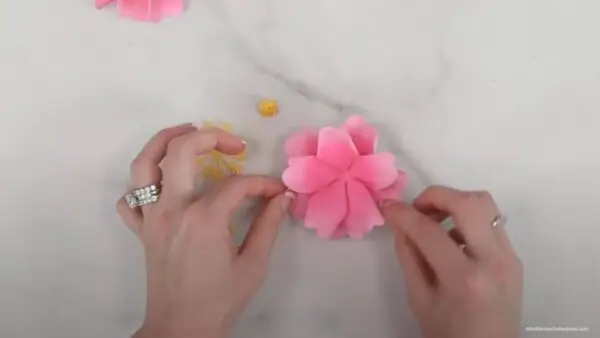
You now have a beautiful natural-looking wild rose paper flower using this simple wild rose template! Create a single rose or a lovely centerpiece bouquet for home, as a gift, or to enhance any special occasion.
BONUS: How to Make a Classic Rose Paper Flower Using the Same Wild Rose Template
With a few simple changes, I’ll show you how you can easily modify the wild rose paper flower template and create a classic rose paper flower.
Note: If you’re following along with the video, the Classic Rose Paper Flower instructions start shortly after 16 minutes into the video.
Step 1: Cut Out 6-8 Petals.
Instead of cutting out 2 petals as you did for the wild rose paper flower, cut out 6-8 petals for the base of each classic rose. (No centers are needed for making the classic rose.)
Step 2: Curl the Petal Edges.
As was done for the wild rose, curl the edges of each petal using a wood dowel.
Step 3: Overlap the Edges of the Petals.
Similarly, tuck (overlap) each part of the petal, then pinch the bottom.
PRO TIP It’s preferable to slightly overdo the curl, tuck, and pinch of each petal. Then, as you continue to build the flower, you can refine and “relax” each layer to your liking. This technique is applicable in building many of your paper flowers!
Step 4: Layer and Glue the Petals Together.
- Layer the petals together. Open the flowers, add glue to the bottom of one of the flowers, and place it on top of the other flower so the petal points overlap (alternate).
- Repeat layering the petals, reserving two petals, one for the small center and one for the outside petal. Each petal layer you add will be increasingly tighter as you work toward the center of the flower.
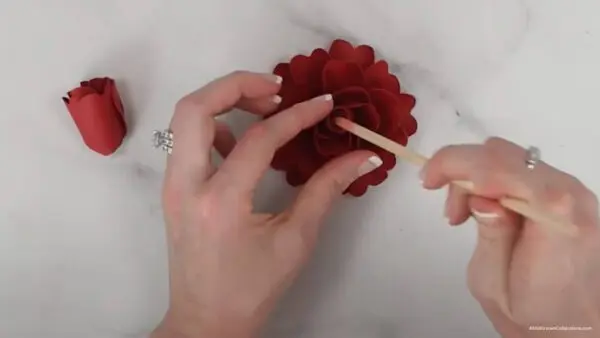
Step 5: Add the closed center petal.
Add the small center petal. Take one of the petals and twist it (making it smaller) in the direction of its overlap so that it’s tight and closed. Glue it to the very center of the layered rose flower, using the wood dowel to attach it firmly to the flower.
Step 6: Add the Bottom Petal.
Add the outside petal. Open a petal so that it’s almost flat and pull it somewhat back and down as I’m showing below. Glue it to the bottom of the flower.

Step 7: Finish Shaping the Flower.
Shape the flower to your preference, adding an extra center or outside petal, if desired.
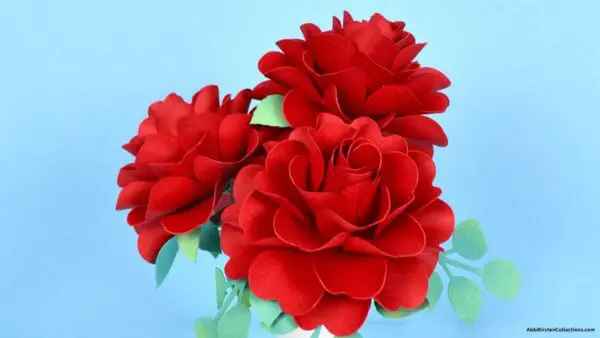
I hope you enjoyed this tutorial and enjoyed making your new wild rose paper flower and bonus classic rose creation! The beauty of this craft is how customizable it is – you design to your liking – and simple enough if you’re a beginner to paper flower crafting.
Looking for More Paper Flower Tutorials?
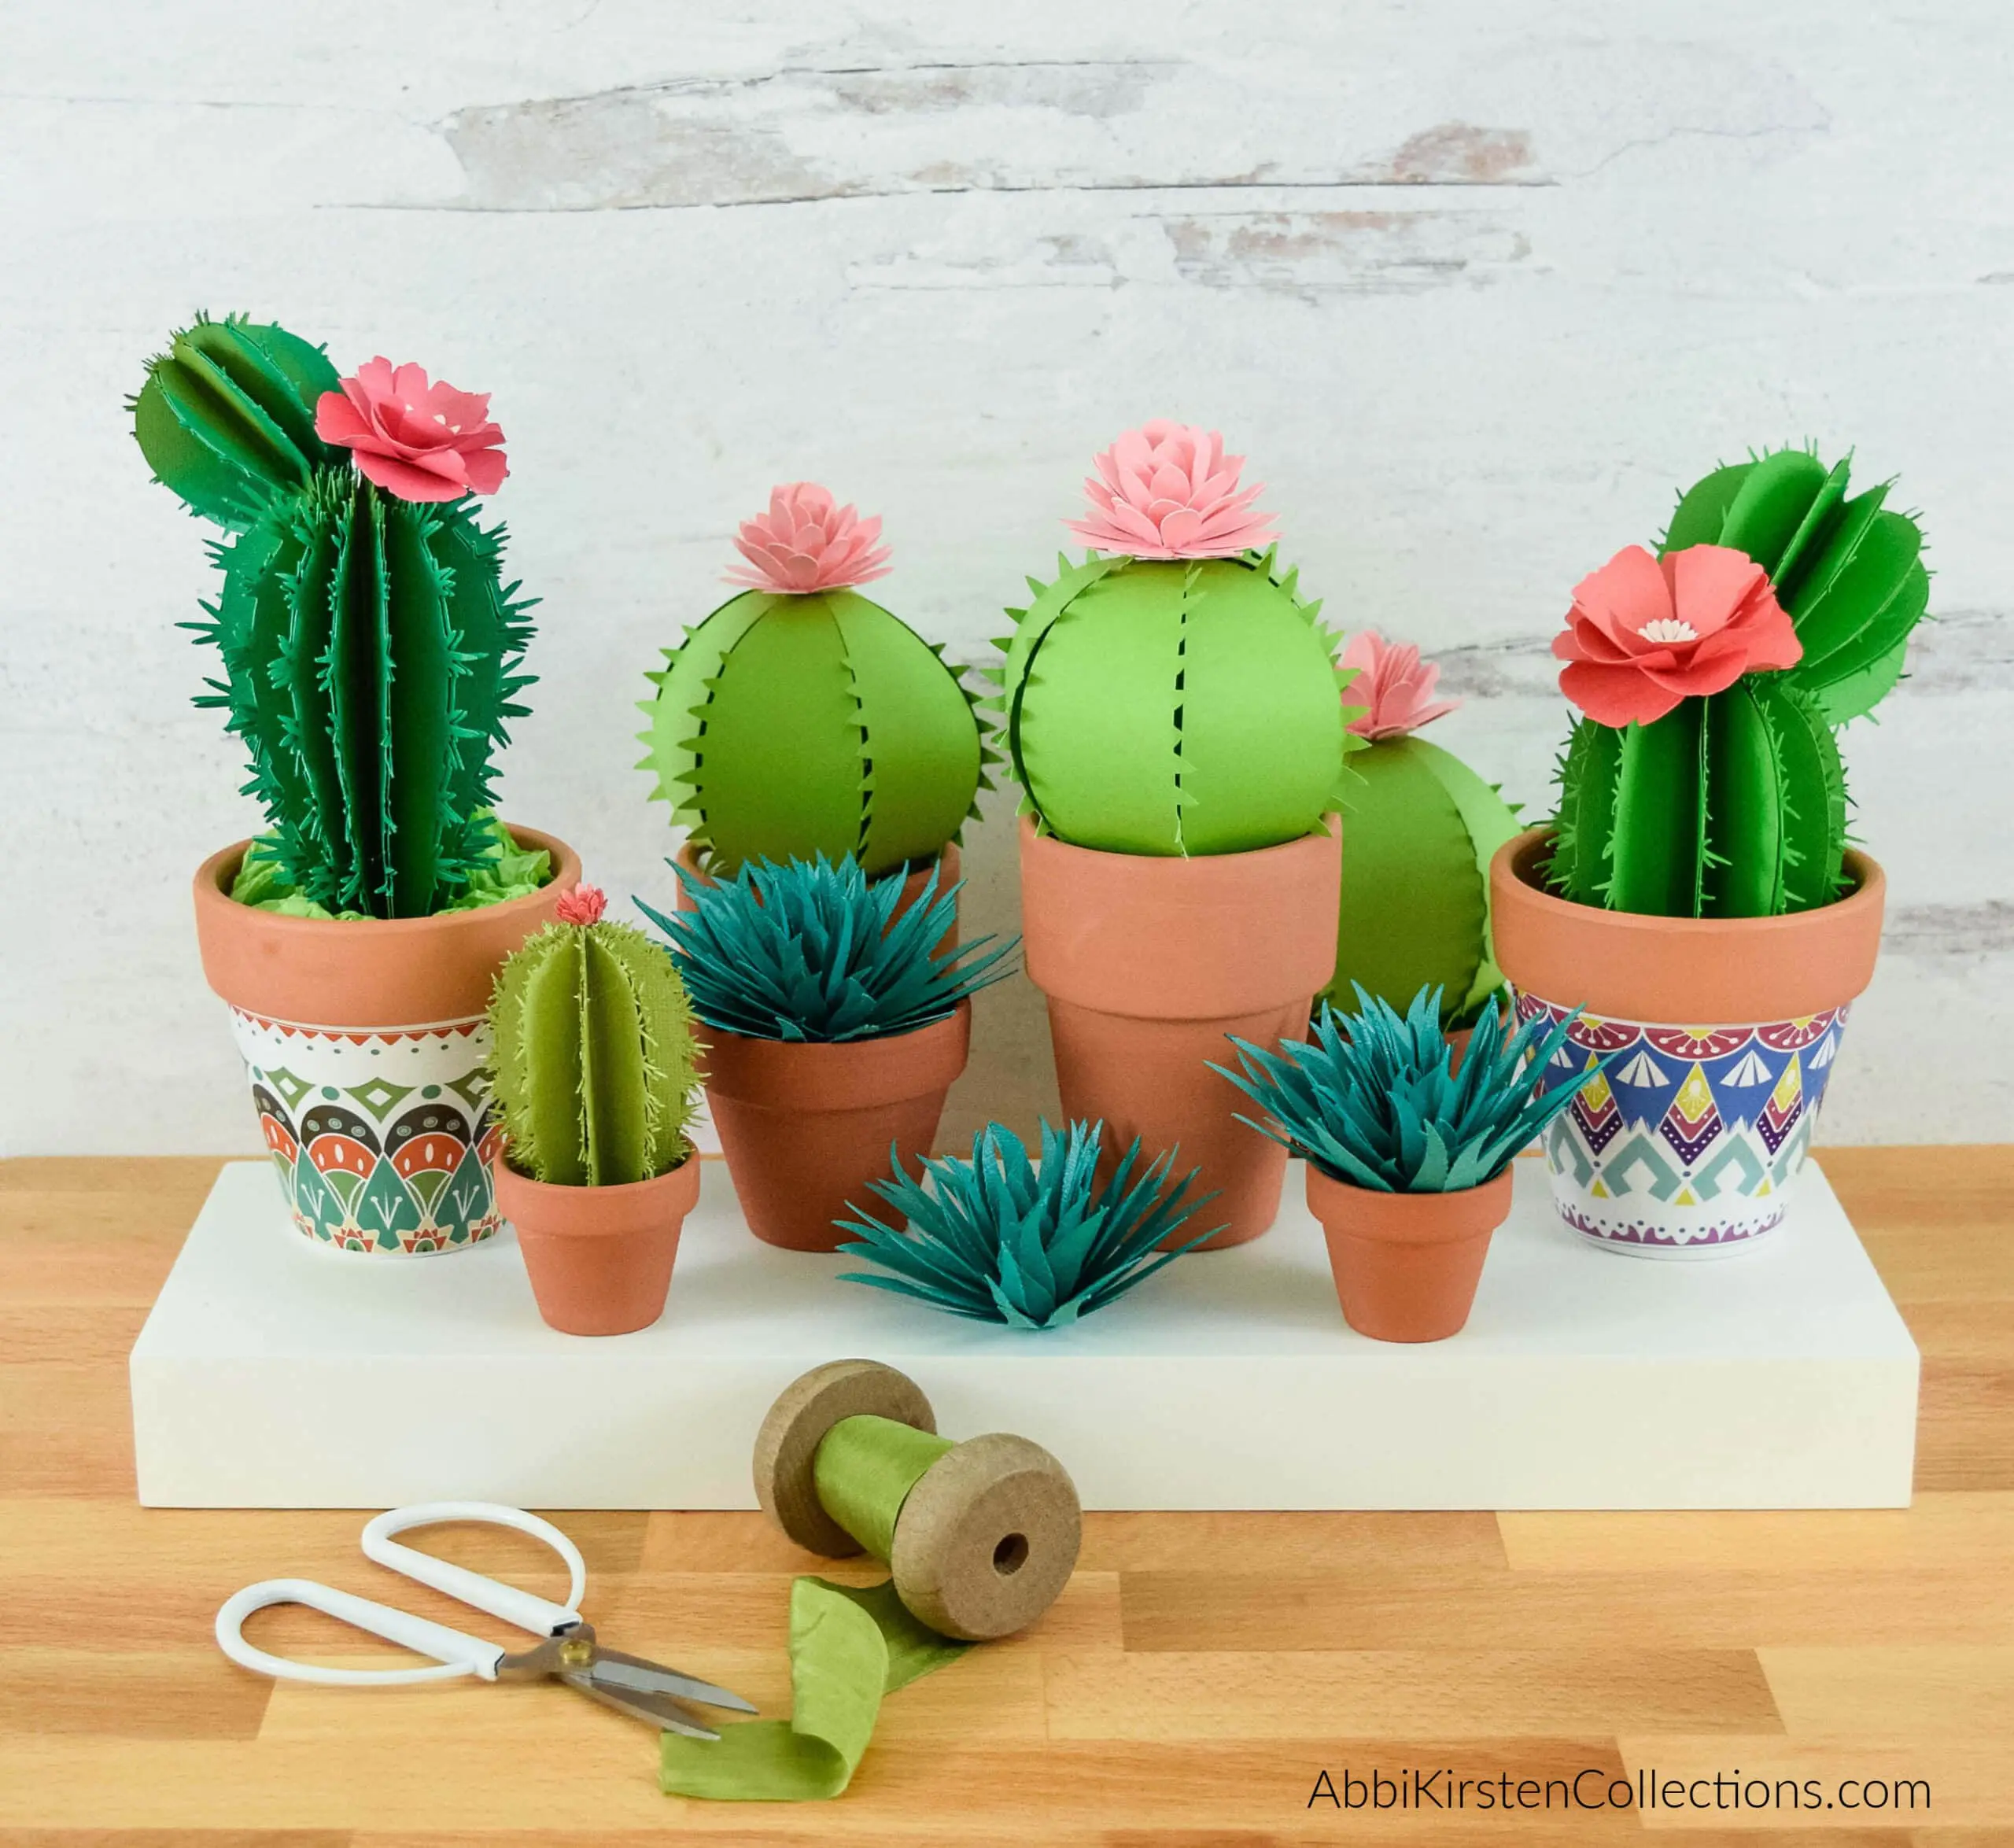
Wanting to make more paper flower beauties? Or maybe you’re just getting started with paper flowers? Either way, you’ve come to the right garden! From styling small or large flowers to creating your most meaningful flower of wisteria, hydrangea, or poppy, we’ve got you covered! Check out a few favorites, including my curated resource for the best paper flower supplies.
21 easy paper flowers for beginners
DIY paper hydrangea
Easy paper buttercups
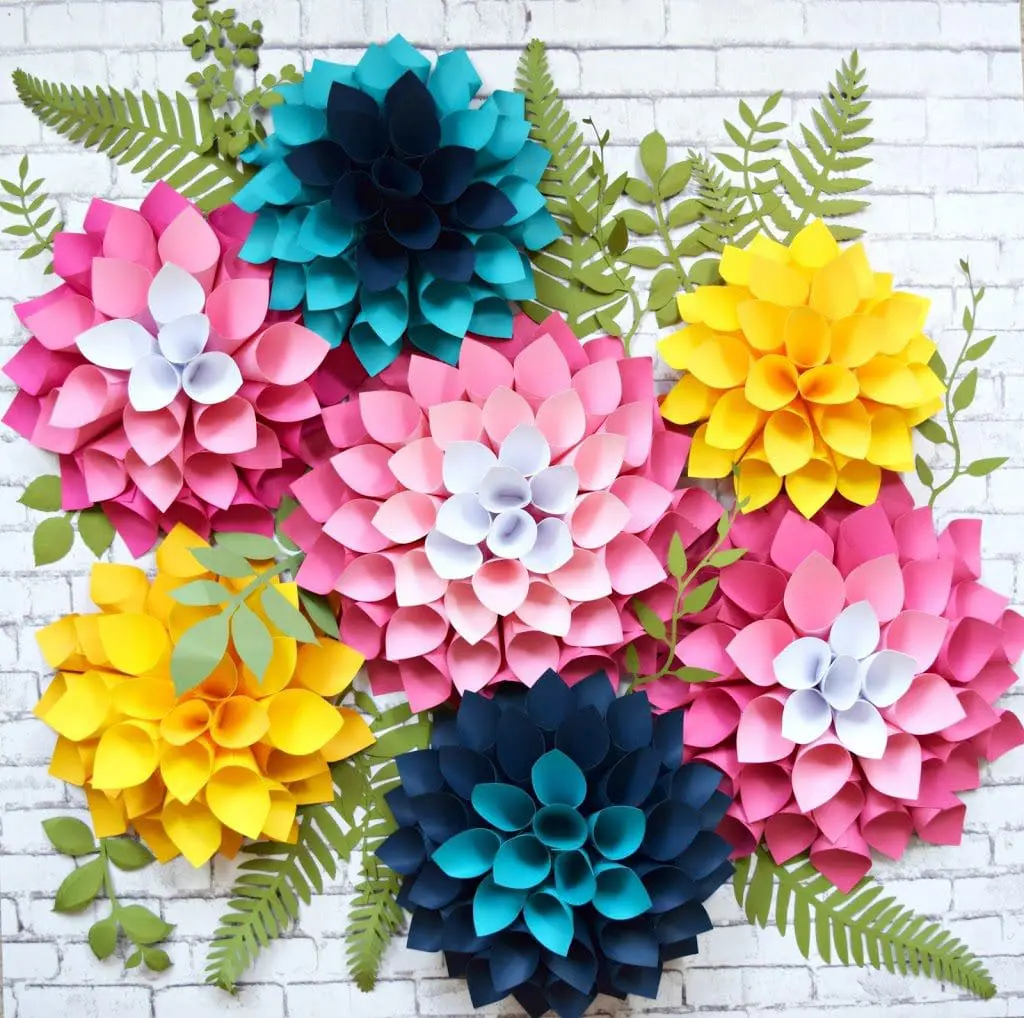
Giant paper dahlias
Paper sunflower tutorial
Paper flower supplies