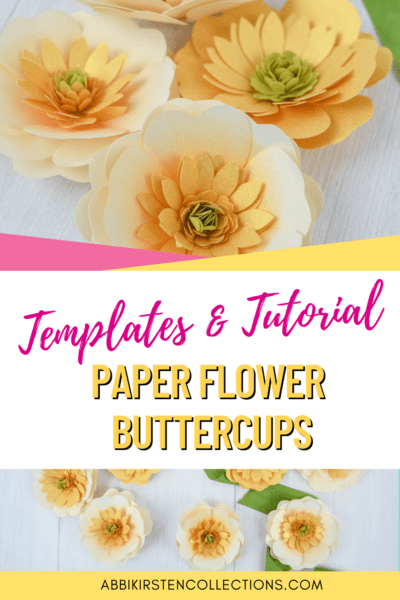
Buttercup Paper Flower Tutorial – Easy Small Paper Flowers to Make
This post may contain affiliate links that won’t change your price but will share some commission.
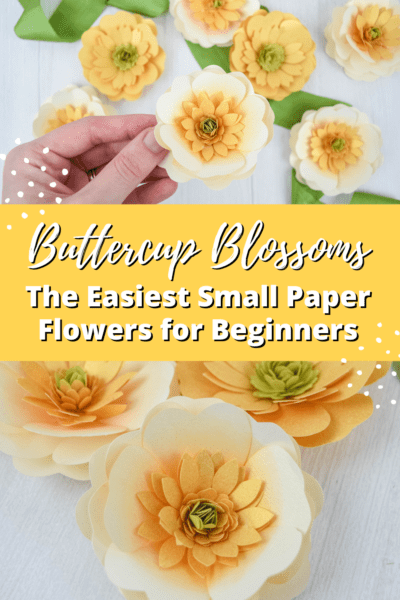
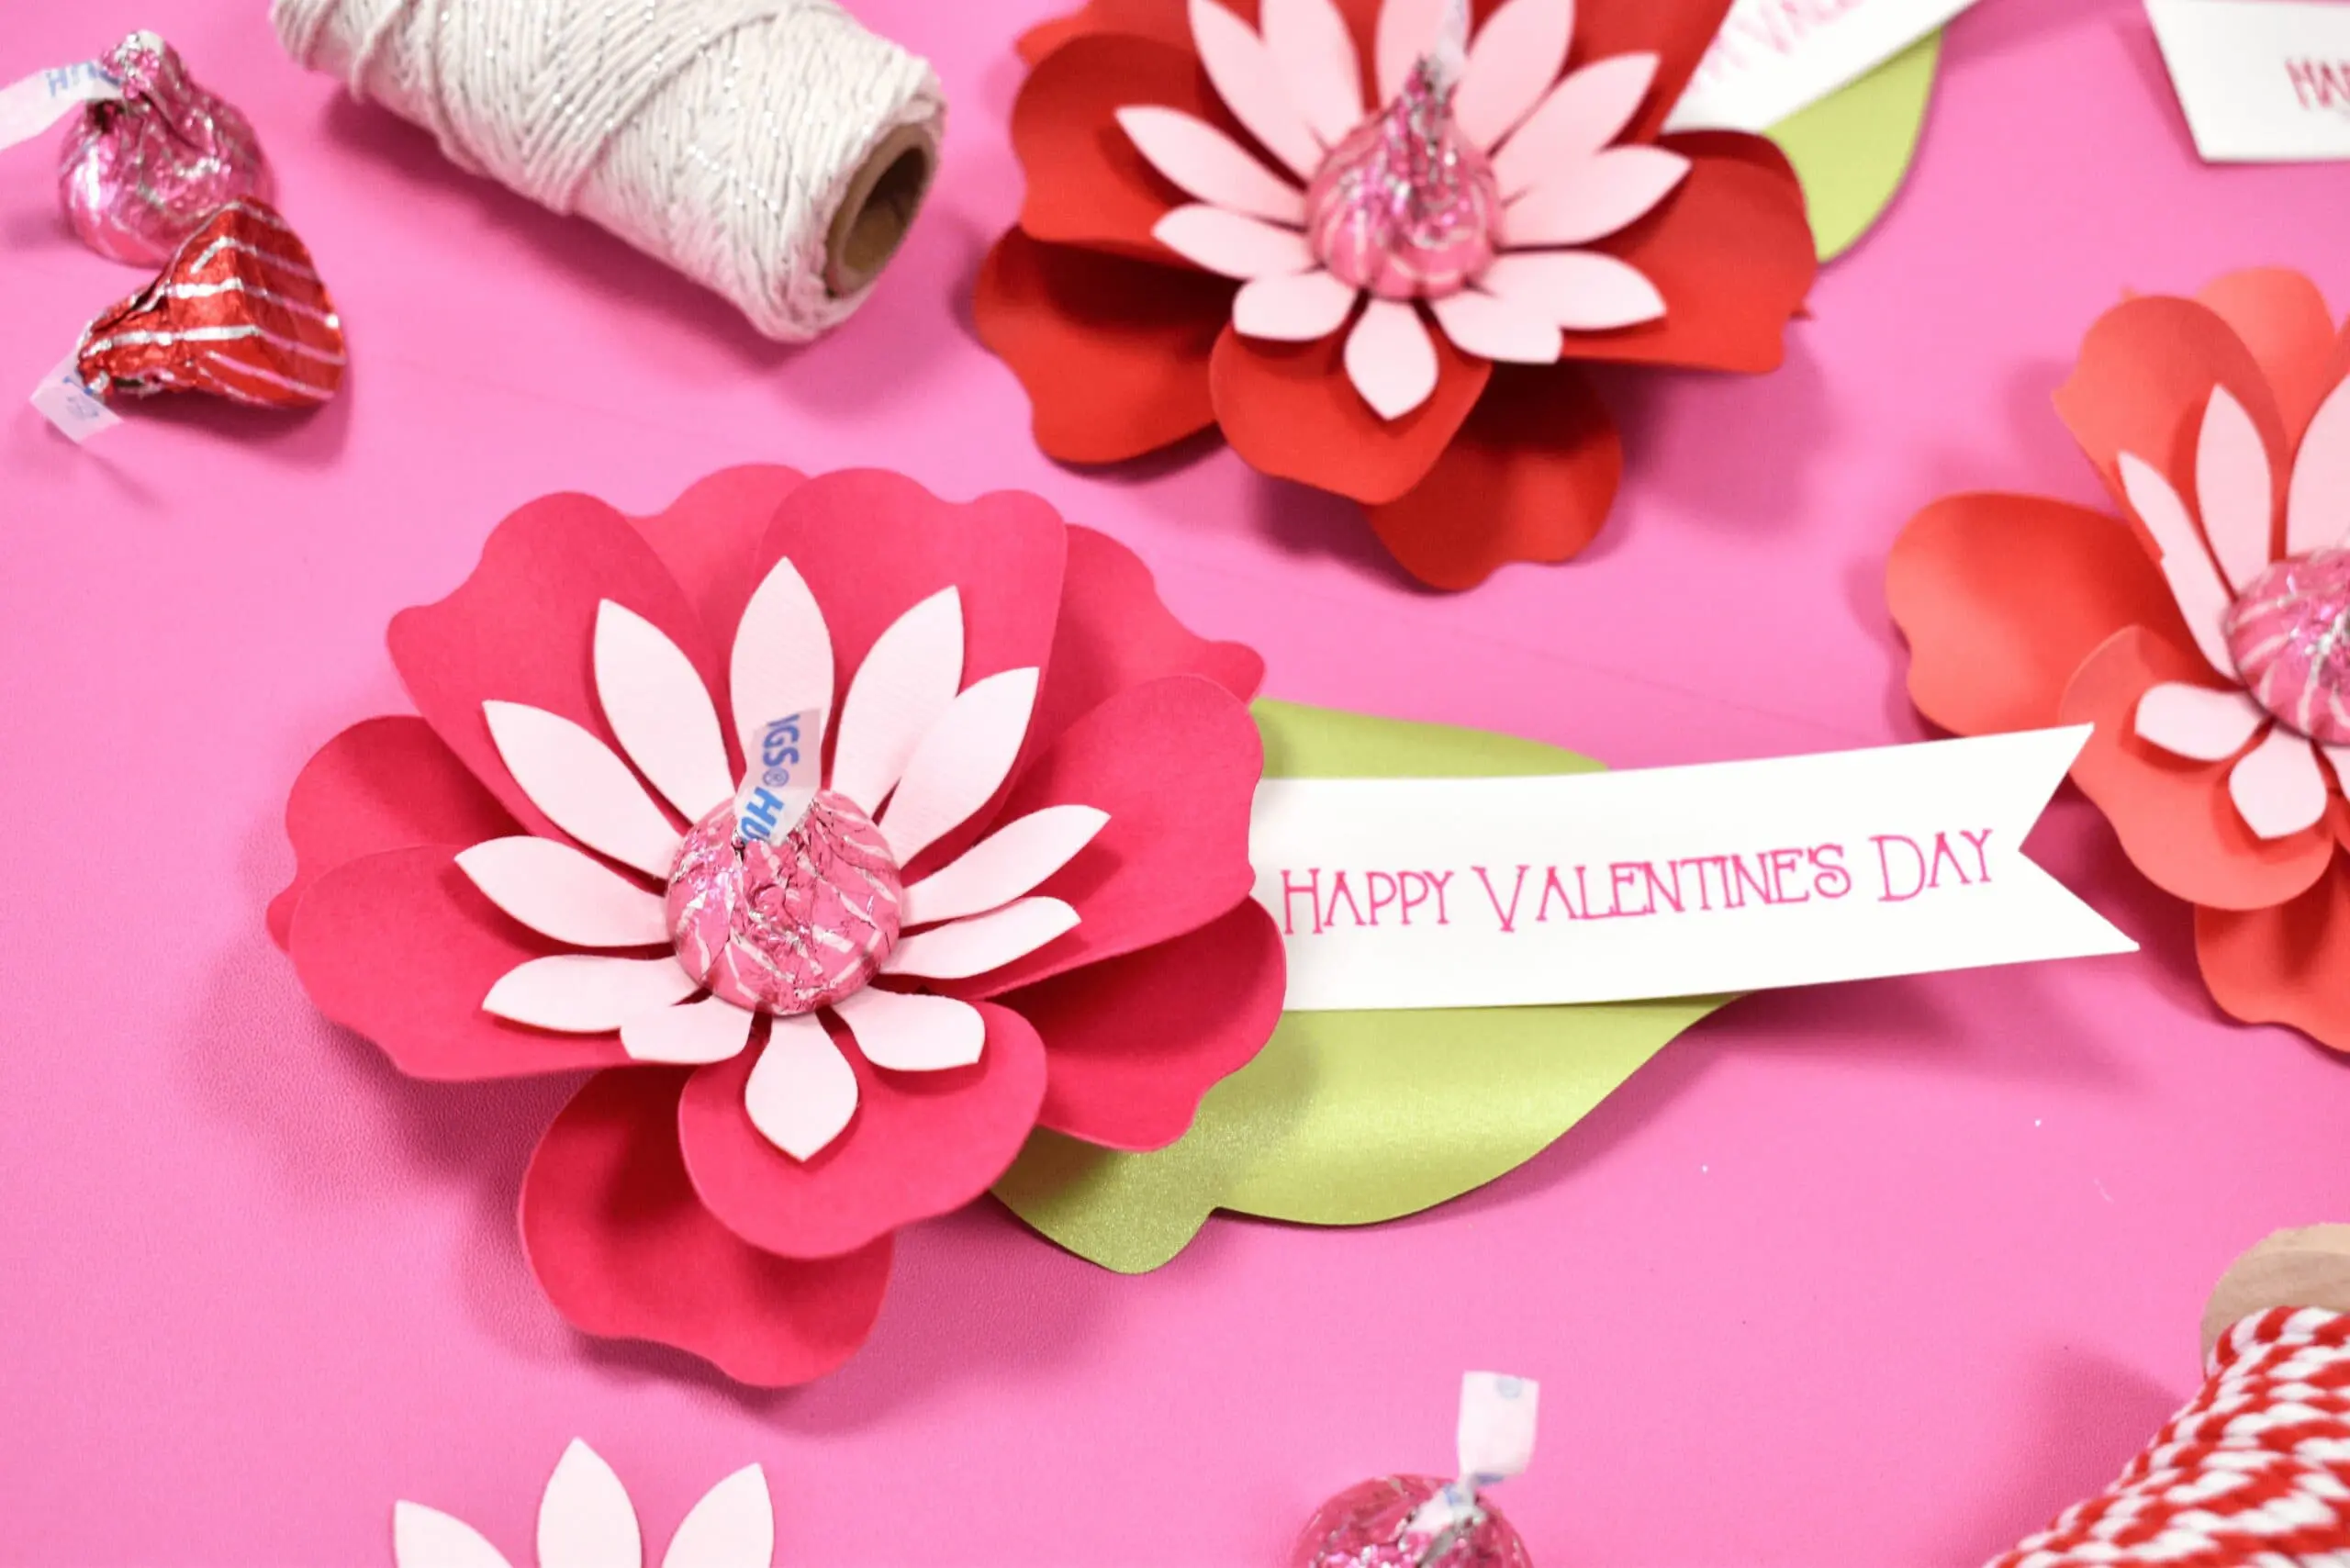
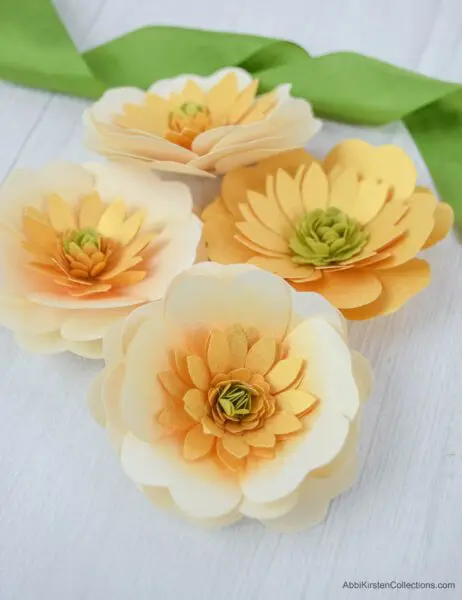
Easy buttercup Paper flowers: perfect for beginners!
Just like every leading lady needs a kick-butt supporting actress, statement flowers like peonies and roses needed a supporting bloom in arrangements and bouquets. Buttercups are easy paper flowers to make. I have made buttercups many times before but just released a brand new video last week. Buttercups are extremely beginner-friendly so if you are a paper floral novice, start with these! Hand cut these buttercup blossoms with a pair of scissors or use a Cricut machine. New to Cricut? Learn how to upload SVG cut files here
When you are starting out with paper flowers, the most common question is what supplies are needed – paper, glue, etc.? I’ve been making paper flowers now for over 9 years. Every year I seem to unveil a new way to make paper come even closer to resembling real flowers from nature.
If you’re new here I’ve created a go-to supply resource for fellow paper flower artists and hobbyists to learn all the juicy tips I have discovered in my career! Read all my paper flower frequently asked questions.
DIY buttercup Paper flowers tutorial
Supplies for Buttercup Paper Flowers
- Buttercup paper flower template. PDF printables and SVG cut files for Cricut cutting machines included.
- 50-65 lb. cardstock
- Pan pastels for the center (optional)
- Scissors or cutting machine
- For those cutting with scissors use these small flower punches to make your centers quickly and save your hands the extra cutting!
- Paper Bloom’s mat & toolset (optional)
- If cutting by hand, a small flower punch (see supply list page 8.)
- Glue gun
- If planning to stem, 18 gauge wire and corsage tape
Buttercup Small Paper Flower Tutorial video
Watch the video below to see how to make the buttercup paper flowers! View the step-by-step small paper buttercup flower tutorial on Youtube.
how to make buttercup paper flowers
Step 1: Cut out the following petal layers
- Three bottom petals
- Two larger center petals
- Six mini center petals
Step 2: Shape the Buttercup Petals
Using my Paper Blooms Shaping mat and toolset, elevate your petals by rolling with pressure in the middle of the large centers. Repeat the same way with the three 5-point base petals.
Note: If you do not wish to have the mat and toolset, just bend the petals up with your fingers to create depth.
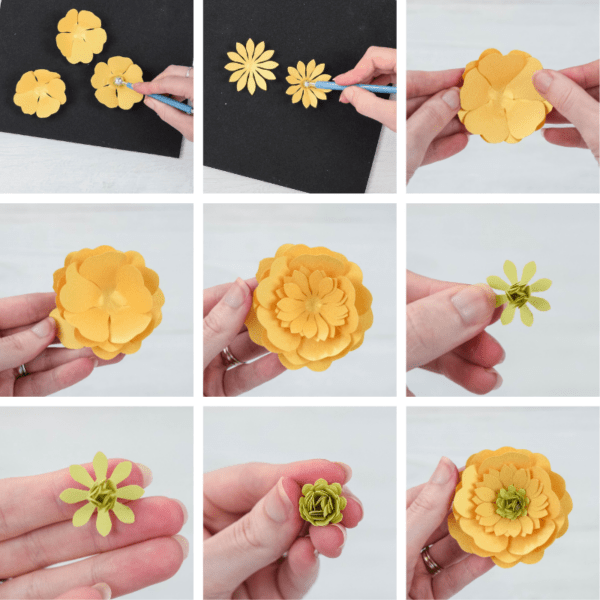
Step 3: Build the Buttercup
- Layer the first two base petal layers on top of each other alternating the points of the petals.
- Add in the third petal layer continuing to alternate your petal points relative to the layer below.
- Next, layer the two larger center petals together.
- Add the larger centerpiece into the center of the buttercup base.
- For the six remaining mini center petals, bend one upwards to close it tightly and start gluing them together in layers. Try to alternate your petal layers as best you can. These are tiny, so it’s okay if you don’t get it perfect.
- Continue until you have layered all six mini center petals together.
- Glue into the center of your buttercup flower!

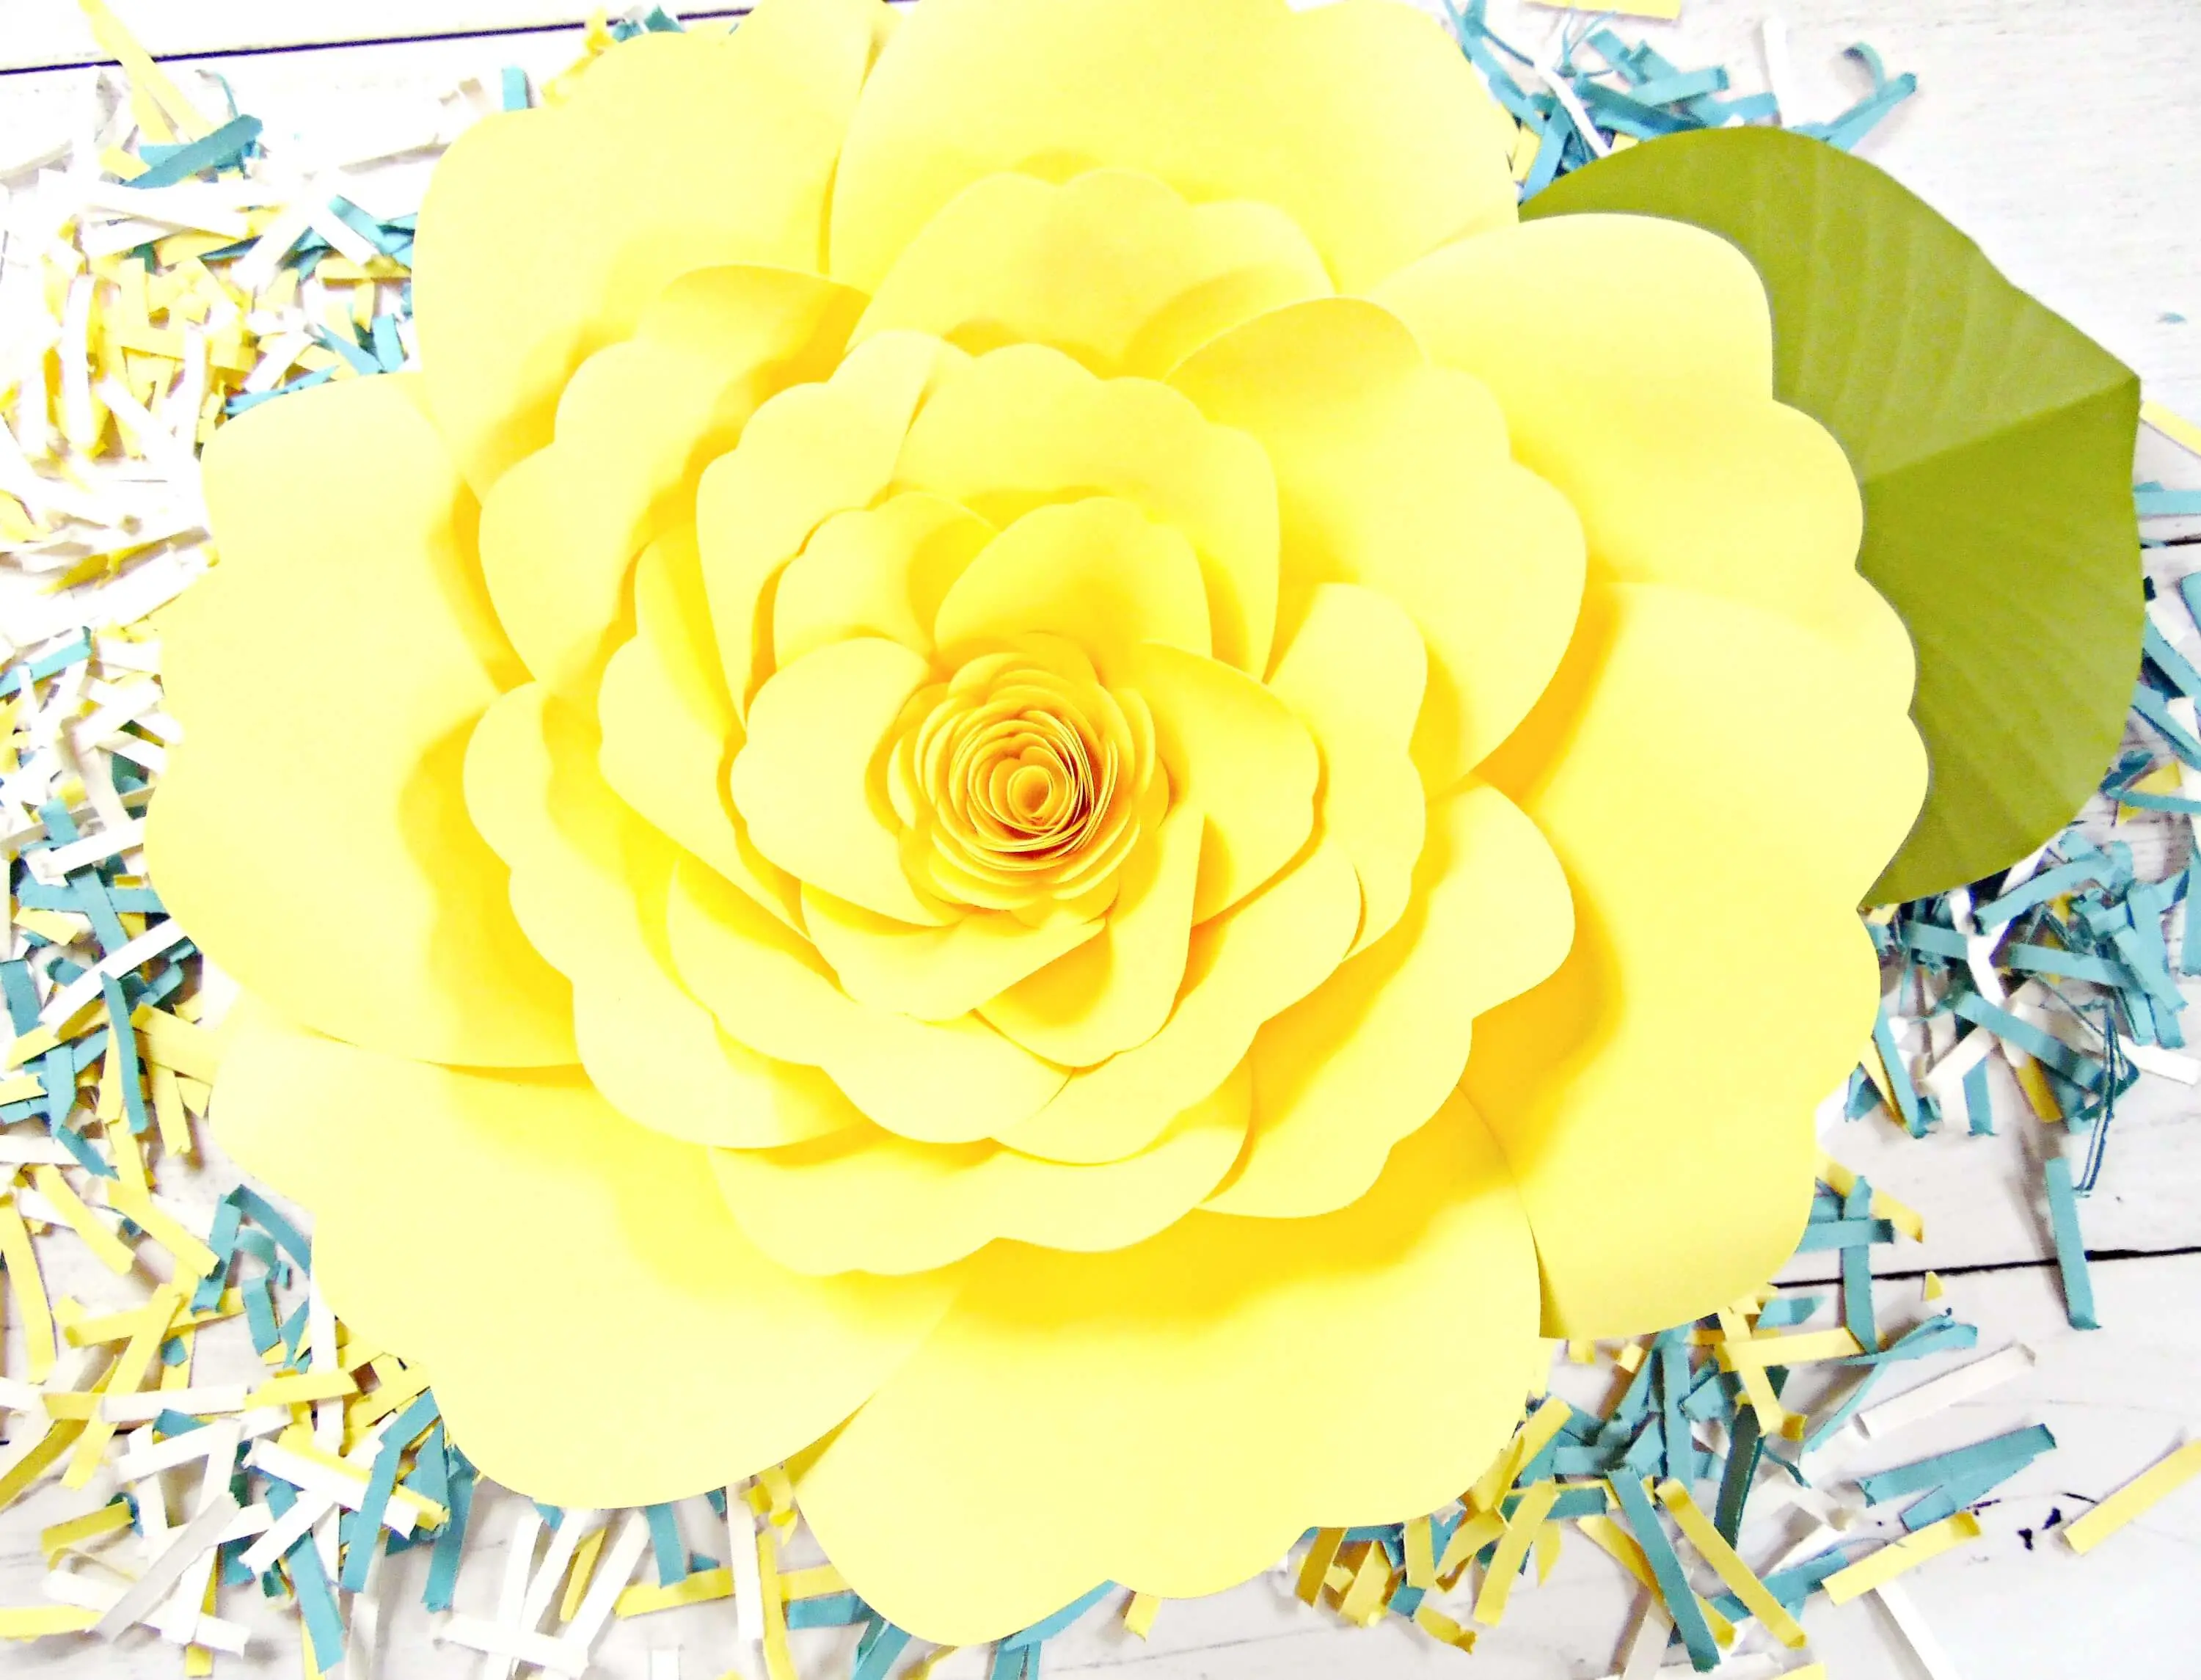
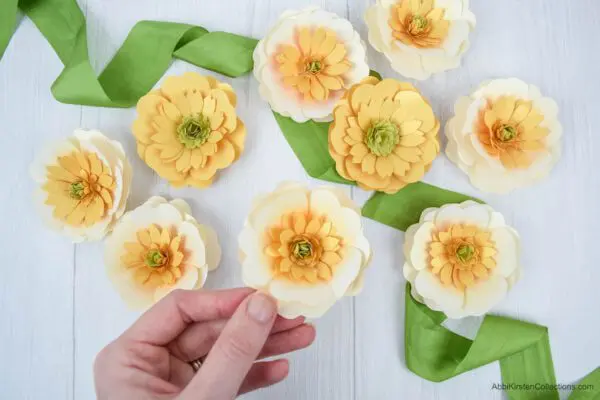
Buttercup Paper Flowers
Create long-lasting, pretty Buttercup paper flowers. They are the perfect accompaniment to any bouqet! This beginner project comes with free templates and a step-by-step guide.
Materials
- Buttercup paper flower template.
- 50-65 lb. cardstock
- Pan pastels for the center (optional)
- Scissors or cutting machine
- Small flower punches (if cutting by hand)
- Paper Bloom's mat & toolset (optional)
- Glue gun
- 18 gauge wire and corsage tape (if planning to stem)
Tools
- Cricut
Instructions
How to Make a Paper Buttercup
Step 1: Cut out the following petal layers
- Three bottom petals
- Two larger center petals.
- Six mini center petals.
Step 2: Shape the Buttercup Petals
- Using my Paper Blooms Shaping mat and toolset, elevate your petals by rolling with pressure in the middle of the large centers.
- Repeat the same way with the three 5-point base petals.
- Note: If you do not wish to have the mat and toolset, just bend the petals up with your fingers to create depth.
Step 3: Build the Buttercup
- Layer the first two base petal layers on top of each other alternating the points of the petals.
- Add in the third petal layer continuing to alternate your petal points relative to the layer below.
- Next, layer the two larger center petals together.
- Add the larger centerpiece into the center of the buttercup base.
- For the six remaining mini center petals, bend one upwards to close it tightly and start gluing them together in layers. Try to alternate your petal layers as best you can. These are tiny, so it’s okay if you don’t get it perfect.
- Continue until you have layered all six mini center petals together.
- Glue into the center of your buttercup flower!
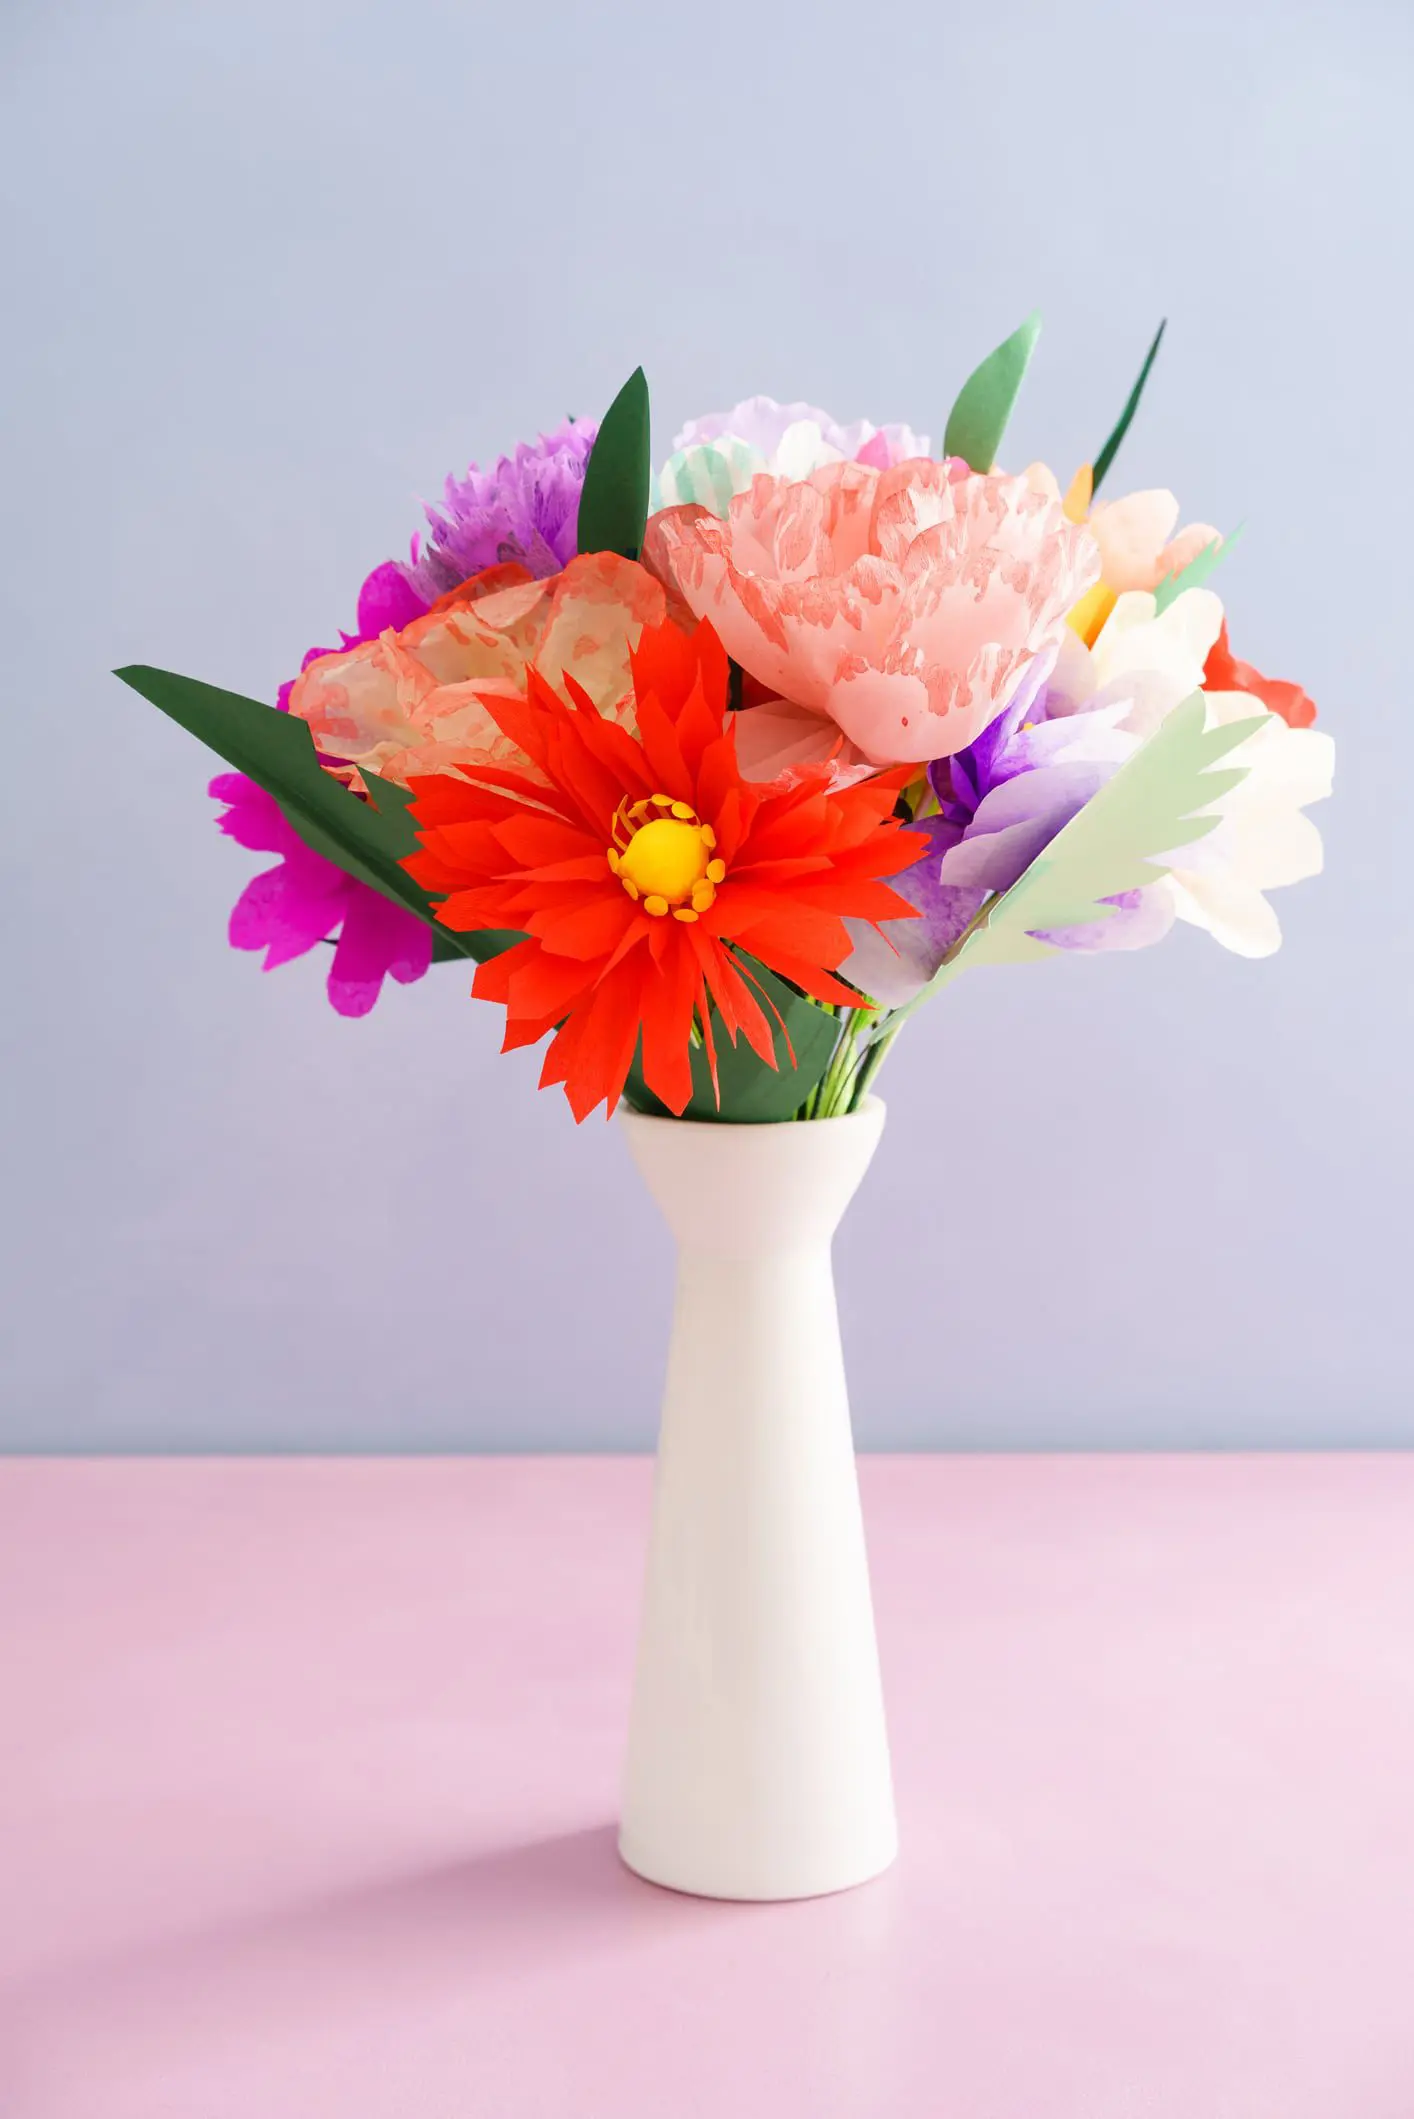
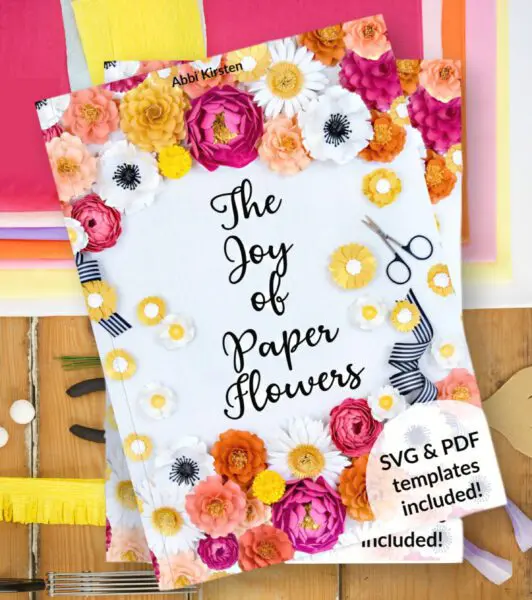
The Joy of Paper Flowers
How did you like these easy buttercup paper flowers? Simple flowers like these are perfect to use for your next event or just around your home. Check out how I make them into a bouquet.
Some of my favorite reasons to use paper flowers are…
- They are long-lasting
- No allergens
- Safe around pets
- Customize your color palette perfectly
- Enjoying creating something unique that no one else has
- Saves money for events
Get instant access to my entire bundle of arrangement-worthy blooms with the Joy of Paper Flowers, which includes:
- Lifetime access to 23 flower templates
- How to arrange flowers on a wreath, bouquet, vase, corsage, and boutonniere
- Over two dozen vine and leaf templates
- SVG cut files and PDF printable formats
- My go-to secret sauce supply list
- 24+ full picture tutorials
Hey, Crafty bestie! I’m Abbi!
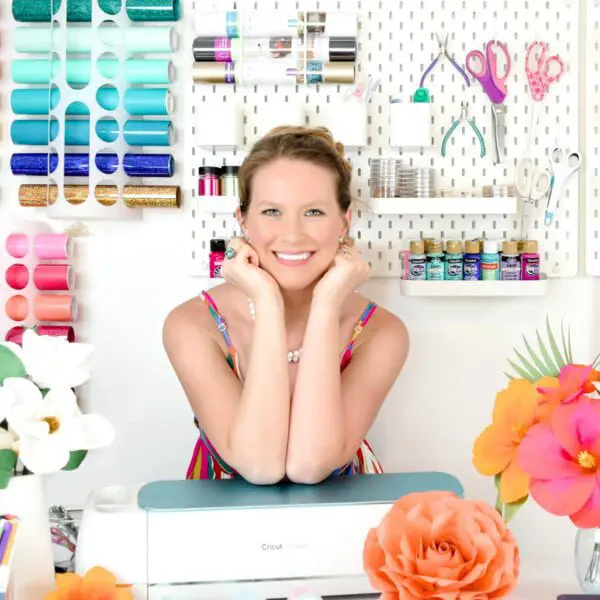
I’m thrilled you are here! I have spent the last 10+ years making messes and magic in my home studio to make the world a more colorful place, one craft at a time! I’m on a mission to nurture the creative magic inside your soul and bring that bursting imagination inside you to life with easy-to-learn tutorials. If you haven’t yet, be sure to join the subscriber community to gain access to all my freebies or visit my signature design shop, Catching Colorflies!