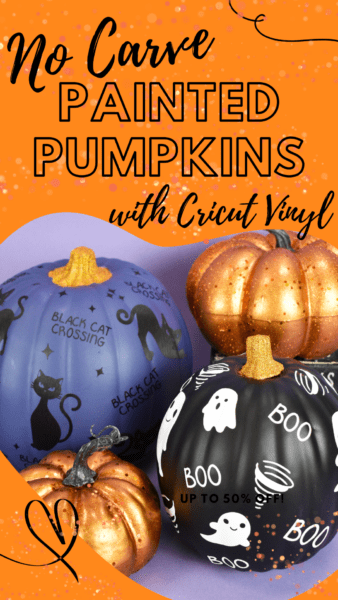
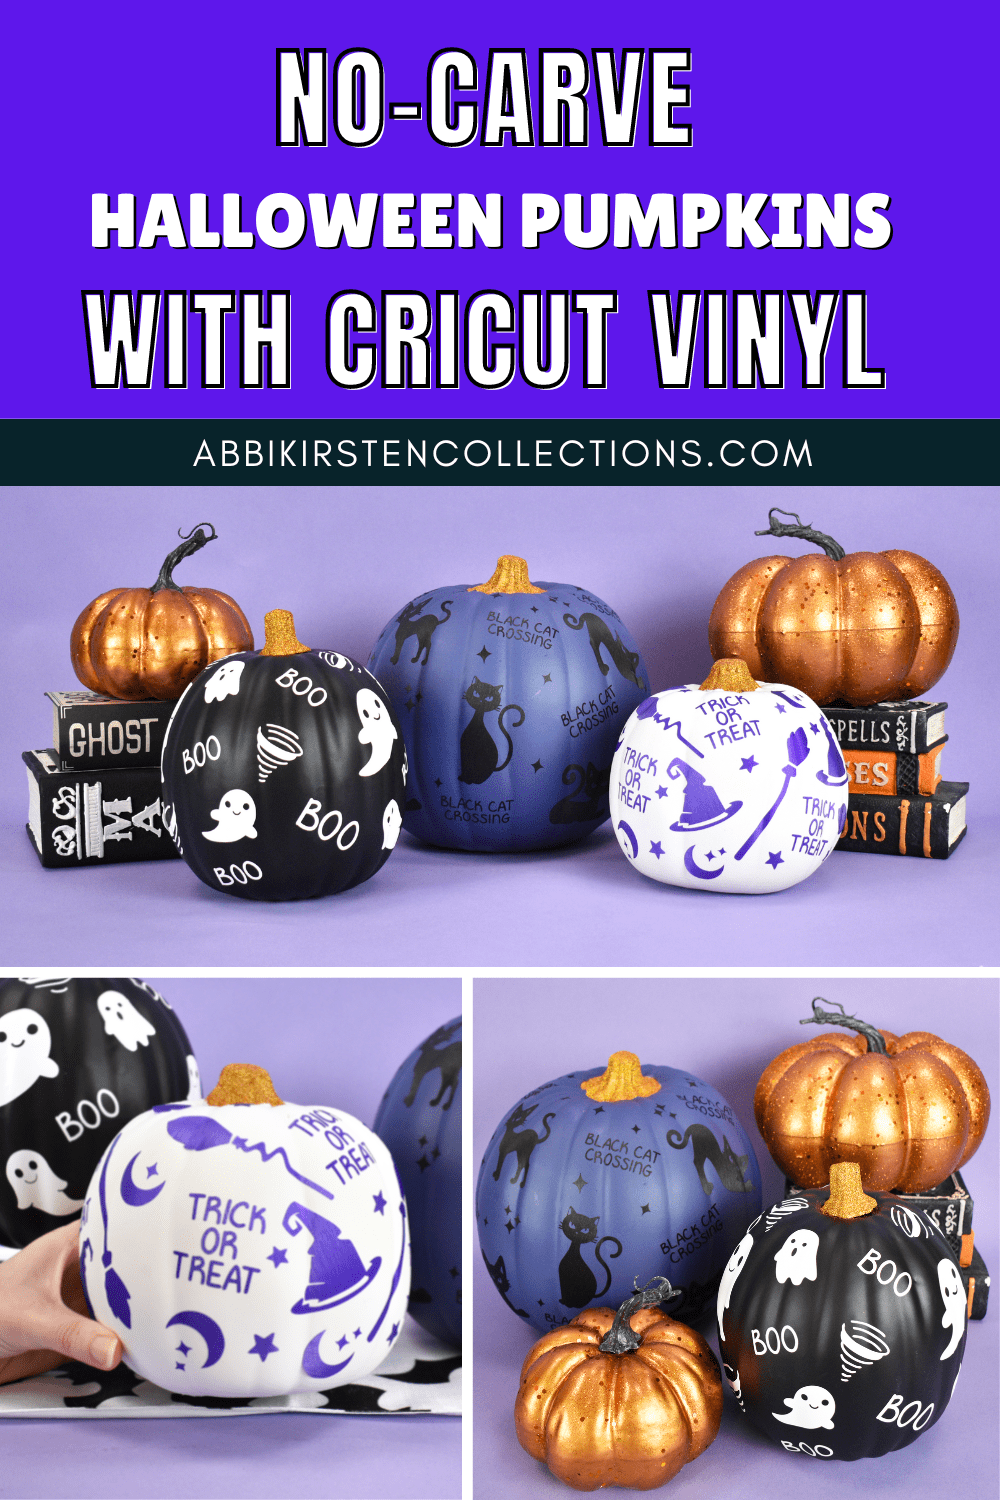
DIY Halloween Pumpkins With Cricut: No-Carve Pumpkin Ideas
This post may contain affiliate links that won’t change your price but will share some commission.
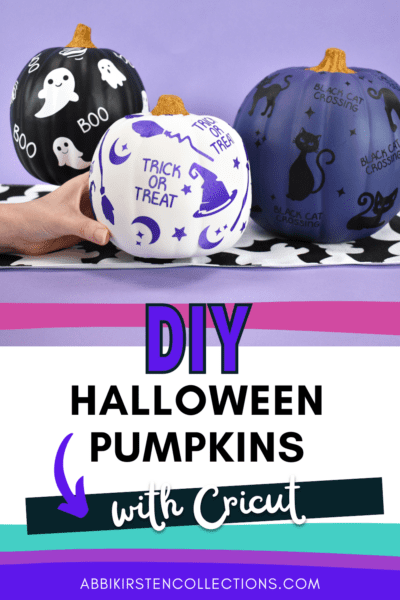
DIY Halloween pumpkins using Cricut vinyl are a great alternative to decorating a pumpkin for Halloween without carving. Instead of carving real pumpkins, which can be quite messy and time-consuming, these no-carve designs applied to faux pumpkins make a family-friendly craft that everyone can enjoy creating. To get started:
- Gather your supplies.
- Download the free templates.
- Follow the steps and video below.
- Find more no-carve pumpkin ideas.
Supply List for Pumpkins
Although I’m listing the exact supplies and steps I use, feel free to get creative and use acrylic paint or even hot glue or add some 3D effects like a witch hat or leaves to your pumpkin to really make it pop.
- Krylon spray paint – I used a flat, chalky color for a softer look. You can always get creative and use metallic or glossy paint. Likewise, you can leave the pumpkin in its original color.
- Faux pumpkins – You can also get faux pumpkins from your local craft store or dollar store. If you’re doing a whole set, make sure you grab different sizes and pumpkin shapes for an interesting grouping.
- Permanent vinyl (I’m using Smart Vinyl here)
- Cricut cutting machine
- Weeding tool
- Cricut scraper tool
- Glitter colors of your choice
- Mod Podge
- Foam paintbrush
- Painters tape
Download the Free Halloween Pumpkin SVG Designs
Download these free Halloween SVG files in the Abbi Kirsten Craft Vault. If you’re not yet a member, create a free account via the form below. Then, once logged in, search the keyword “pumpkin” at the top of the Craft Vault to find the free files, or click here to browse the full Halloween SVG collection.
If you’re already an A-Star Crafter, go ahead and log in and search the keyword “pumpkin” or specifically, designs #359, #360, and #361 to download. The three free SVG file designs are:
Steps for Making DIY Halloween Pumpkins
1. Paint Your Faux Pumpkins.

- You’ll want to tape off the stem with painter’s tape to keep the color or to do a glitter stem (shown in Step 5). Some pumpkin stems are removable, so carefully check your pumpkin’s structure before trying to remove it.
- Once you’re ready to paint, use short little bursts with a swooping motion to cover the pumpkin well and ensure you don’t get too much paint in one spot. Start with painting the top, then flip the pumpkin to paint the bottom after the top fully dries.
2. Add the Halloween Designs into Design Space.
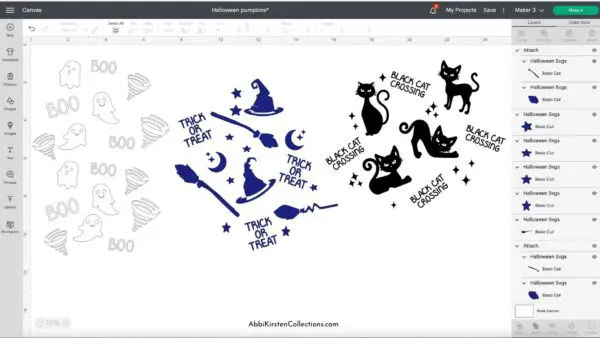
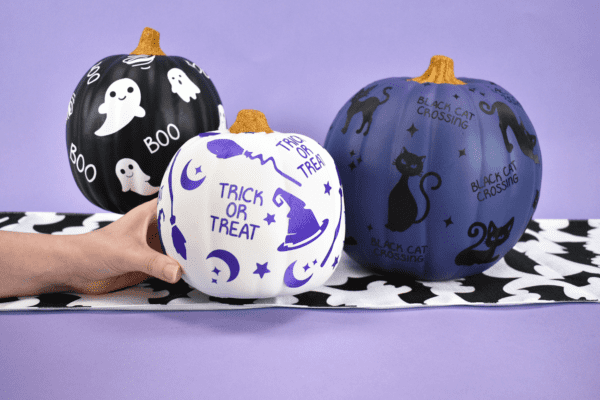
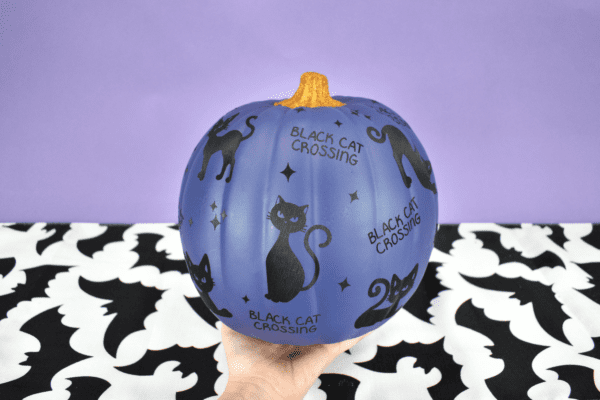
- While your pumpkin dries for about 20 minutes, download your free Halloween SVG cut files for this pumpkin craft. Log in here to the AKC Freebie Vault and find these SVG files with the keyword “pumpkin.” I have a ghost, black cat, and witch hat pattern available. Of course, you can add any design you like!
- Load the free Halloween SVG files into Cricut Design Space. If you are new to Cricut, read my tutorial on how to upload an SVG file here!

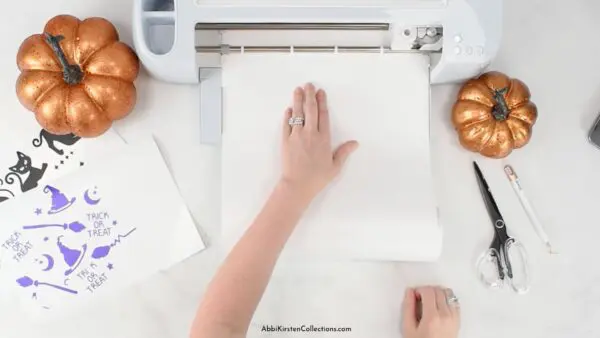
3. Cut out the Halloween SVG designs.
- Cut your designs with permanent vinyl. You can use removable vinyl, but permanent vinyl will stay better year after year.
Pro Tip: Keep the vinyl designs small (between 1.5″- 2″ each) to fit on your pumpkin better and let them follow the curves and indents on your gourd, so the vinyl lies flat.
- Next, weed the ghosts, black cats, and little ghosts carefully, making sure the designs are securely stuck to the backing before you add your transfer tape to the front.
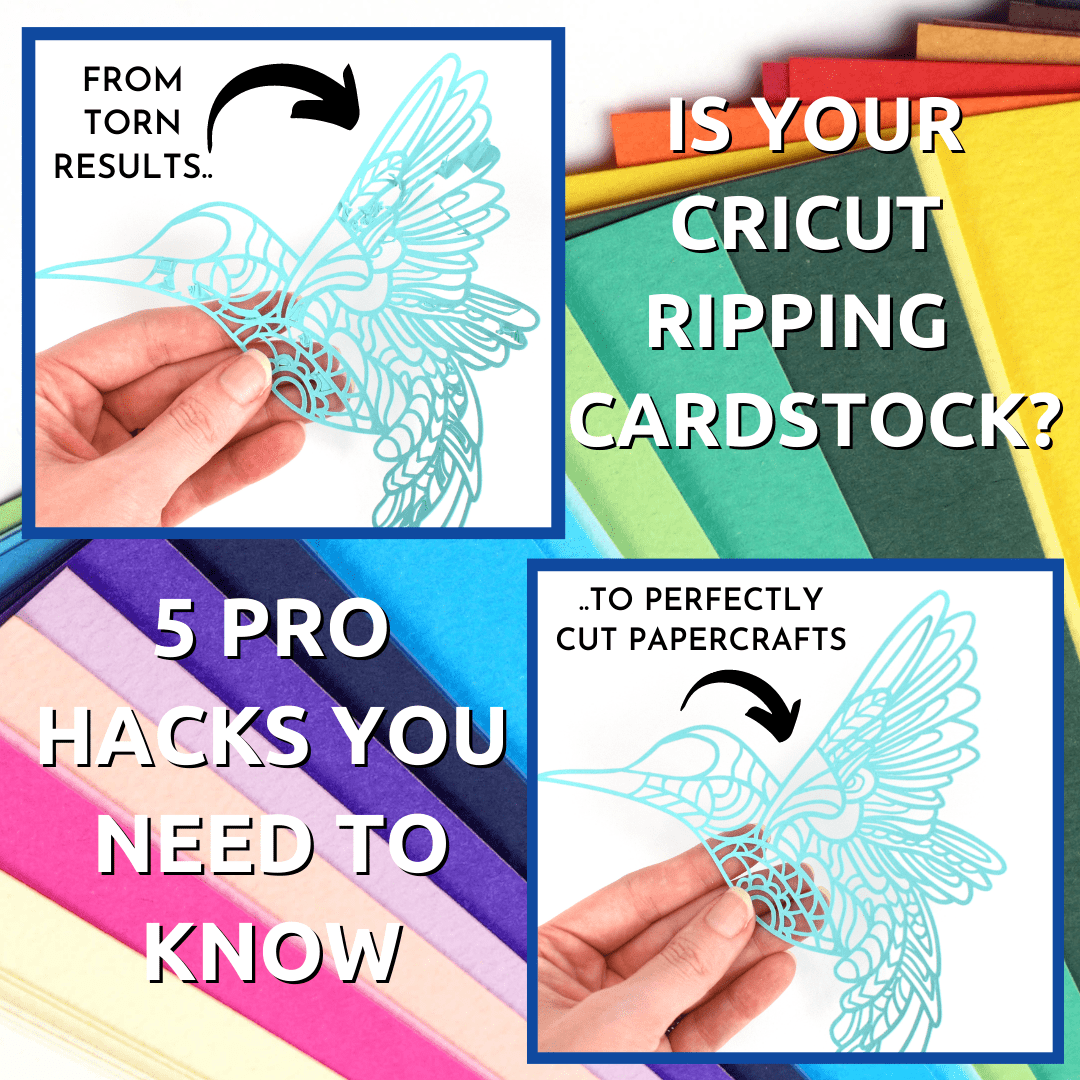
- Use your scraping tool to burnish the back and press the front of the vinyl to ensure all of the small letters and sparkles attach to the transfer tape. Check out all my Sanity Saving Vinyl Hacks here!
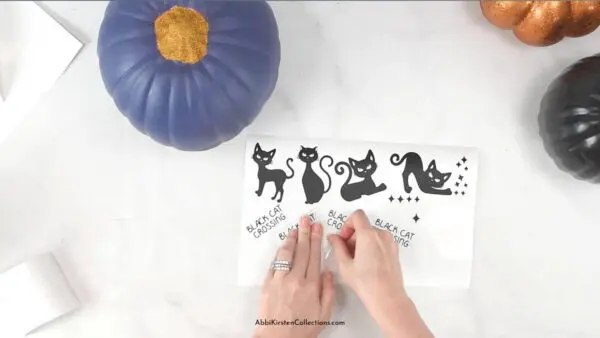
- Slowly peel the backing off in a diagonal direction, pushing and rolling the vinyl a bit when pieces of the design do not want to stick to the tape.
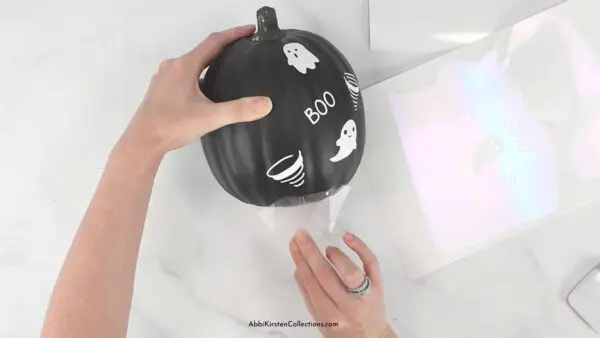
4. Apply the vinyl design to your faux pumpkins.
- Once your backing is off, cut the designs apart so you’re working with a smaller area at a time. Then, place the vinyl cutouts on the pumpkin, pushing the design into the creases so the design really sticks to the curves of the faux pumpkins.
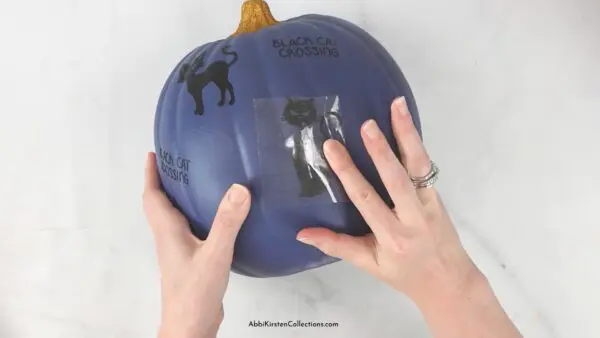
- Then, slowly peel the transfer tape away in a diagonal direction, pushing and rolling the tape to get the designs to stick to the pumpkin.
- Continue the process until you have all of your Halloween vinyl designs on the pumpkin. If one of the pieces gets a small bubble or wrinkle, use the weeding tool to gently lift the vinyl, then press it into the contours to smooth it out.
- For larger pumpkins: As mentioned, a smaller design (between 1.5″- 2″ each) will work better on the pumpkins. If your pumpkin is larger, you can go a bit bigger, but remember that larger vinyl pieces tend to have a harder time sticking to the surface. Check out my video for this Hocus Pocus large pumpkin here to see how I decorated it with bigger words and images using permanent vinyl.


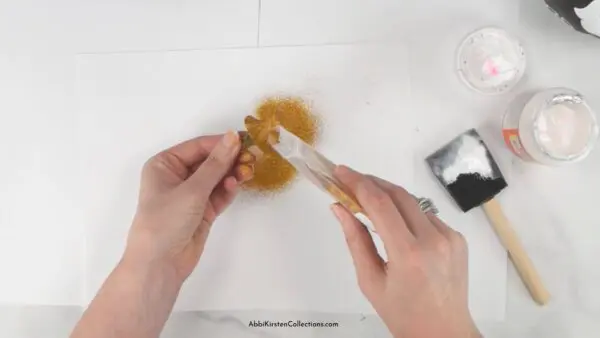
5. Add glitter to your stem.
- Finally, use Mod Podge and a paintbrush or foam paintbrush to cover the pumpkin’s stem. Sprinkle a thin layer of gold glitter on the glue, then tap it to remove the excess. Set aside to dry.
- Once the stem is dry, you can use hot glue to attach the stem to the top of the pumpkin if you are able to remove it. If you left the stem on the pumpkin, tape off the area carefully before you glue and glitter to keep it off the pumpkin area.
How to Make DIY Halloween Pumpkins: Video Tutorial
Click the video below to watch the full video tutorial.
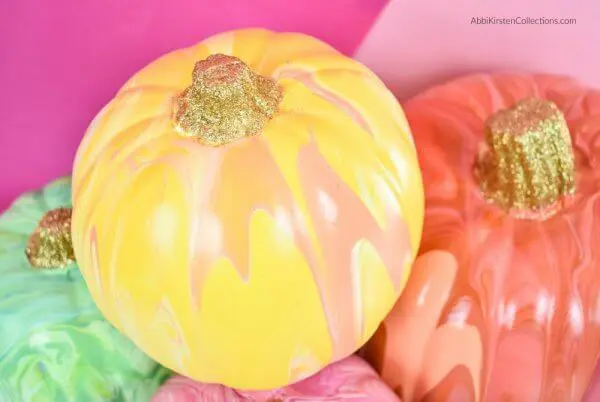
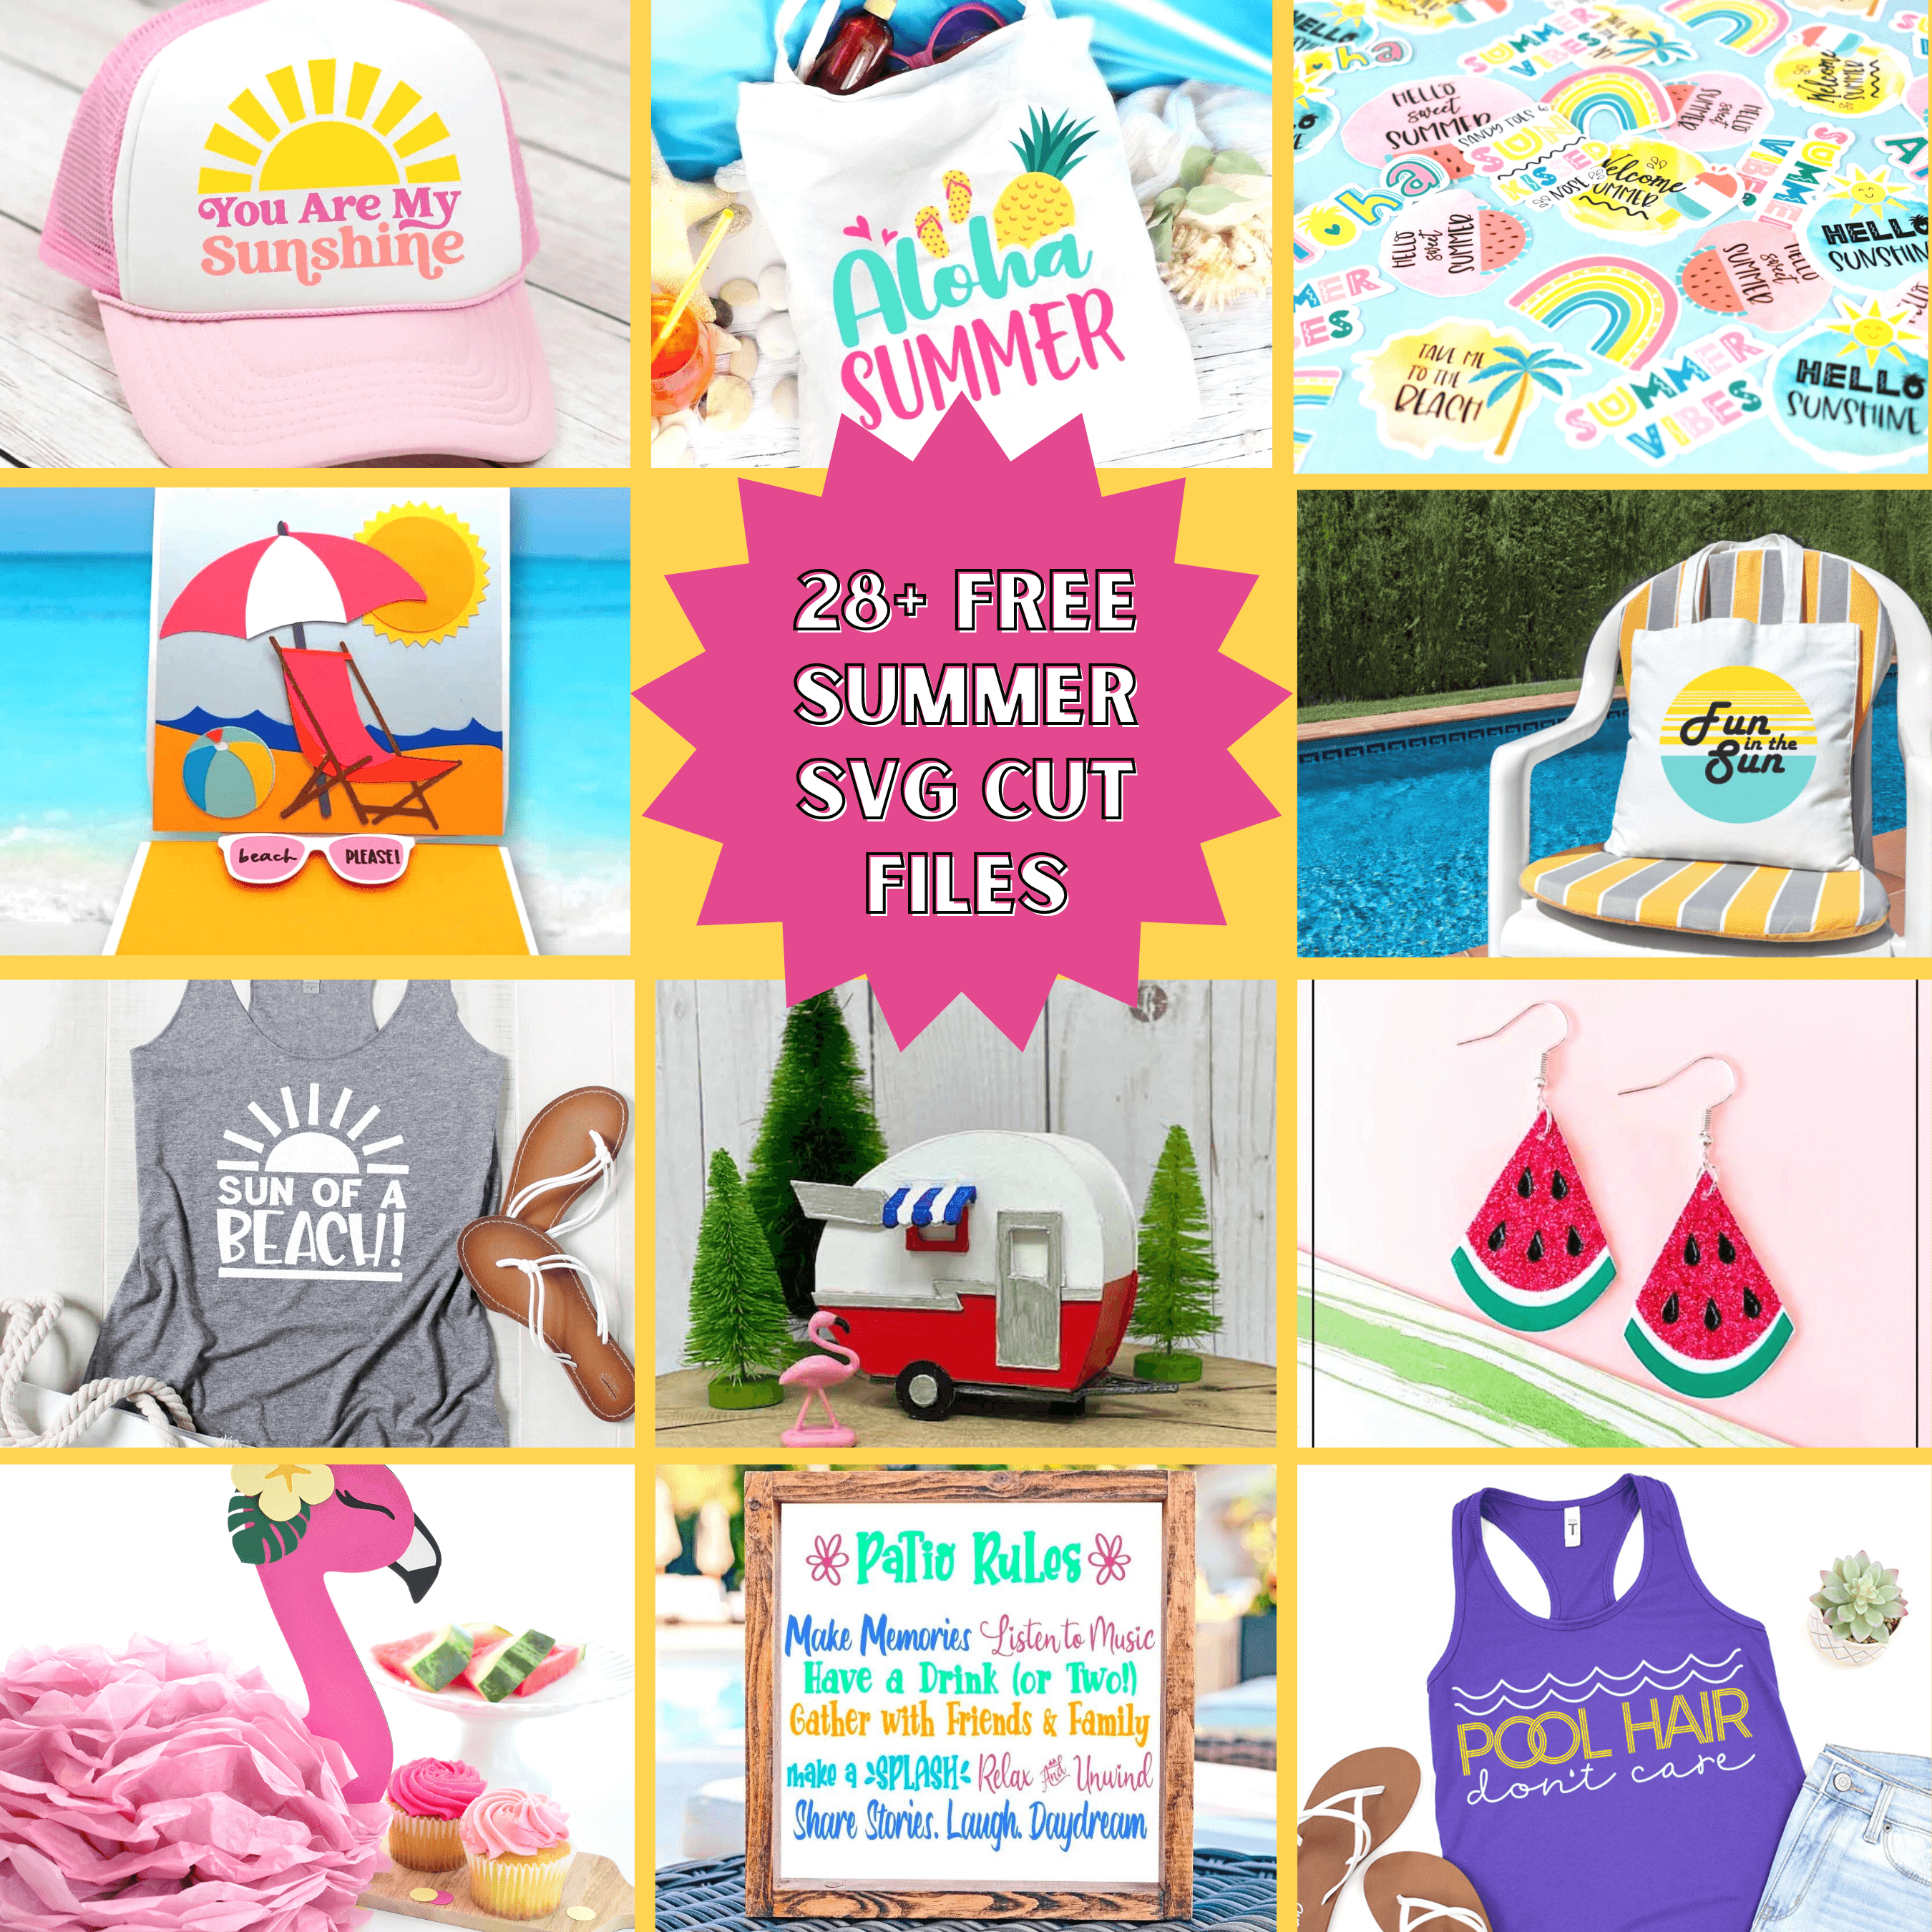
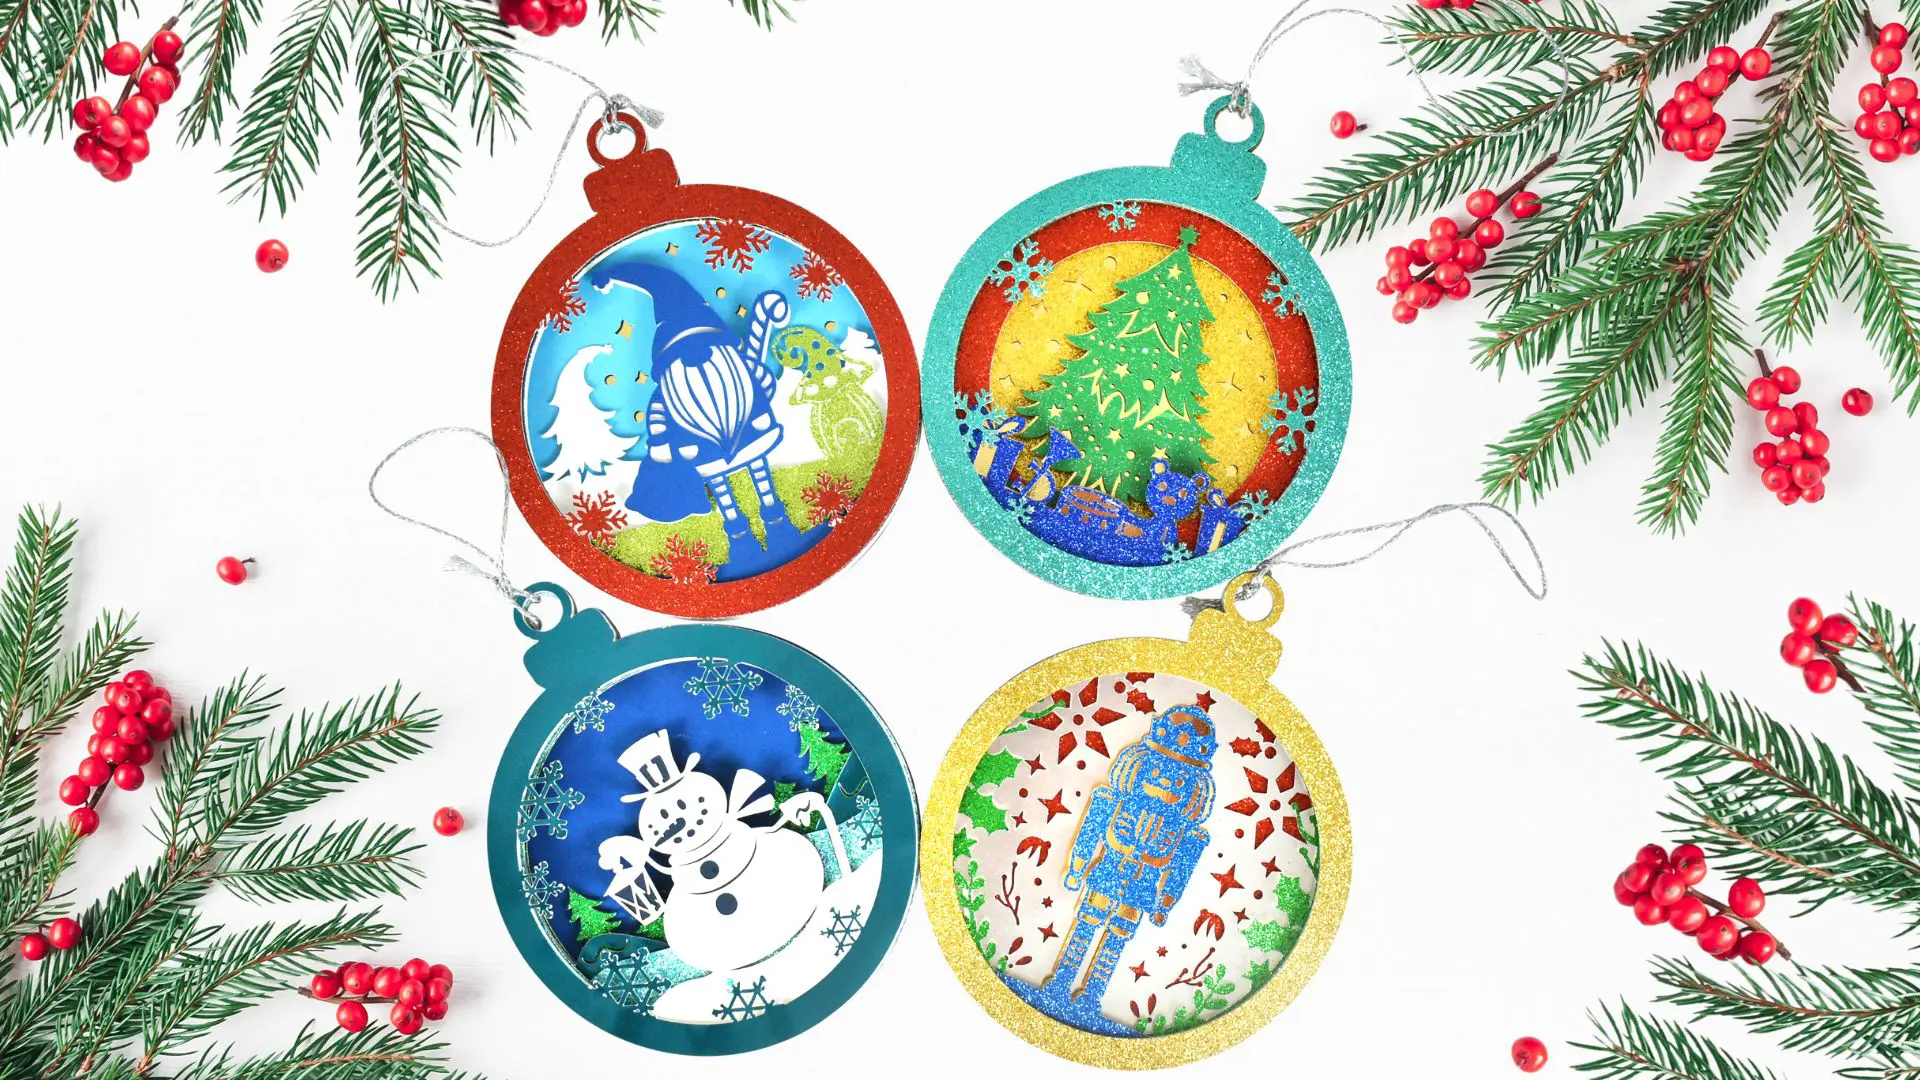
More No-Carve Pumpkin Ideas
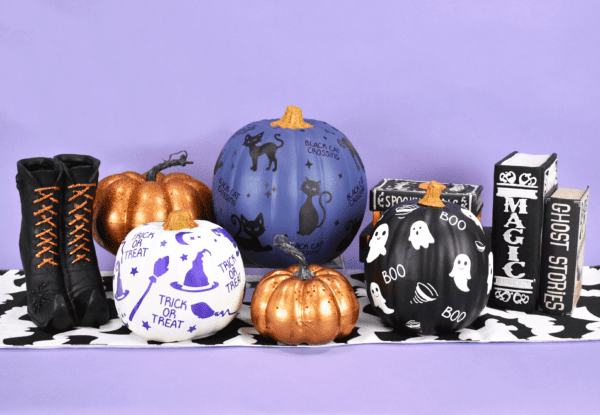
I hope you’ve enjoyed this easy vinyl craft and are inspired to create more like this! Check out these other pumpkin creations below, along with my entire section of Thanksgiving crafts.
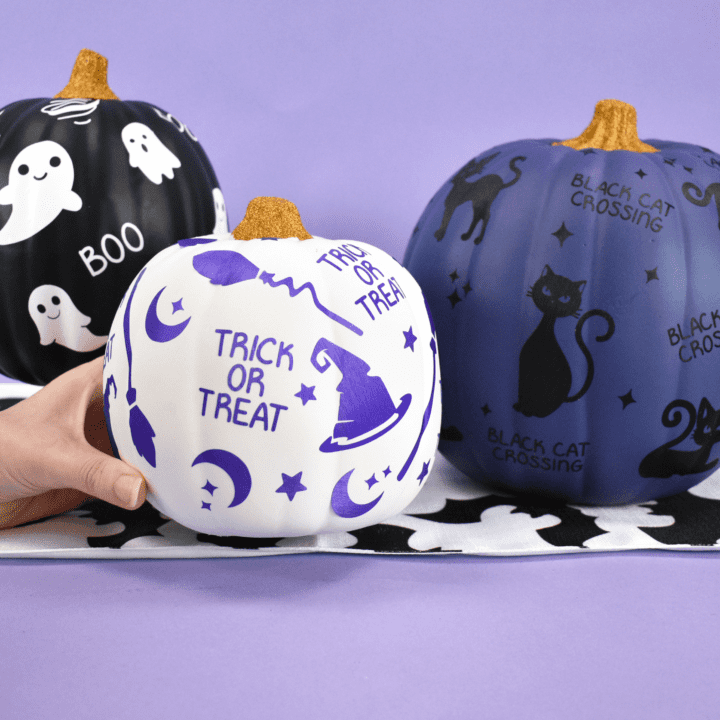
DIY Halloween Pumpkins
You can make these fun no-carve Halloween pumpkins with these festive vinyl cutouts! Download the Halloween design SVG files to make this simple craft.
Materials
Instructions
Step 1: Paint Your Faux Pumpkins
- Tape off the stem. If it's removable, remove it and set it to the side.
- Spray paint the pumpkin using short little bursts with a swooping motion to cover the pumpkin well. Allow the pumpkin to dry between coats if needed.
Step 2: Add The Halloween Designs Into Design Space
- To download the free SVG cut files, log in here to the AKC Freebie Vault and find them with the keyword “pumpkins.”
- Load the SVG files into Cricut Design Space.
Step 3: Cut Out The Halloween SVG Designs
- Keep the designs small so they fit the curves and indents of the craft pumpkin.
- Cut the designs with your Cricut and permanent vinyl (which will stay better over time).
- Weed the designs, then apply the transfer tape, and then use the scraper to make sure the vinyl designs are well-adhered to the transfer tape.
Step 4: Apply The Vinyl Design To Your Faux Pumpkins
- Cut the transfer tape into smaller pieces so they're easier to work with.
- Apply the vinyl cutouts to the surface of the pumpkins, pushing the design into the creases so that the design really sticks.
- Slowly peel away the transfer tape.
- Repeat with all of the vinyl Halloween designs until you're pumpkins are covered!
Step 5: Add Glitter To Your Stem
- Cover the pumpkin stem in mod podge using the foam paintbrush.
- Apply the glitter over the glue, then tap to remove the excess. Let dry.
- Reattach the stem to the pumpkin once it's dry.
About Abbi Kirsten
Welcome to my colorful corner of the internet, where we play with vibrant crafts and unlock your creative magic! Hang out with me and get lost in a fun array of projects, tutorials, and products, from stunning papercraft ideas to flower templates, Cricut help for beginners, and endless crafter’s hacks.
Join A-Star Crafters and participate in monthly Craft-Alongs in our community Facebook group!


Abbi,
I did your magic of SVGs and joined. Is there an icon or something that I can put on my desk top to make getting to your site easier?
Tanya
Hi! You can bookmark the page. 🙂