How to Make Christmas Cards with Your Cricut Machine – Christmas Card Templates
This post may contain affiliate links that won’t change your price but will share some commission.

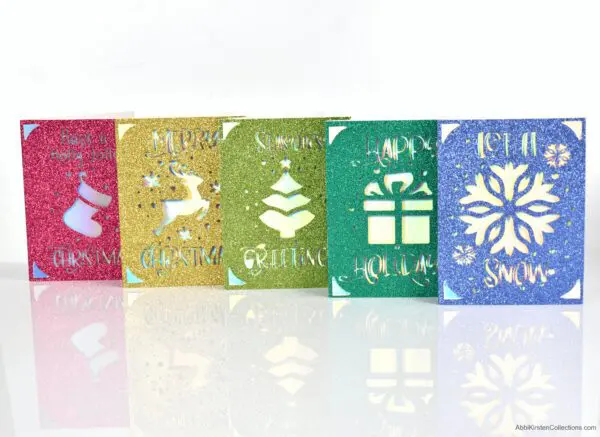
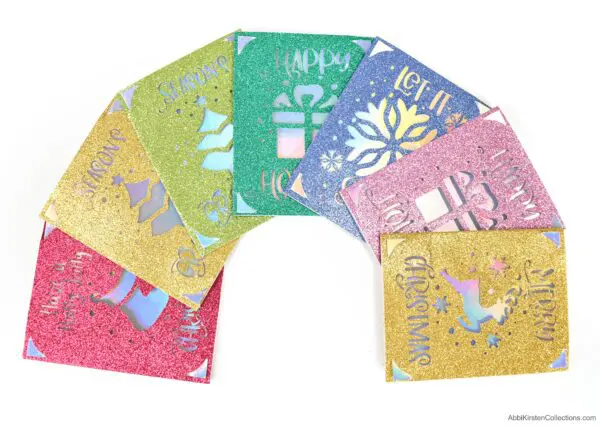
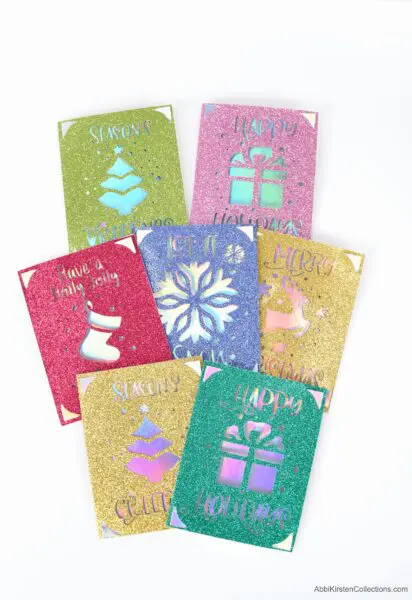
Making your own handmade Christmas cards is a beautiful tradition for sending love and best wishes to family and friends. This year, I decided to share how to make Christmas cards with Cricut, specifically the Cricut Joy machine. I’ve created five card templates that will make crafting holiday cards this season an easy but personal way to reconnect to each special person on your list.

You can follow the video below and the step-by-step tutorial for all the details on how to make these festive Christmas cards with Cricut.
Be sure to check out this sleighful of other fun Christmas crafts within the Craft Vault, including these easy Christmas craft favorites!
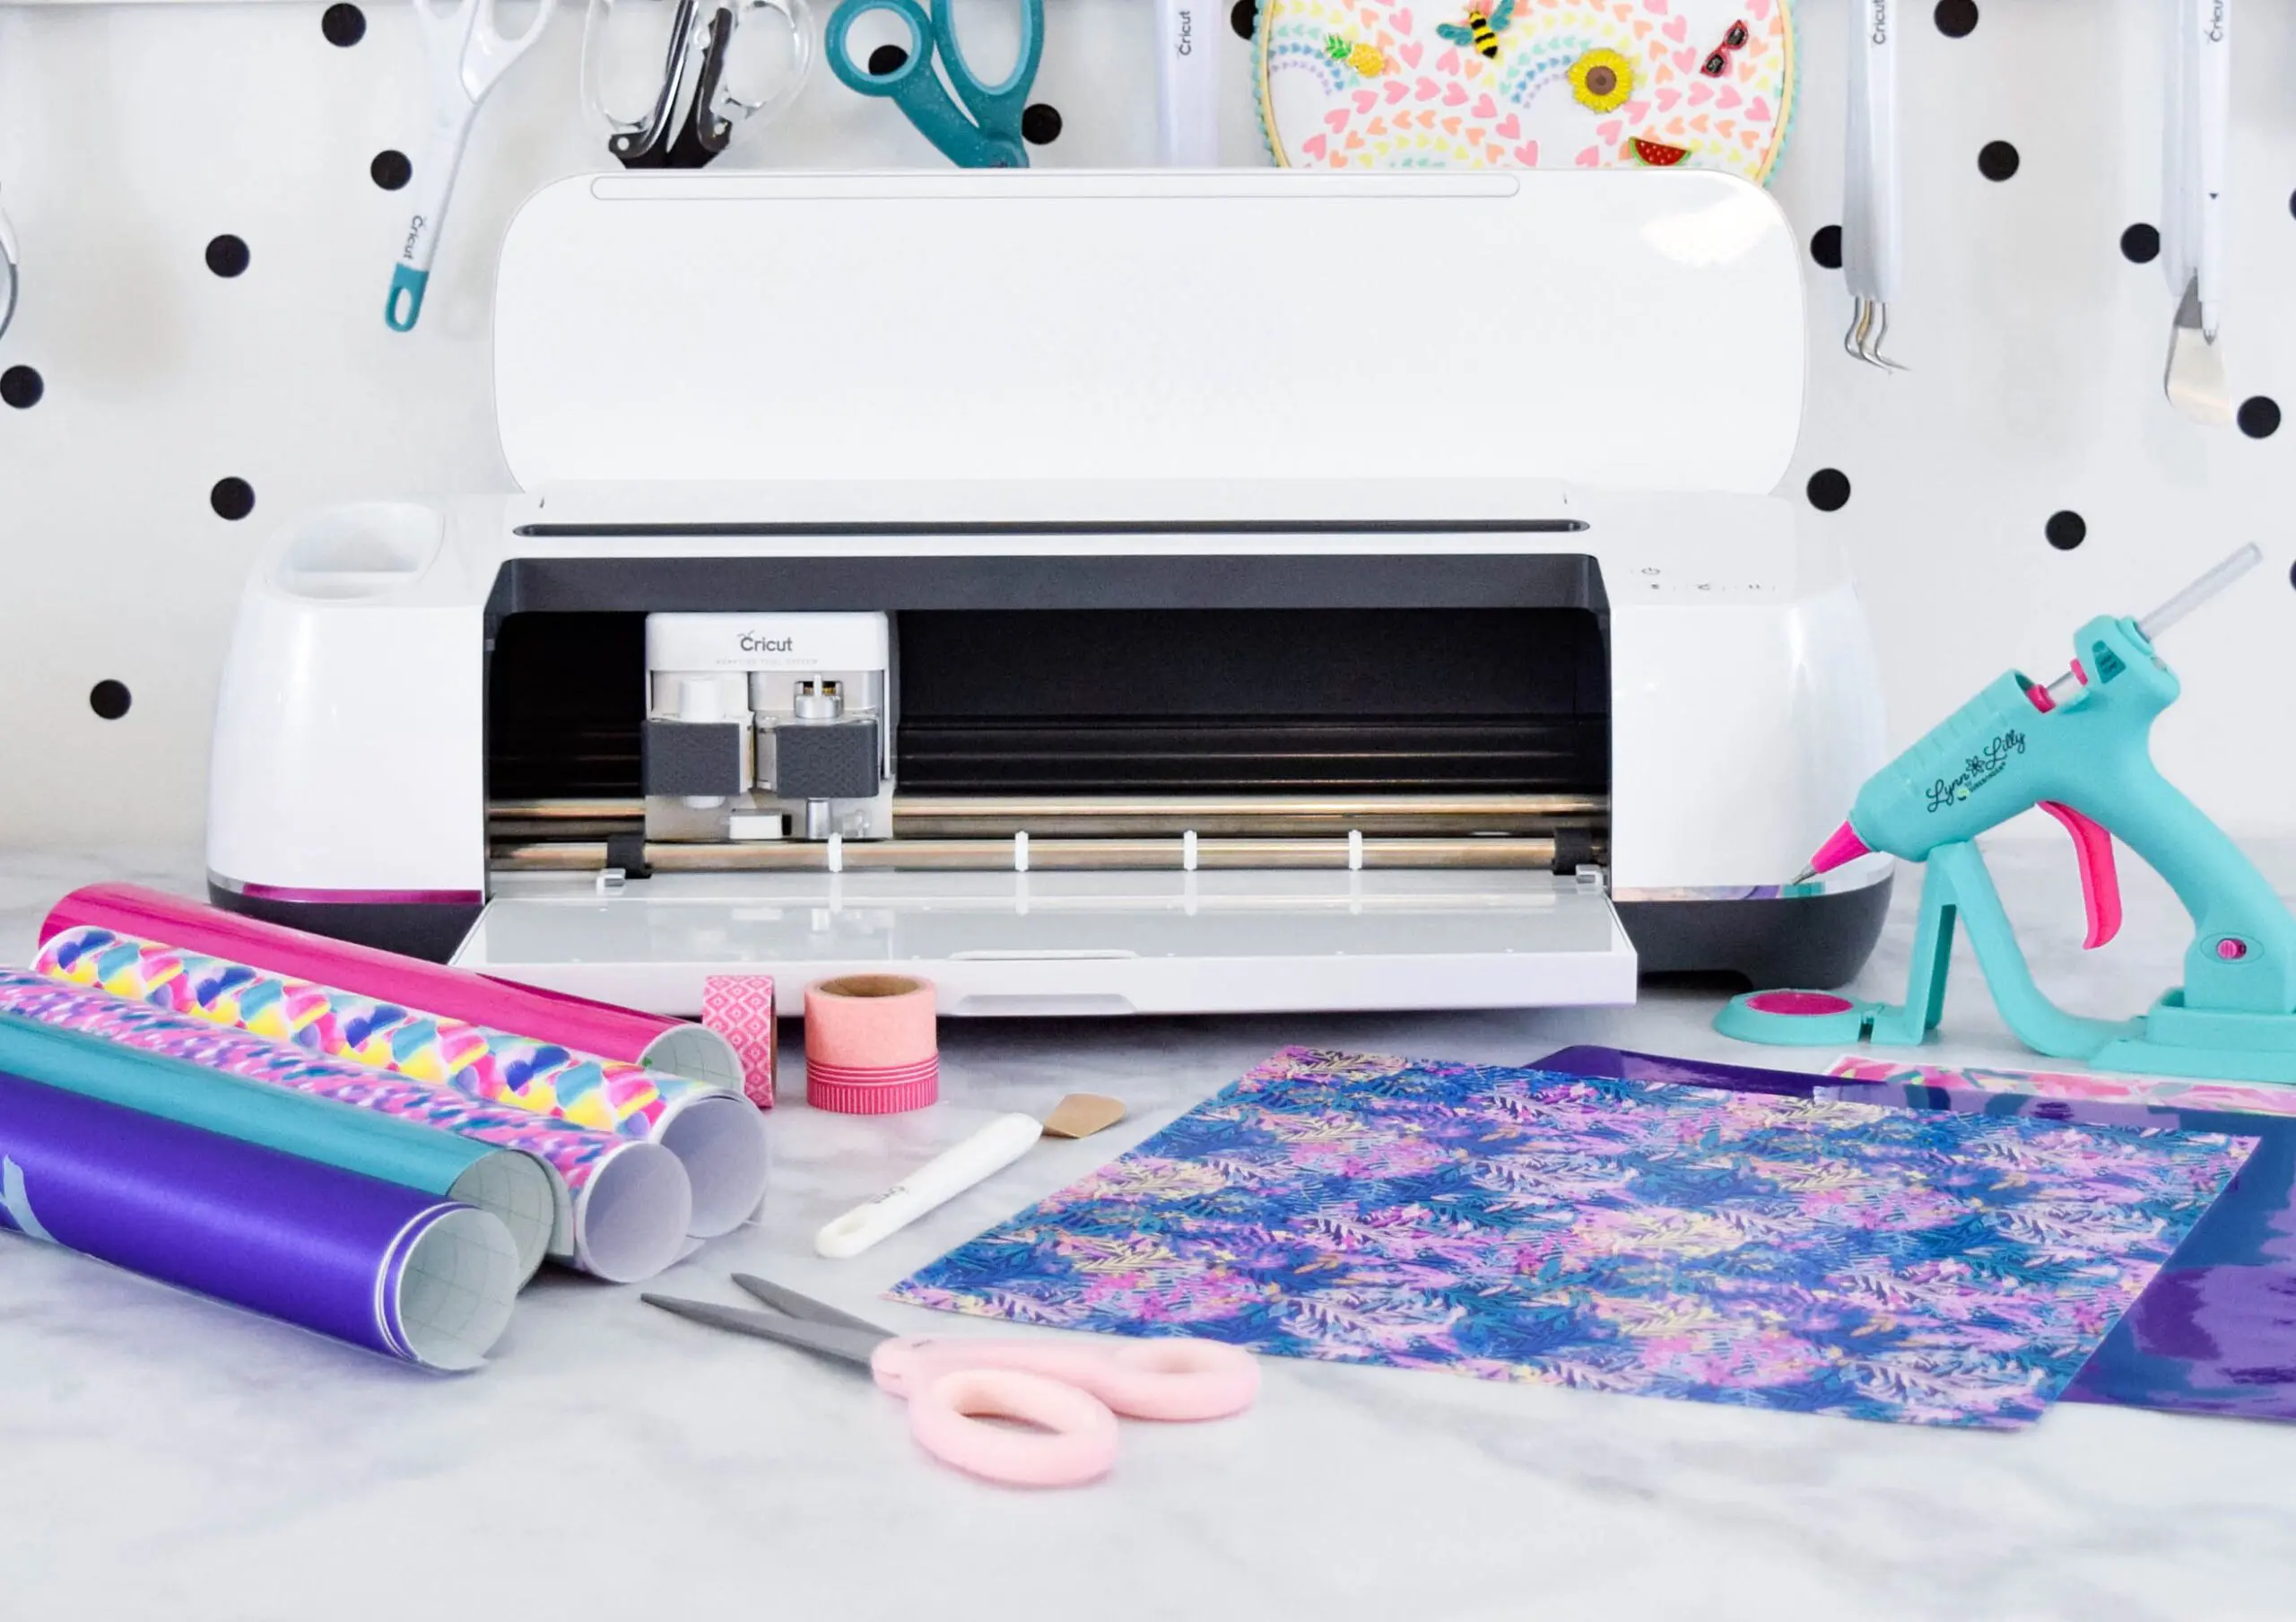
Supplies to Make Your Cricut Joy Christmas Cards
First, you’ll want to gather your materials for this quick and easy craft.
- Cardstock (65-80 pound paper is best)
- Glitter cardstock
- Scrapbooking tape
- Cricut machine. I’m using the Cricut Joy machine but you can also cut the templates on a Cricut Maker or Explore model.
- Cricut Joy card mat
- Cricut Joy pen (if writing in the card)
- Christmas card SVG templates (details on how to access templates below)
Download The Christmas Card Templates
Get these five Christmas card designs here along with hundreds of other premium Christmas crafts when you become an A-Star Crafter. Once logged in, type in “holiday cards” or design “423” to find the templates.
For those using a Cricut Maker or Explore model that does not have the card insert mat, you will find SVGs included for full cards.
OR
Making Christmas Cards with Cricut – Video Tutorial
Watch this full video tutorial for making easy Christmas cards with your Cricut machine. I’m featuring the Cricut Joy machine with the card insert mat, but you can also use any Cricut machine with our templates. In the video, I’ll show you how to set up the card templates in Design Space and use the Text tool to type your message.
Steps for Making Cricut Christmas Cards
1. Prepare the Cardstock.
To create your own card inserts, follow the measurements below and use a straight cutter to trim any cardstock or glitter cardstock down to size.
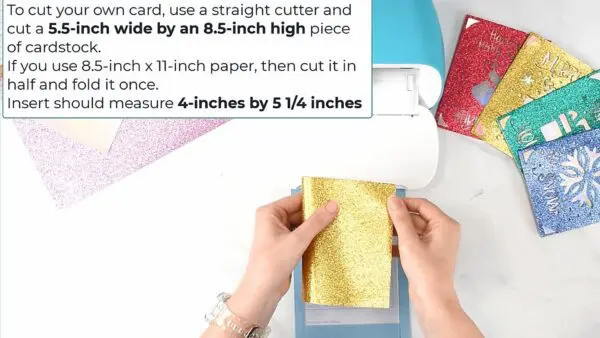
- Cut a 5.5-inch wide x 8.5-inch high piece of cardstock.
- If you’re using an 8.5 x 11 sheet, then cut it in half and fold it once.
- The front single card insert piece should measure 4 inches x 5 1/4 inches.
- If you’re using a machine other than the Joy, full card SVGs are also included with the templates and work perfectly with the Maker or Explore models.
2. Download And Import the Designs Into Design Space.
- If you haven’t done so already, download the Christmas card templates and upload them to Cricut Design Space.
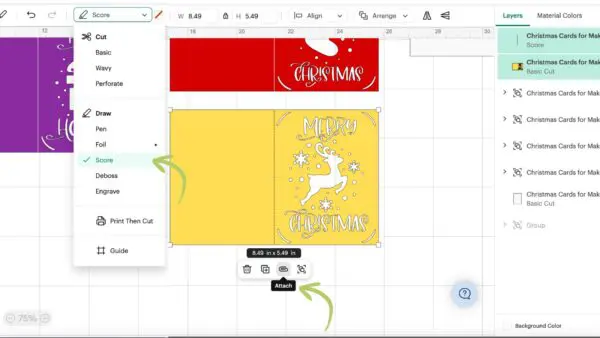
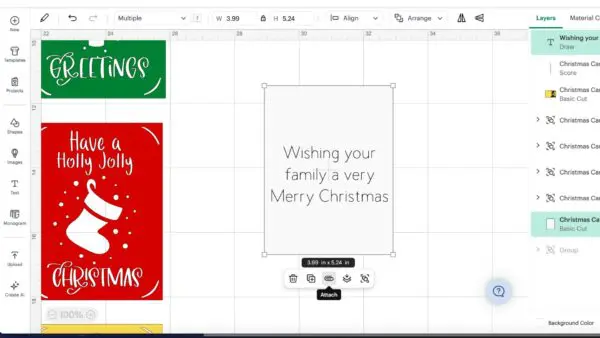
- Card template setup for Maker and Explore models: If you’re using the Maker or Explore models, import the SVG with the full card cutout. There’s also a line included for the center of the card, which you’ll want to select and change to a scoreline. Whenever you use a scoreline, you need to attach it to the base, in this case, our card. Select both the card and scoreline and click the Attach tool as shown in the image below.
3. Scale and Position Your Card Design.
- Ungroup and scale the designs to size. My card design is scaled at 5.2 inches high x 3.9 inches wide.
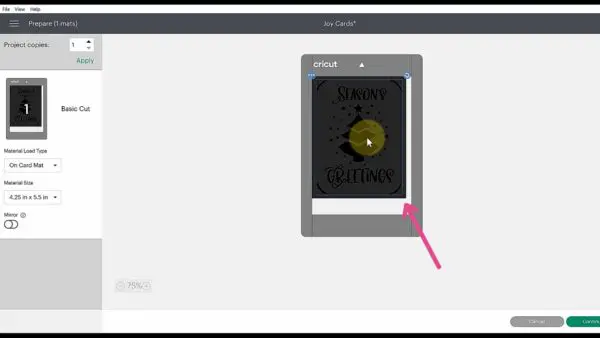
- Click the Make It button and select the dropdown option to the left, choosing the 4.25 x 5.5-inch card size.
- On this first cut screen, move the design to the very center of the mat preview. You will not need to do this step if you’re using the Maker or Explore SVG card templates.
4. Cut the Design.
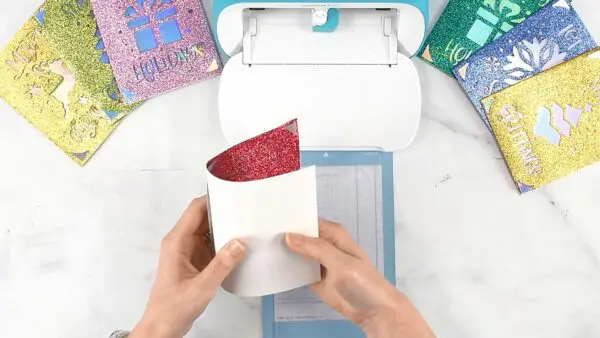
- Click Continue when you’re ready to select your material. I’m using glitter cardstock so I’ll choose that material option.
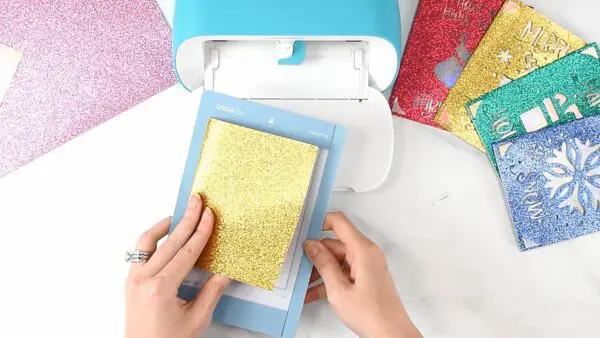
- Place the folded card onto the card insert mat and load your machine. Let your Cricut cut out the design on the front of the card.
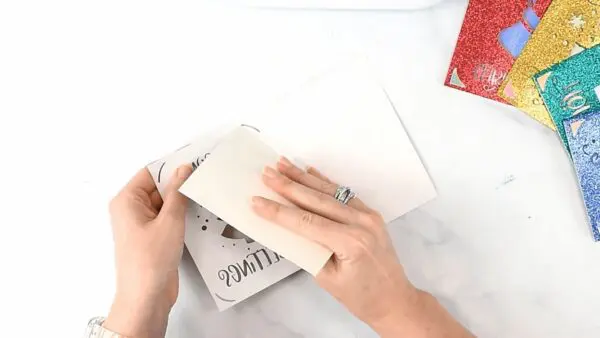
5. Insert the Rectangle.
- When the Cricut is finished, unload the card mat and insert the rectangle behind the design. Be gentle with it until it settles into the card.
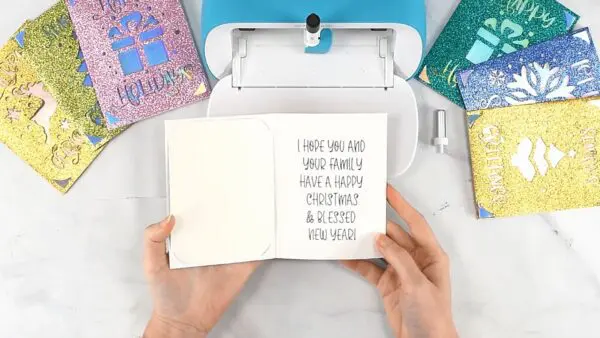
6. Write Your Message Inside the Card.
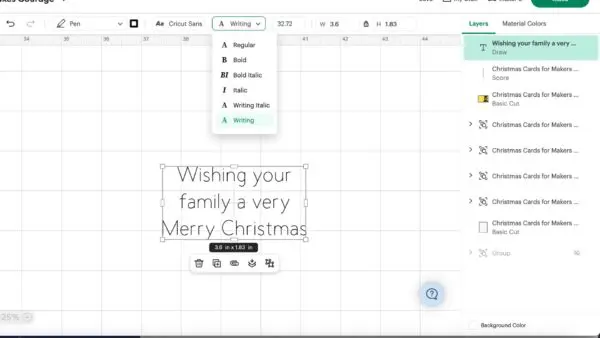
- To write on the inside of your card, start by typing your personalized Christmas message with the Text tool in Design Space. Make sure to choose a Writing font so that you do not end up with bubble letters.
- Scale your writing to size to your preference; my text is 4 inches high.
- Flip your card backward gently and load it back onto the card mat.
- Replace the fine-point blade with a Cricut Joy pen and proceed to let the Joy pen write your message on the inside of the Christmas card.
- If you’re making the cards on a Maker or Explore model, I recommend cutting a rectangle using the insert included with the templates or the free shapes in Design Space, letting Cricut write on the rectangle, then pasting it into the card.
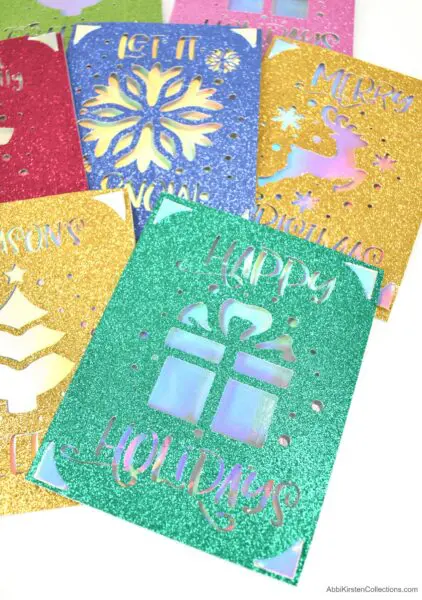
7. Finish the Card.
- When your machine is finished writing, unload the card mat and remove the card. Your easy Christmas card with your Cricut machine is complete. Each one of these took less than 20 minutes to make!
More Christmas Crafts To Love