DIY Paper Gardenia Flower Tutorial
This post may contain affiliate links that won’t change your price but will share some commission.

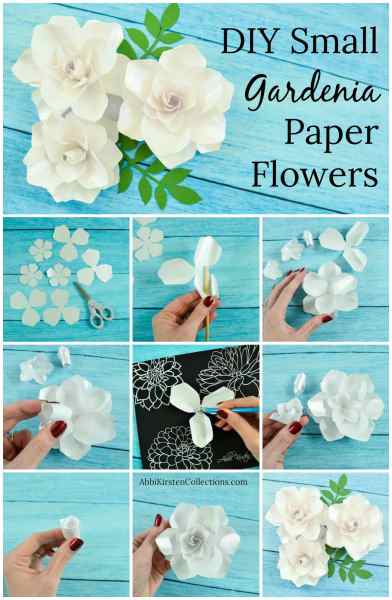
DIY Paper Gardenia Tutorial
The Gardenia flower is timeless and elegant. Its bright white petals offer a sweet fragrance. Gardenias are often a favorite choice for wedding flower bouquets. Gardenia flowers stand for love and purity, which makes Gardenias the perfect choice for any bride or elegant occasion. I’ve had a long-standing request to create a DIY Paper Gardenia flower template, and I’m finally delivering that request!
Supplies For Making Paper Gardenias
- Glue Gun
- 65-pound cardstock
- Scissors and/or cutting machine (Cricut Explore Air 2 Machine)
- Thin wooden dowel for rolling
- Paper Blooms shaping mat and toolset
- Templates
- You can always view my full, tried, and true supply list here!

You will have 2 styles of petals – 5 point petal and the 3-point petal. Cut the following number of petals
- 3-point petals – 4 cuts
- 5-point petals – 3 cuts
Download The Paper Gardenia Templates
Find the gardenia flower templates in both PDF printable and SVG cut files available in the AKC Craft Vault.
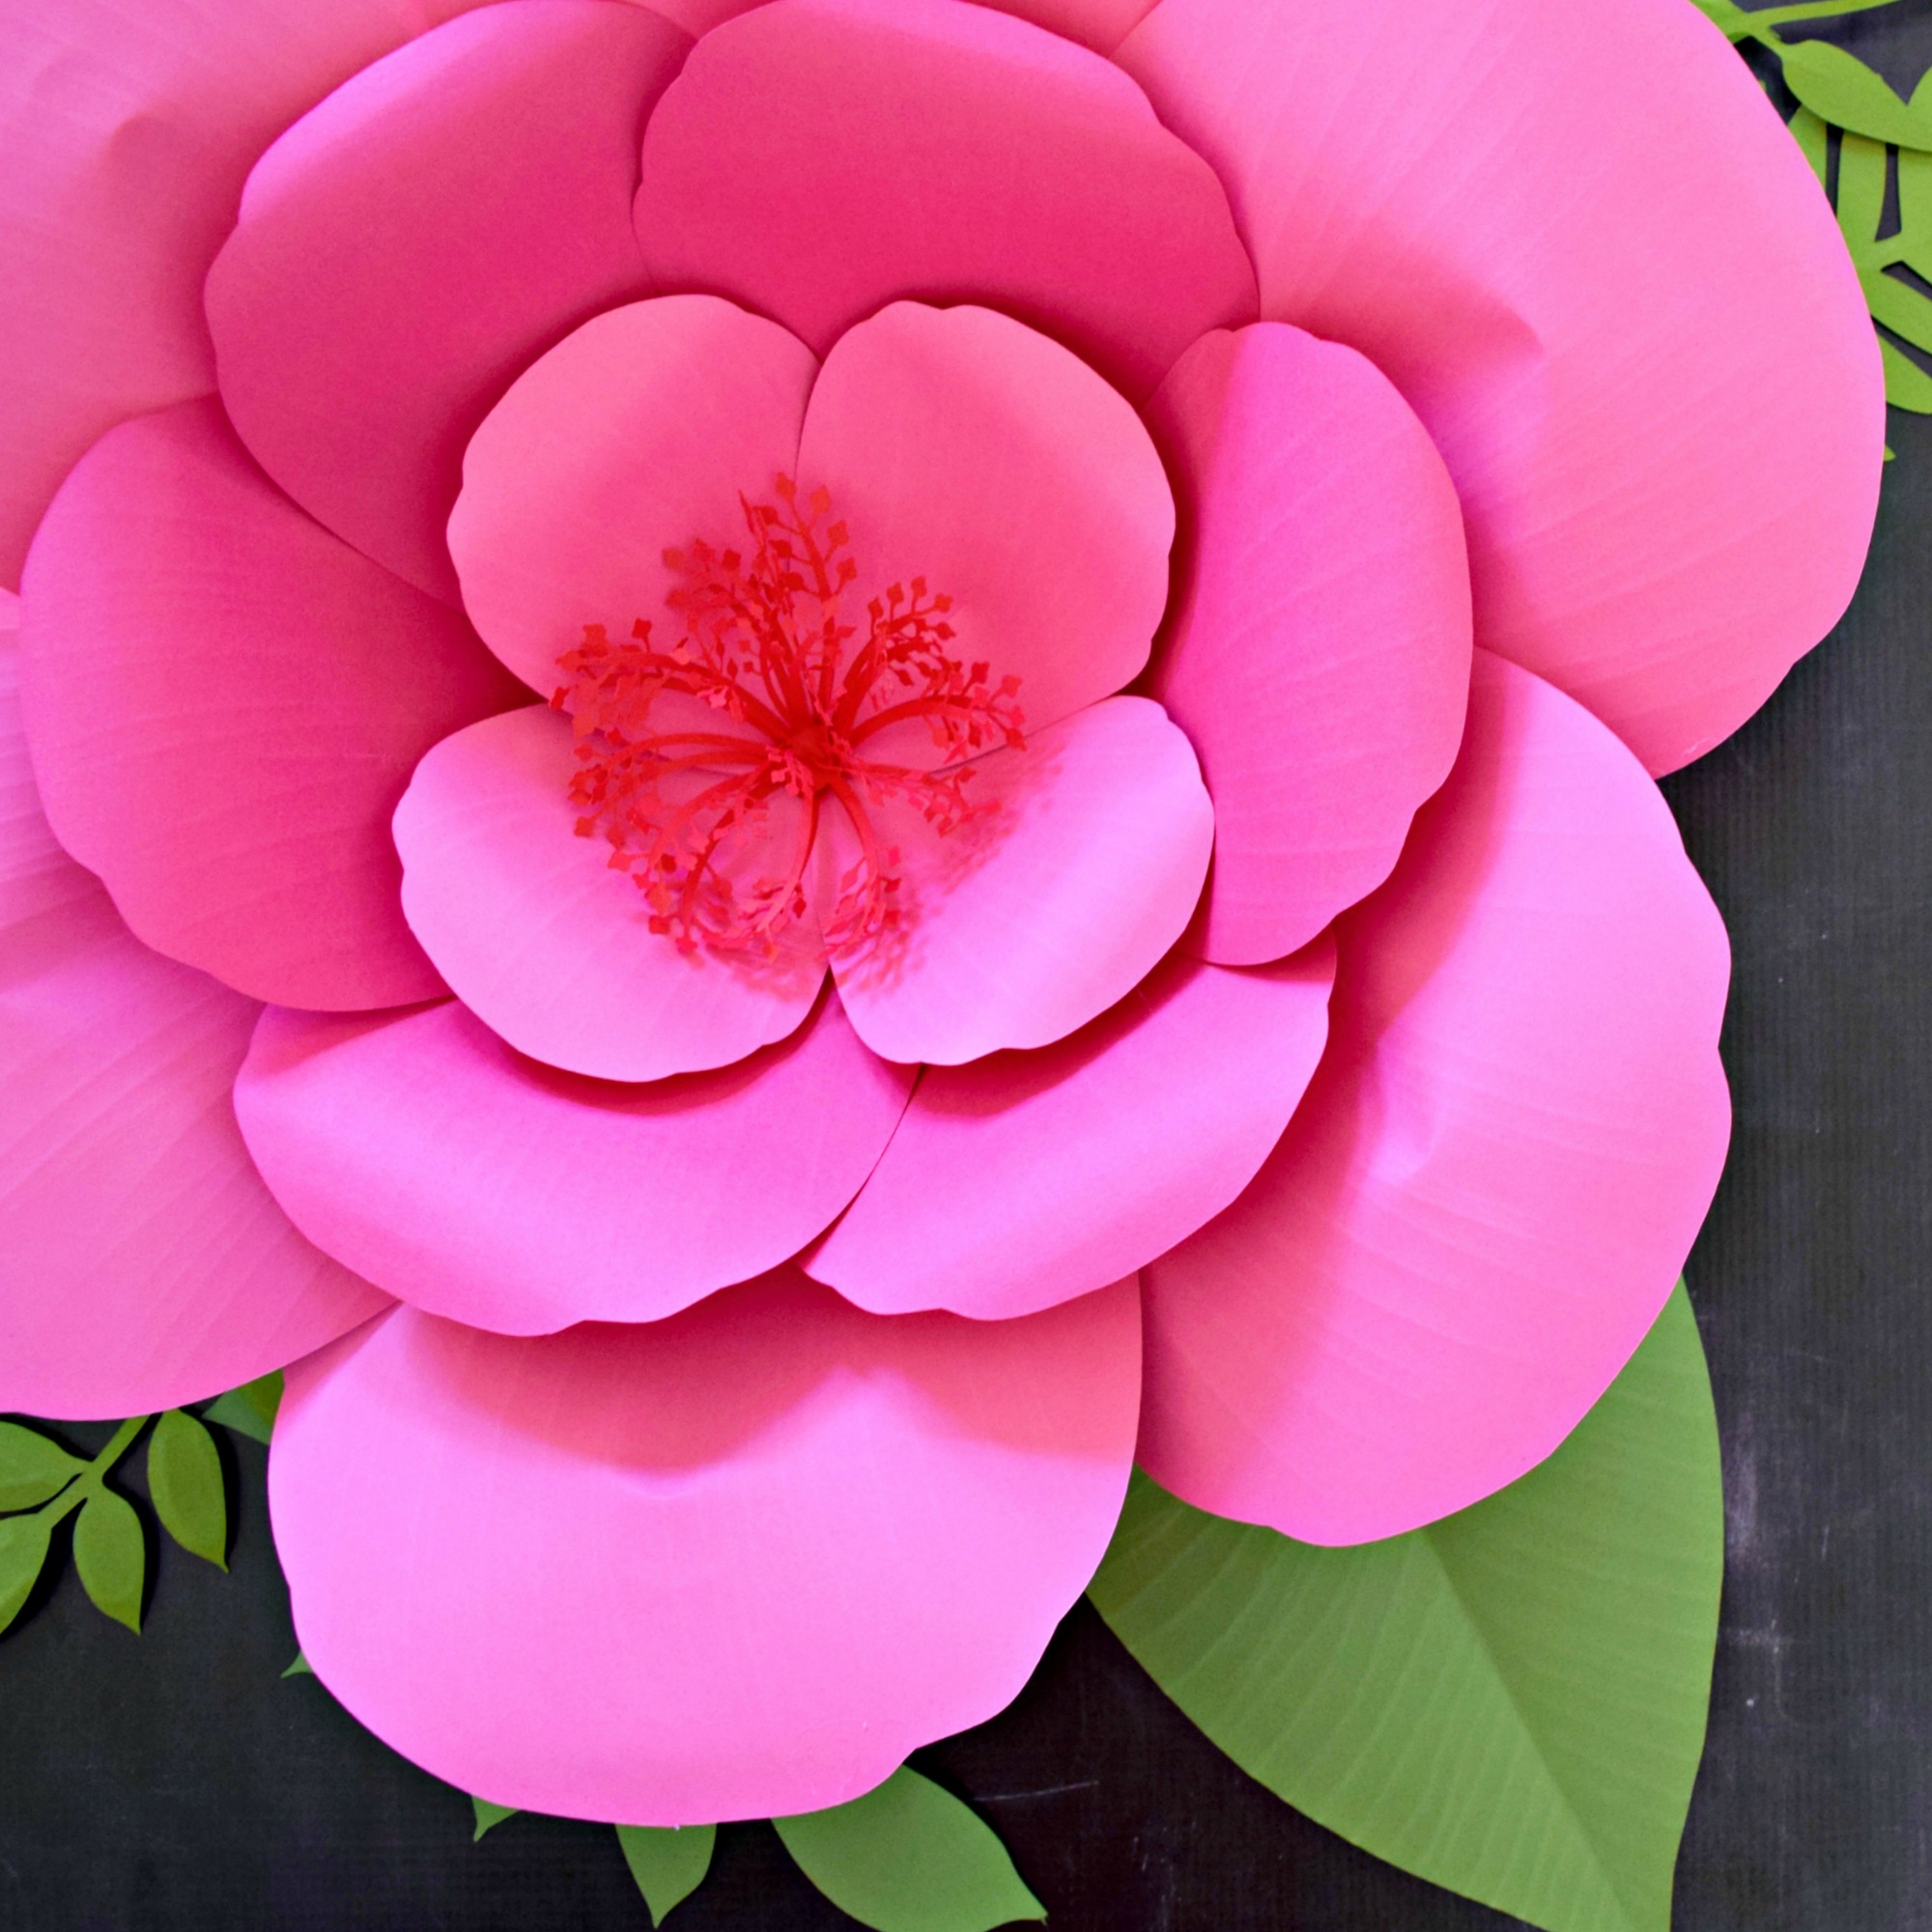
Also, check out Abbi’s giant paper gardenia template and tutorial!
Paper Gardenia Video Tutorial
Press play to watch the step-by-step video tutorial for the paper gardenia flowers below or keep reading for a picture tutorial!
Step 1: Cut Your Gardenia Petals
The first step will be to cut out all the petals. I am using a shimmer white paper here from my local Hobby Lobby.
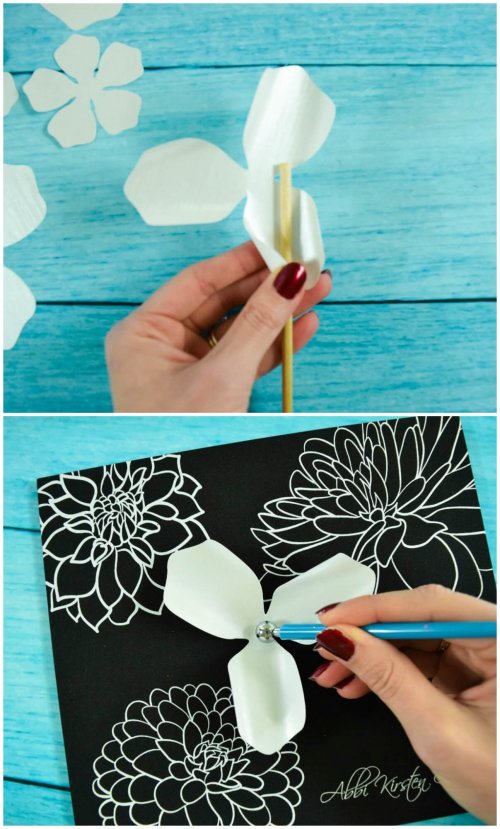
Step 2: Curl Your Paper Petals
Using your thin wood dowel, curl the petals around the dowel. If you are using the Paper Blooms toolset, roll the center to help the petal stand up naturally. Repeat this with all the petals.

Step 3: Layer The Petals
Make sure your smallest 5-point petals are curled tightly together. Use your fingers to push tightly, rolling the petals so your center bud is closed once we glue it in.
To start building the flower, glue two 3-point petals together so that their petals alternate between one another.
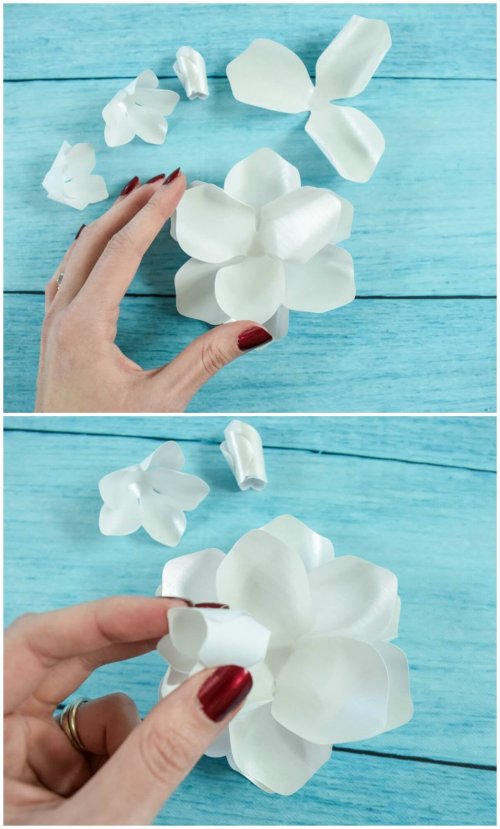
Step 4: Complete the Center
The next step is to glue in the third 3-point petal. Move next to the 5-point petals, gluing them in the same way. Try to aim to have the bud become progressively tighter as you move inward.
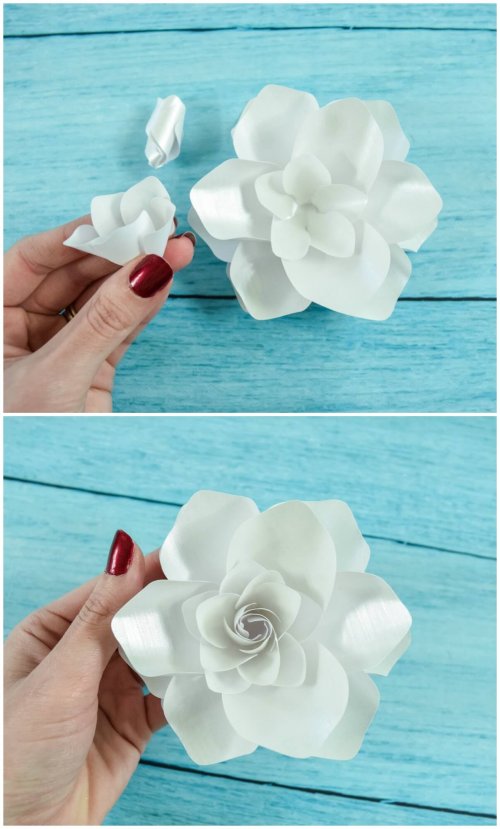
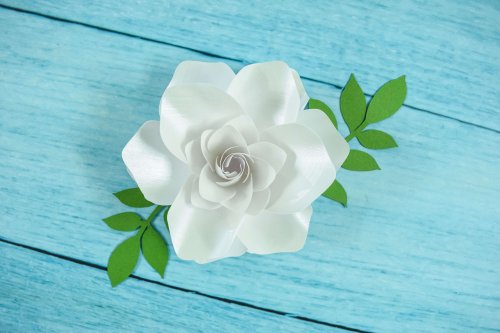
Finally, glue your remaining two 5-point petals to the center, making sure your last petal cut is twisted tightly before inserting. Admire your elegant DIY paper gardenia!
About Abbi Kirsten
Welcome to my colorful corner of the internet, where we play with vibrant crafts and unlock your creative magic! Hang out with me and get lost in a fun array of projects, tutorials, and products, from stunning papercraft ideas to flower templates, Cricut help for beginners, and endless crafter’s hacks.
Join the Member Vault and participate in my monthly Craft-Alongs in my Facebook group to access all the magic!