DIY Floating Ornaments With Cricut: Free Template And Size Chart
This post may contain affiliate links that won’t change your price but will share some commission.

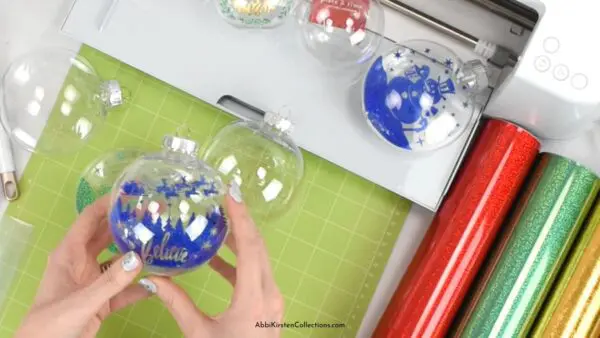
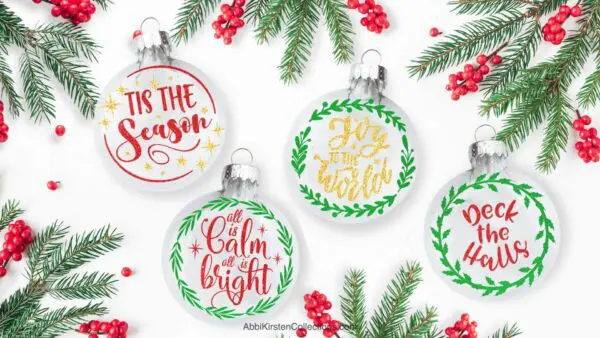
Making DIY floating ornaments with your Cricut machine is a fun and easy way to brighten your Christmas tree with fresh holiday themes. A perfect craft for beginners, this ornament design appears to be magically floating in the center of the plastic ornament ball! The result is a sparkly bauble for your Christmas tree where the lights shine through to showcase the design or a festive gift to share with others.
Be sure to check out my post and tutorial for making a floating ornament using a photo design, as well as all my DIY ornaments here.

To make this craft even easier, I’m providing free floating ornament templates that can be resized to fit any clear plastic ornament you may wish to use. And, I’m including a sizing chart for the most popular ornament sizes so you can easily plug in the dimensions in Cricut Design Space.

Floating Ornament Template Sizes
Clear plastic ornaments for crafts come in various sizes, with measurements usually in millimeters. Below are the most popular ornament sizes in millimeters and their equivalent sizes in inches. (A printable with these measurements is also provided when you download the free floating ornament template.)
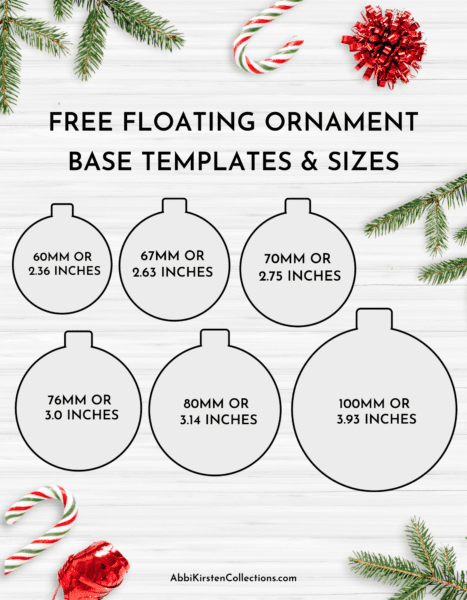
The measurements below are an exact conversion, but you may need to slightly scale them down by maybe .05 of an inch, just to give a little wiggle room. (However, I have cut these exact sizes and had them fit well as is.) So, if you need to size down a bit after you’ve already cut the design, I’ve included a helpful tip at the end of this post.
- 60 mm (popular) = 2.36 inches
- 67 mm = 2.63 inches
- 70 mm = 2.75 inches
- 76 mm = 3.0 inches
- 80 mm (most popular) = 3.14 inches
- 100 mm = 3.93 inches
Also, if you don’t see the measurement listed above, you can use an online converter to calculate the size in inches for your floating ornaments.

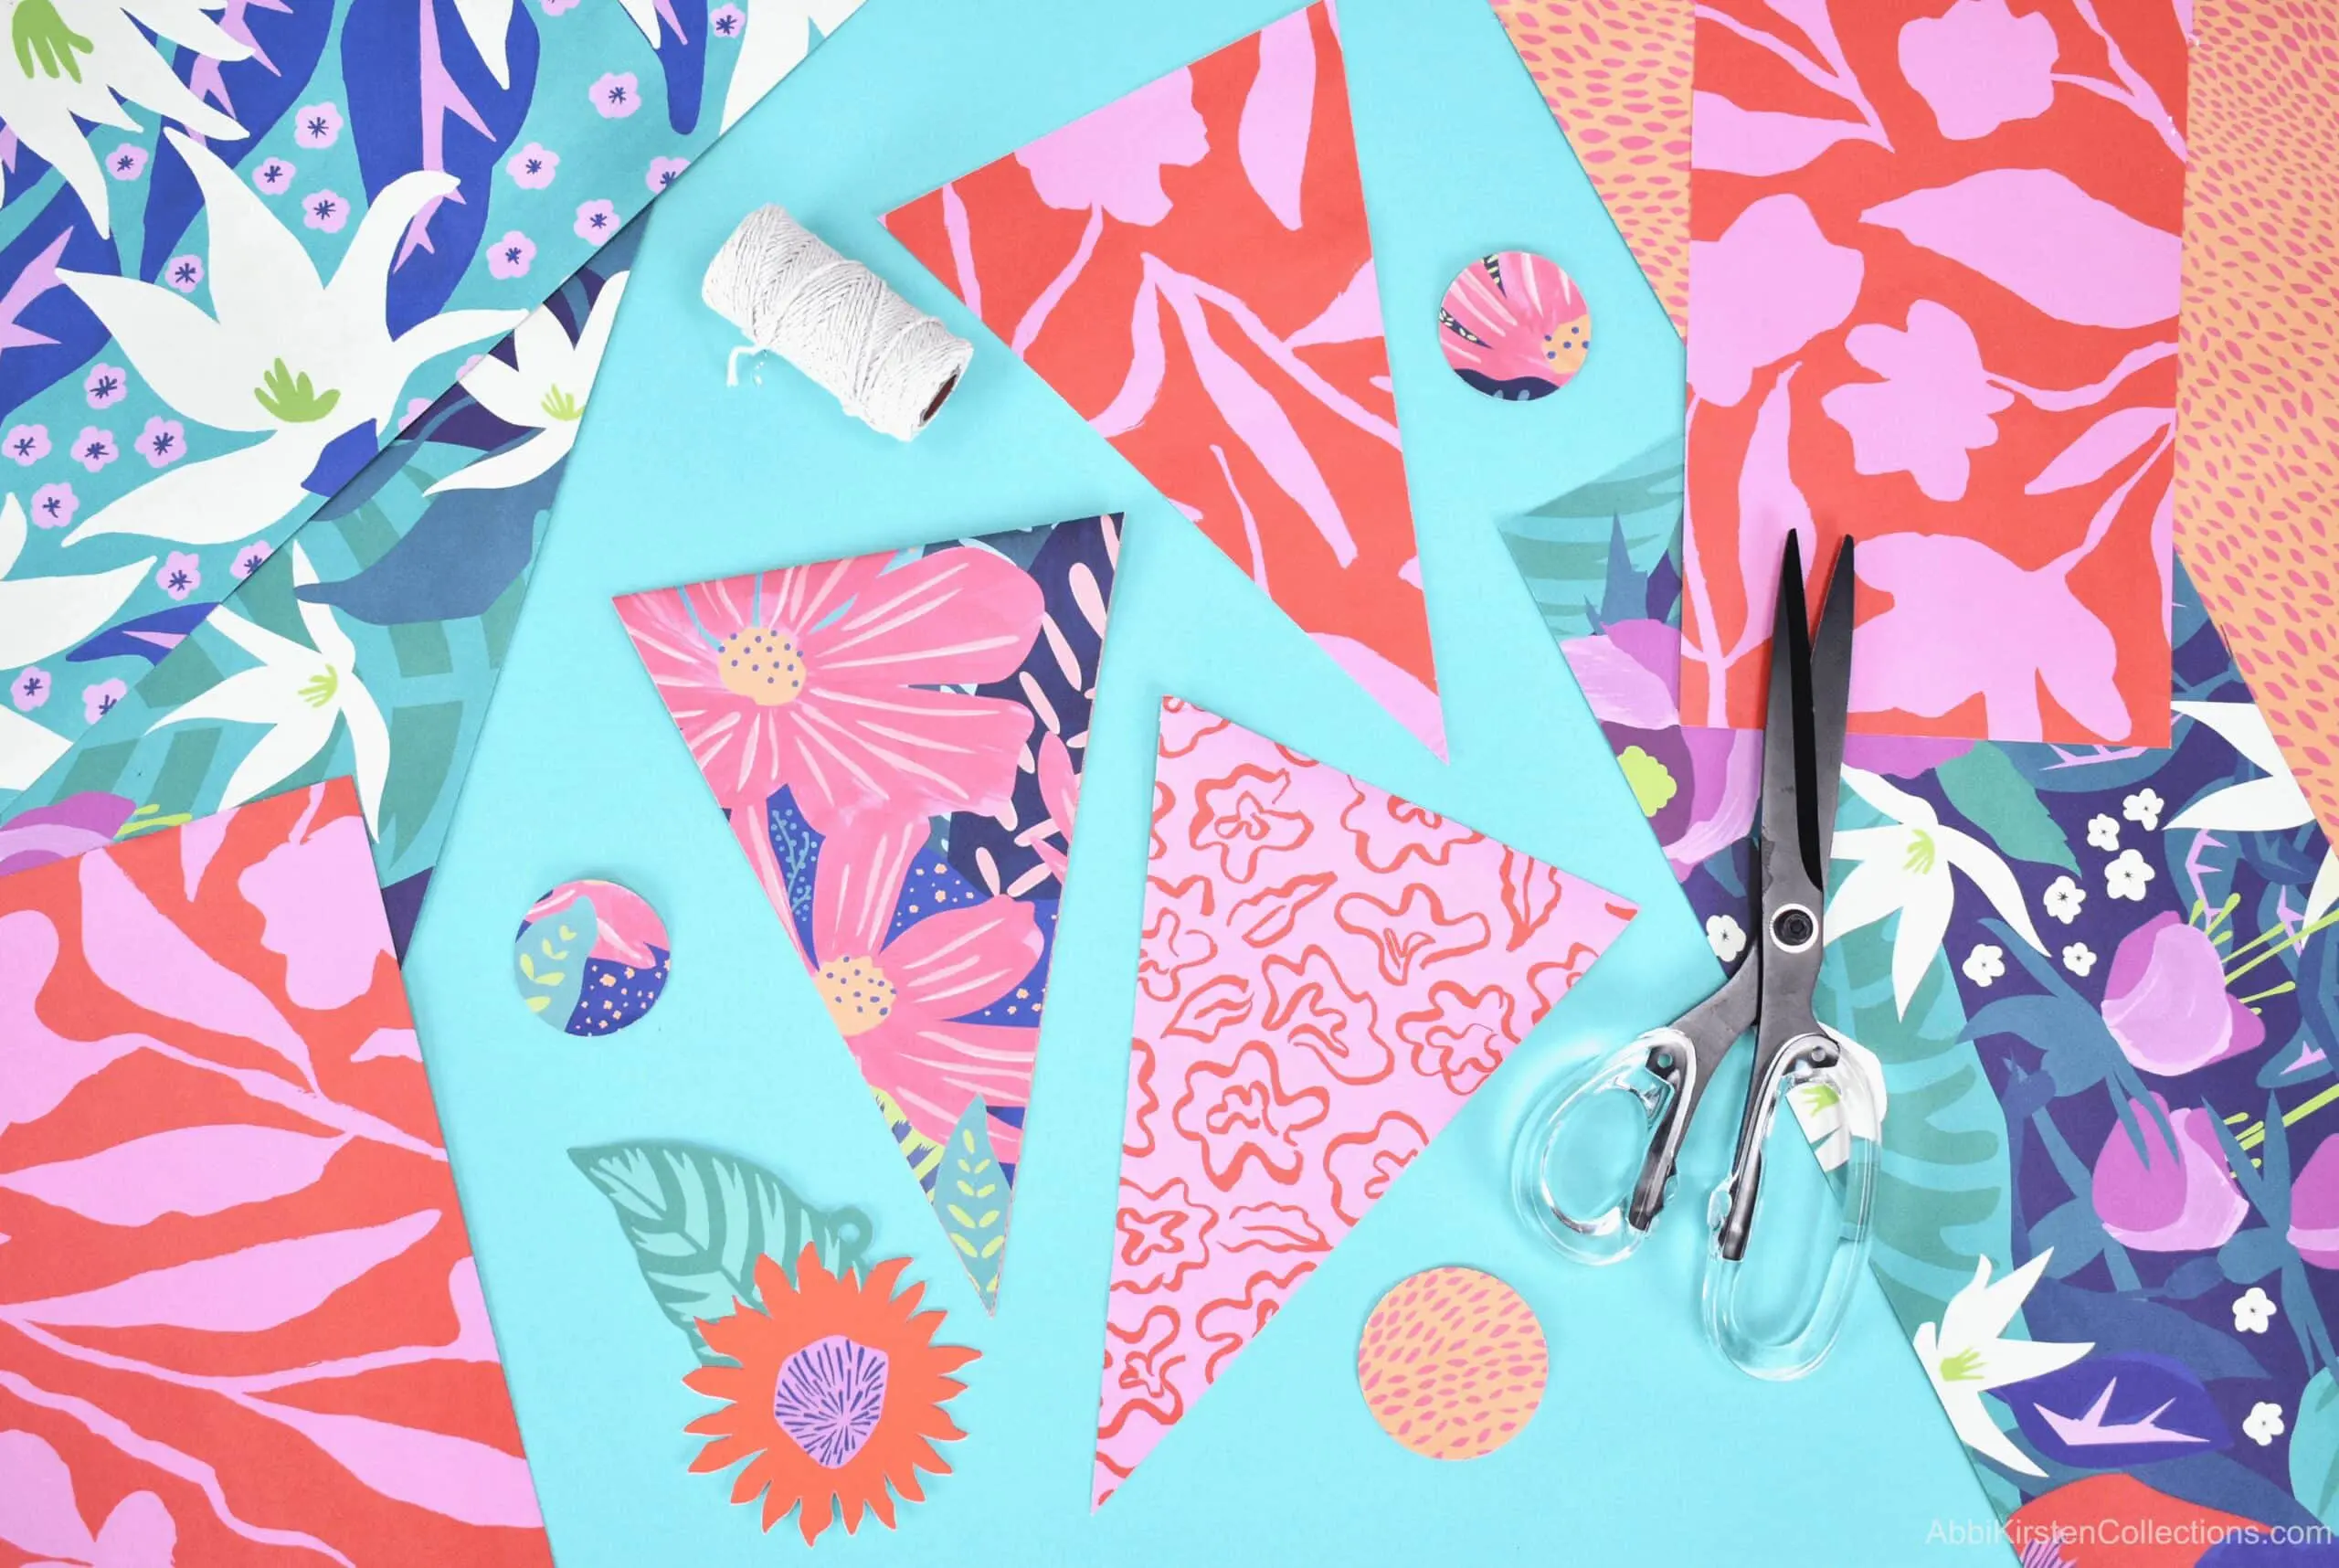
Supply List For Floating Ornaments
Let’s go over the supplies you’ll need to make these floating ornaments.
- 4ml acetate (the acetate makes the design look like it’s floating)
- Permanent vinyl (I like the textured metallic, holographic vinyl for this craft)
- Transfer tape
- Weeding tool
- Cricut machine (any Cricut can work, even the Cricut Joy! You may need to select heavy cardstock and set the pressure to More on the cut screen when using the Joy to cut acetate.)
- Clear plastic ornament balls
- Ribbon or baker’s twine
- Cricut scraper
- Brayer tool

Download the Floating Ornament Templates
To get access to the ornament templates, find them in the Abbi Kirsten Craft Vault with the keyword “floating ornaments” in the top search bar, which will reveal all the free and A-Star Crafters options for you to pick from.
Free Floating Ornament SVG Designs
Below are direct links to the free designs for these floating ornaments. (And remember, you can always apply your own design or image.)
- Floating ornament base template and size guide
- All is calm. All is bright ornament SVG
- Joy to the world ornament SVG
- Deck the halls ornament SVG
- Tis the season ornament SVG
A-Star Crafters Floating Ornament SVG Designs
As an A-Star Crafter, in addition to the free designs above, you get access to the following ornament designs – plus all my Christmas SVG files and crafts! Join thousands of others by becoming an A-Star Crafter.
- Santa sleigh ornament SVG
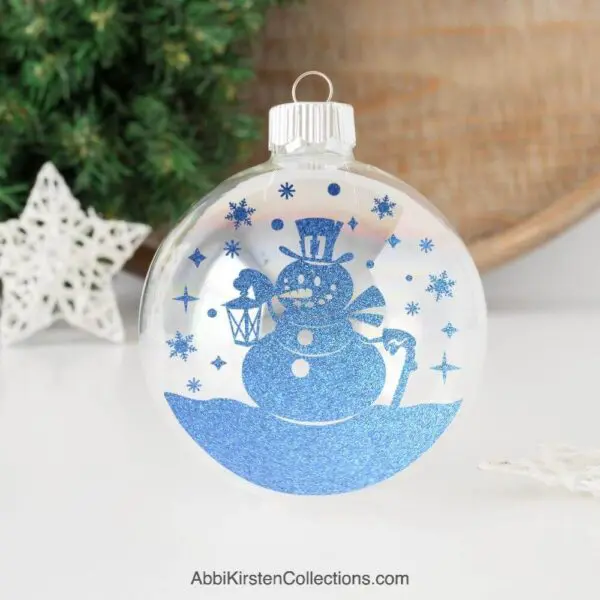
- Snowman ornament SVG
- Christmas tree ornament SVG
- Deer in a forest ornament SVG
- Merry Christmas ornament SVG
- It’s Christmas time ornament SVG
- Merry and bright ornament SVG

How To Make Floating Ornaments: Video Tutorial
Watch the step-by-step video tutorial below, where I cover how to size your template in Cricut Design Space. And, keep reading for a full written tutorial for this Christmas craft with Cricut.
Steps For Making Floating Ornaments
Here’s your step-by-step guide for making the floating ornaments.
1. Upload The Templates Into Cricut Design Space.
After downloading the templates, browse to where you saved them on your computer, then upload the SVG files into Cricut Design Space. If you need help uploading, see how to upload an SVG into Cricut Design Space or watch the process on my YouTube channel.

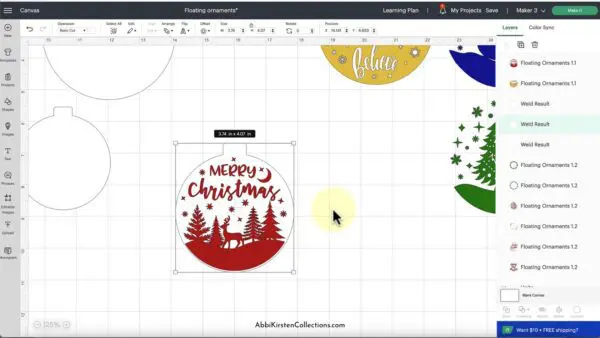
2. Size The Ornament Template and Vinyl Design.
Now we’re ready to scale the floating ornament templates in Design Space to match the size of your clear ornament ball. (Refer to the size chart that comes with the SVG download or see the ornament template sizes earlier in this post.) For example, my ornament here is 80mm, which is 3.14 inches so I’ll set the width of my ornament to 3.14. Do not change the size by height because if you do, it will include the top crown piece and we only want the diameter (width) of the ornament.
- First, do rt-click > Ungroup to ungroup the file.
- Scale the template that will be used for the clear acetate piece. Hover over any of the corners, click-drag, and scale up or down for a smaller or larger result. You can also type in the exact dimensions in the top edit bar (which I recommend for accuracy).
- Scale the decorative design that we’ll be cutting out in vinyl. I like to scale this slightly smaller than the ornament base piece, so for me, that’s about 3 inches. You want to be able to see the outer edges of your design.
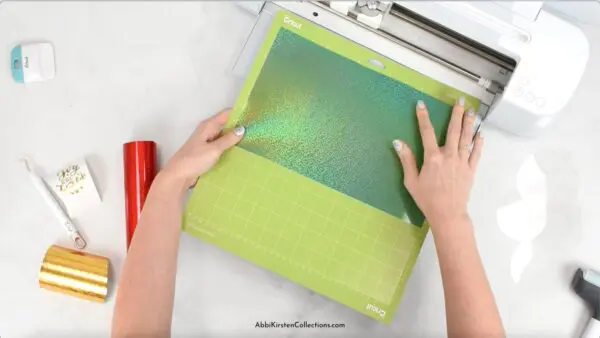
3. Choose The Material Settings And Cut The Ornament Pieces.
Once the SVG files have been sized in Design Space (and be sure to Save), click the Make It then Continue buttons and choose your material settings.
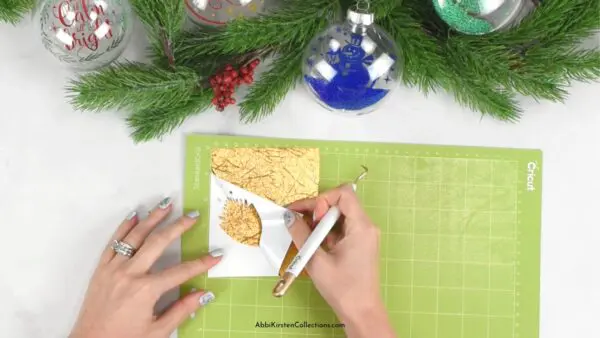
4. Weed The Vinyl.
Once the clear acetate piece and vinyl design have been cut out and peeled away from their mats, it’s time to weed the vinyl. I prefer to weed on the mat, which is helpful if your vinyl liner is curling up on you.
5. Apply Transfer Tape.
- Next, apply the transfer tape to the vinyl and burnish the front and back with the Cricut scraper tool.
- Flip the design face down and peel the liner away from the transfer tape to pick up the weeded vinyl result.
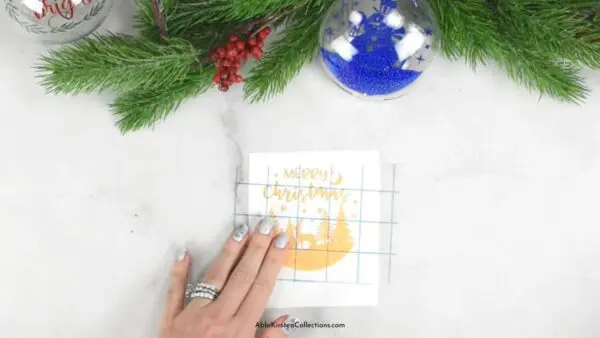
6. Apply Acetate Cutout.
- Flip the design so the transfer tape is sticky-side up, and place the acetate ornament cut out on top, centering it. Burnish the front and back again with the Cricut scraper tool.
- Flip it over and peel back the transfer tape.

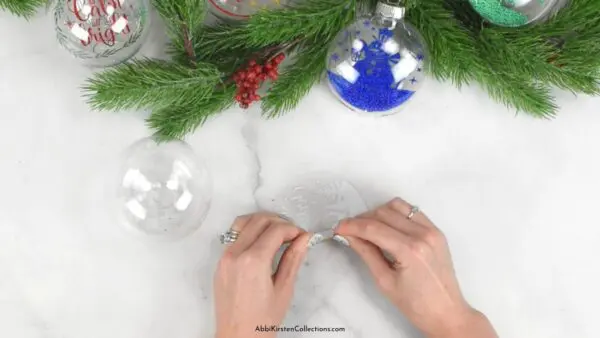
7. Finish Assembling The Floating Ornament.
- Take your clear plastic ornament ball and remove the top crown to put in the acetate and vinyl piece.
- Roll the acetate cutout with the vinyl design on it, as if you’re rolling up a piece of paper into a cone. (I roll with the design face down.)
- Slide it inside the ornament, letting it open naturally. Use your weeding tool to move it into place. You want it to be as centered as possible.
And that’s it! With just a few simple steps and your Cricut, you have festive, personalized ornaments to brighten your home for the holidays or share as unforgettable gifts!

What To Do If Your Ornament Design Doesn’t Fit
If you place the floating ornament design inside your plastic ornament and it keeps bunching up, don’t panic; you can usually fix this. Carefully pull the design back out of the ornament and use a pair of detail scissors to go around the circumference of the acetate base, trimming it down ever so slightly so that when you slide it back in, it will no longer scrunch up.

What do you think of this floating ornament craft? Would you make these DIY ornaments with your Cricut this holiday season? What questions do you have for me? Let me know in the comments below.
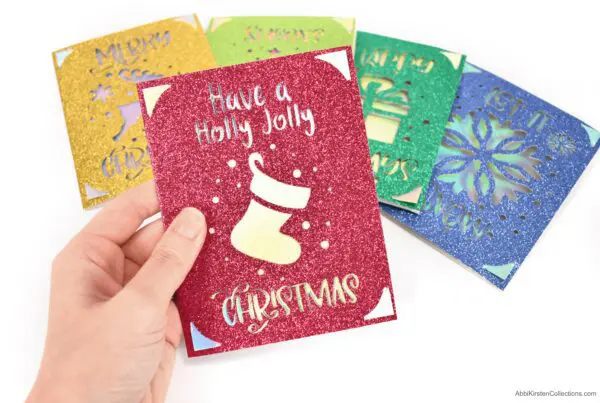
More Christmas Crafts To Love
Find more holiday inspiration and craft ideas in the Christmas crafts section of Abbi Kirsten Collections!


About Abbi Kirsten
Welcome to my colorful corner of the internet, where we play with vibrant crafts and unlock your creative magic! Hang out with me and get lost in a fun array of projects, tutorials, and products, from stunning papercraft ideas to flower templates, Cricut help for beginners, and endless crafter’s hacks.
Join A-Star Crafters and participate in monthly Craft-Alongs in our community Facebook group!


Where do you get the acetate from other than craft stores, as our only craft store is temporarily closed.
Amazon is the best place for online! Here is my link: https://amzn.to/3WmjLlR