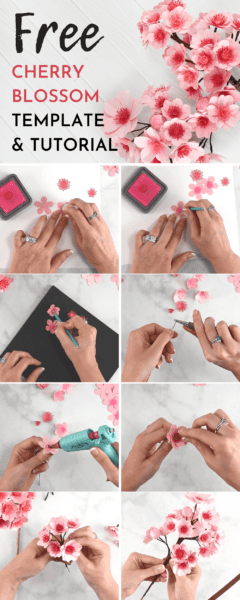
DIY Paper Flower Cherry Blossoms with Free Templates
This post may contain affiliate links that won’t change your price but will share some commission.
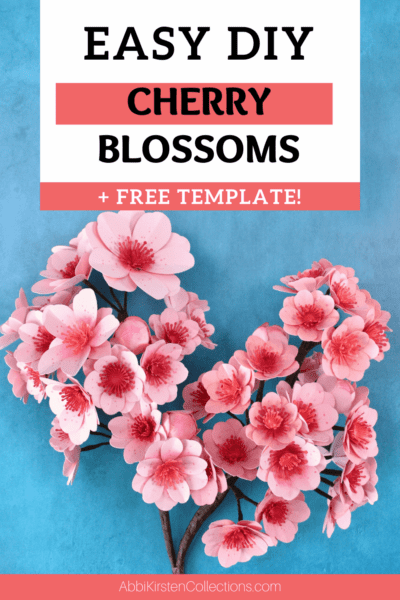
Cherry blossoms bring the lightness and freshness of spring to life when they bloom. Today I will teach you how to make paper cherry blossom flowers with my free printable cherry blossom templates and SVG cut files for Cricut. Keep reading to learn all the supplies you need to make your own paper cherry blossom branch papercraft!
These cherry blossoms paper flowers are easy enough for any beginner can do, and while they do take some patience, the result is well worth it!
For more beginner-friendly paper flowers, check out the 21 Best Paper Flower Tutorials for Beginners. Additionally, you may enjoy downloading these 15 free Spring Time SVG cut files!
How to make Paper Cherry Blossom Flowers step by step – Video Tutorial
Watch the full video tutorial to make these paper cherry blossoms. Don’t forget to download the free printable cherry blossom templates and SVG cut files below! You can also keep reading for a picture overview tutorial. Save this project for later here
Supplies for Paper Cherry Blossom Branches
- Free Cherry Blossom Templates – Both PDF printables and SVG cut files are included so you can cut these templates with scissors or with your Cricut machine. Access the templates for FREE below this supply list.
- Paper Blooms Shaping Mat and Toolset
- Cardstock paper
- Cotton spun balls or wood beads
- Detail scissors
- Floral wire – thick floral wire, 22 gauge wire
- Tack glue
- Floral tape
- Glue gun
- Wire clippers
- Needle-nose pliers
- Distress ink and ink sponge
Download the Free Cherry Blossom Templates
These paper cherry blossom templates are free to download in the Abbi Kirsten Craft Vault when you join my community! Once you set your password via the email sent to you, enter the Vault, and search at the top with the keyword “cherry blossoms” or design #495.
Already have an account. Log in here and download the flower templates!
Need help entering the Vault? Read this helpful post here.
Cutting the Templates by Hand or with Your Cricut Machine
These cherry blossom templates are easy enough to cut by hand with a pair of scissors, although they will take more patience. I recommend a Cricut or other type of cutting machine to help you make your paper flowers.
Need help choosing a Cricut? Read my Cricut buyer’s guide here.
Cherry Blossom Template Petal Count
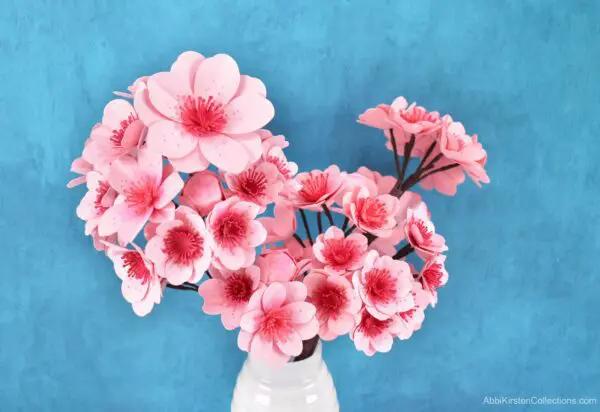
Cherry blossoms do not necessarily have an exact petal count because every branch is different but in my tutorial, I used 2 base petal layers and 2 center layers (one larger, one smaller) to make 1 blossom.
Each of my two branches had approximately 30 base petal layers and 30 center petal layers for a total of 15 finished buds. But be free with this. If you want a fuller longer branch then you would need to double the petal count. Watch the video tutorial here to see the whole process.
Cherry Blossom Paper Flower Tutorial
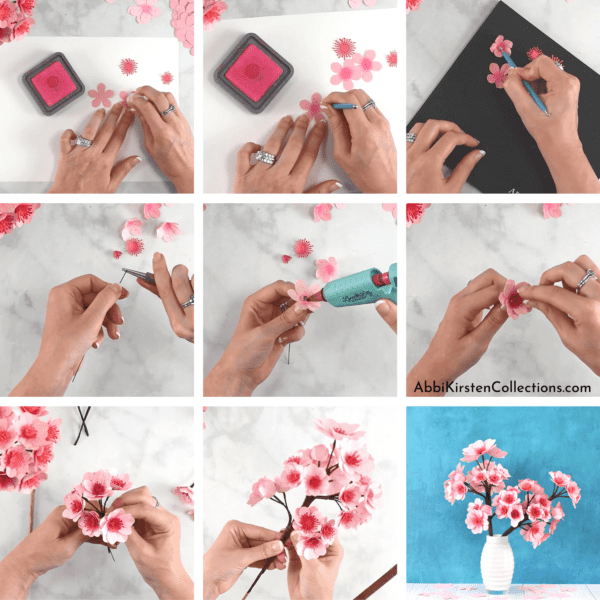
- Cut out your cherry blossom petals using our free templates (download above). Suggested petal count listed above.
- Use your distress ink to add a bit of ink to the center of each bud. Use the Paper Blooms Shaping Mat and the smallest dotting tool to add some freckles to each bud. These steps are optionally but really bring the cherry blossoms to life.
- Roll the center of each bud on the shaping mat and toolset applying firm pressure and a circular motion to the center.
- Shape a small loop at the top of your 22 gauge floral wire with your pliers. Bend the loop at a 90-degree angle.
- Use your detail scissors to punch a hole through the center of one base petal. Then thread the wire up to the loop at the top.
- Add hot glue to the center and place the second base petal over the first sandwiching the 90-degree bent loop between the two layers.
- Layer together the two center pieces of the cherry blossom, the smaller center inside the larger one. Glue the stamen to the center of the stemmed bud.
- Wrap the wire with brown floral tape to complete your paper cherry blossom bud.
- Repeat steps 2-8 until you have completed 15-30 buds. Watch the full cherry blossom video tutorial here.
Building the Paper Cherry Blossom Branches
- After you have built at least 15 buds, begin to form clusters of 3-7 by wrapping them together with floral tape.
- Cover your thicker 18-gauge wire with matching brown floral tape and begin adding the paper cherry blossom clusters to the center wire piece by wrapping them with floral tape.
- Repeat this process until you are happy with the fullness of your paper cherry blossom branches!
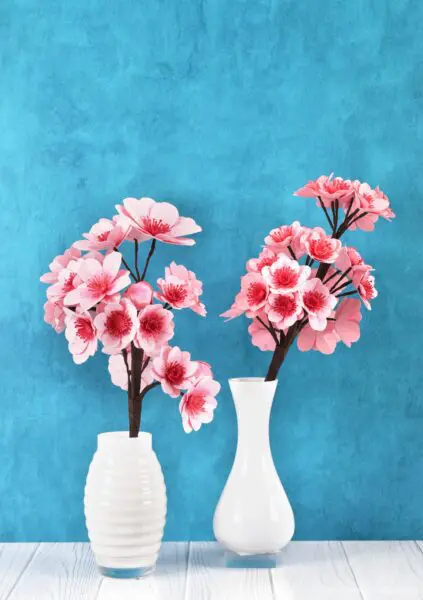
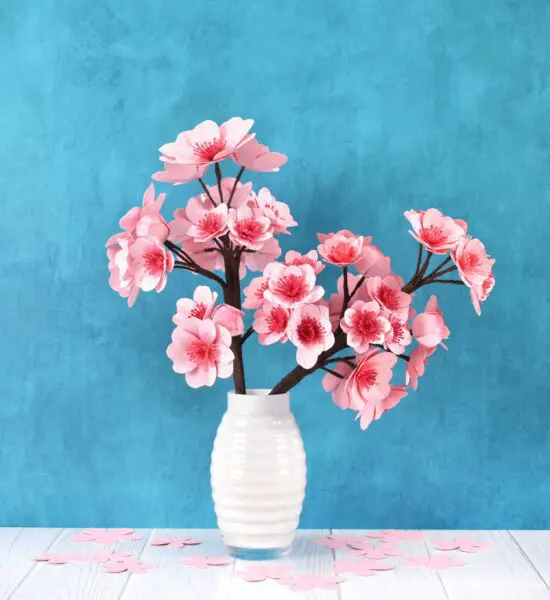
These paper cherry blossoms are perfect for a vase, table centerpiece, or mantel decor!
Did you enjoy this free cherry blossom template and tutorial? Save this project on Pinterest here!
More Free Spring Crafts and SVG Cut Files
Looking for more springtime inspiration? Check out all these free crafts and SVG cut files from my fellow craft bloggers!
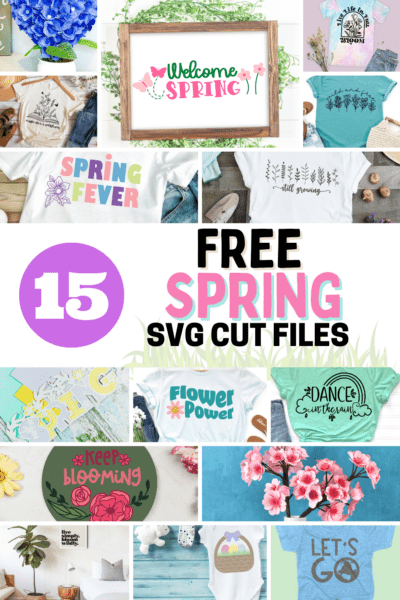
- Maybe She’s A Wildflower from Crafty Life Mom
- Spring Cherry Blossoms from Abbi Kirsten Collections
- Flower Power from Liz on Call
- Spring Fever from Sunshine and Munchkins
- Live Simply Bloom Wildly from The Walnut Street House
- Live Life in Full Bloom from Persia Lou
- Paper Hydrangeas from Dinosaur Mama
- Wild and Free from Artsy Fartsy Mama
- Welcome Spring from Simple Made Pretty
- Dance in the Rain from Crafting Overload
- Spring Layered File from Extraordinary Chaos
- Still Growing from Tried & True Creative
- Keep Blooming from Gina C. Creates
- Easter Basket from Kiy’s Craftroom
Frequently Asked Questions About Making Paper Cherry Blossom Branches
What paper should I use to make the cherry blossoms?
65-pound weighted cardstock or 176gsm is best for making these cherry blossoms.
How many blossoms should be on one branch?
For my tutorial, I made 15-20 buds per branch, but you can make more or less depending on your particular style.
How do I download the templates?
The free cherry blossom templates can be found in my Freebie Vault. If you have not yet created a free account, you can do so here and use the keyword “cherry blossom” once logged in to find the free templates.
About Abbi Kirsten
Welcome to my colorful corner of the internet, where we play with vibrant crafts and unlock your creative magic! Hang out with me and get lost in a fun array of projects, tutorials, and products, from stunning papercraft ideas to flower templates, Cricut help for beginners, and endless crafter’s hacks.
To access all the magic, join the Member Vault and participate in my monthly Craft-Alongs in my Facebook group!


Abbi,
These cherry blossoms are gorgeous! Thank you for making this project and sharing the how-to’s with us. I am excited to make them.
You’re welcome!
BEAUTIFUL
Really enjoyed the video