Charlotte Paper Rose: Giant Paper Flower Template & Tutorial
This post may contain affiliate links that won’t change your price but will share some commission.
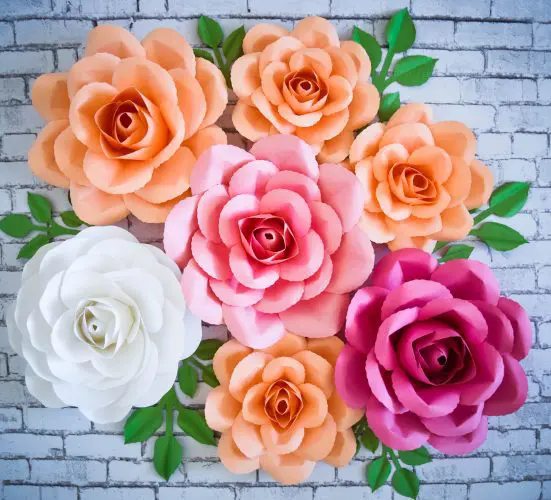
Do I have another giant paper flower tutorial for you? Yes, I do, because paper flowers are awesome! While I love vinyl crafts, creating printables, and holiday projects the whole family can enjoy, I live and breathe paper flowers – I have designed many large paper flowers in the past eight years!
Related Paper Rose Flower Tutorials:
Serena Rose Tutorial | Bella Rose Tutorial | Alora Rose Tutorial | Full Bloom Garden Stemmed Paper Rose Tutorial | Giant Spiral Paper Rose Tutorial
Charlotte Paper Rose: Giant Paper Flower Template
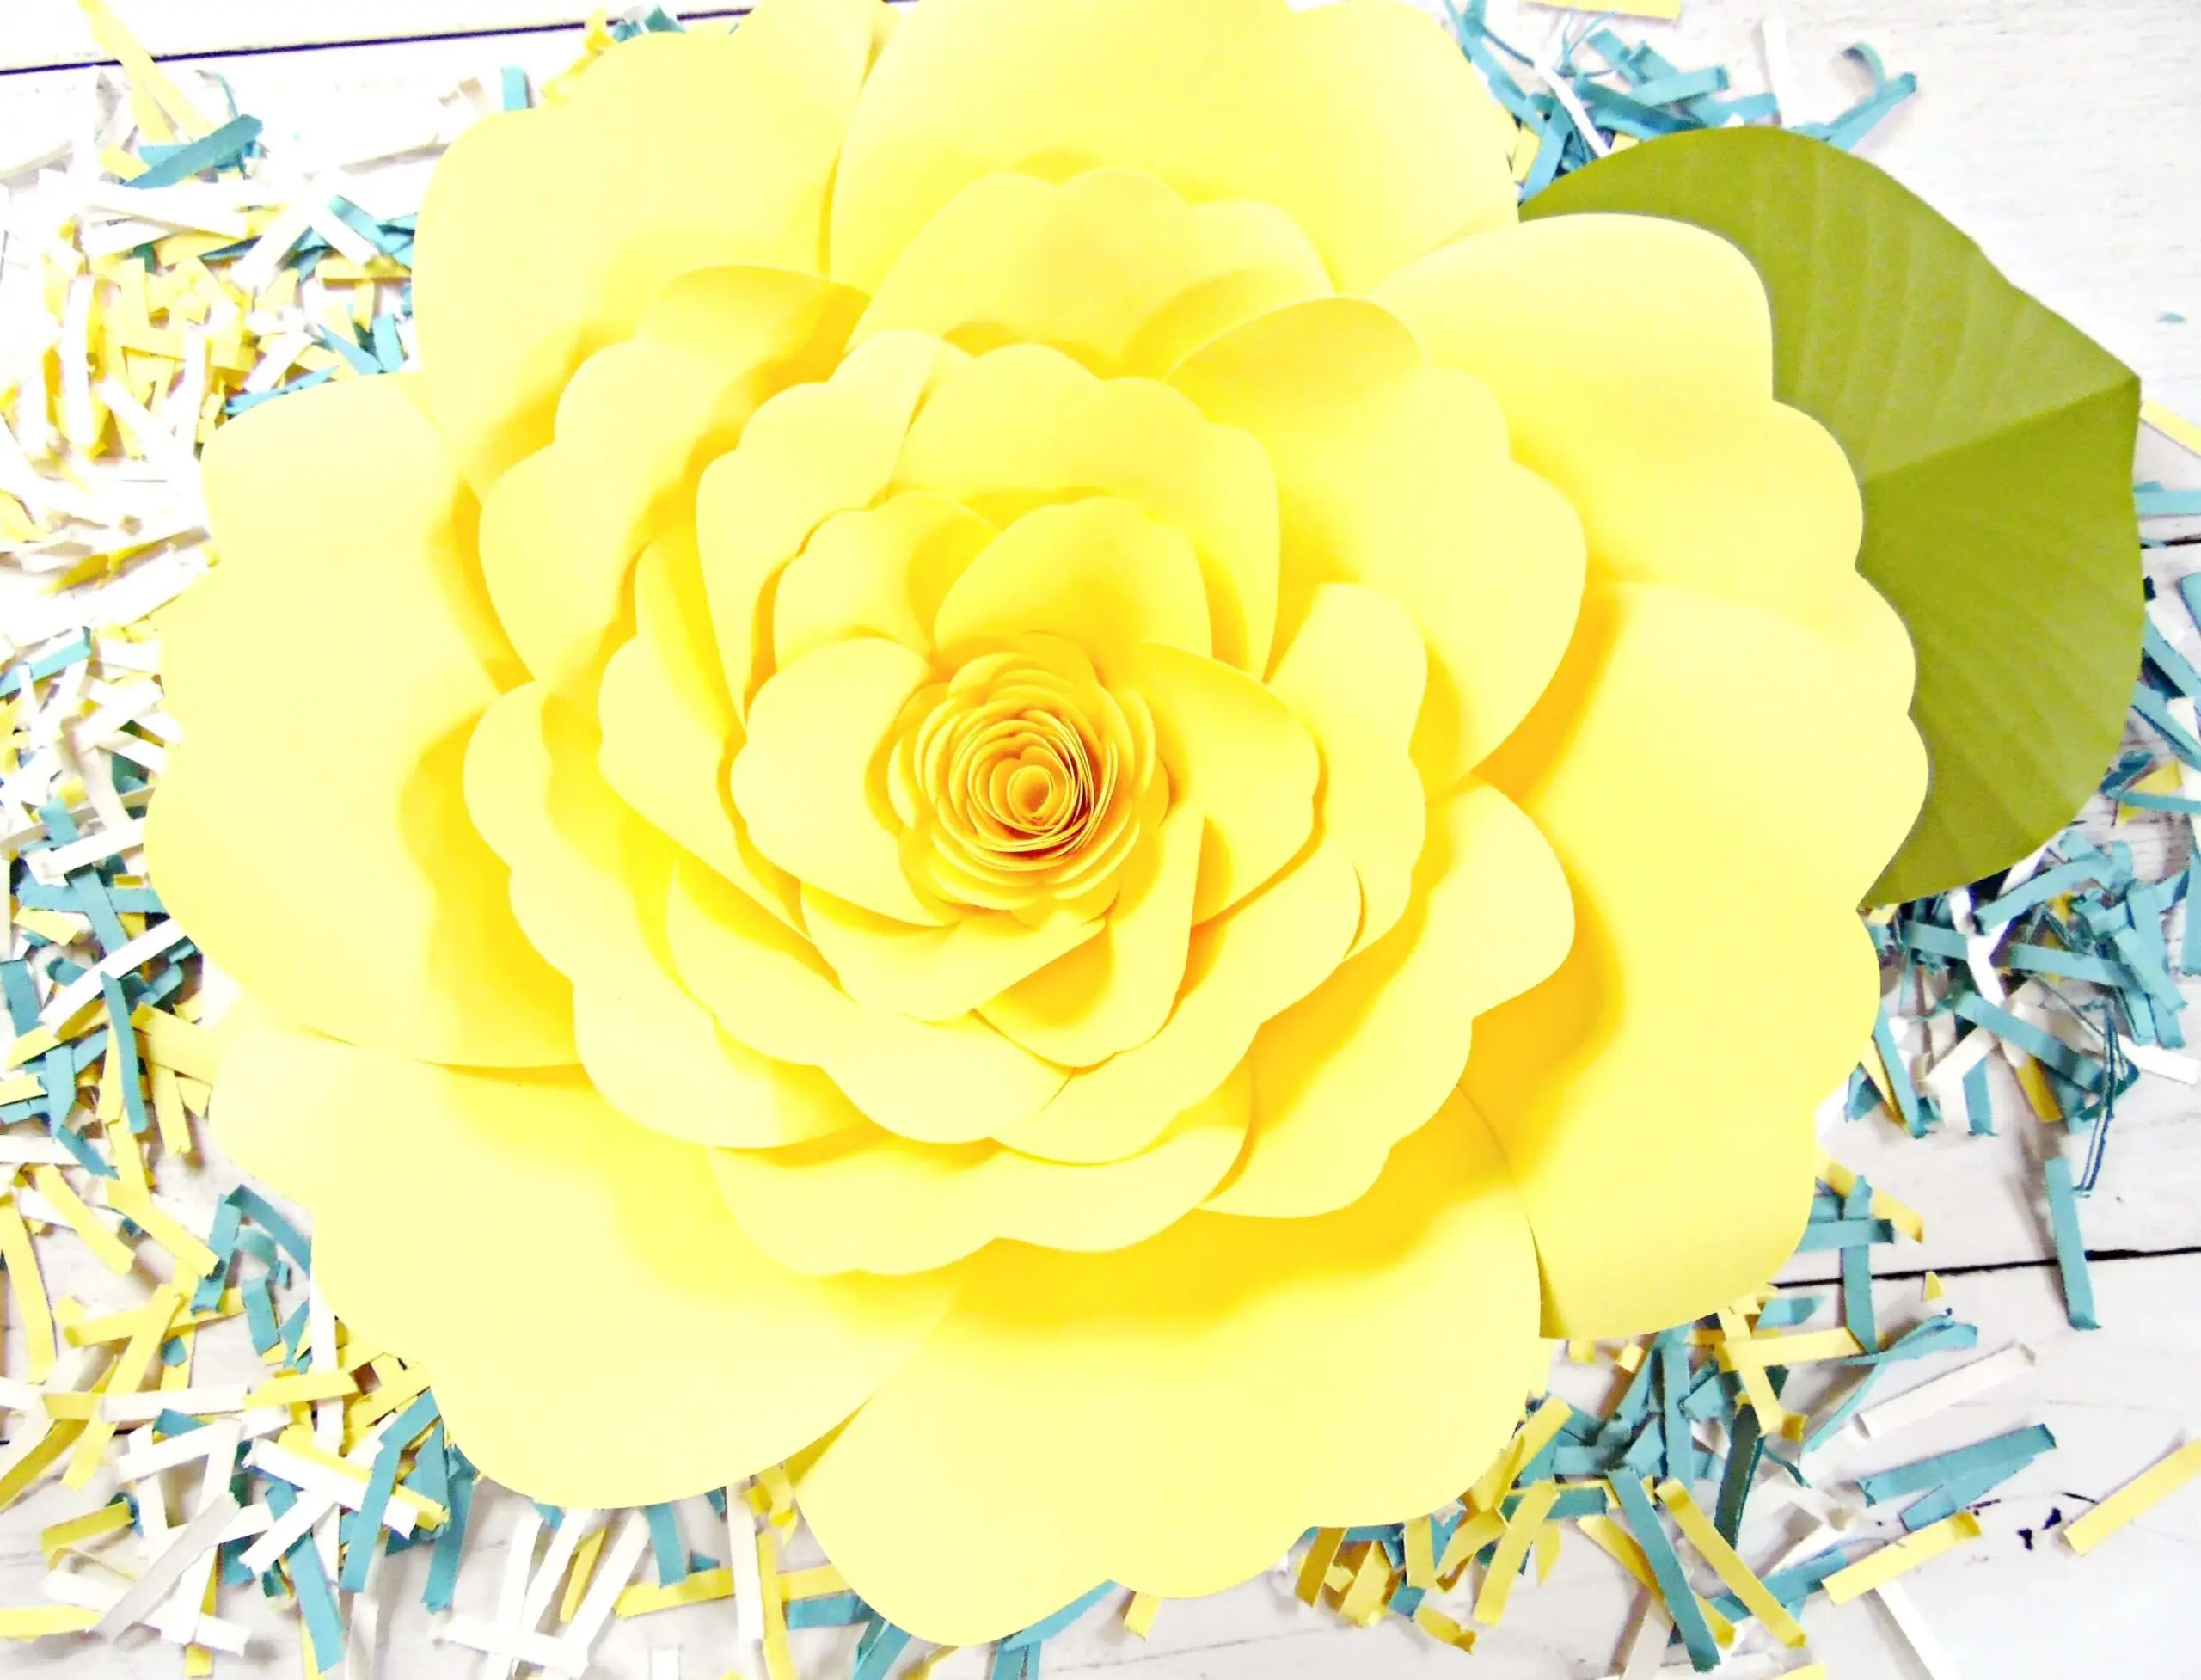
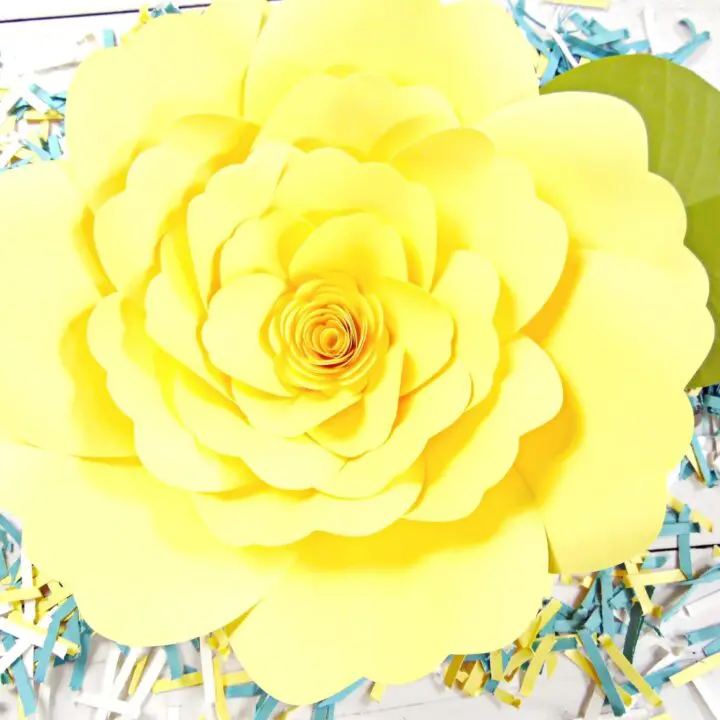
Yellow roses represent joy and friendship, and the Charlotte rose is no exception. They are often found in gift baskets or bouquets for Valentine’s Day, mixed with pink, white, and red roses, or in “Congratulations” and “Get Well Soon” arrangements.
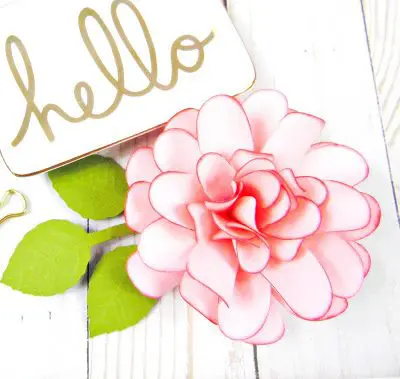
The Charlotte Paper Rose design is a favorite because it has a large bloom, and the scalloped petal edges create a full yet soft ruffle effect. Charlotte roses are exquisite flowers of a soft yellow color that bloom in late spring and are perfect for decorating a nursery or putting together a baby shower. With the right care, these paper flowers can last a long time.
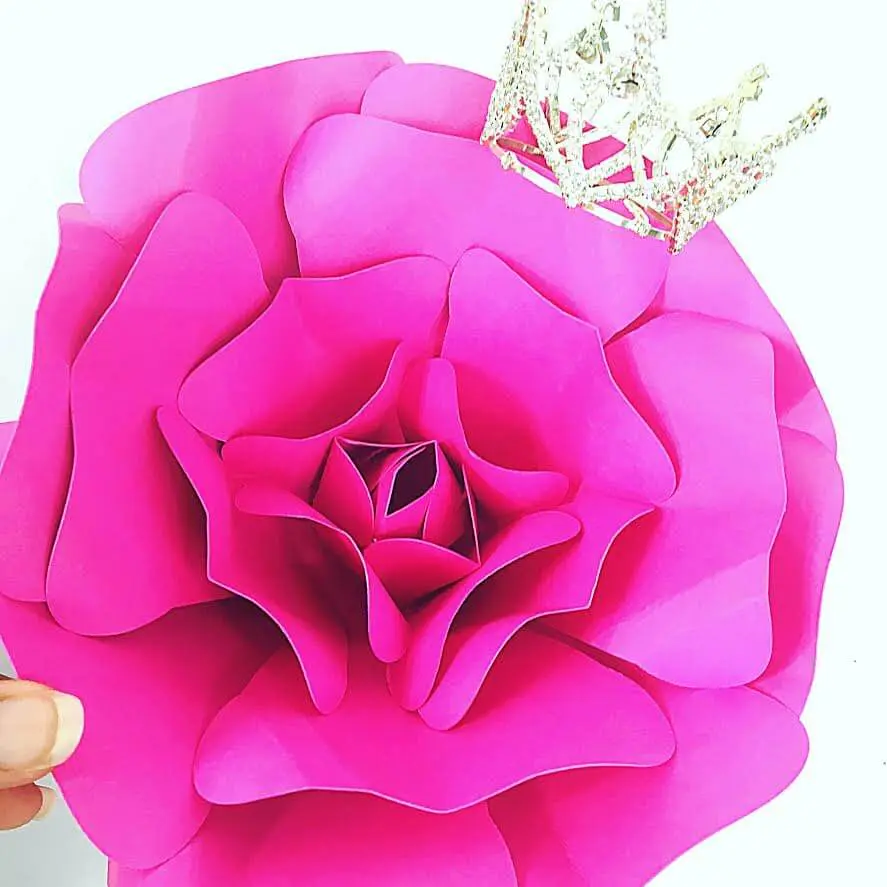
Your Choice Of Charlotte Paper Rose Centers
The center of this flower can be made in three different ways:
- Use the pompom center, which is easy, and no flower template is required to make it.
- Fill the center with small petals curled in different directions, as I teach in the video tutorial below.
- You can use a rosette center. These buds look like beautiful, intricate designs and are always fun to make.
Materials And Supply List For The Charlotte Paper Rose
- 65-pound cardstock in your choice of color
- Scissors
- Cutting Machine
- Glue gun
- Wood dowel for rolling
- Charlotte Rose templates (instant download product)
Are you new to DIY paper flower templates? Get basic tips and a full list of supplies for large and smaller flowers with my Paper Flower Supplies List.
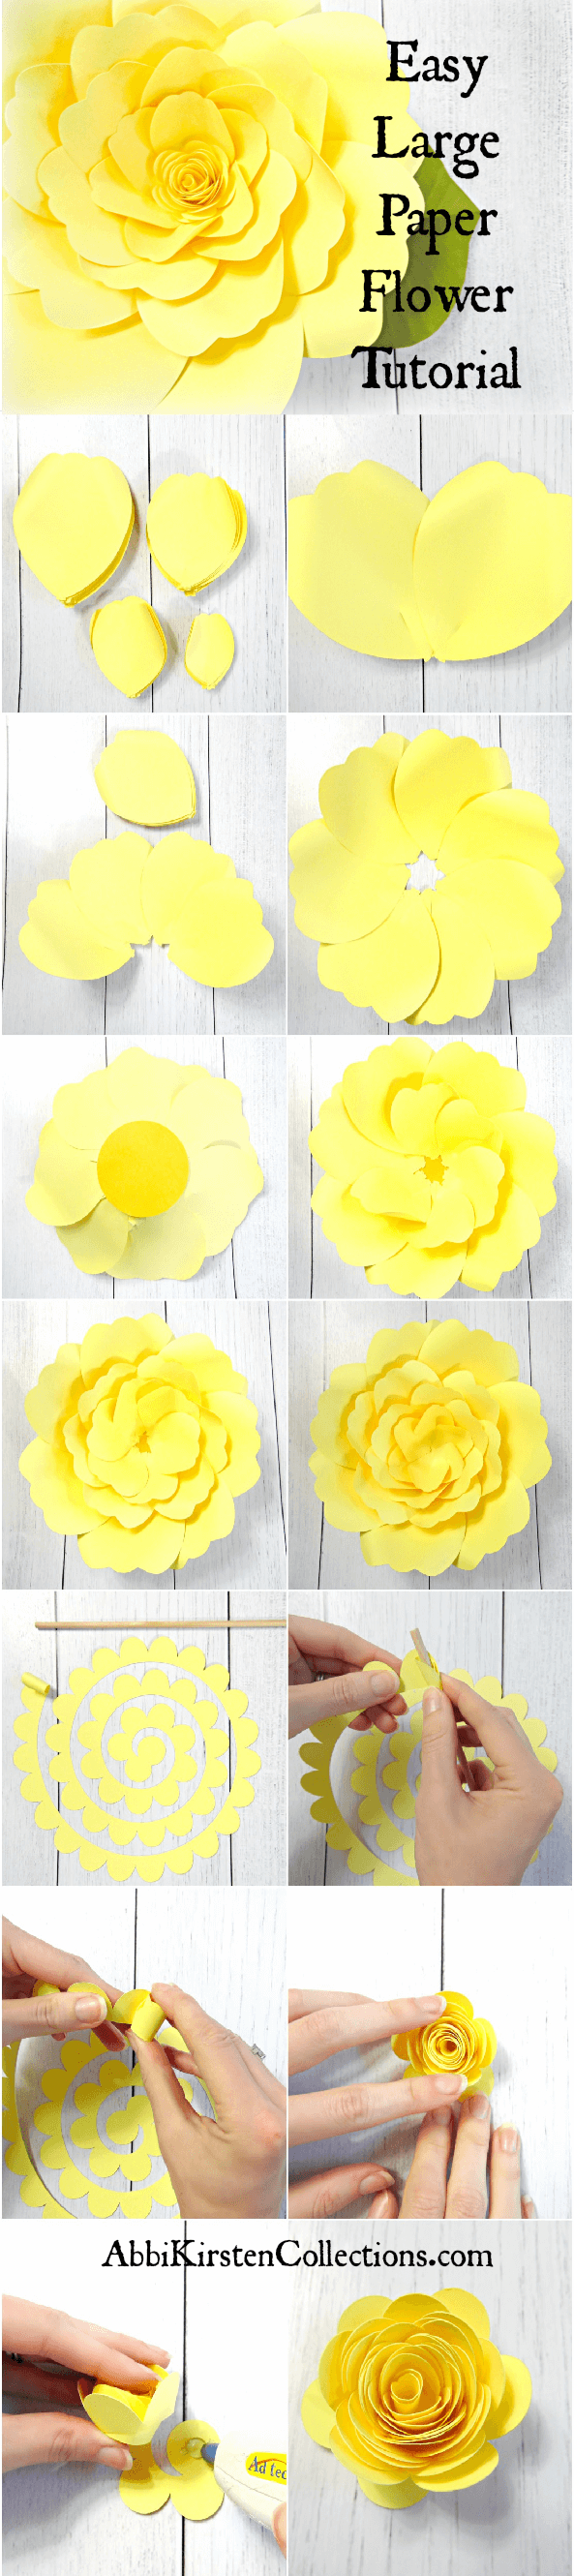
How To Make Giant Charlotte Paper Roses
I’ve included color photos and instructions for the step-by-step basic method to create and assemble the Charlotte paper rose. I also have a Charlotte Paper Rose video tutorial on my YouTube channel! You can add or subtract layers to create a larger or smaller flower.
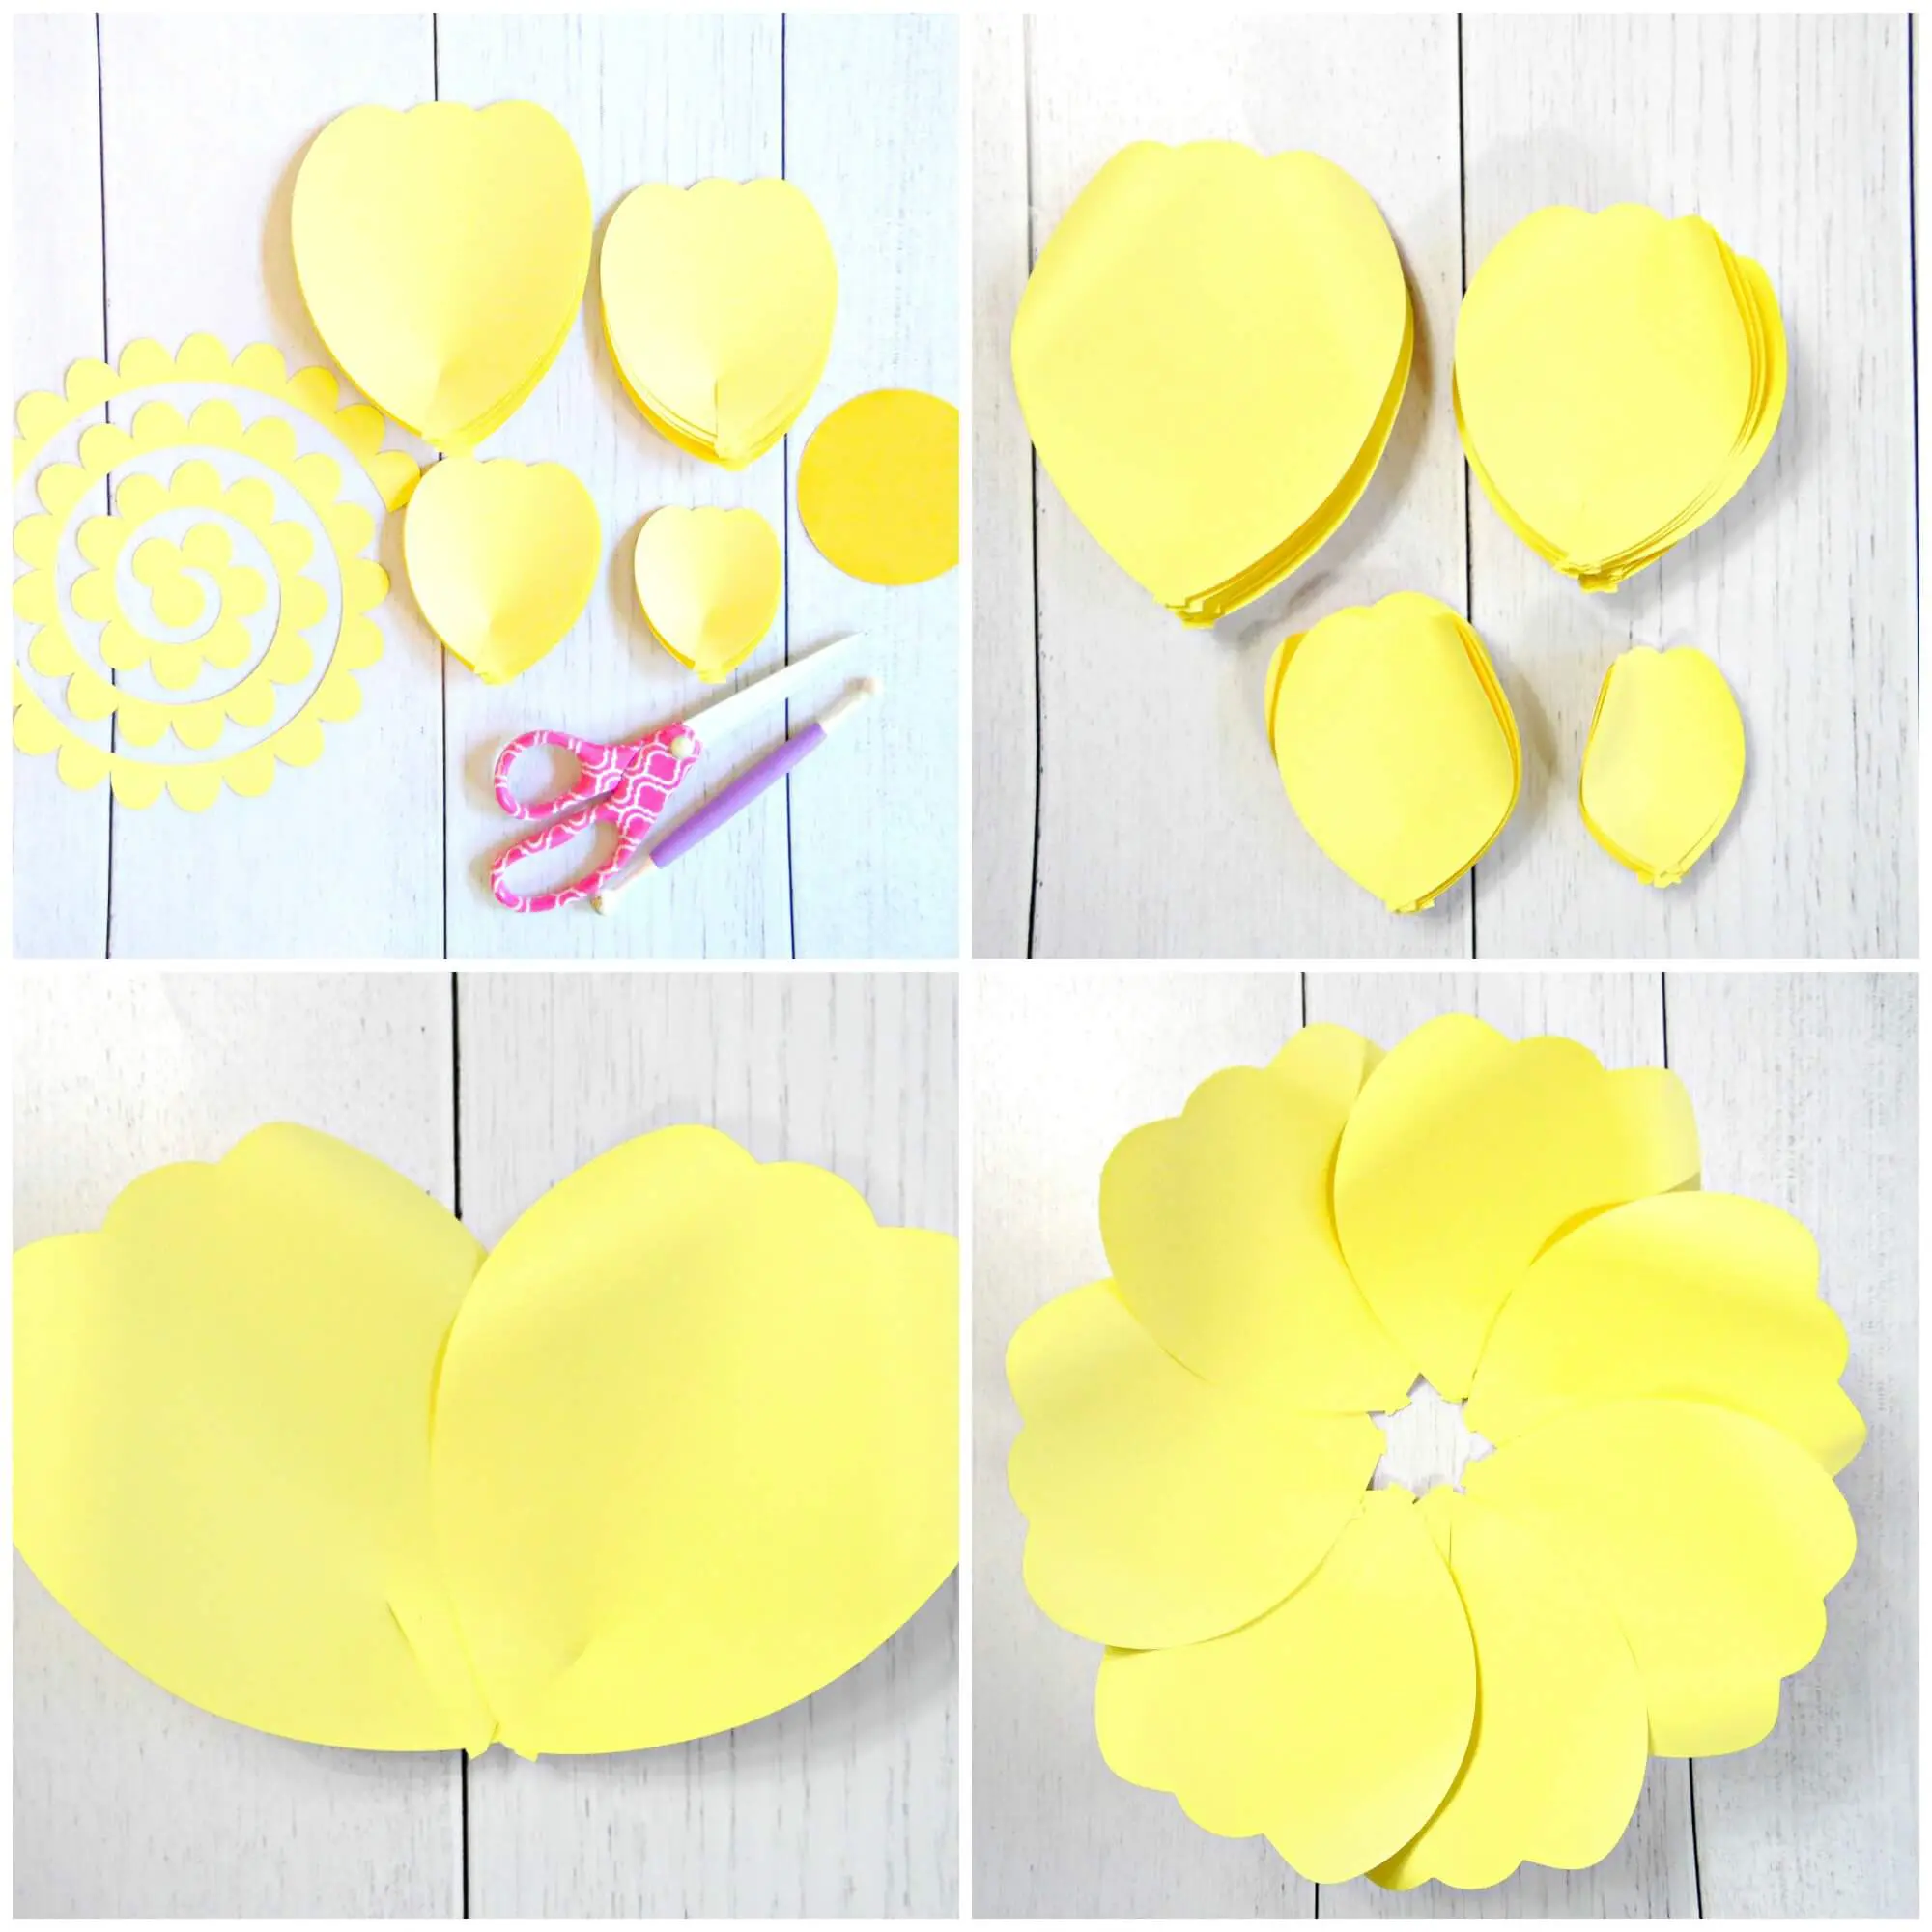
Step 1: Cut Out The Petals
Make sure you have all the supplies ready and a clean workspace. This tutorial is for a large Charlotte flower, which measures about 13-14 inches once made.
Cut out all the different size petals for this specific flower. You can use scissors or a cutting machine. You will need the following petals:
- 1st layer (bottom) – 7 petals
- 2nd layer – 6 petals
- 3rd layer – 6 petals
- 4th layer – 6 petals
Note: If you are making an extra large flower, start with 7-8 extra petals.
Step 2: Make Small Cups In The Petals
Cut a slit from the bottom of the petal towards the tip, stopping below the center of the petal. The slits should be about a fourth of the way up.
Take each side of the slit and slightly overlap them, and secure them with glue. This creates a slight cup in each petal.
Step 3: Curl The Petals
Curl the largest petals backward using a wooden dowel or a pencil.
Curl the remaining petals outward on one side and inward on the other.
Step 4: Create The Bottom Of The Charlotte Rose Paper Flower
Bring two prepared large petals (layer one) together, overlap them slightly at a 45-degree angle, and glue them together.
Continue gluing each petal together in a circle to form the bottom of the rose.
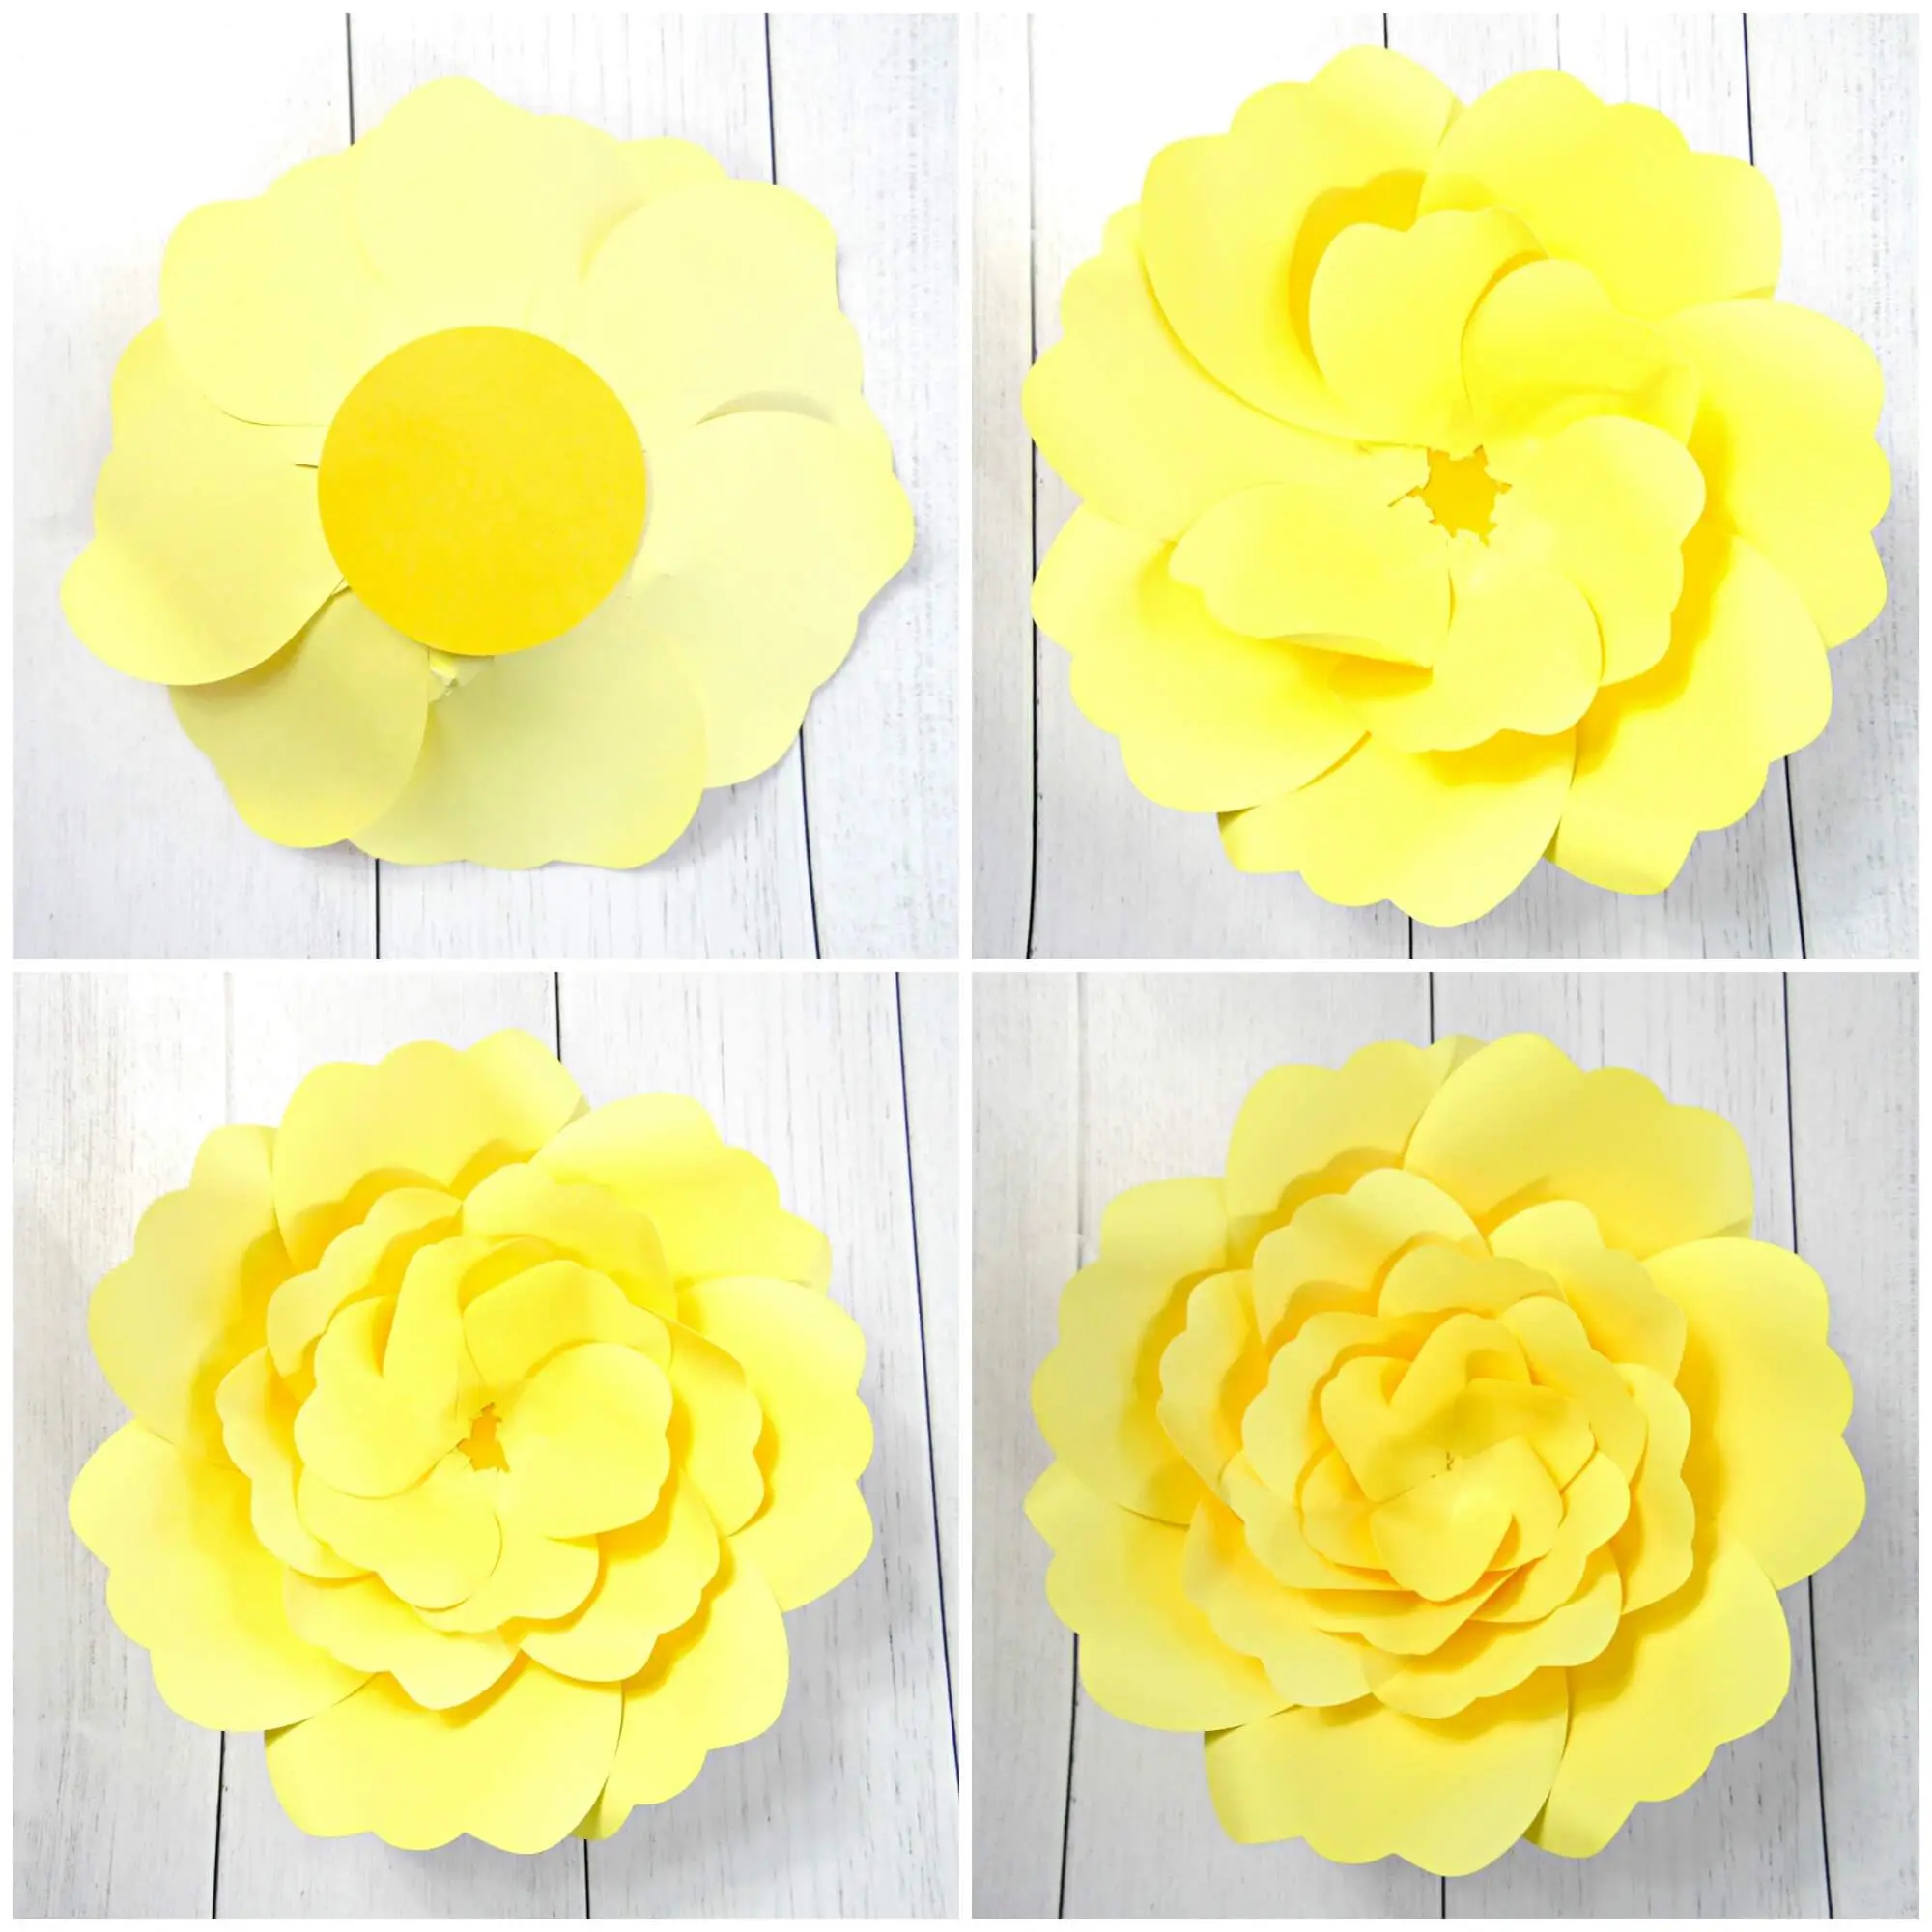
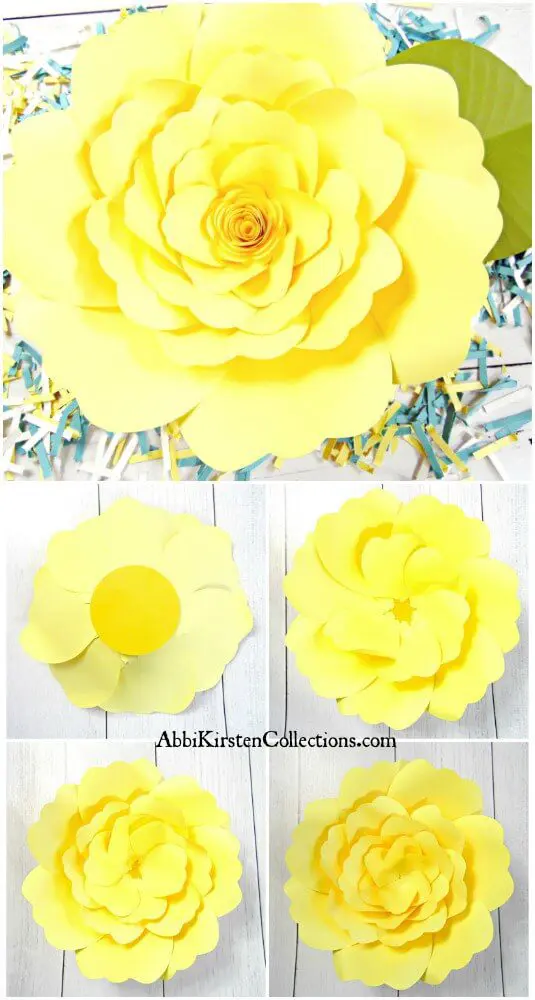
Step 5: Assemble The Rest of The Flower
Before making your next petal layer, use a circle punch or cut a small square of paper to glue over the open back on the outside of the bottom layer you just created.
Glue your second layer of petals to the inside of the first layer, petal by petal. Glue them over the edges of the bottom layer petals so each petal is off-set.
Do this for the remaining layers.
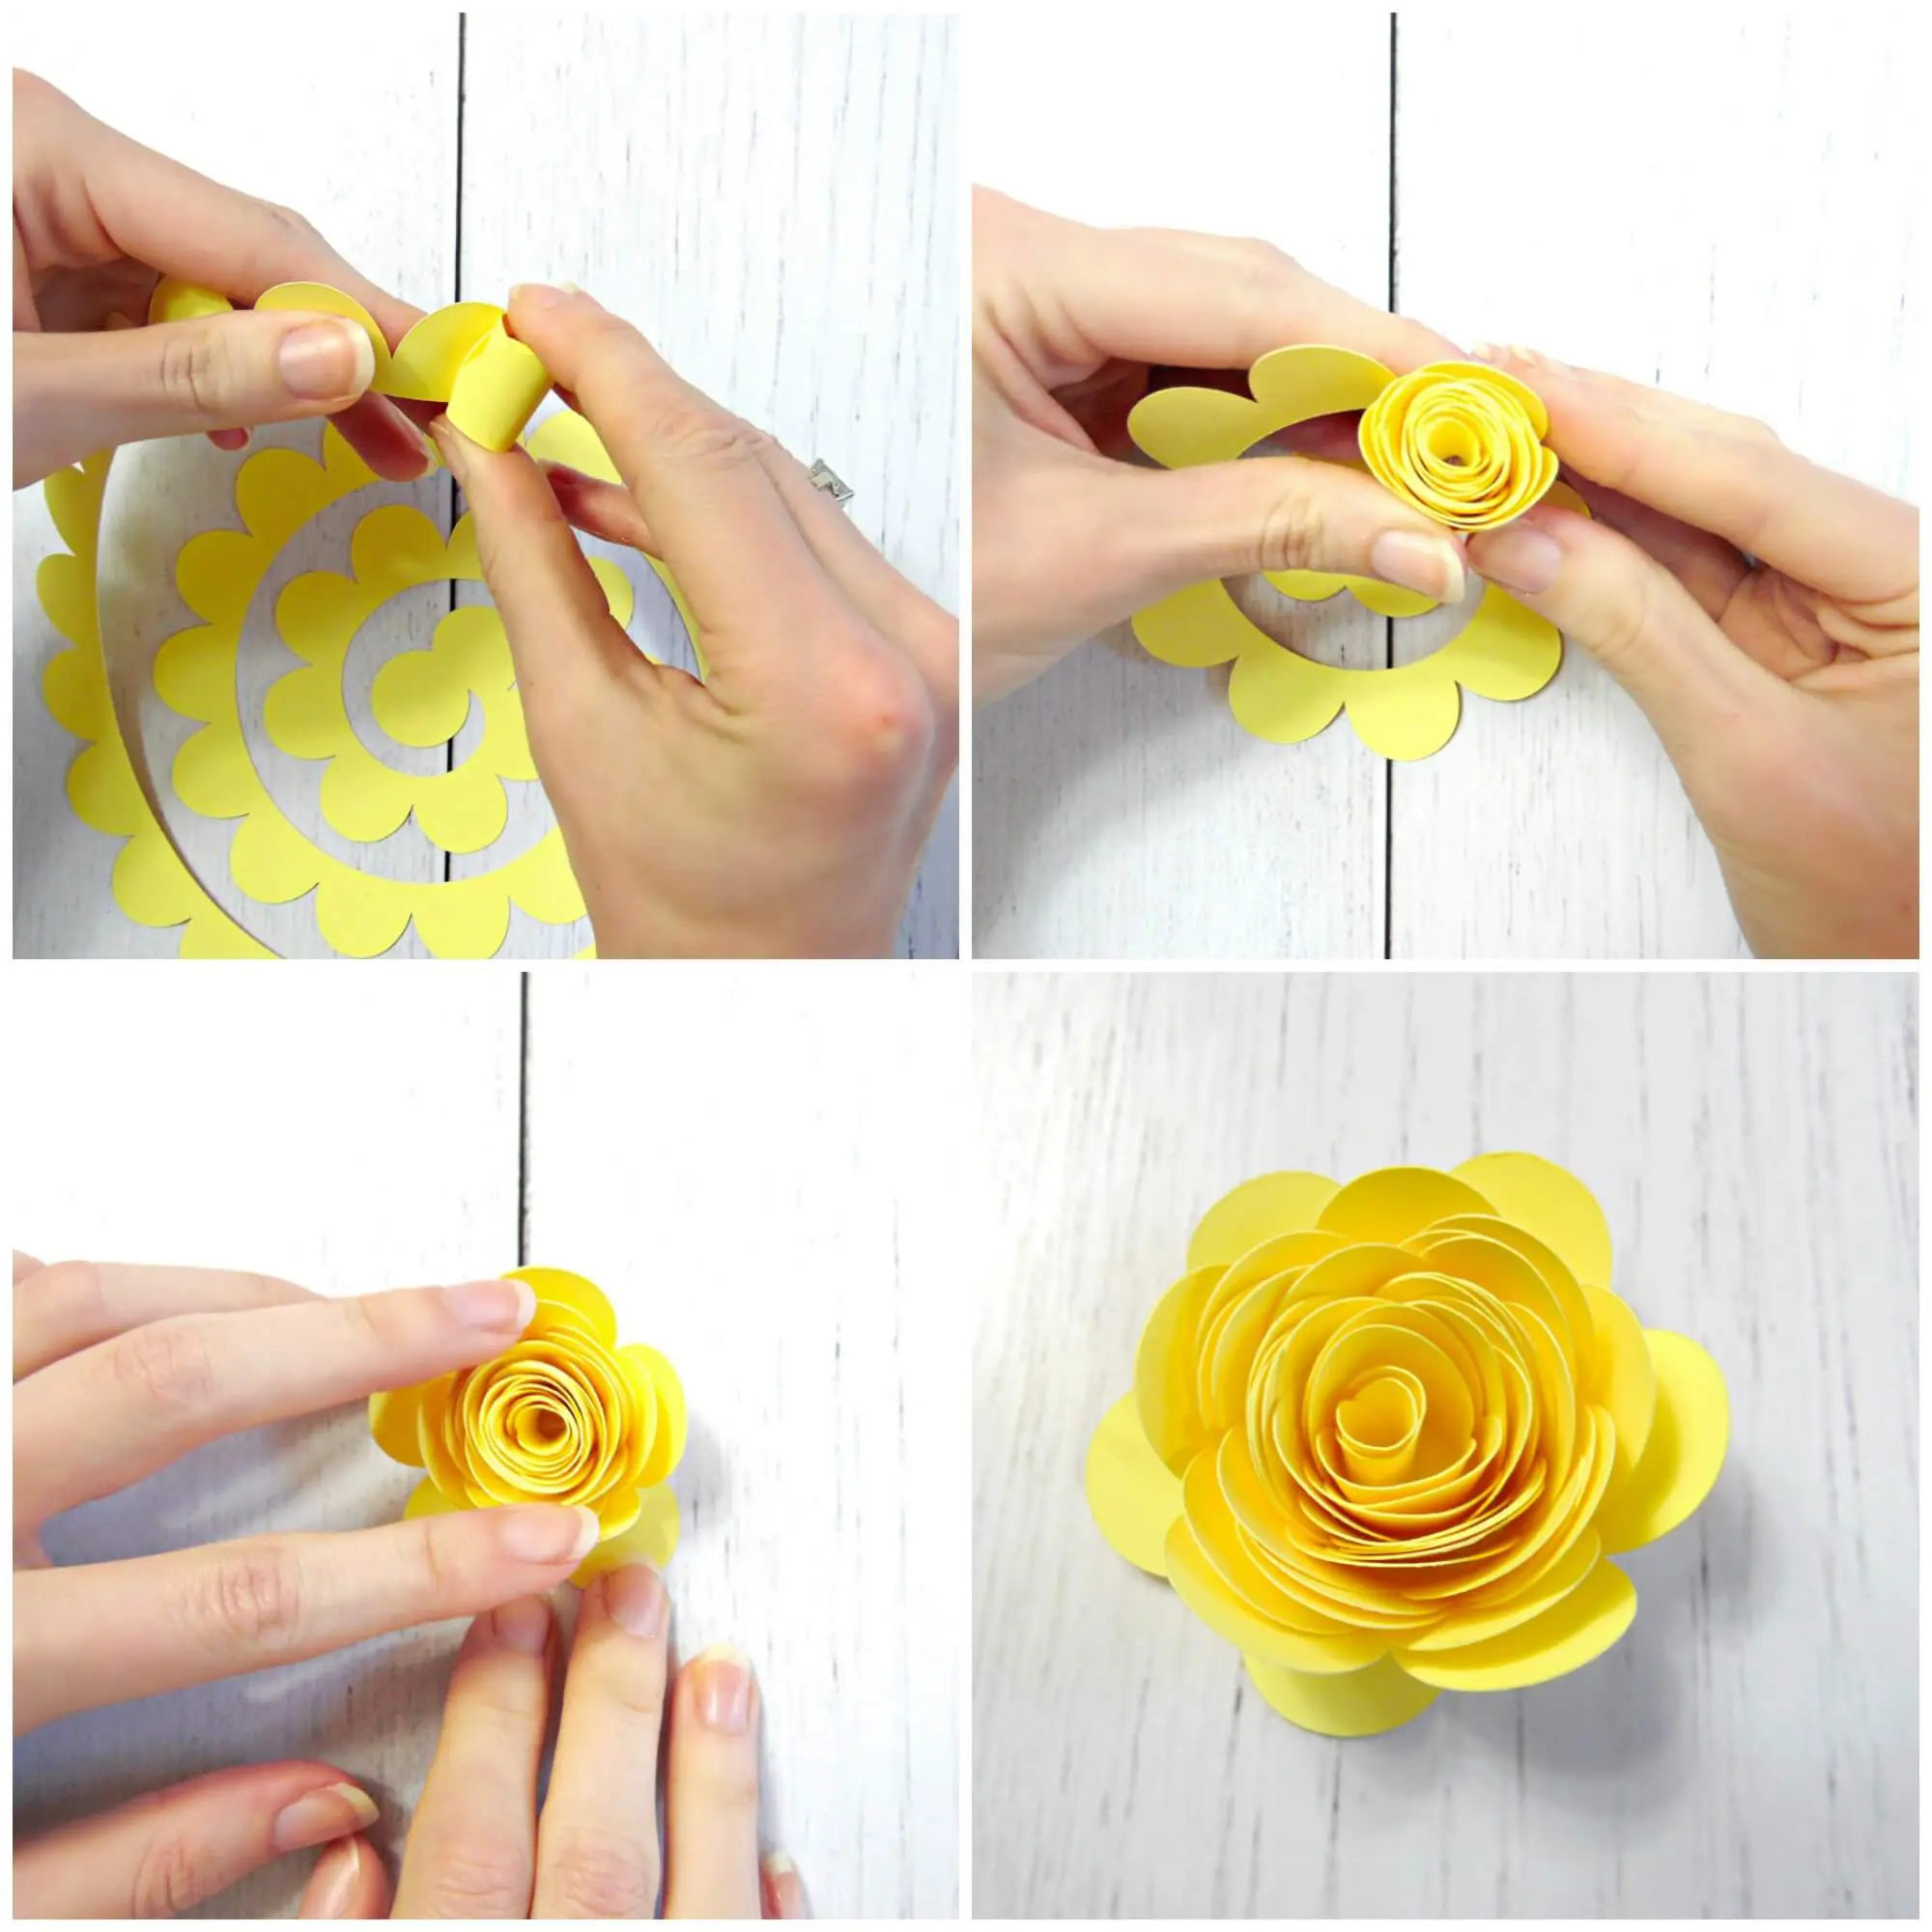
Step 6: Make The Charlotte Rose Center
For the rosette center: Rosettes are pretty easy to make and almost impossible to get wrong.
Cut out your rosette template and tightly roll the strip inwards.
Let the bud loosen slightly before adhering the roll together.
Glue the rosette into the center of your large paper flower.
Remember, you can also finish your flower by filling the center with more numerous small petals or using the famous pompom center.
I hope you found the Charlotte design methods and giant paper flower tutorial enjoyable and easy. Please leave a comment on the blog or share a photo on Instagram so we can see how you would use this paper flower!
Charlotte Paper Rose Video Tutorial
Related Spring Paper Flower Tutorials
Spring Tulip Paper Flower Tutorial | DIY Paper Flower Primrose Spring Wreath With Cricut | Penelope Paper Rose DIY Tutorial | DIY Giant Paper Dahlia Flowers
Giant Paper Charlotte Rose
Learn how to make the perfect Spring flower - a giant Charlotte-style paper rose! This bright and simple giant paper rose is perfect for decor or party decorations, and this easy-to-follow tutorial shows how to make them step by step.
Materials
Instructions
First, Cut Out the Petals
Cut out all your petals. This tutorial is for a large Charlotte flower, which measures about 13-14 inches once made.
- 1st layer- 7 petals
- 2nd layer – 6 petals
- 3rd layer – 6 petals
- 4th layer – 6 petals
Note: If you are making an extra large flower start with 7-8 extra petals.
Next, Assemble the Charlotte Rose
- Cut about 1 1/2 inch slits at the bottom and slightly overlap.
- Curl your largest petals backward. For your remaining petal sizes curl one side inwards and one backward.
- At a 45-degree angle, bring 2 petals together and overlap slightly with glue. Keep going until the petals meet together naturally.
- Use a circle punch or cut a small square of paper to glue over the open back.
- Begin gluing in your 2nd layer of petals. Make sure you glue them in off-set, so they are placed in between the 1st layer of petals and not directly stacked. Repeat this with layers 3-4.
Finally, Make A Rosette Center
- Just cut out your rosette template and beginning at the outer edge, roll inwards tightly. Before gluing down to the base you will want to let the bud loosen just a little.
- Remember, you can also finish your flower by filling in the center with more small petals or using the famous pompom center.

Thank you for you template as well as your diy. It was really helpful and beautiful at the same time. I am looking forward for more. Do you have a 2ft petal template?
Hi Jacqueline,
Thank you for your compliments. 🙂
Currently this is the largest template since it fills up an 8.5×11 sheet. Usually 8.5×11 is whats best to use for building flowers especially since most print on home printers.
I personal don't know of any paper card stock larger than 12×12 that would hold a 2ft template. If you have any ideas I'd love to know!:) And I will see what I can think up myself.