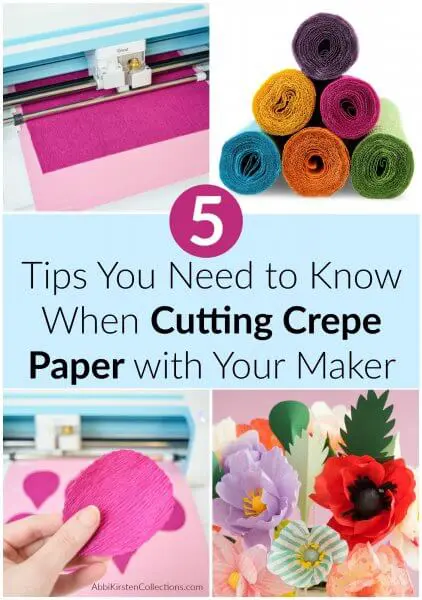
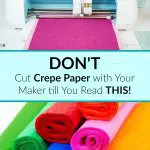
How to Cut Crepe Paper With the Cricut Maker
This post may contain affiliate links that won’t change your price but will share some commission.
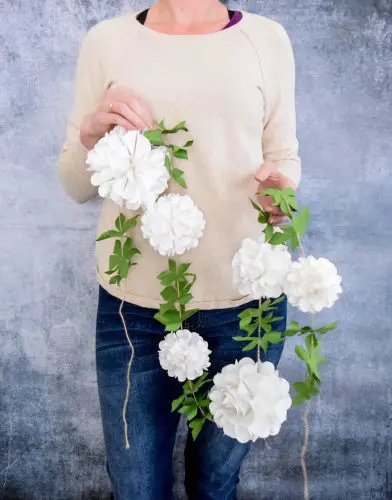
When Cricut came out with the Maker machine and announced it could cut crepe paper, I was incredibly excited. As you know, I love to design paper flowers and knowing I could now make crepe paper flowers with the help of a cutting machine just sweetened the deal. This, among many others, is the reason I choose to purchase a Cricut Maker machine.
When I first cut my crepe paper with my Maker it did not turn out well. In fact, I lost a lot of paper due to mistakes. After figuring out the best tricks and techniques, I can confidently use my Maker to cut any crepe paper.
5 Tips for Cutting Crepe Paper with a Cricut Machine
Today I am going to give you the rundown of how to use crepe paper with Cricut Maker – there are some super important steps you will need to take to be successful!
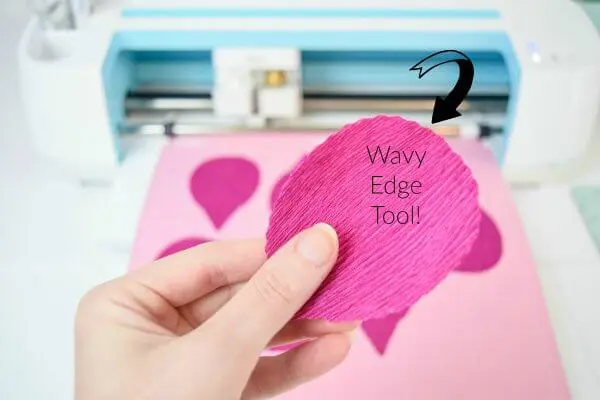
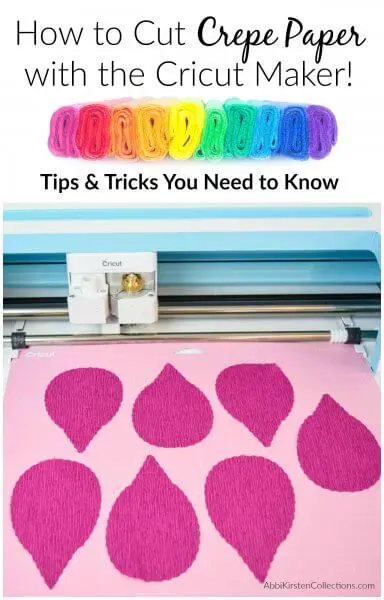
1. Use the Rotary Blade or Wavy Edge Tool
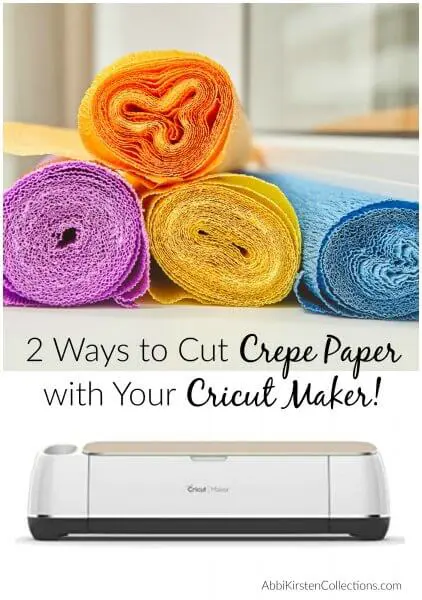
The first key to successfully cutting crepe paper with your Maker machine is to use either the Rotary Blade or the Wavy Edge Tool, which is part of the new QuickSwap tools.
The Rotary blade comes with the Maker machine and it is the go-to tool to make cutting crepe paper possible because of its rolling “pizza cutter” style blade.
In July 2019, Cricut also released the Wavy Edge tool, which is basically the Rotary Blade but with a wavy edge impression. This tool also works for cutting crepe paper.
Both these two tools are the ONLY ones that cut crepe paper, and yes, they are exclusive to the Maker machine (so sorry, Explore lovelies!).
I have a YouTube video that explains how to change your Quickswap here.
2. Use the Fabric Mat
It might seem natural to reach for the Standard Green Mat to place your crepe paper on, but after testing, I discovered the Fabric Mat to work best!
Crepe paper is also a little temperamental because of the ridges (especially heavy-weight paper) – if your paper isn’t staying down, make sure to opt for a FRESH fabric mat.
3. Burnish Your Crepe Paper
This trick will really seal the deal for you. Pun intended! 🙂
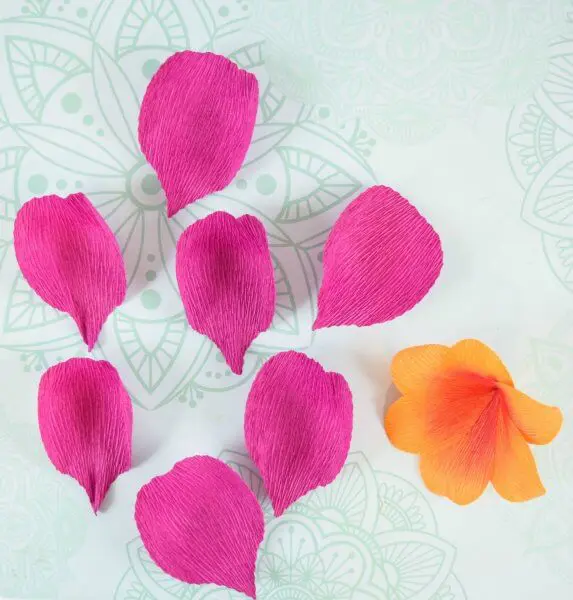
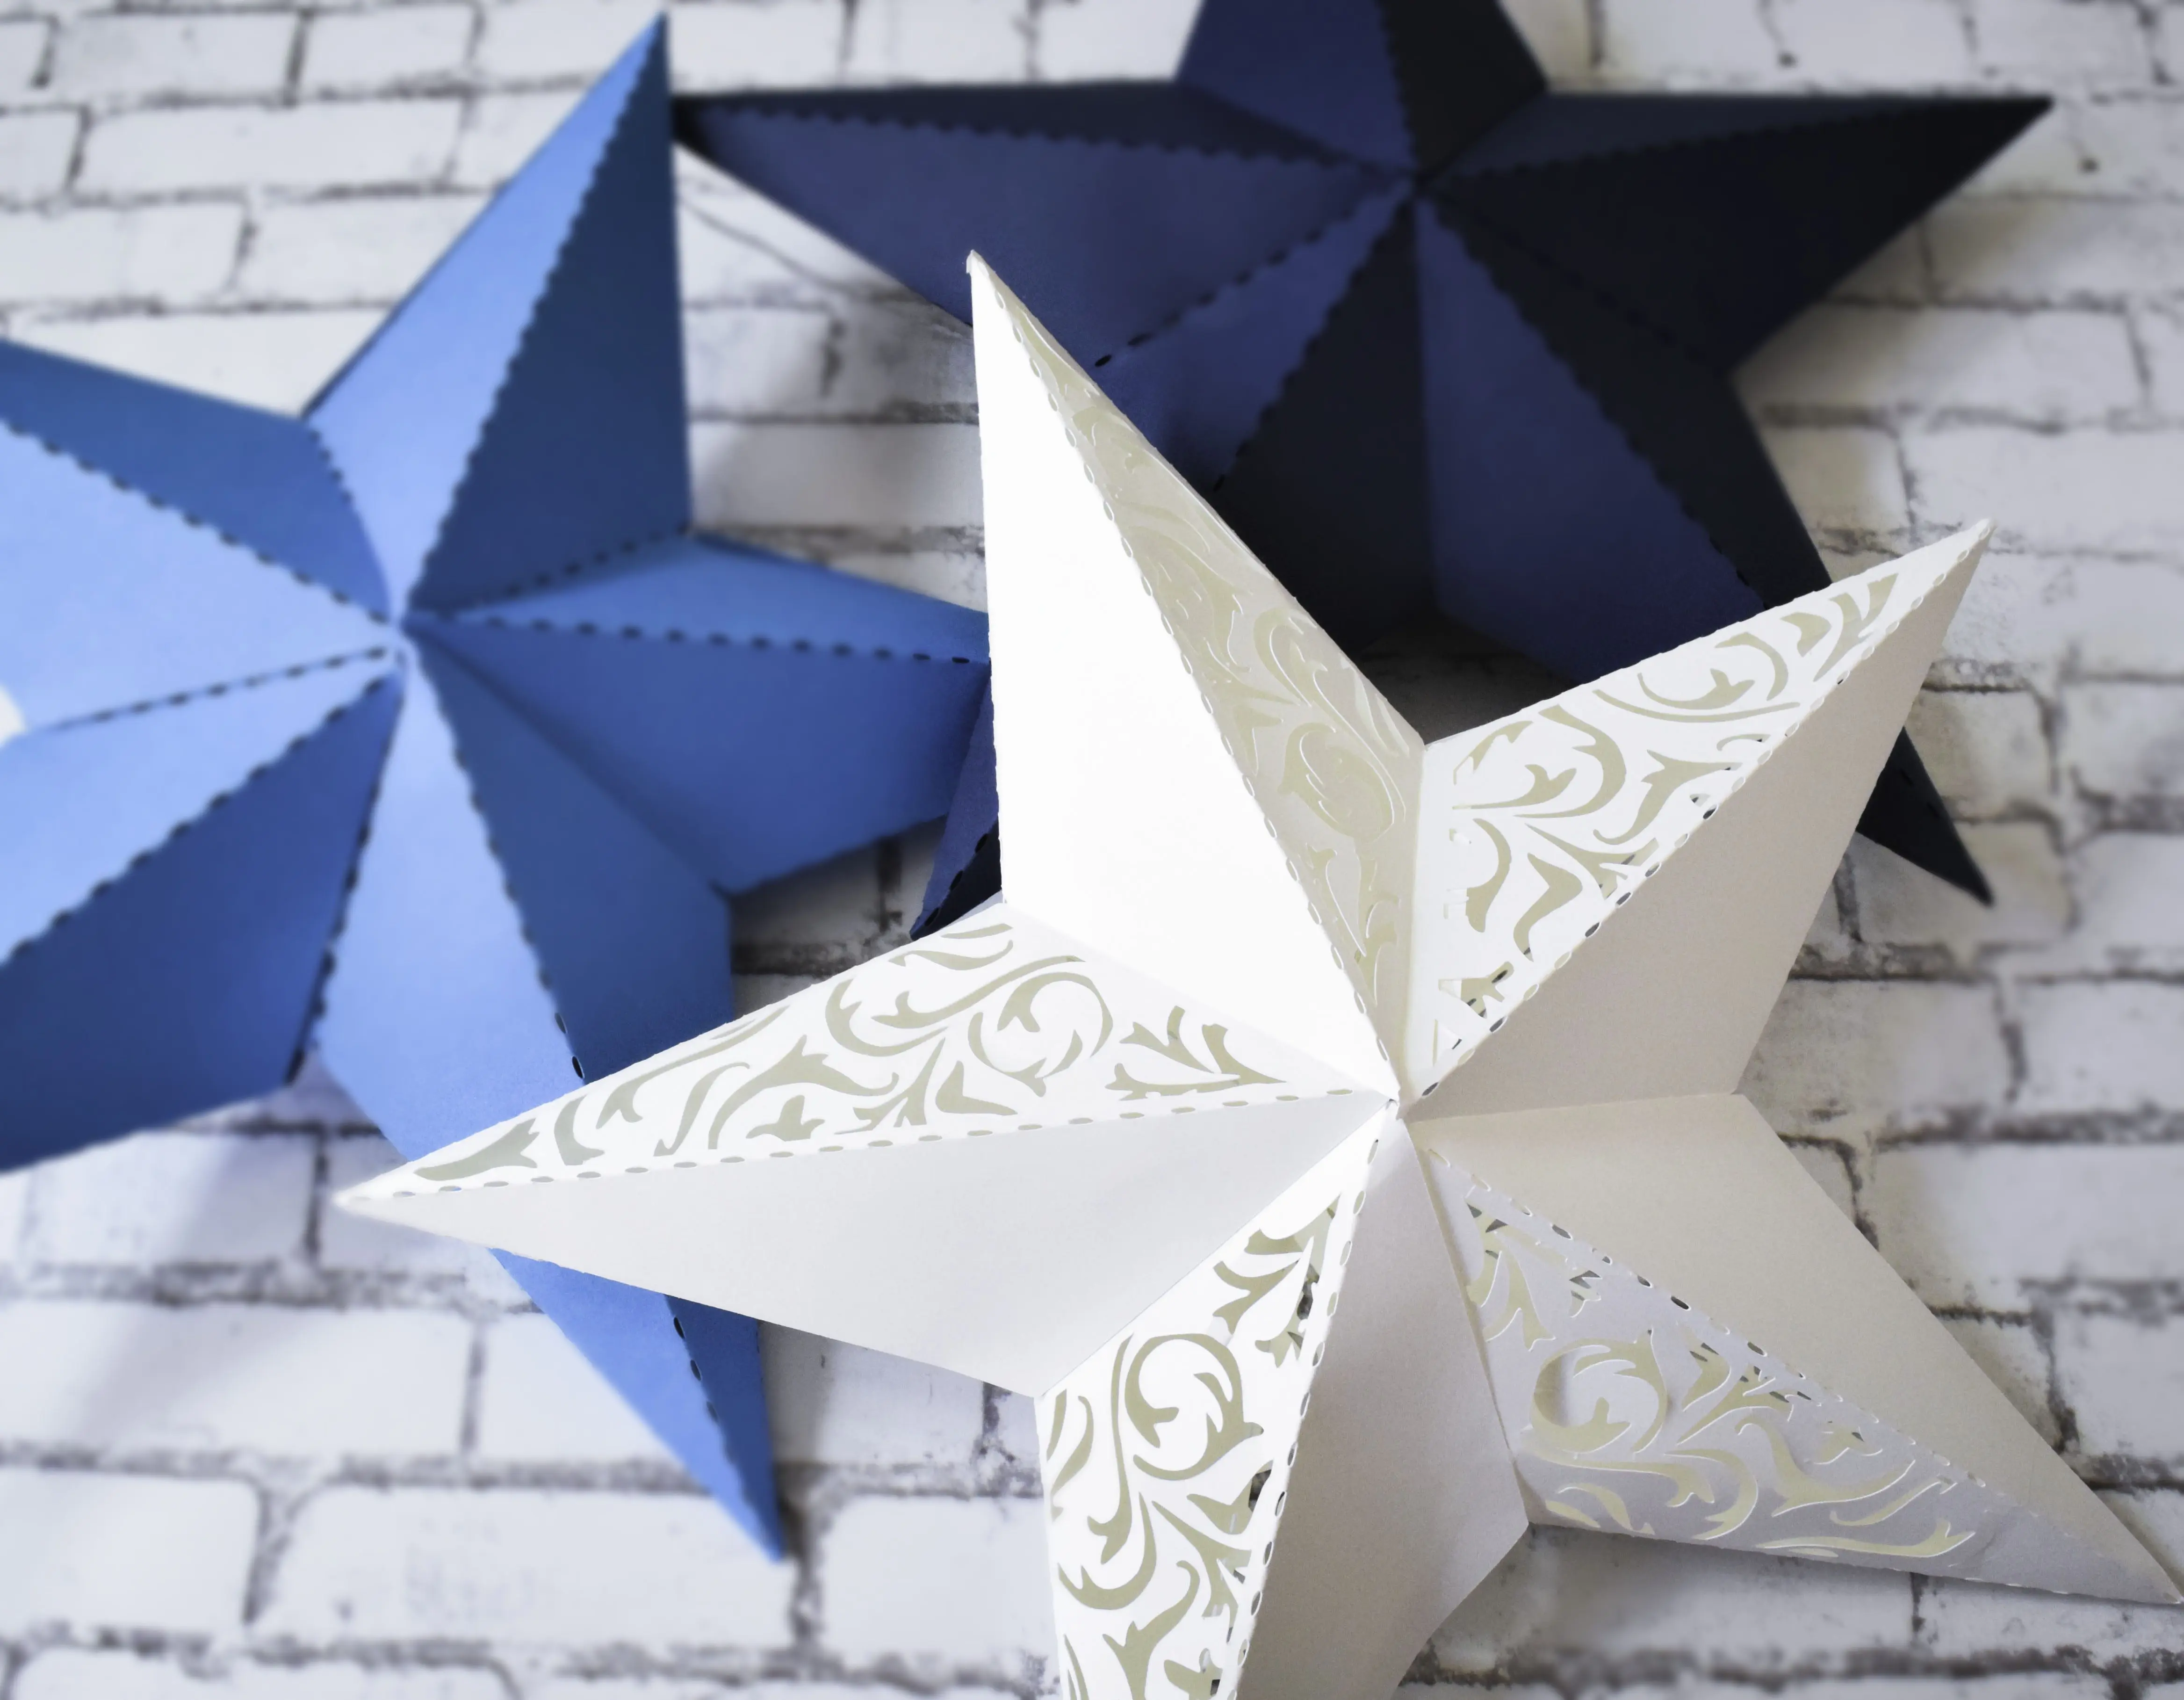
First, make sure when you lay your crepe paper on your mat that the ridges are running parallel, vertically to the height of your design (for instance, a petal as shown in the above image).
This will allow you to stretch your crepe paper in the correct direction once the design is cut out.
After you have placed the paper correctly, relative to your design, you also may need to burnish your crepe paper.
Burnish is a fancy term for rub. Using your Cricut scraper tool, gently burnish your crepe paper, rubbing in the same direction as the grain of the paper. This will ensure it is pressed firmly to the paper. Don’t worry, because we opted for the fabric mat, it won’t tear when lifted!
4. Set Pressure to “More”
When I loaded my Rotary blade and cut my crepe paper for the first time, I noticed that the paper did not cut all the way through – even with the setting on crepe paper in the custom settings.
I decided to use the drop-down on the cut screen to move the pressure up to “more.” The next time I cut, it went all the way through! So if this happens to you, then this is the trick to fix it!
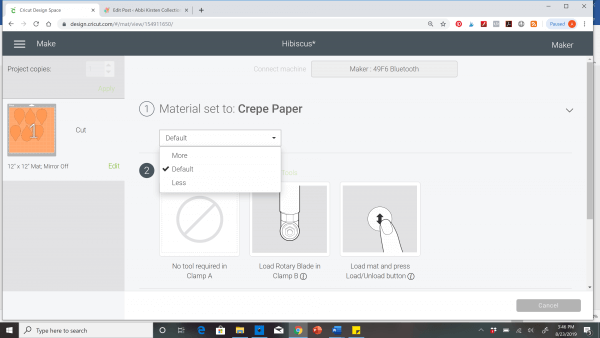
I believe the reason for this is because I was using a thicker 180-gram crepe paper. This leads me to my next point…
5. Use High-Quality Crepe Paper with Your Cricut Maker
This is one of those times where quality really does make a HUGE difference. Try to invest only in quality crepe paper. If you are cutting thicker crepe paper, like the 180-gram I mentioned, you will need to turn up the pressure. If you go with a more traditional paperweight, you can leave the pressure at default.
Maybe you are saying, Abbi, what brand of crepe paper should I use?! I’ve gotcha covered, buttercup!
Here are a couple of my favorite brands of crepe paper:
- Cartifini Crepe Paper (you can also order off the Cartifini direct site)
- Lia Griffith Crepe Paper
BONUS TIP: If you notice your heavier-weight crepe paper lifts a little when cutting, it can be a good idea to stand by and watch as your machine cuts in the event that you need to pause the cut and pick up any loose petals that may lift after they have been cut.
So there you have it! Now you know the best tips and tricks to cutting crepe paper successfully with your Cricut Maker machine!
Click for more Cricut help and craft ideas!
More Crafty Goodness to Love!
- How To Make DIY Crepe Paper Succulents
- How to Make A Paper Cactus: Prickly Pear, Aloe Vera, and Ferocactus
- DIY Cali Poppy Paper Flowers
- Make Fruit Pop-Up Cards With Cricut
- Butterfly and Bug Shadow Boxes
Wanna be a Cricut Master and learn to create your own craft design files like me?
Do you own a Cricut machine or want to own a Cricut but maybe you are overwhelmed when you look at the Design Space software and feel lost with all the functions?
Maybe you wish you could create your own design files rather than being forced to spend money on every design for each project you make?
Let me share with you the 3 biggest mistakes Cricut crafters make and my proven steps to not only master your Cricut but also transform yourself into a craft designer!
If that sounds like it’s for you be sure to join me here in my FREE masterclass!
About Abbi Kirsten
My mission is to inspire you to nurture the creative magic inside your soul – bringing you fun, easy-to-learn DIY projects and quality template designs. I share a variety of projects, such as printables, SVG cut files, and craft tutorials, but specifically love paper crafting and paper flowers. Interested in paper flowers?! I’ve created dozens of signature designs for you to enjoy – starting with my best seller, The Art of Giant Paper Flowers, the Giant Flower Library, and my shop, Catching Colorflies, with endless paper designs and flower templates.
Want to join my Facebook community to share your crafts and learn from the best? Click here to request access to my group, Elite Crafters and Cricut Lovers.


Thanks for the tips! Does it cut extra thick crepe paper well? Thinking about using this for my rose class, would really save on time!
Thank you!
Lisa
Yes, I have used thick crepe paper with success too!
I bought $80 worth of crepe paper from Cartifin and it is BEAUTIFUL. However, I tried to cut it last night on my 12X12 purple mat with my rotary blade and it just wasn’t working correctly, It was cutting but lifting afterwards such that the cut was being ruined from moving in and out of the machine and with the blade moving left and right. I had the grain going vertically but did not “burnish” it. Hopefully, that works. I’m SOOOO EXCITED to get started with this. I’ve been making the regular paper flowers and I wanted to move into something more real looking.
Thank Abbi, I was sure it was the rotary blade, I’m almost ready to get started. Also have you seen the dogwood flower. There’s a story that goes with it. I would love an svg for it.
I will check it out!
I think I am ready for my first cut. I am assuming 12×12 cut of crepe paper on the pink fabric mat. Thank you for the instructions.
Does it matter if you burnish with the scraper tool or the brayer? Do both work equally well?
For burnishing, I recommend the scraper tool. 🙂