Making Stickers With Cricut: Easy-Peel Sticker Tutorial
This post may contain affiliate links that won’t change your price but will share some commission.
Learning how to make stickers with your Cricut machine is one of the best ways to master the Print Then Cut process. In this tutorial, you will learn how how to make easy-peel stickers with printable vinyl sticker paper and your Cricut machine. We will cover the full Print Then Cut process.
If you are wondering what the best Cricut for stickers is, any full-size Cricut machine, Maker, or Explore model will work for making stickers with Cricut. The Cricut Joy cannot work only because it is not compatible with the Print Then Cut process. In addition to a Cricut, you will need an inkjet printer and some vinyl sticker paper to make custom stickers right at home that look professional!
What is Print Then Cut?
Cricut Print Then Cut is a feature of printing images from an inkjet printer and having your Cricut cut around the printed result, which is perfect for stickers! The current models that Print Then Cut works with are the Cricut Maker, Maker 3, and Maker 4, as well as the Explore Air 2, Explore 3, and Explore 4. Read on for more info on Print Then Cut and how to calibrate your Cricut machine for printing.
Where To Find Sticker Designs
If you are searching for sticker designs and images, check out my stickers in the Abbi Kirsten Craft Vault. Join the AKC community to get access to all my freebies and more!
- Planner Stickers Sets
- Summer Sticker Pack – Download for FREE
- Creative Rainbow Sticker Pack – Download for FREE
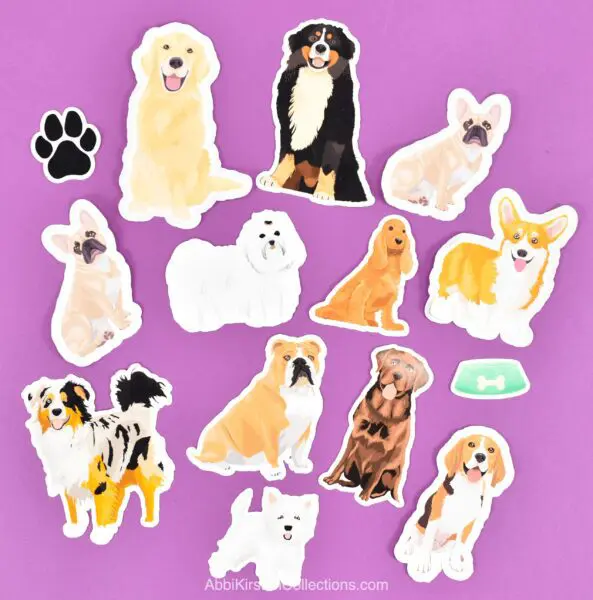
- Dog illustration sticker set
- Find more designs for stickers here.
- You can also find loads of clipart here that can be used for stickers.
What is an easy-peel sticker?
To answer what an easy-peel sticker is, you first need to understand the difference between a die-cut sticker and a kiss-cut sticker.
Die Cut Stickers
A die-cut sticker is a sticker that is cut into a custom shape. When the sticker is cut, both the vinyl decal sticker material and the liner are cut together and remain as one until the sticker is removed from the liner. Die-cut stickers are cut into the outline of whatever the sticker image is.
Kiss Cut Stickers
Kiss-cut stickers are cut with a lighter touch. The top layer is the only thing cut, leaving the liner intact. In other words, the sticker remains on the liner until lifted. Kiss-cut is often used when creating sheets of stickers or planner stickers.
Easy-Peel Stickers
An easy-peel sticker is a sticker on the liner with an inset border going around the sticker’s edge which allows you to peel off the vinyl sticker result without picking at the edges to lift it. The easy-peel sticker method is a combination of kiss-cut and die-cut stickers. Creating easy-peel stickers with Cricut is easy when you use the offset feature in Cricut Design Space.
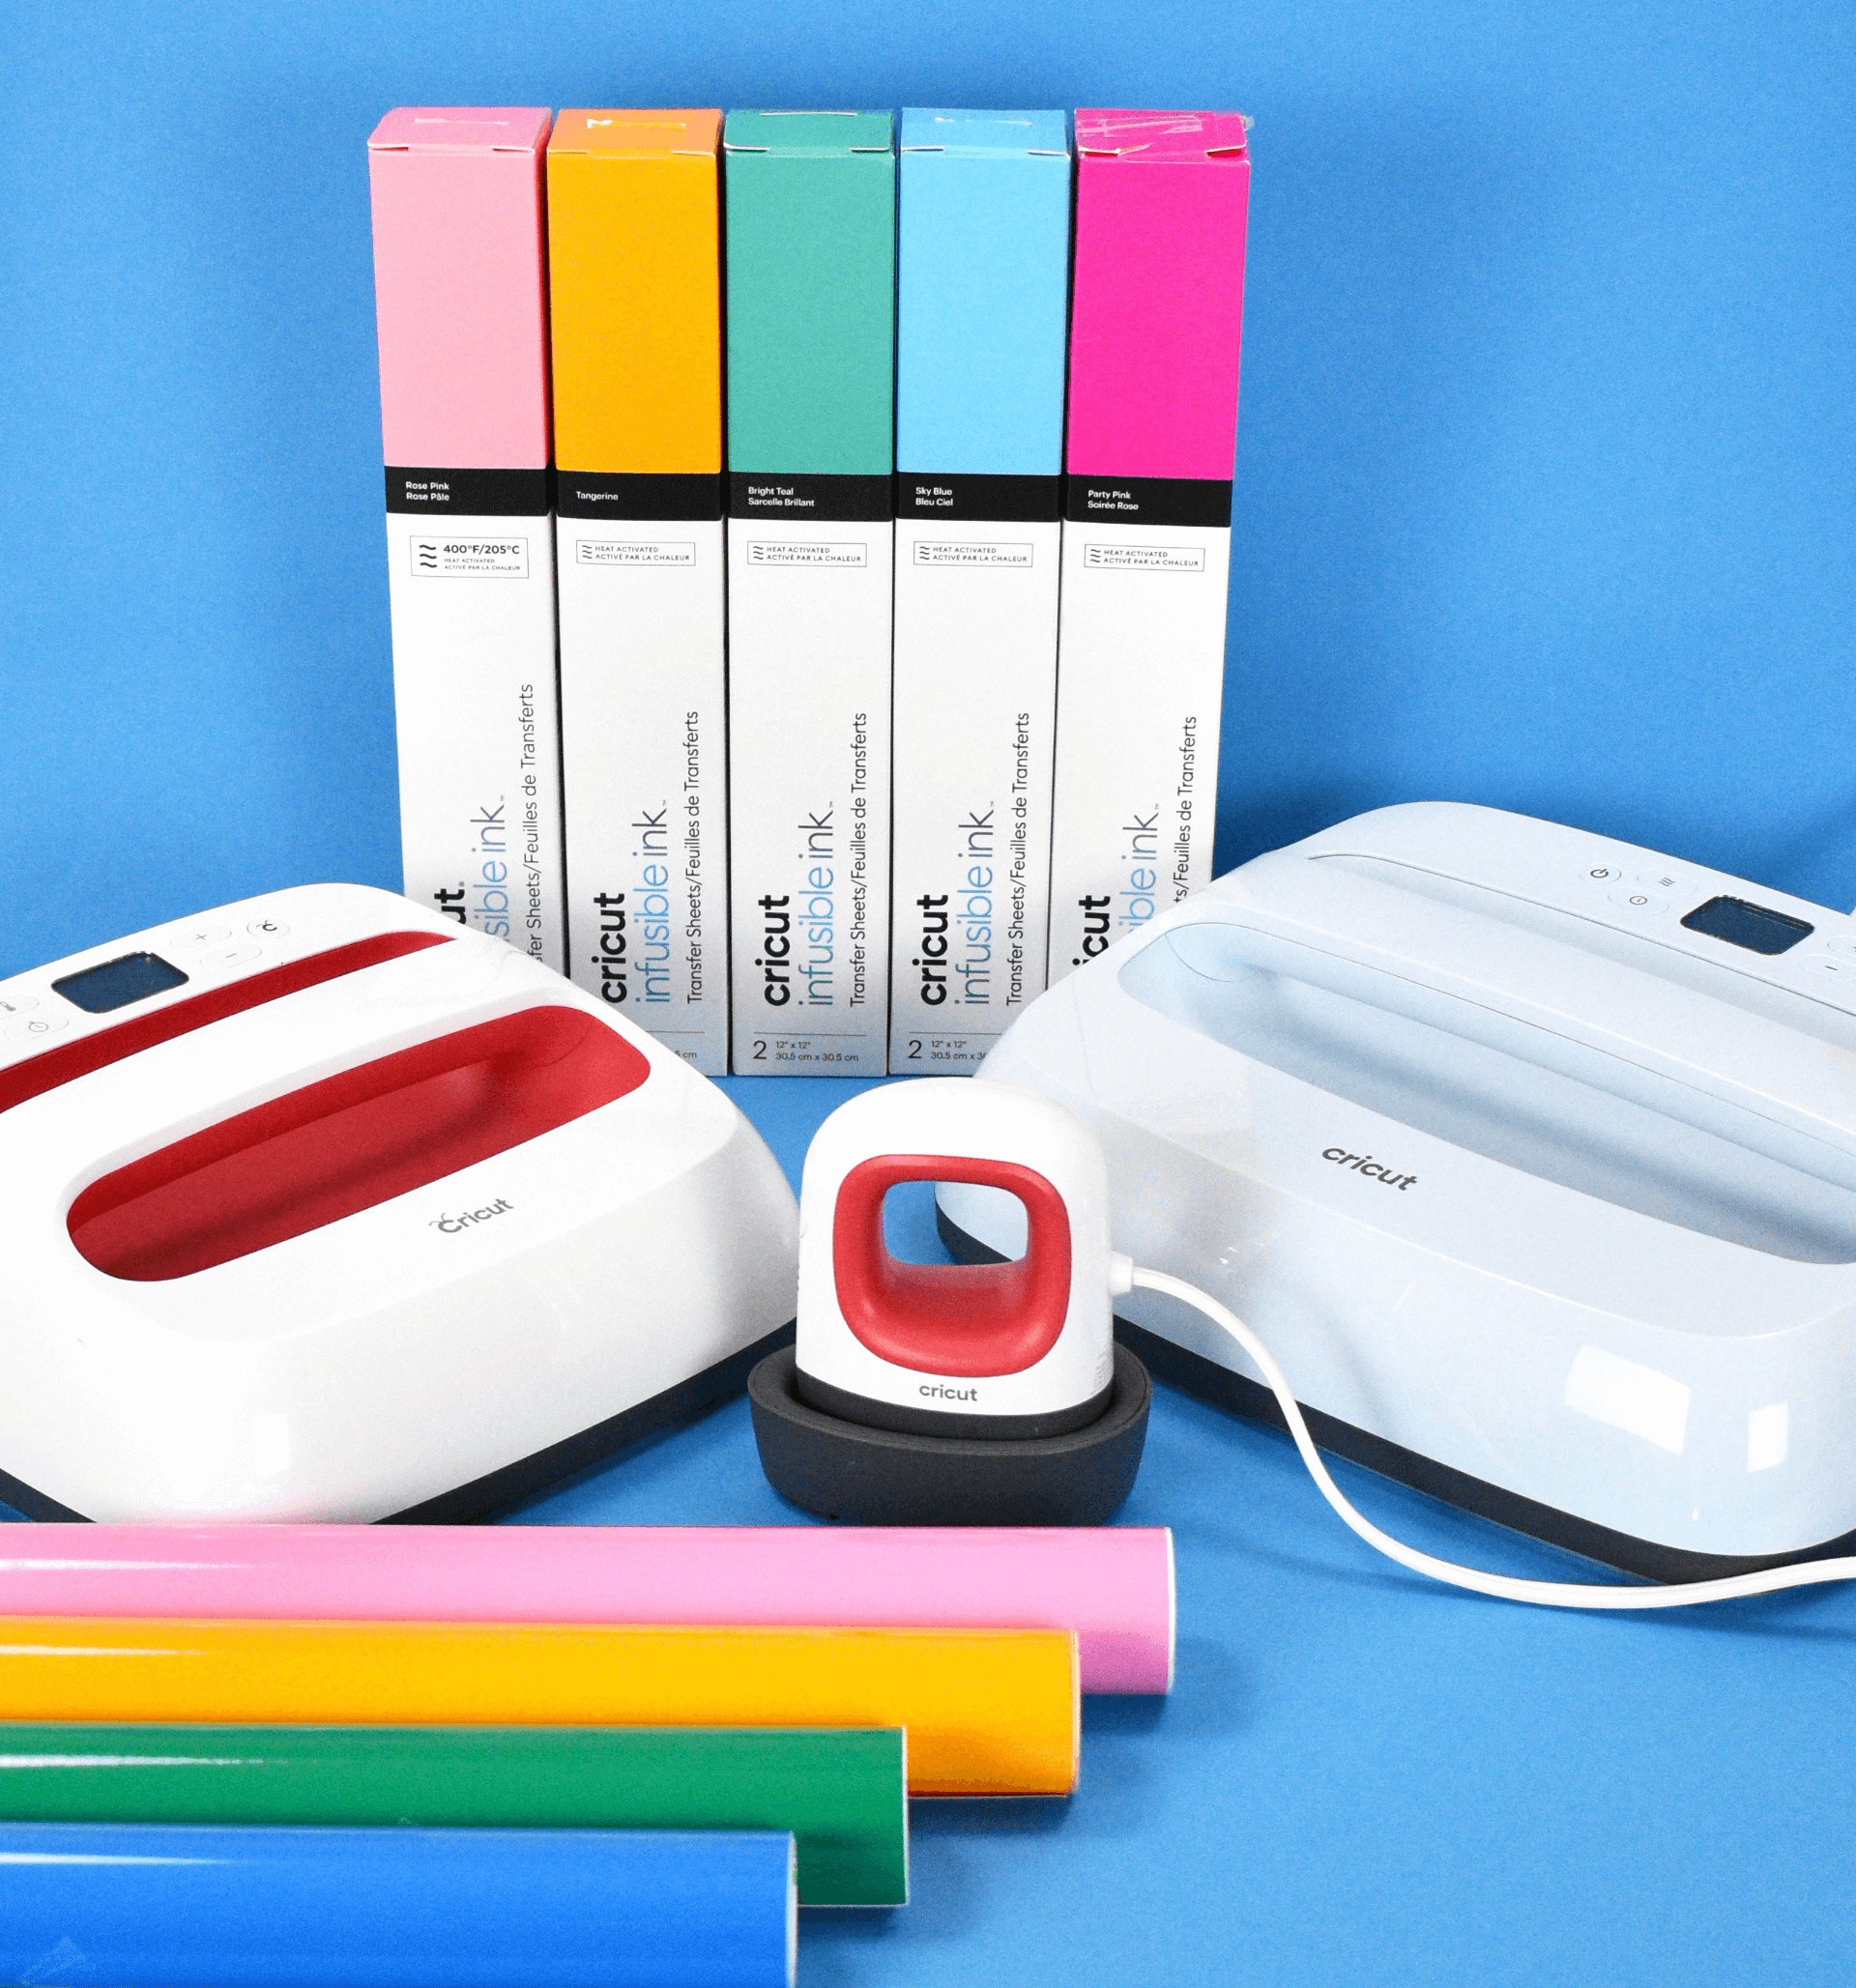
Supplies for Making Easy-Peel Stickers With Cricut
- Cricut printable vinyl or vinyl sticker paper. Check out this holographic sticker paper!
- Inkjet printer. Read my post on the best printers for Cricut here.
- Full-size Cricut machine such as a Maker or Explore model. The Joy is not compatible with Print Then Cut, which is the feature we are using here.
- Brayer tool
- Cricut mat
- Sticker designs. Check out all my sticker designs here in the Craft Vault – freebies too!
How To Make Easy Peel Stickers With Cricut: Video Tutorial
How To Make Stickers With Cricut: Easy-Peel Method
To make easy-peel stickers with your Cricut, the setup you do in Cricut Design Space is the most important step.
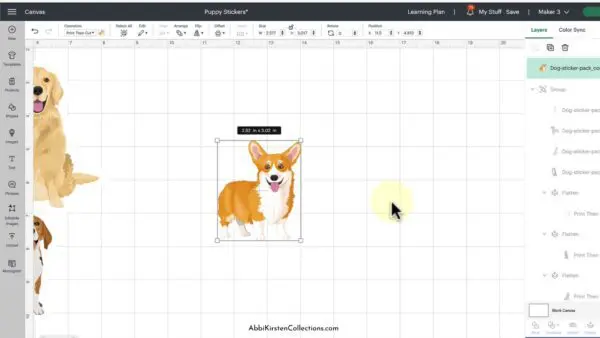
To get started, open Cricut Design Space and import your PNG image. If you have a layered SVG file you wish to use, you can load that as well, but be sure to use the Flatten Tool to turn the layered SVG into a Print Then Cut operation. Learn how to upload images to Cricut.
Scale your sticker to the size you prefer and check that it is within what Cricut can Print Then Cut. For more details, see the sticker video here.
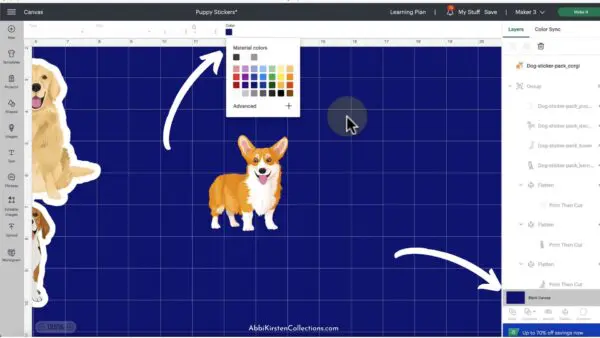
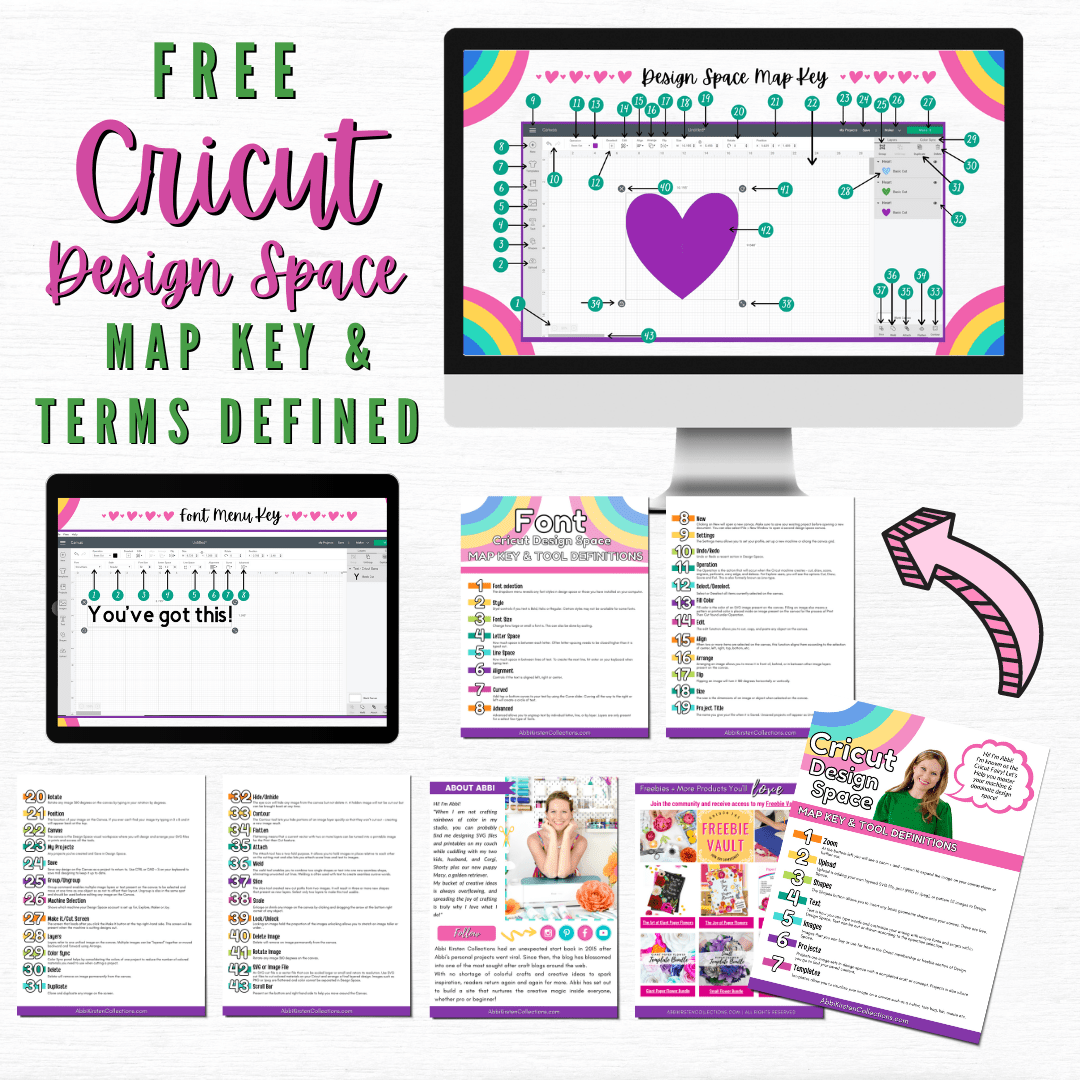
Changing The Color of the Design Space Canvas
When creating stickers in Design Space, it can be challenging to see our white offsets with a white canvas background, so I like to change the canvas color for better contrast. Click on Blank Canvas at the bottom of the Layers Panel, then up at the top, select a darker color, and the white canvas color will change.
Creating An Offset For Easy-Peel Stickers
Start by creating an offset for the sticker. This offset will remain a part of the sticker. In other words, this is not an easy-peel step. If you wish not to have any white border around your final sticker but rather edge-to-edge color, then you can skip this step.
Select your sticker design and then click on Offset at the top of Design Space. Set it to 0.10, or if you prefer a thicker or thinner border result, choose that for yourself.
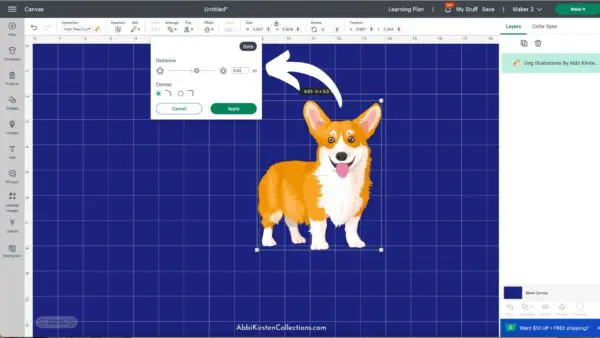
Once the offset is created, change it to white using the color swatch next to Operation at the top. Duplicate the offset you just created – right-click > duplicate, and move it aside.
With the offset and sticker design selected and stacked on top of each other, click the Flatten tool at the bottom of the Layers Panel to the right of Design Space. Move this aside.
Creating the Easy-Peel Border Offset
Click on the duplicated offset, and now we will create an offset to the offset. Go back up to the offset tool and add 0.10 again to the first offset.
Delete the original offset, we don’t need it anymore. Change the color to white next to Operation. With the larger offset we just created, duplicate it one more time – right-click > duplicate.
Then stack the two together by selecting both and go to Align > Center at the top of Cricut Design Space.
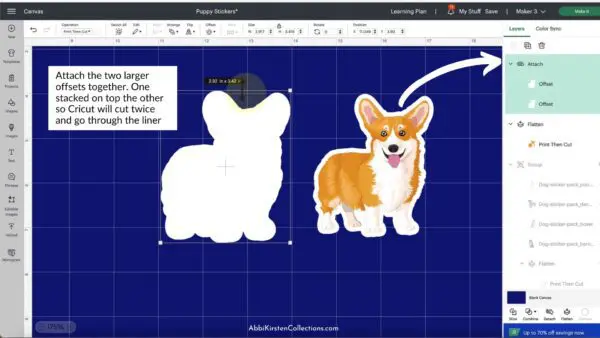
The purpose of this is to have Cricut cut around the sticker twice so that each sticker is on its own separate liner. Stacking two layers together will accomplish Cricut cutting all the way through the liner because the fine-point blade goes over it twice.
However, the two stacked offsets need to be attached together so they don’t get jumbled when we go to the cut screen. Select both stacked offsets and click on the Attach Tool at the bottom of the Layers Panel to the right.
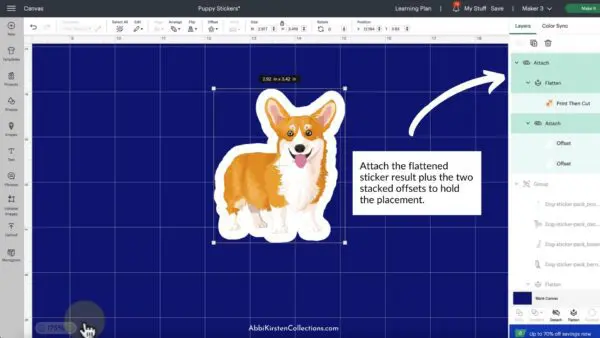
Finally, bring over the Flattened sticker design and center it on top of the stacked set of two offsets. Select all and go to Align > Center. With all layers of this sticker and offset still selected, click the Attach tool one final time.
You are now ready to cut your easy-peel sticker! Repeat this process for each sticker image design you wish to use. Don’t forget to save your project!
Cutting Stickers With Cricut
Click on the Make It button and then Continue. Send the design to your printer to print through Cricut Design Space. I recommend selecting System Dialog so you can adjust the paper choice and image quality before printing.
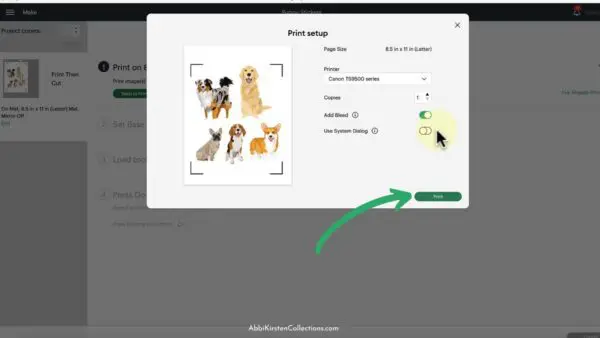
Print your designs out on printable vinyl sticker paper, and because we are printing through Cricut Design Space, you will see a black registration box in the corners of your sticker paper. This is how Cricut knows where to cut on the mat.
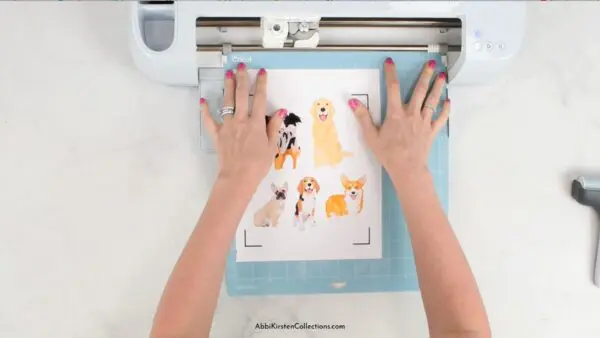
Placing your vinyl sticker paper on the mat, the light blue or standard green mat can both work. Use your brayer tool to press the sticker paper to the mat.

Sticker Material Settings
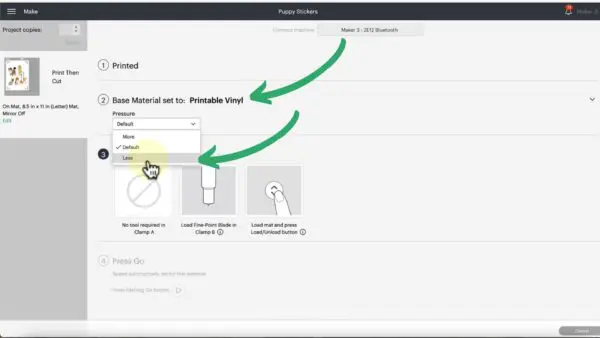
Load the mat by pressing the double-arrow flashing button. Browse all materials and select Printable Vinyl. You can also check out the sticker paper setting.
In my tutorial, I had better results with setting the Pressure dropdown to Less. Cricut will scan the black registration marks and then proceed to cut out the sticker designs.
As it cuts, you will notice that it does a kiss-cut, leaving the liner backing in place but cutting through just the sticker layer. The result is that you would be able to peel the sticker away from an intact liner.
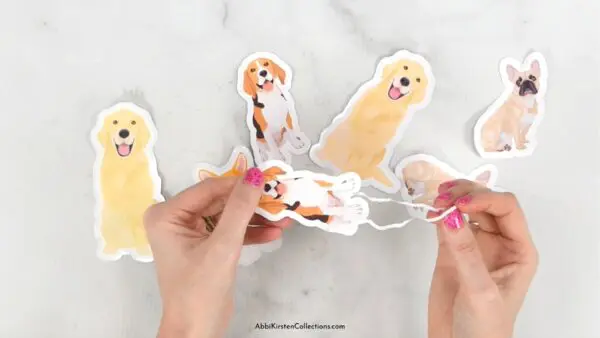
Now, because we created those offsets for our easy-peel, you will see Cricut go around the sticker two additional times so that it will lift away from the other stickers because the liner was cut through; this is traditionally known as die-cut stickers.
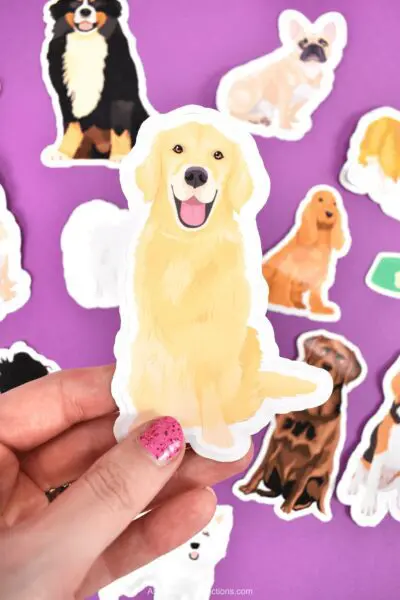
Peel away the thin border of the vinyl sticker going around the edge of your design. Now you will have a sticker on its own liner, with a recessed edge to make it easy to peel off!
What do you think about making stickers with your Cricut? Do you prefer the traditional die-cut approach, kiss-cut, or the easy-peel method? Tell me below, and let me know what questions you have!
More Crafts To Love

Thank you for the great tutorial! When my Cricut cuts the stickers, it cuts all the way through both offset layers and does not leave the easy peel layer. Do you have any suggestions to fix this? I have tried several times and have followed the directions carefully. Thanks for your help!
Hi Karen! What sticker paper and settings are you using?