DIY Stickers With The Cricut Joy Xtra + Your Guide To The Best Sticker Paper
This post may contain affiliate links that won’t change your price but will share some commission.
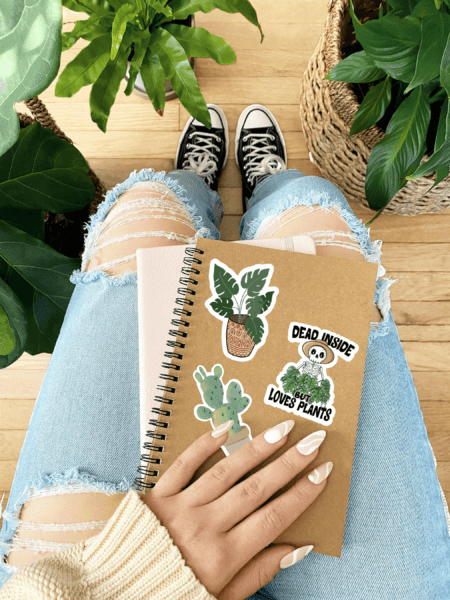
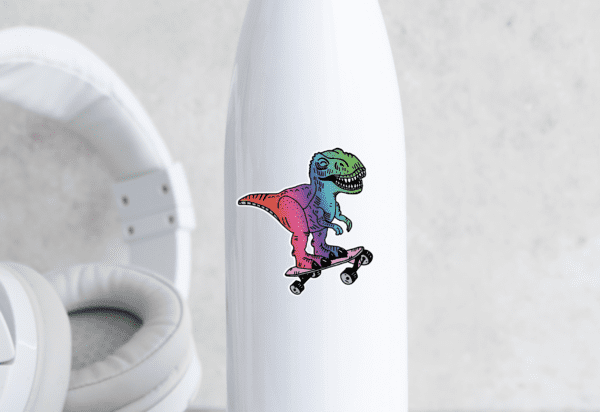
Learning how to make stickers with Cricut is a fun way to add personal details to various items such as notebooks, water bottles, laptops, and even car bumper stickers. Handmade stickers also make great gifts to give or items to sell online! In this tutorial, you will learn how to make stickers with your Cricut machine step by step.
How To Make Stickers With Cricut
Learning to make your own stickers with Cricut is easily done using the Print Then Cut process. If you do not know what Cricut Print Then Cut is or which Cricut machine you need to do it, don’t worry. We will discuss that next.
What is Print Then Cut?
The Print Then Cut process allows you to create a design using your own image and text or a design in Design Space, print it on your inkjet home printer, then place the printed result onto a cutting mat and load it into your Cricut machine for cutting. The machine scans the black line sensor markings, known as registration marks, then cuts around the design – no scissors required!
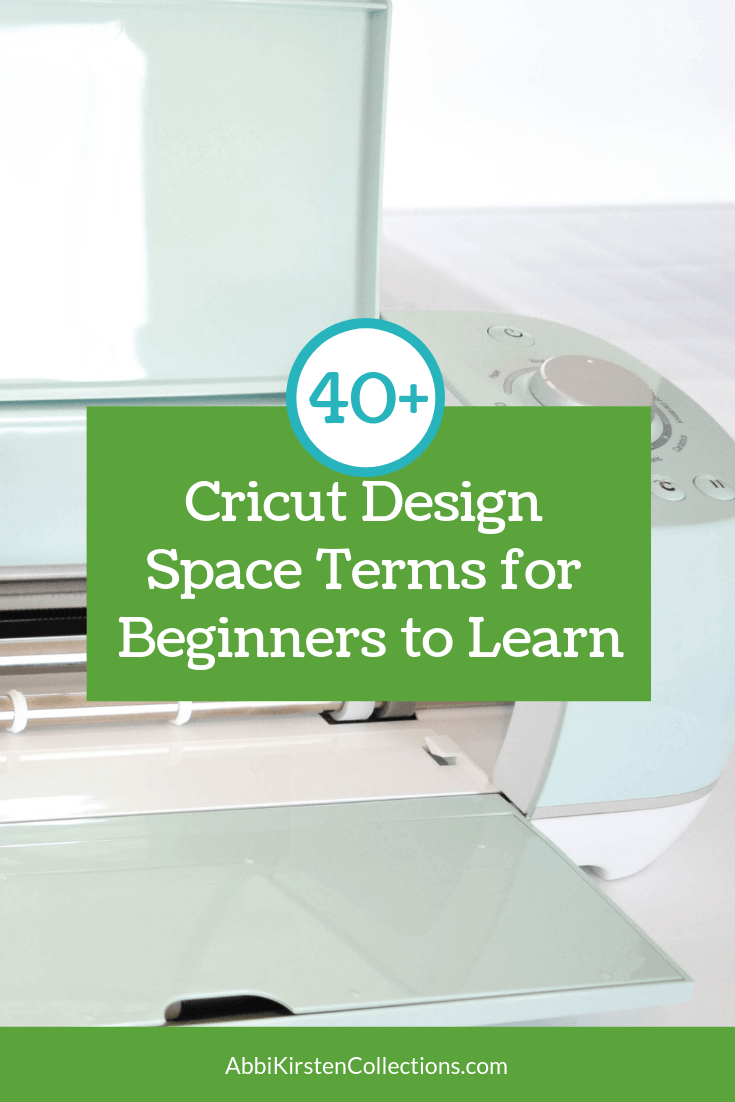
What Cricut Machines Can Do Print Then Cut?
There are several models of the Cricut brand that can perform Print Then Cut. Below is a list of the current Cricut models that can Print Then Cut images.
- Cricut Joy Xtra
- Cricut Explore Air 2
- Cricut Explore 3
- Cricut Maker
- Cricut Maker 3
- Cricut Venture
- The only Cricut machine currently that cannot do Print Then Cut is the original Joy machine.
What Supplies Do You Need To Make Stickers With Cricut?
One of the best parts of making stickers is that the supplies are fairly simple!
You will need the following tools and supplies to create stickers with Cricut:
- Inkjet printer
- Printable sticker paper
- Or opt for printable vinyl sticker paper
- Cricut machine
- Cutting mat
- A brayer tool
What is the best Printable sticker paper to use with Cricut?
While there are many brands of sticker paper that can work well with your Cricut machine, I love the options Cricut provides because they have a wide range to choose from, and when cutting with your Cricut, the Material Settings are already tried and tested!
- Printable vinyl
- Clear Cricut sticker paper
- White sticker paper
- Gold vinyl sticker paper
- Silver vinyl sticker paper
- Printable, waterproof, holographic sticker paper
- White sticker paper
- Printable waterproof sticker sets

Finding images for stickers
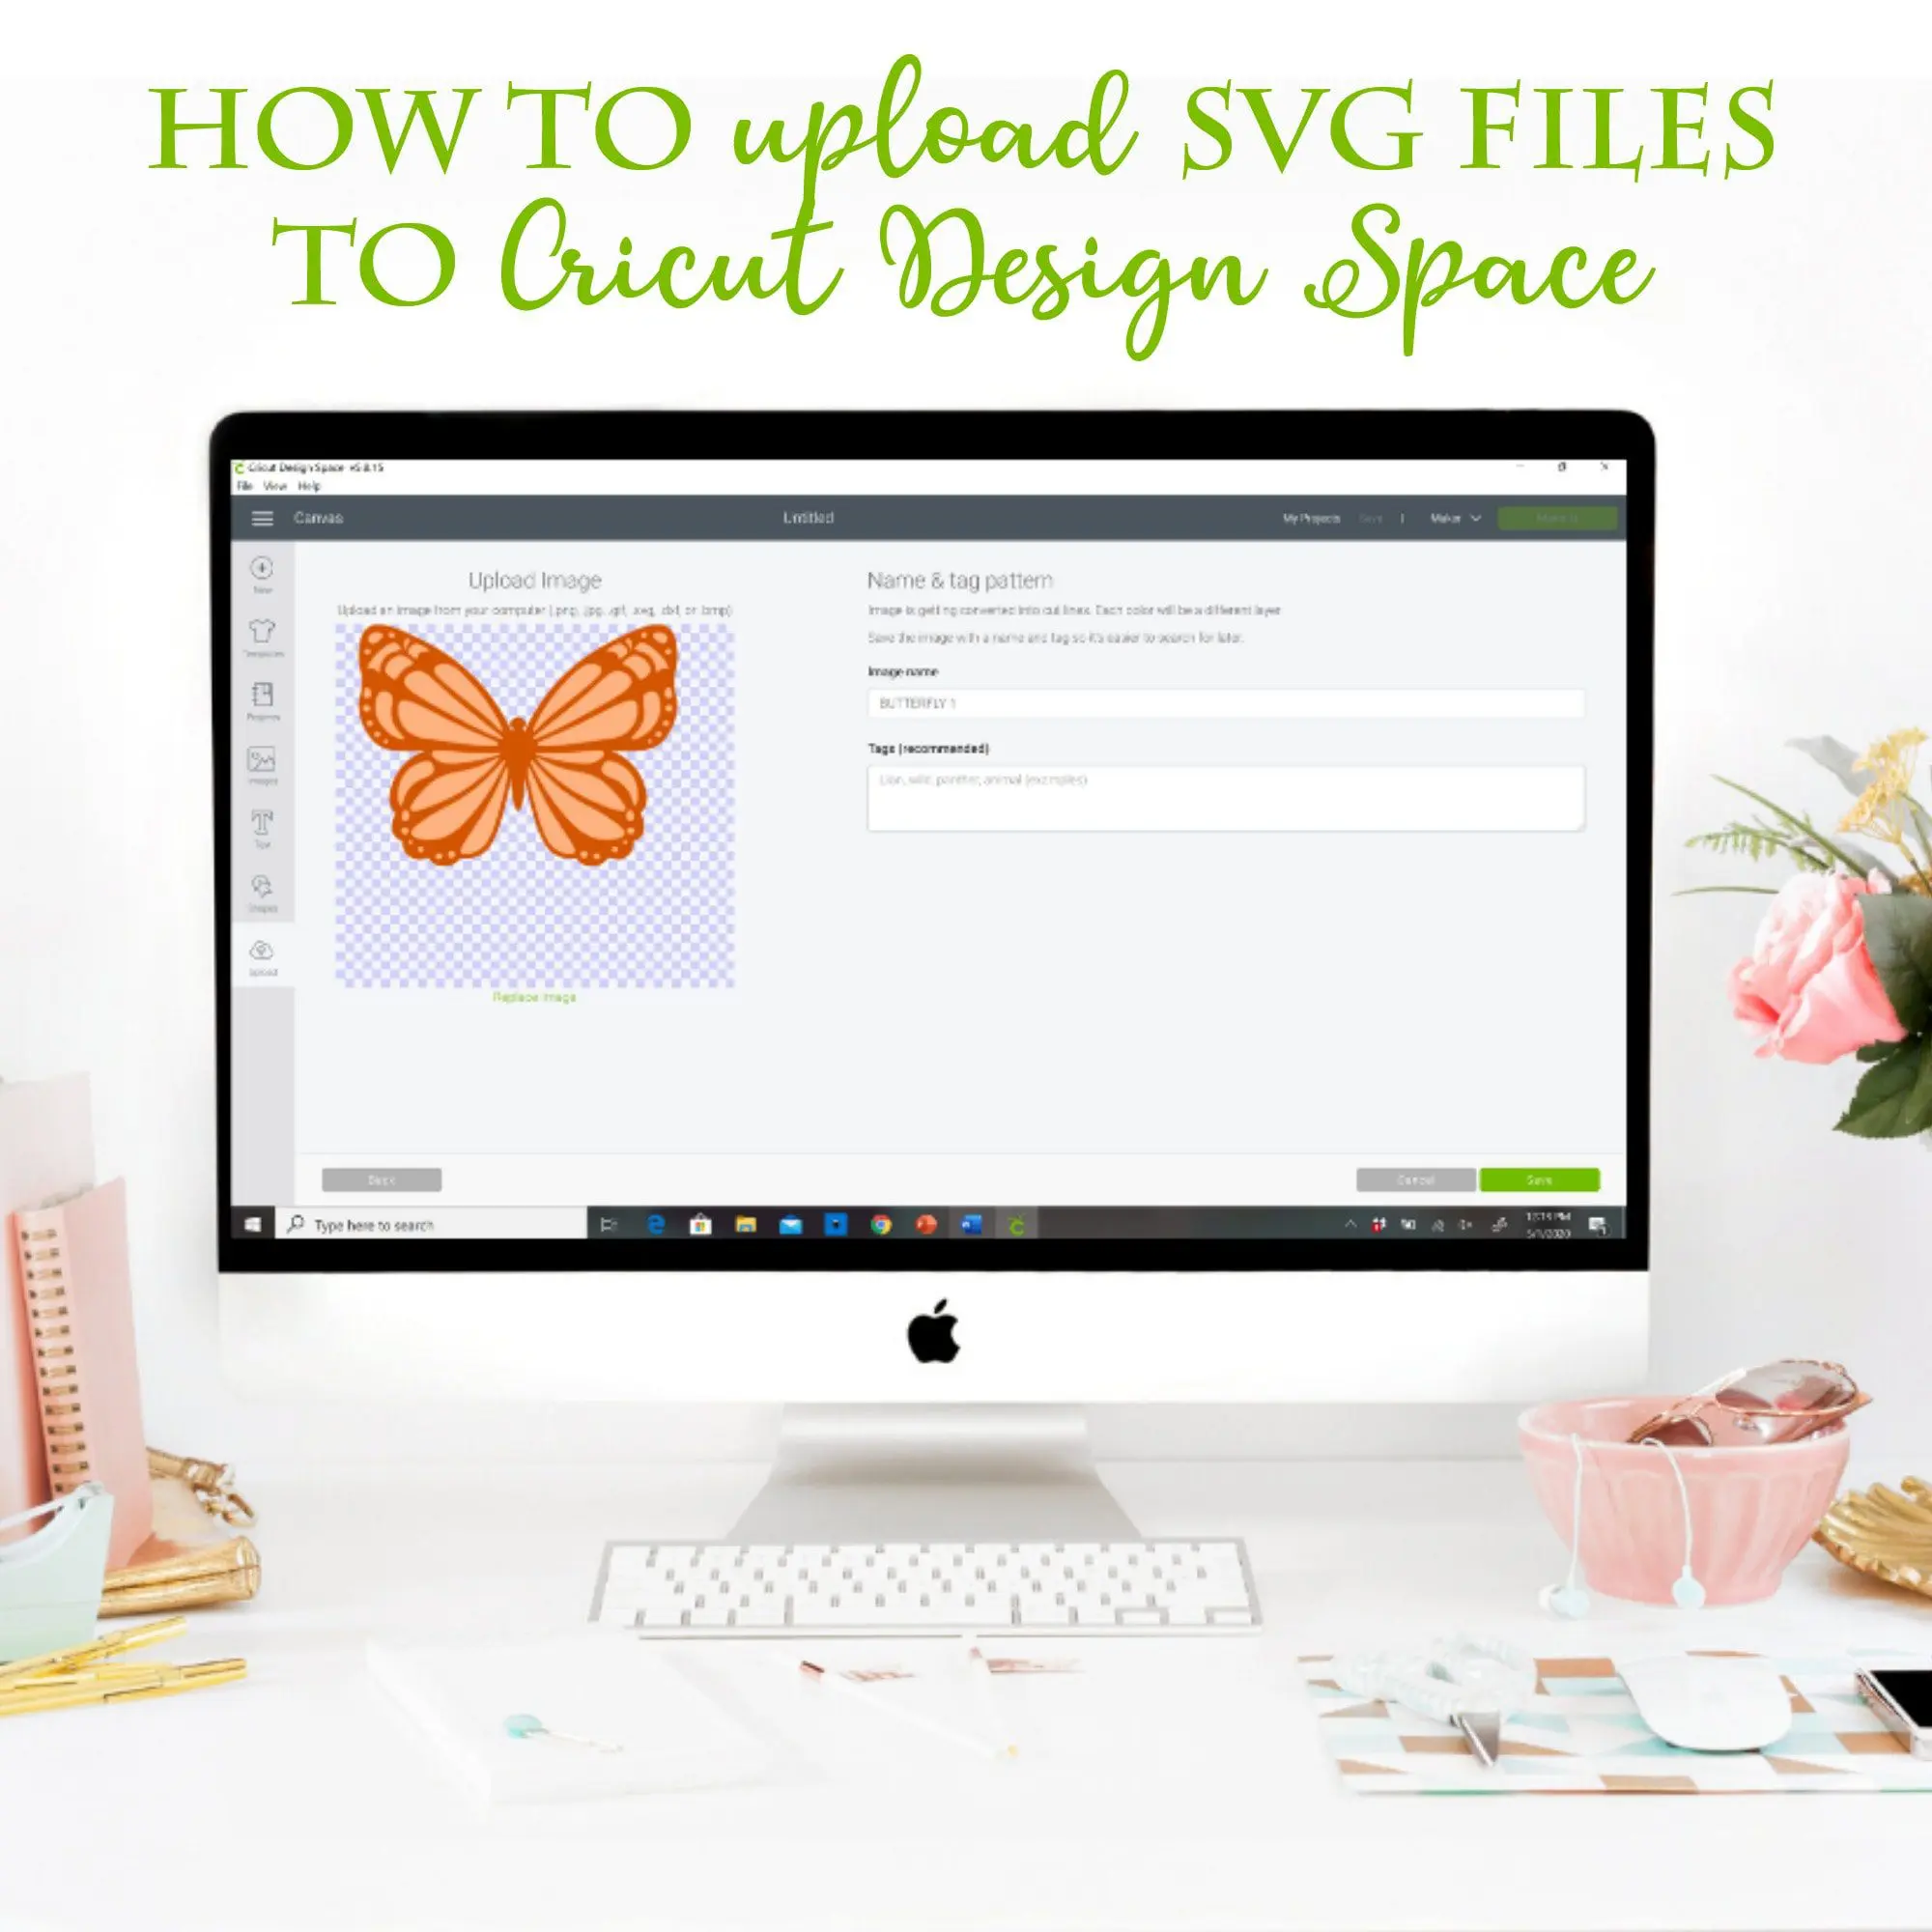
Design Space makes it easy to find and use images for stickers. Check out thousands of ready Print Then Cut images with Cricut Access, or use the Upload feature to upload your own images.
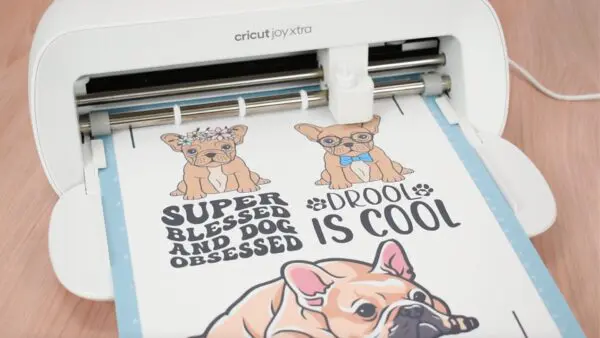
How To Make Printable Waterproof Stickers With Cricut Joy Xtra: Video Tutorial
Click play to watch the full video tutorial on making stickers with your Cricut Joy Xtra featuring the waterproof sticker paper, or keep reading for a written tutorial!
How To Cut Stickers With Cricut
Cutting stickers with Cricut is a two-step process of printing your images and then loading them onto Cricut to cut. Before you can do that, you need to choose your images, scale them to size, and send them to your inkjet printer.
Here are the sticker design images featured in the post. You can open the project up in Design Space and start printing! Plus, follow me on Design Space for more projects!
What Printer Is Best To Use With Cricut stickers?
It is important to note that your Cricut does not contain any ink to print. Rather, you will need a home inkjet printer to work in tandem with your Cricut machine to create stickers and other printable projects. Learn my recommended printers to use with Cricut here!
Adding an Offset To Stickers In the Cricut Design Space App
Whether you use your own images or Design Space image files, you may want to consider an offset for your stickers. Offsets are optional, but they add a finished border edge around the sticker design.
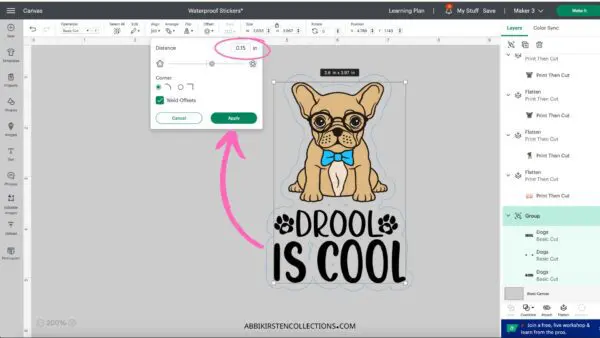
Offsets are particularly helpful if you are trying to combine a few designs together into one sticker result. For example, my Frenchie sticker includes a French bulldog image and a text design that was brought in separately.
Let’s review using the offset feature and combining both the text and image for one sticker result.
how to create and apply an offset
- First, choose your images and scale the designs to your preferred size.
- Then, select all images you want to add the offset to.
- Go to the Offset tool at the top center of Design Space.
- Set your offset width. For stickers, 0.15 to 0.20 inches is a popular width.
- Leave Weld checked on, and if you are happy with the preview, click Apply.
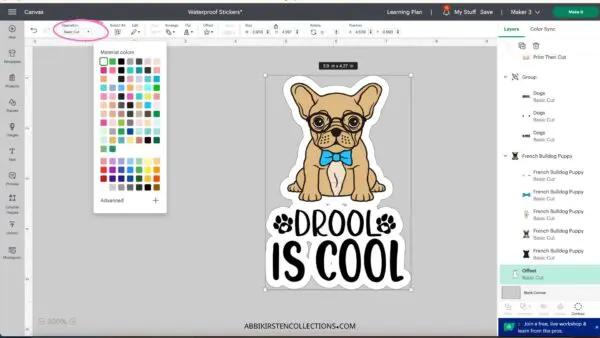
- The offset will appear in black. With the black offset layer selected, go up to the top menu, next to Operation, and select the color swatch to change it to white (or another color).
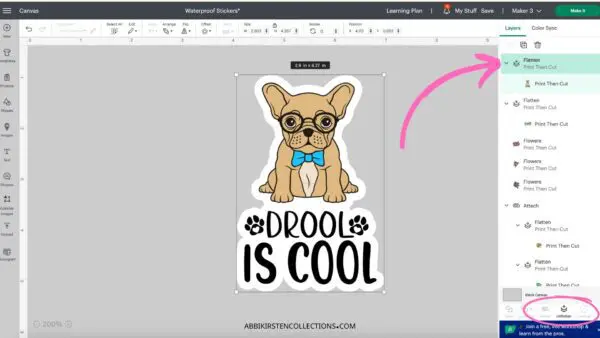
- To finalize the sticker, select both the offset layer and the image layers, then click on the Flatten Tool at the bottom of the Layer’s Panel to your right to turn the layers into one Print Then Cut sticker result.
- Your sticker is ready to print! And don’t forget to save your project.
Get Started With Your Cricut Joy and Joy Xtra
Need help learning your Cricut Joy or Joy Xtra Machine? Watch my free class for beginners, Cricut Joy Made Easy, to get started and make your first confidence-building project!
Printing Your Stickers
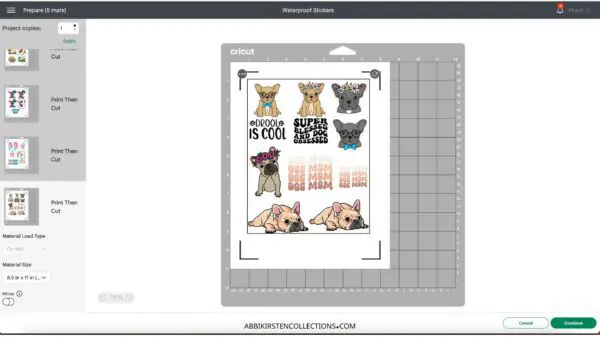
- Send the images to the cut screen by clicking the Make It button at the top right. Take note that the maximum size for printable materials with the Joy Xtra is 6.76 x 8.75 inches.
- Click Continue, then select Send to Printer.
- I recommend choosing ” Use System Dialog,” which allows you to control the print quality and where the sticker paper feeds from. You may need to refer to your printer’s manual for these printer settings.
- Click Print, and the System Dialog box will pop up (sometimes behind Design Space, and you have to minimize it to view the print box).
- Set your print quality to best, and choose if you wish to feed from a rear tray or main tray.
- Click print!
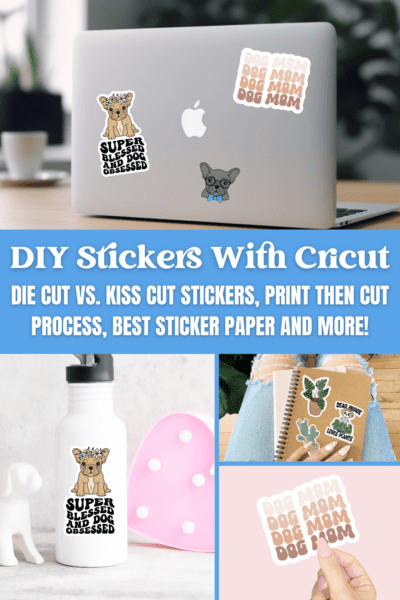
Die-Cut Stickers Vs. Kiss-Cut Stickers
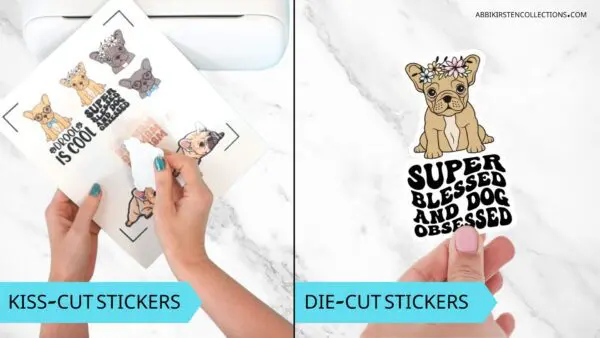
Once printed, decide whether you want to have a die-cut sticker result or a kiss-cut sticker result. Here is the difference between the two:
Kiss Cut Stickers
For kiss cut sticker sheets, only cut through the vinyl or sticker layer. In other words, the liner backing stays intact, creating a sheet of stickers that you will peel up individually when ready to use.
Die Cut Stickers
Die-cut stickers cut all the way through both the sticker layer and the liner backing, creating a sticker result that has been cut around the outer contour of the sticker image design. Die-cut stickers are the more popular approach because they are great for when you want to give stickers individually in a goodie box or hand them out just for fun!
Easy-Peel Stickers
An easy-peel sticker is a sticker on the liner with an inset border going around the sticker’s edge, which allows you to peel off the vinyl sticker result without picking at the edges to lift it. The easy-peel sticker method is a combination of kiss-cut and die-cut stickers. Creating easy-peel stickers with Cricut is easy when you use the offset feature in Cricut Design space. See how to make easy-peel stickers here!
Material Setting For Cutting Stickers With Cricut
Now, it is time to cut our stickers! You will need to make sure you are connected to your Cricut machine. I am using the Cricut Joy Xtra machine, and it is powered on and connected via Bluetooth to my computer.
Next, select your material setting. The material setting in Design Space will depend on two things.
First, what sticker paper are you using? If you are using one of the Cricut brands recommended above, there are cut settings for each of these in Design Space.
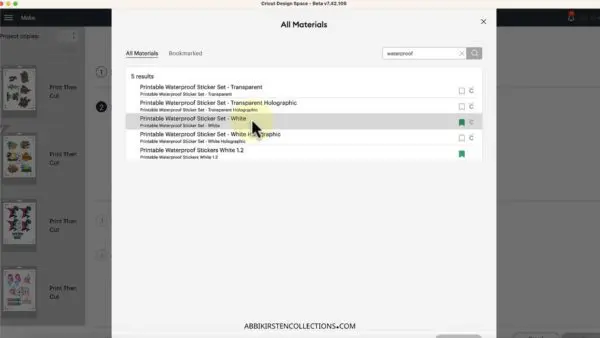
For example, the holographic sticker paper has its own setting you can find when you click on Browse Materials and search the keyword “holographic sticker paper.”
In my tutorial, I am using the waterproof sticker set, so I will search that and select that setting.
The second thing it depends on is if you wish to have a kiss-cut sticker or a die-cut sticker.
Note on die-cut stickers
In my experience, I have found that creating my own setting for die-cut stickers using Cricut’s existing settings works well.
For example, with my waterproof stickers, I created an ideal setting.
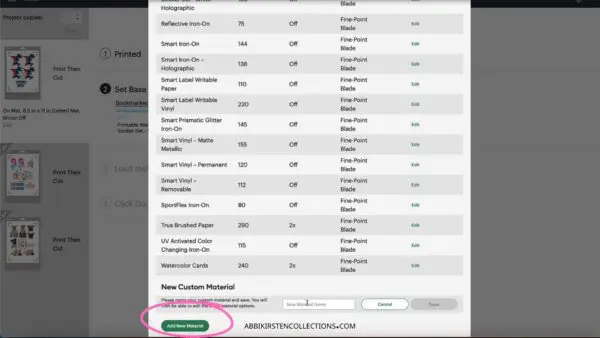
- Click Browse All Materials.
- Scroll all the way down and click on Material Settings at the bottom left corner.
- Locate the correct setting that you would normally use. For me, that is the Waterproof Sticker Set – White setting. Click Edit and take note of the pressure value.
- Scroll all the way down and click Add New Material.
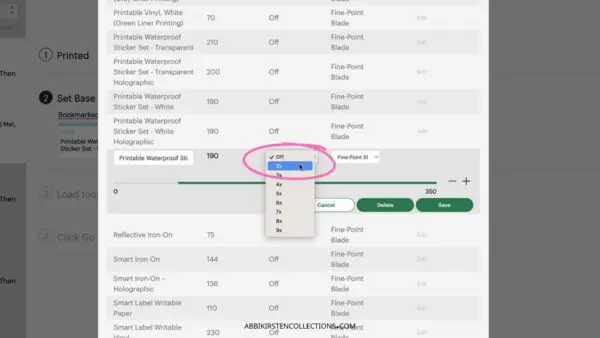
- Set the same pressure value as noted, fine-point blade, but instead of 1x, change it to 2x. This will tell your Cricut to cut two times, also known as two passes.
- Name your setting. I will name mine Printable Waterproof Sticker Set – White 1.2.
- Click Save!
- Exit out, locate your newly saved setting, and select it for your Cricut to start cutting.
Because our new setting goes over the material twice, it will result in a die-cut sticker rather than a kiss cut. I have also found that the Medium Cardstock setting can work well when aiming for die-cut stickers. I do recommend a simple test cut before proceeding to print images.
Cut Your Stickers With Cricut
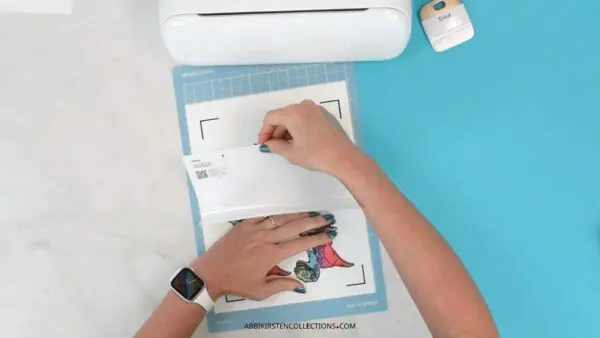
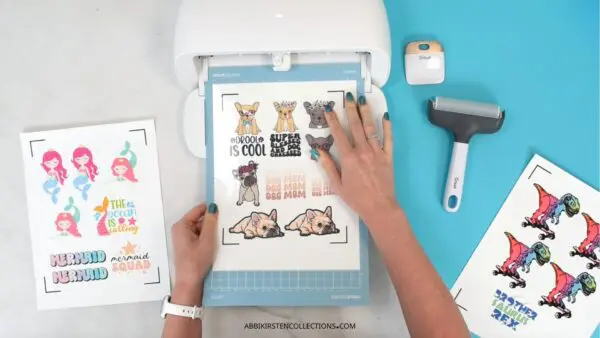
Load your printed sticker sheet onto your cutting mat and press it to the mat with a brayer tool. If you are not using the waterproof sticker paper, you can go ahead and load the mat into your Cricut Joy Xtra machine now.
How To Apply The Waterproof Sticker Laminate
The waterproof sticker paper came out as a new product with the release of the Cricut Joy Xtra machine. The laminate sheet that covers the printed sticker sheet is waterproof and UV-resistant.
- Print your sticker image onto the white sticker sheet that comes with the waterproof sticker paper.
- Load the sticker sheet onto your Cricut mat and smooth it with a brayer tool.
- Grab one of the laminate top sheets and peel away at the top to reveal a sticky edge to get yourself started.
- Line the laminate edge up along the top of the printed sticker sheet on the mat and press down.
- Slowly remove the liner and work the clear laminate down the page until you reach the bottom.
- Smooth with a brayer tool or Cricut scraper to remove any minor air bubbles.
- Now you are ready to cut your waterproof stickers!
Cutting Stickers With The Cricut Joy Xtra
- Load the Joy Xtra by pressing the mat against the rollers when prompted in Design Space after you select your material (my setting is the waterproof sticker set).
- Cricut will measure your mat length first, then prompt you to click the Go button in Design Space or on the top of your machine if you are using a full-size Cricut model.
- Cricut Joy Xtra will scan your mat, reading the black line registration marks so it knows exactly where to cut on the mat!
- Once your machine has completed the cut, unload and enjoy your stickers!
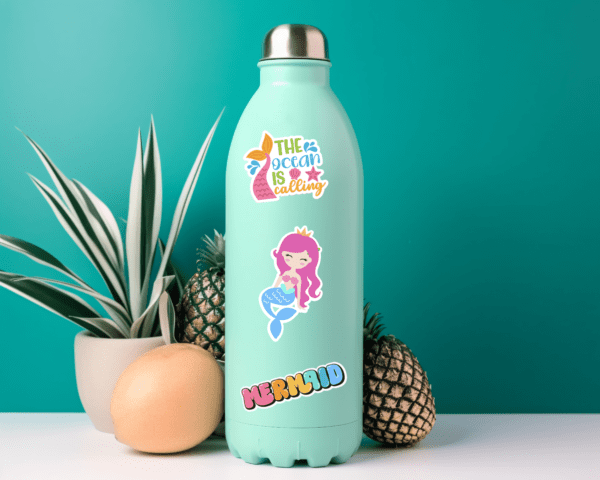
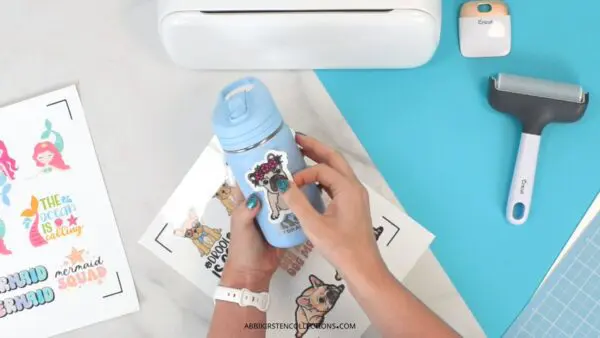
I placed these waterproof stickers on my kid’s water bottles, my laptop cover, and even my phone case. I am eager to try this material for car decals also because it can hold up to water and sunlight! Being a Floridian, this is crucial for car decals!
Care Instructions For Cricut Waterproof Sticker Paper
Even though this sticker paper is indeed waterproof, you do not want to run bottles or any drinkware through the dishwasher – always wash by hand.
I am currently testing this sticker paper on my car and will report back in a few weeks to show how it has held up to the elements.
Update: After running my stickers through the dishwasher and having them in the sun I am happy to report they held up quite well. Certainly not without flawless. After a month, I saw some mild curling at the edges (only on certain designs) and a little fading, but they still looked good overall. The stickers definitely stick well and don’t come up easily when exposed to water.
New To Cricut Joy or Cricut Joy Xtra?
If learning your Cricut Joy machine feels daunting right now, don’t worry; I’ve got you covered with my FREE Cricut Joy Made Easy class that will teach you how to get started with your machine the right way.
Here is what you will learn in this online workshop:
- Put an end to Cricut confusion by understanding the clear path to success you can take to master the machine quickly (without tech confusion or overwhelm).
- Hands-on, step-by-step card project. Crafting clarity comes through taking action! I’ll share a beginner-friendly project so you can gain quick confidence in the process.
- Understand the exact types of crafts the Cricut Joy and Joy Xtra machine can make for you. Why using YouTube to try and learn by trial and error isn’t cutting it and what to do instead.
Don’t forget to check out all the other sticker materials Cricut offers, like their gold sticker vinyl! I just love how shiny it is!
Making your own custom stickers is one of many uses for the Cricut Joy Xtra. Read more about everything the Cricut Joy Xtra can do here!
What questions do you have about making stickers with Cricut and using the Cricut Joy Xtra for Print Then Cut? Leave me a comment below, and let’s chat!
About Abbi Kirsten
Welcome to my colorful corner of the internet, where we play with vibrant crafts and unlock your creative magic! Hang out with me and get lost in a fun array of projects, tutorials, and products, from stunning papercraft ideas to flower templates, Cricut help for beginners, and endless crafter’s hacks.
To access all the magic, join the Member Vault and participate in my monthly Craft-Alongs in my Facebook group!