How to Make Paper Roses: Easy Step-by-Step Tutorial
This post may contain affiliate links that won’t change your price but will share some commission.

How to Make Paper Roses: Easy Step-by-Step Tutorial
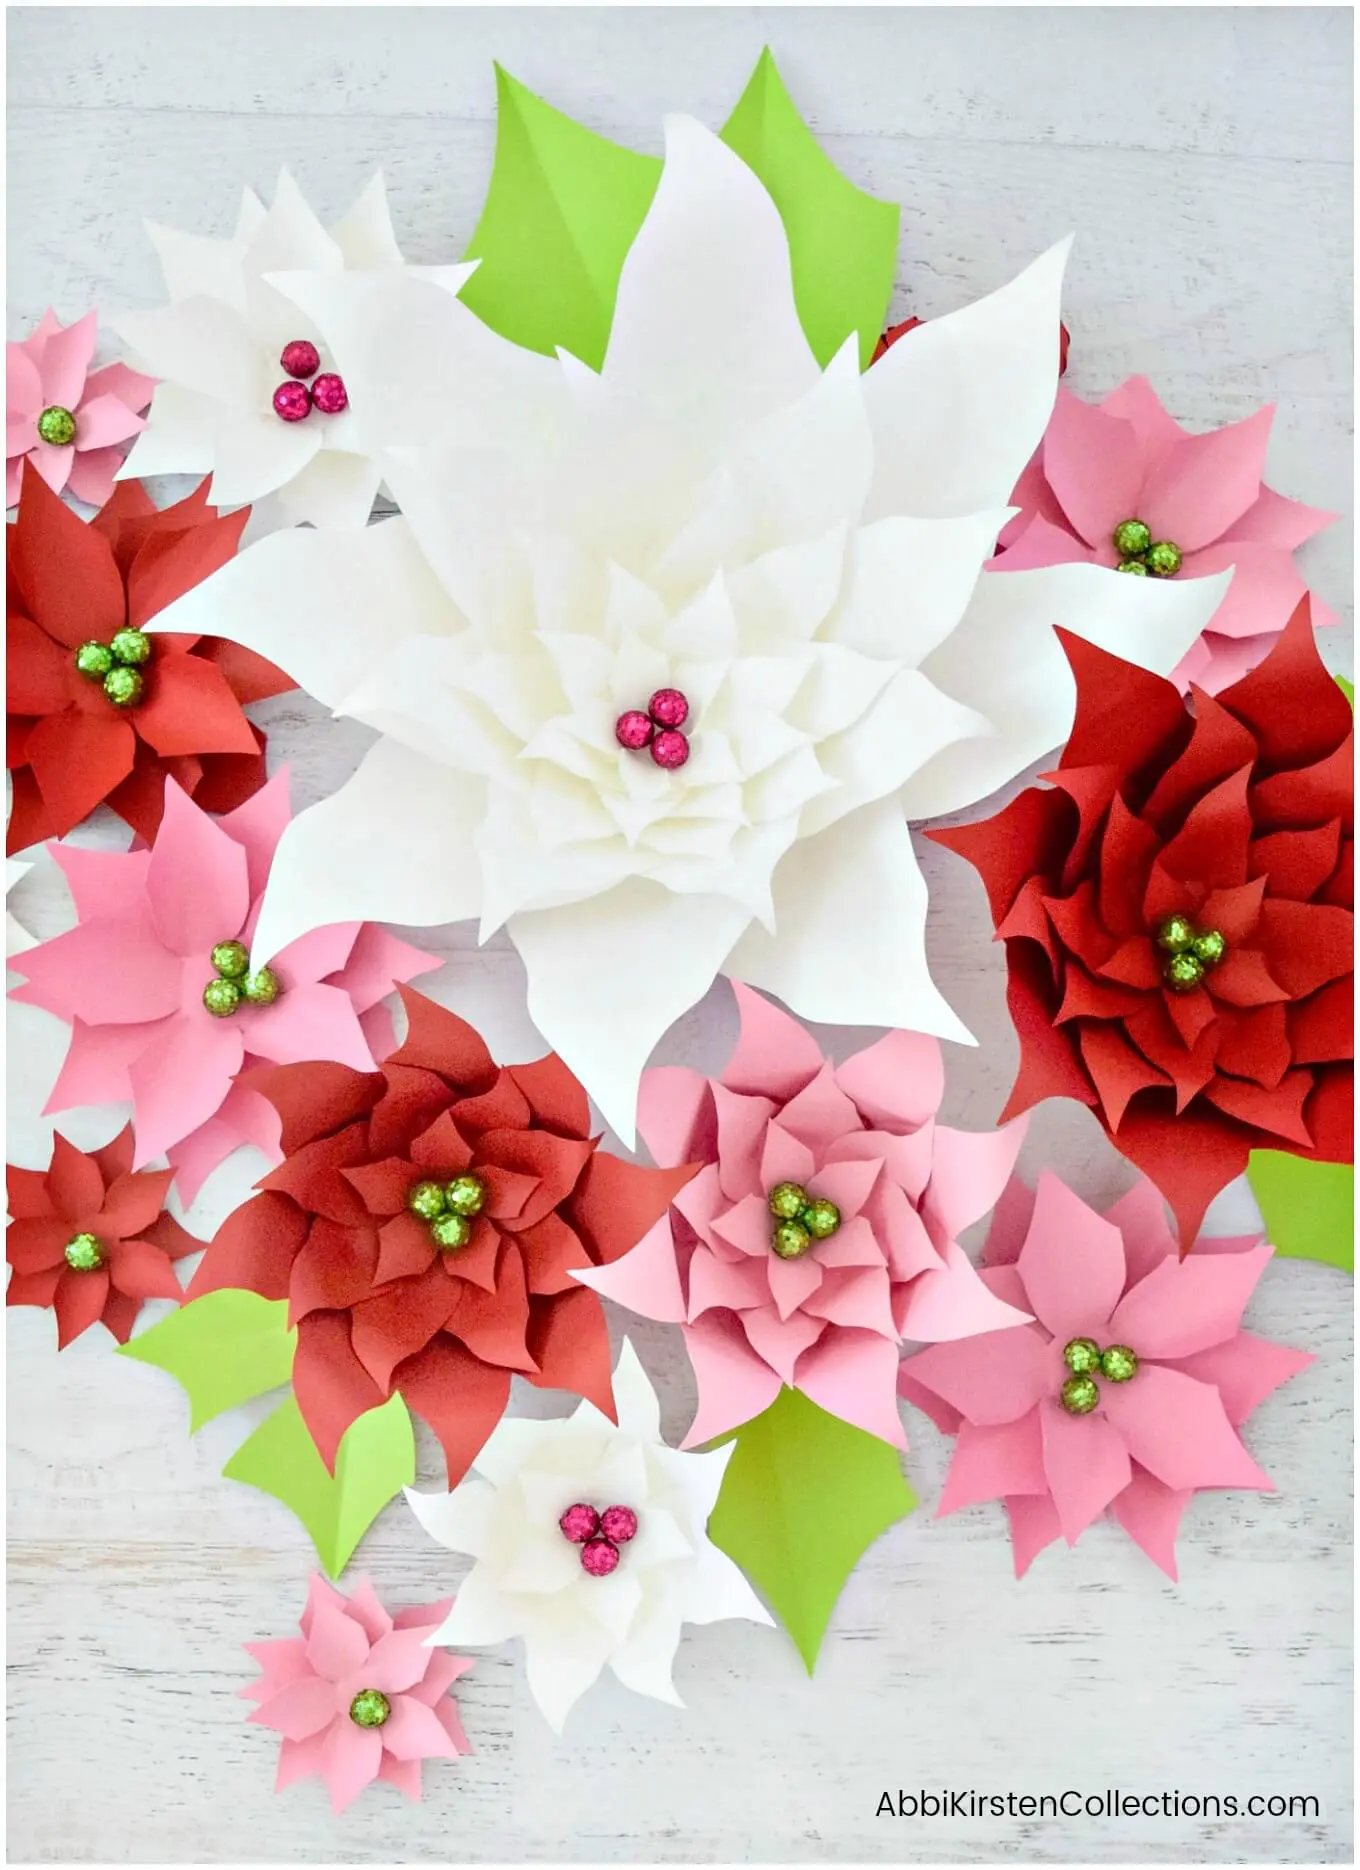
Every time I sit down and start to think about a new flower design, my mind always wanders to roses. I’ve designed many large and small rose templates but started thinking maybe it would be nice to create something that is kinda in between. Most of my larger roses measure 17-19 inches, and the smaller roses (great for bouquets) measure about 3-4 inches.
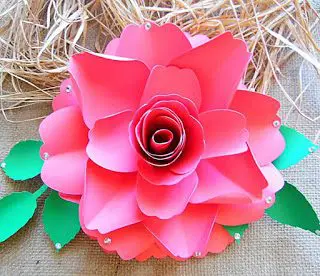
So I was thinking, how about a 9-inch rose? Something that would be a stunning addition to a large table centerpiece or a filler for a backdrop between larger designs. After all, everyone wants to know how to make paper roses.
Related Posts
- Serena Rose Tutorial
- Bella Rose Tutorial
- Alora Rose Tutorial
- Majesty Rose Tutorial
- Eden Garden Rose Tutorial
When I made the Eden Garden rose, I was very specific about how I curled the petals. Curling your paper petals is ultimately the key to how your flower will turn out.
If you feel something is off about your flower, then just start studying your curls and see what you can do to improve upon them.
Below I have a video to show you step-by-step how to create this Scarlet rose beauty. First, let’s review supplies so you know what to pick up on your Sunday run to your craft store. My favorite is Michaels!
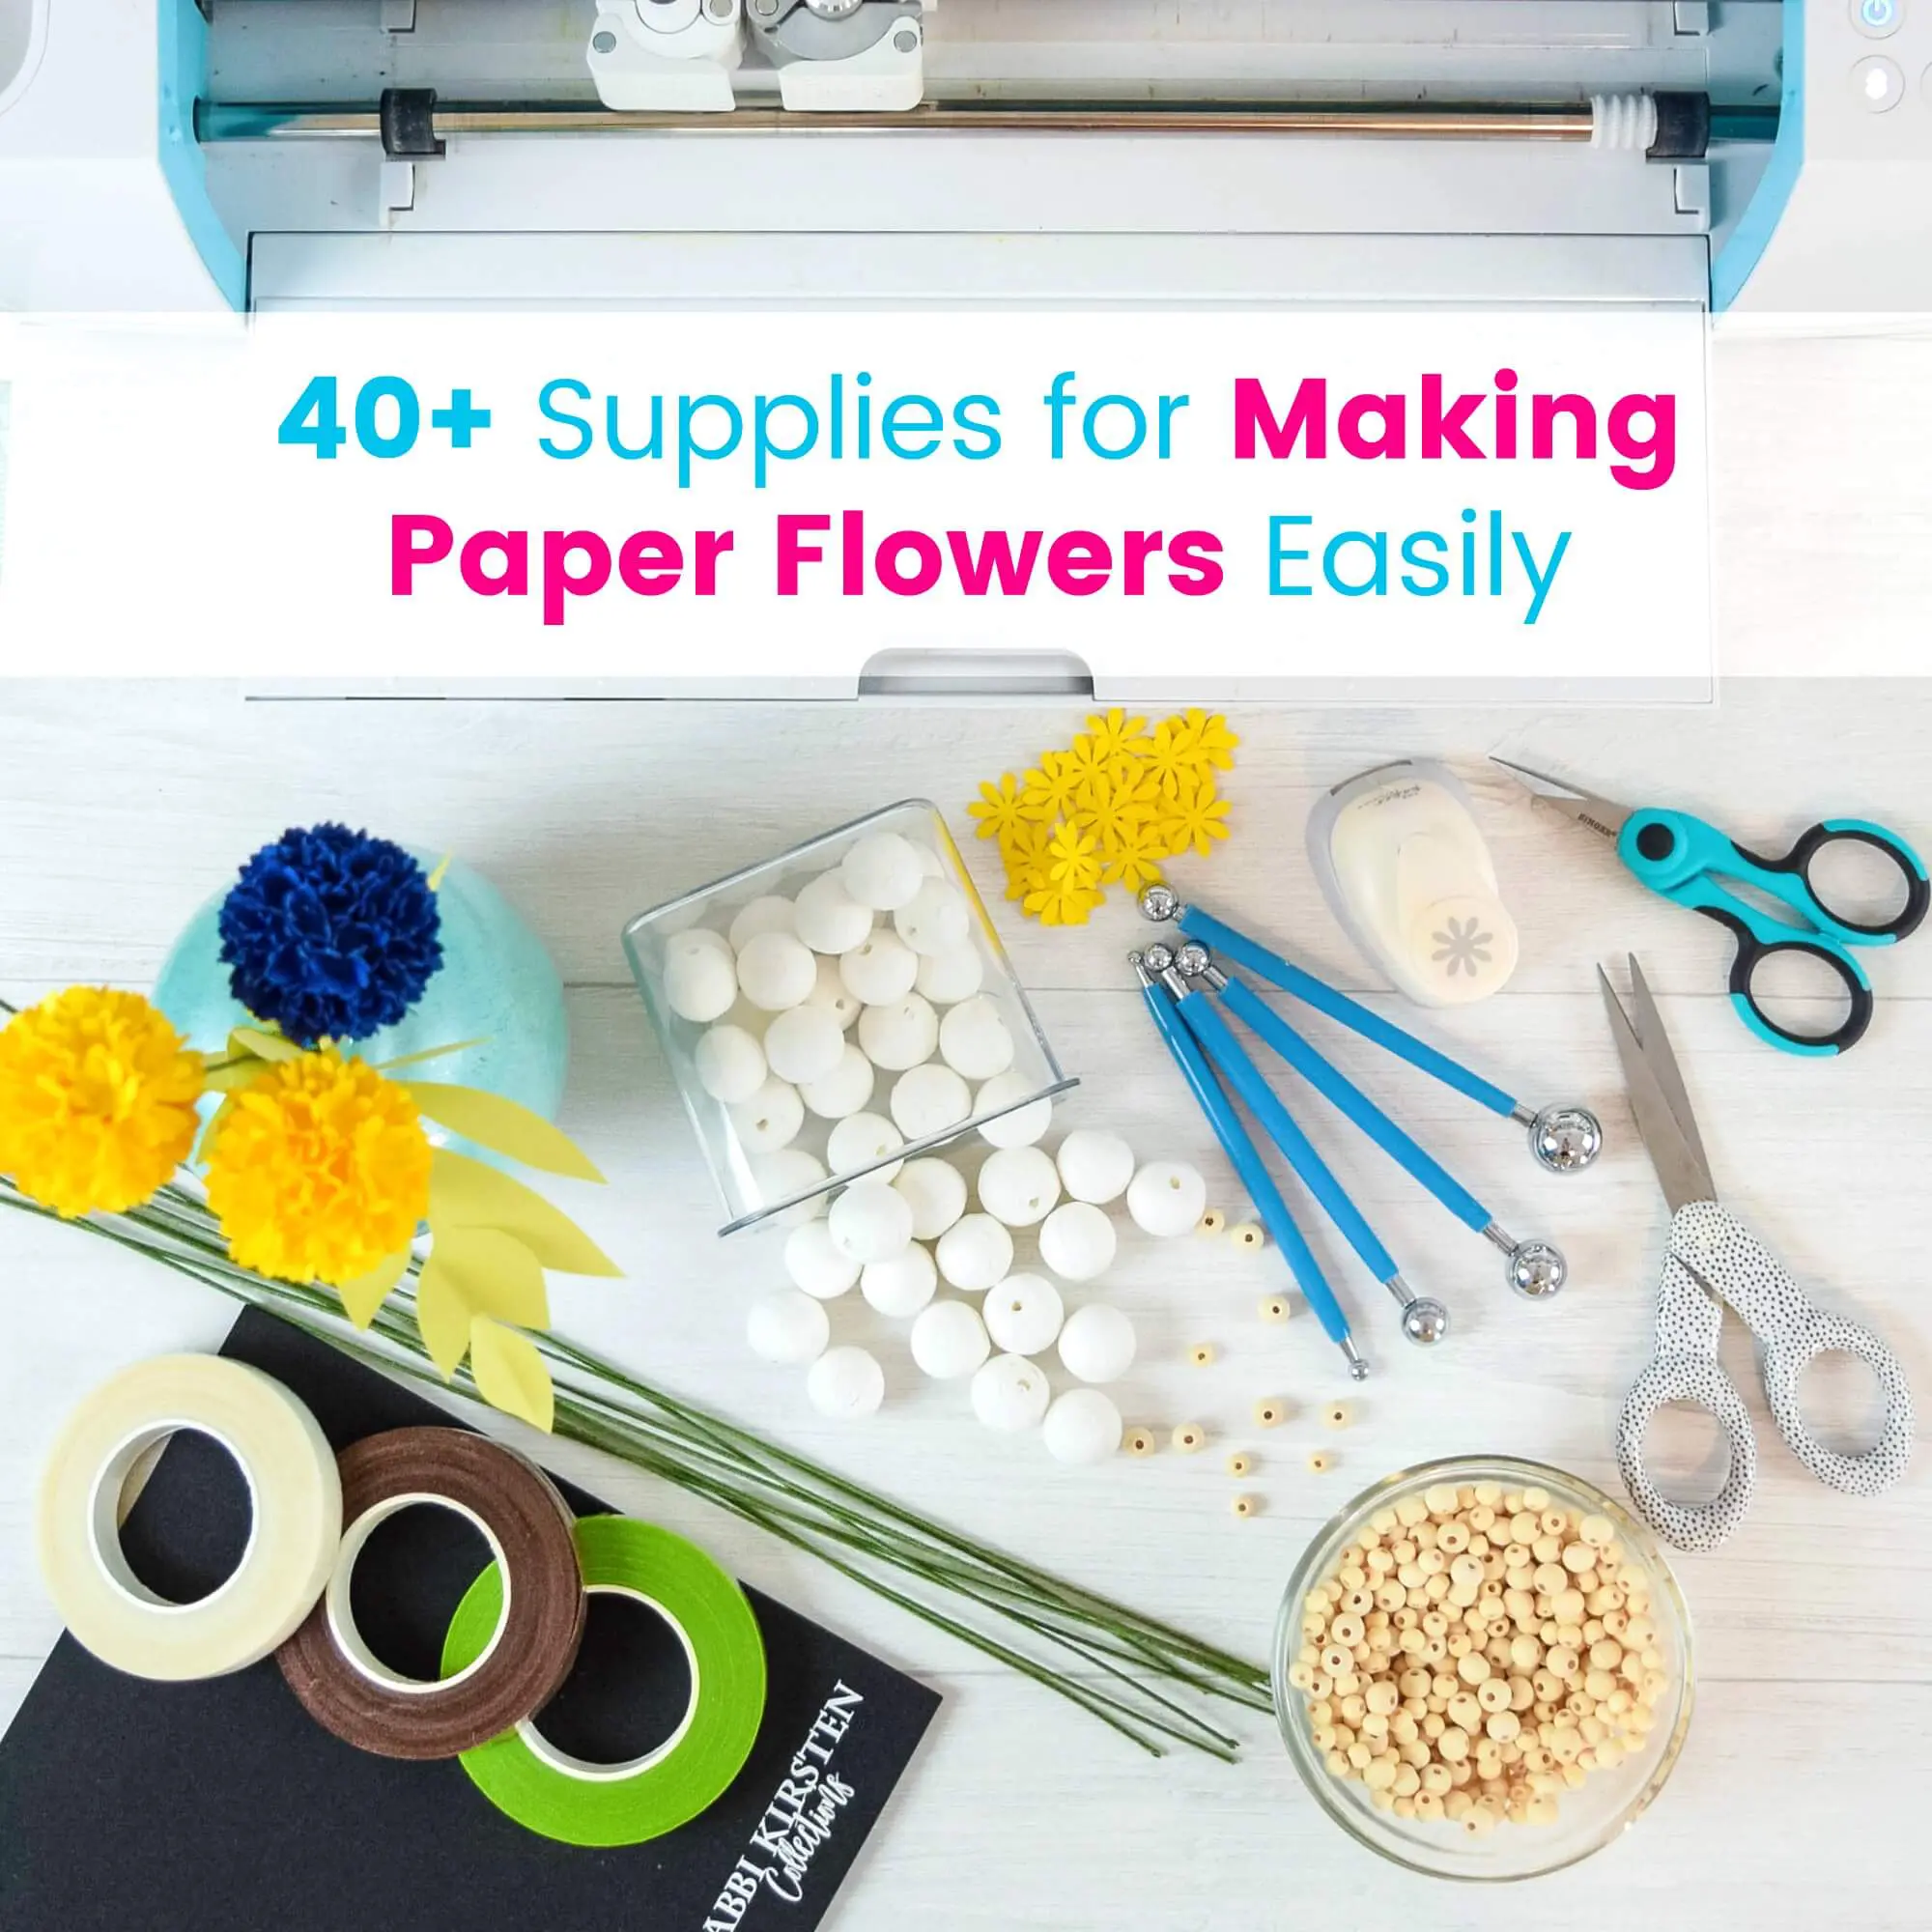
Supplies/Tools
- 65-pound cardstock in your color choice
- Scissors
- Cricut or other cutting machine
- Glue gun
- Wood dowel for rolling
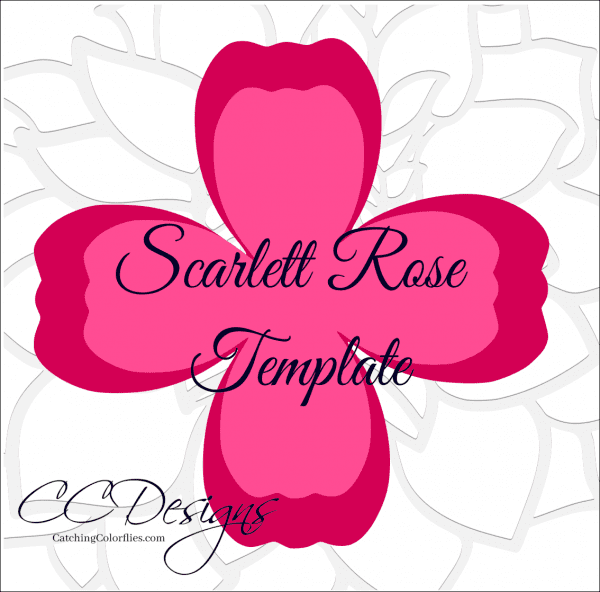
- Scarlett Rose templates (find them in the AKC Member Vault here!).
How To Make Paper Roses: Scarlet Rose Design
After you acquire your downloads cut out all the layers of petals. You can use the PDFs if you are hand cutting or the SVG cut files for a cutting machine. After cutting, you will begin to curl all the petals according to the video instructions. Next is layering and assembling your petals. Then finally, find a place to display your rose proudly!
To see how it’s done. Click play below.
About Abbi Kirsten
Welcome to my colorful corner of the internet, where we play with vibrant crafts and unlock your creative magic! Hang out with me and get lost in a fun array of projects, tutorials, and products, from stunning papercraft ideas to flower templates, Cricut help for beginners, and endless crafter’s hacks.
Join A-Star Crafters and participate in monthly Craft-Alongs in our community Facebook group!


Great article. Glad to find your blog. thanks for sharing.
Best Wooden Modular kitchens in Chennai