Paper Flower Peony: How to Make Paper Peonies
This post may contain affiliate links that won’t change your price but will share some commission.
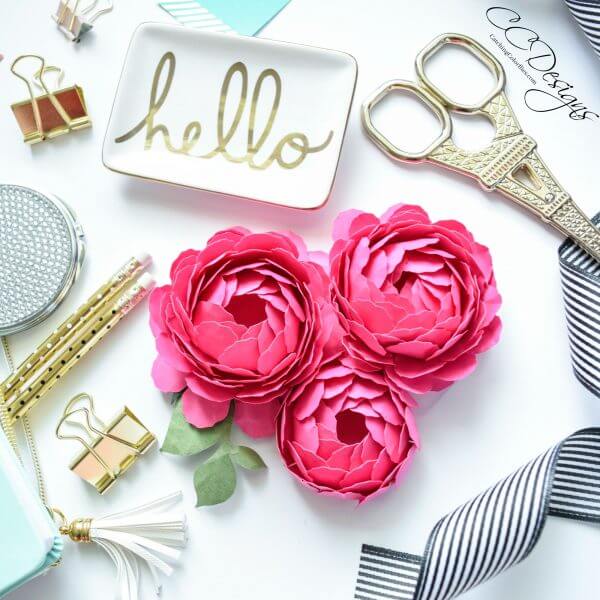
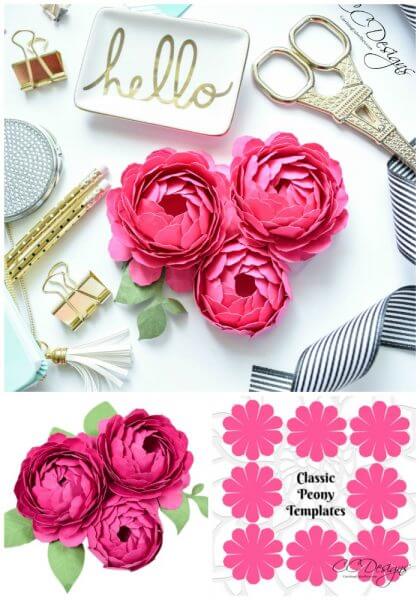
Paper Flower Peony Tutorial
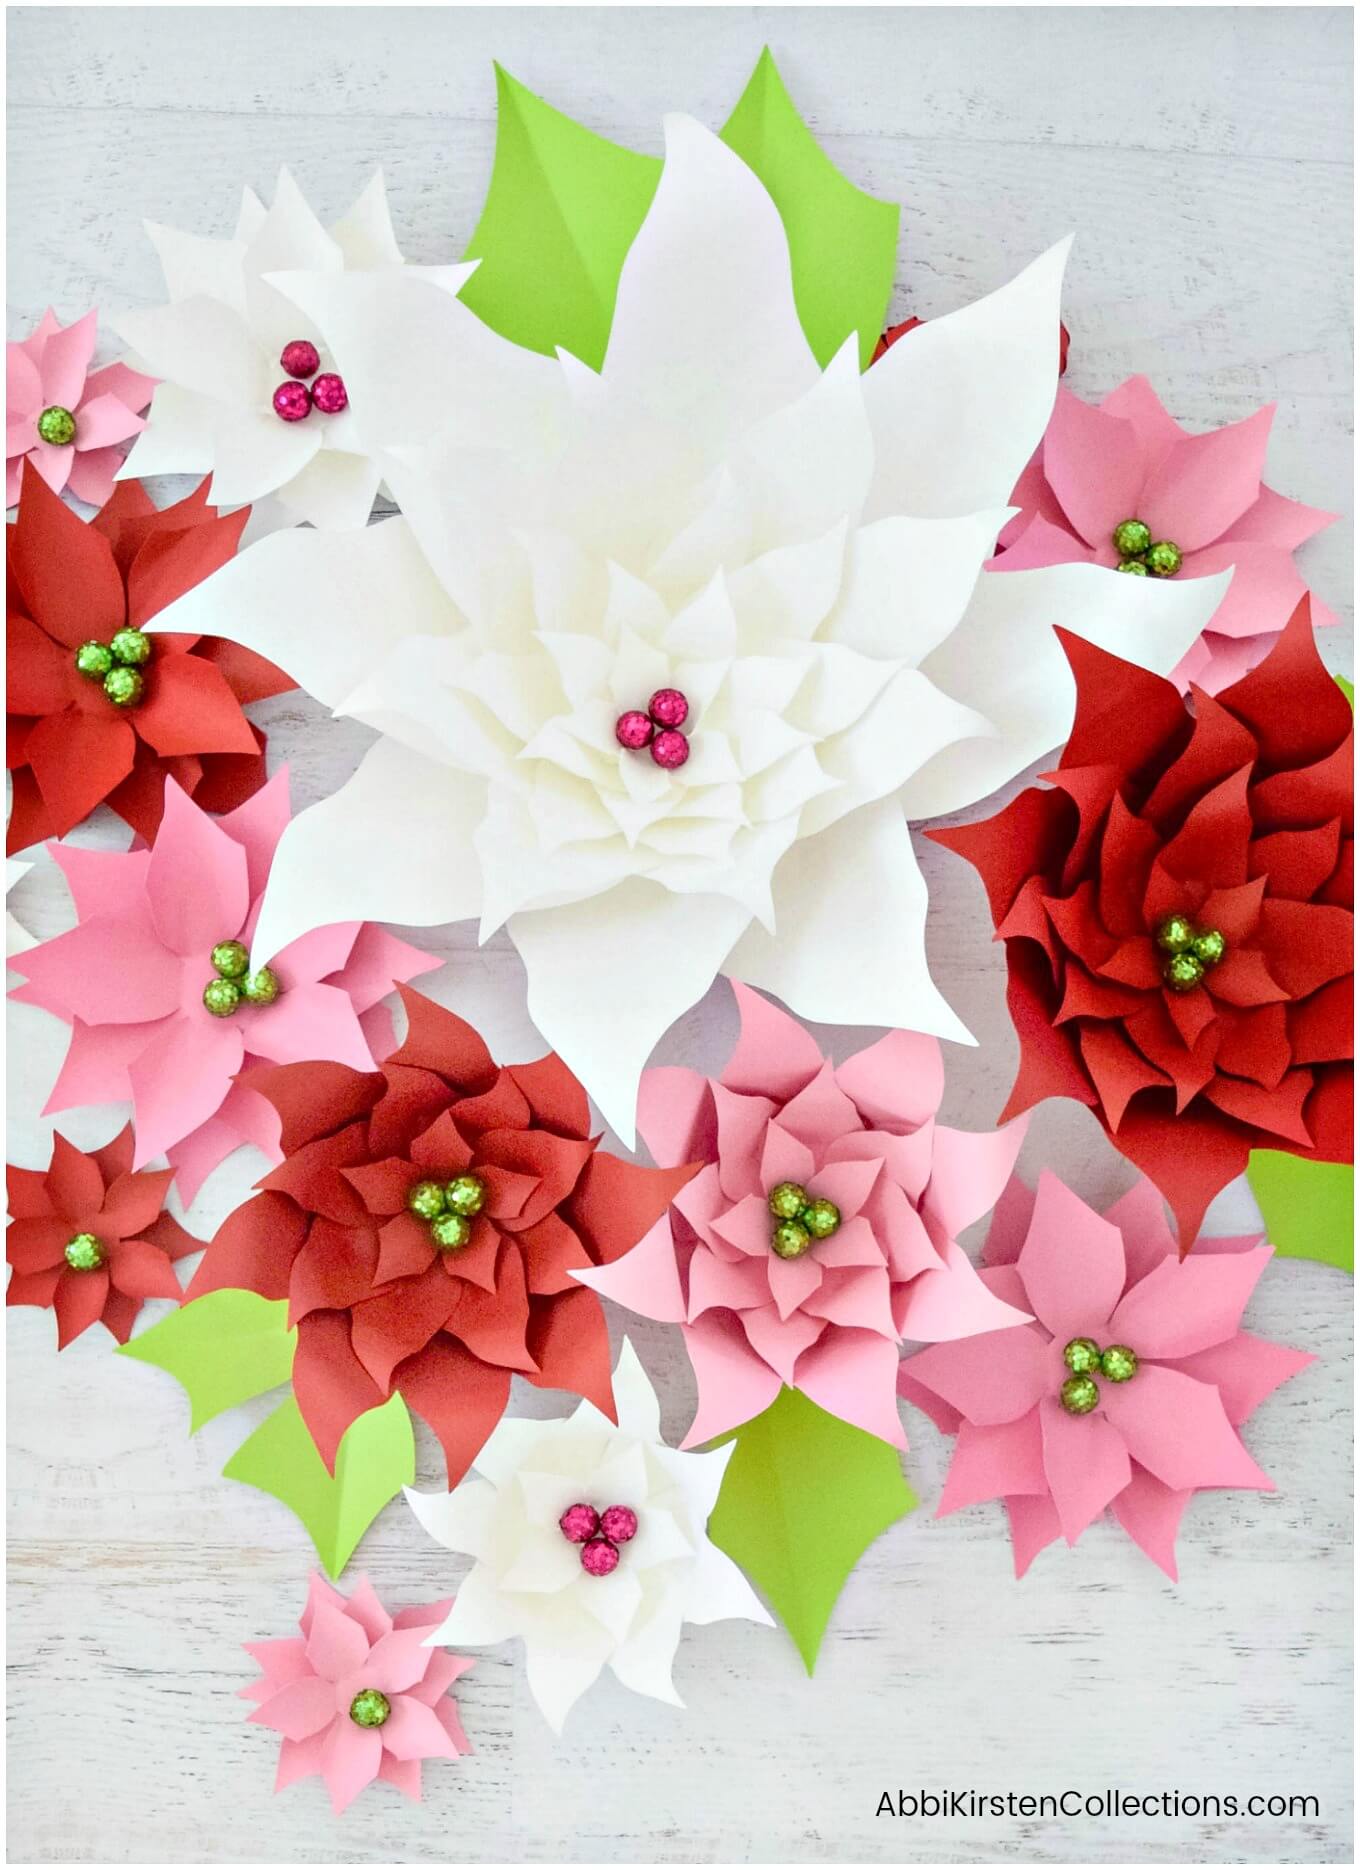
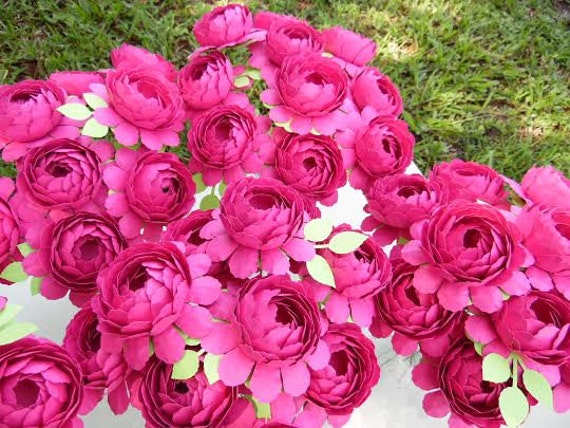
Peonies are one of the the most sought after flowers. It doesn’t matter if we are talking about real, silk or paper. Making peonies out of paper is super fun but takes some patience to perfect your skill.
There are a couple of key things that can help make your paper peonies amazing. I’m going to share in this post the tools I use and my tips on How to Make Paper Peonies.
Related Paper Flower Posts
Supplies for Peony Flowers
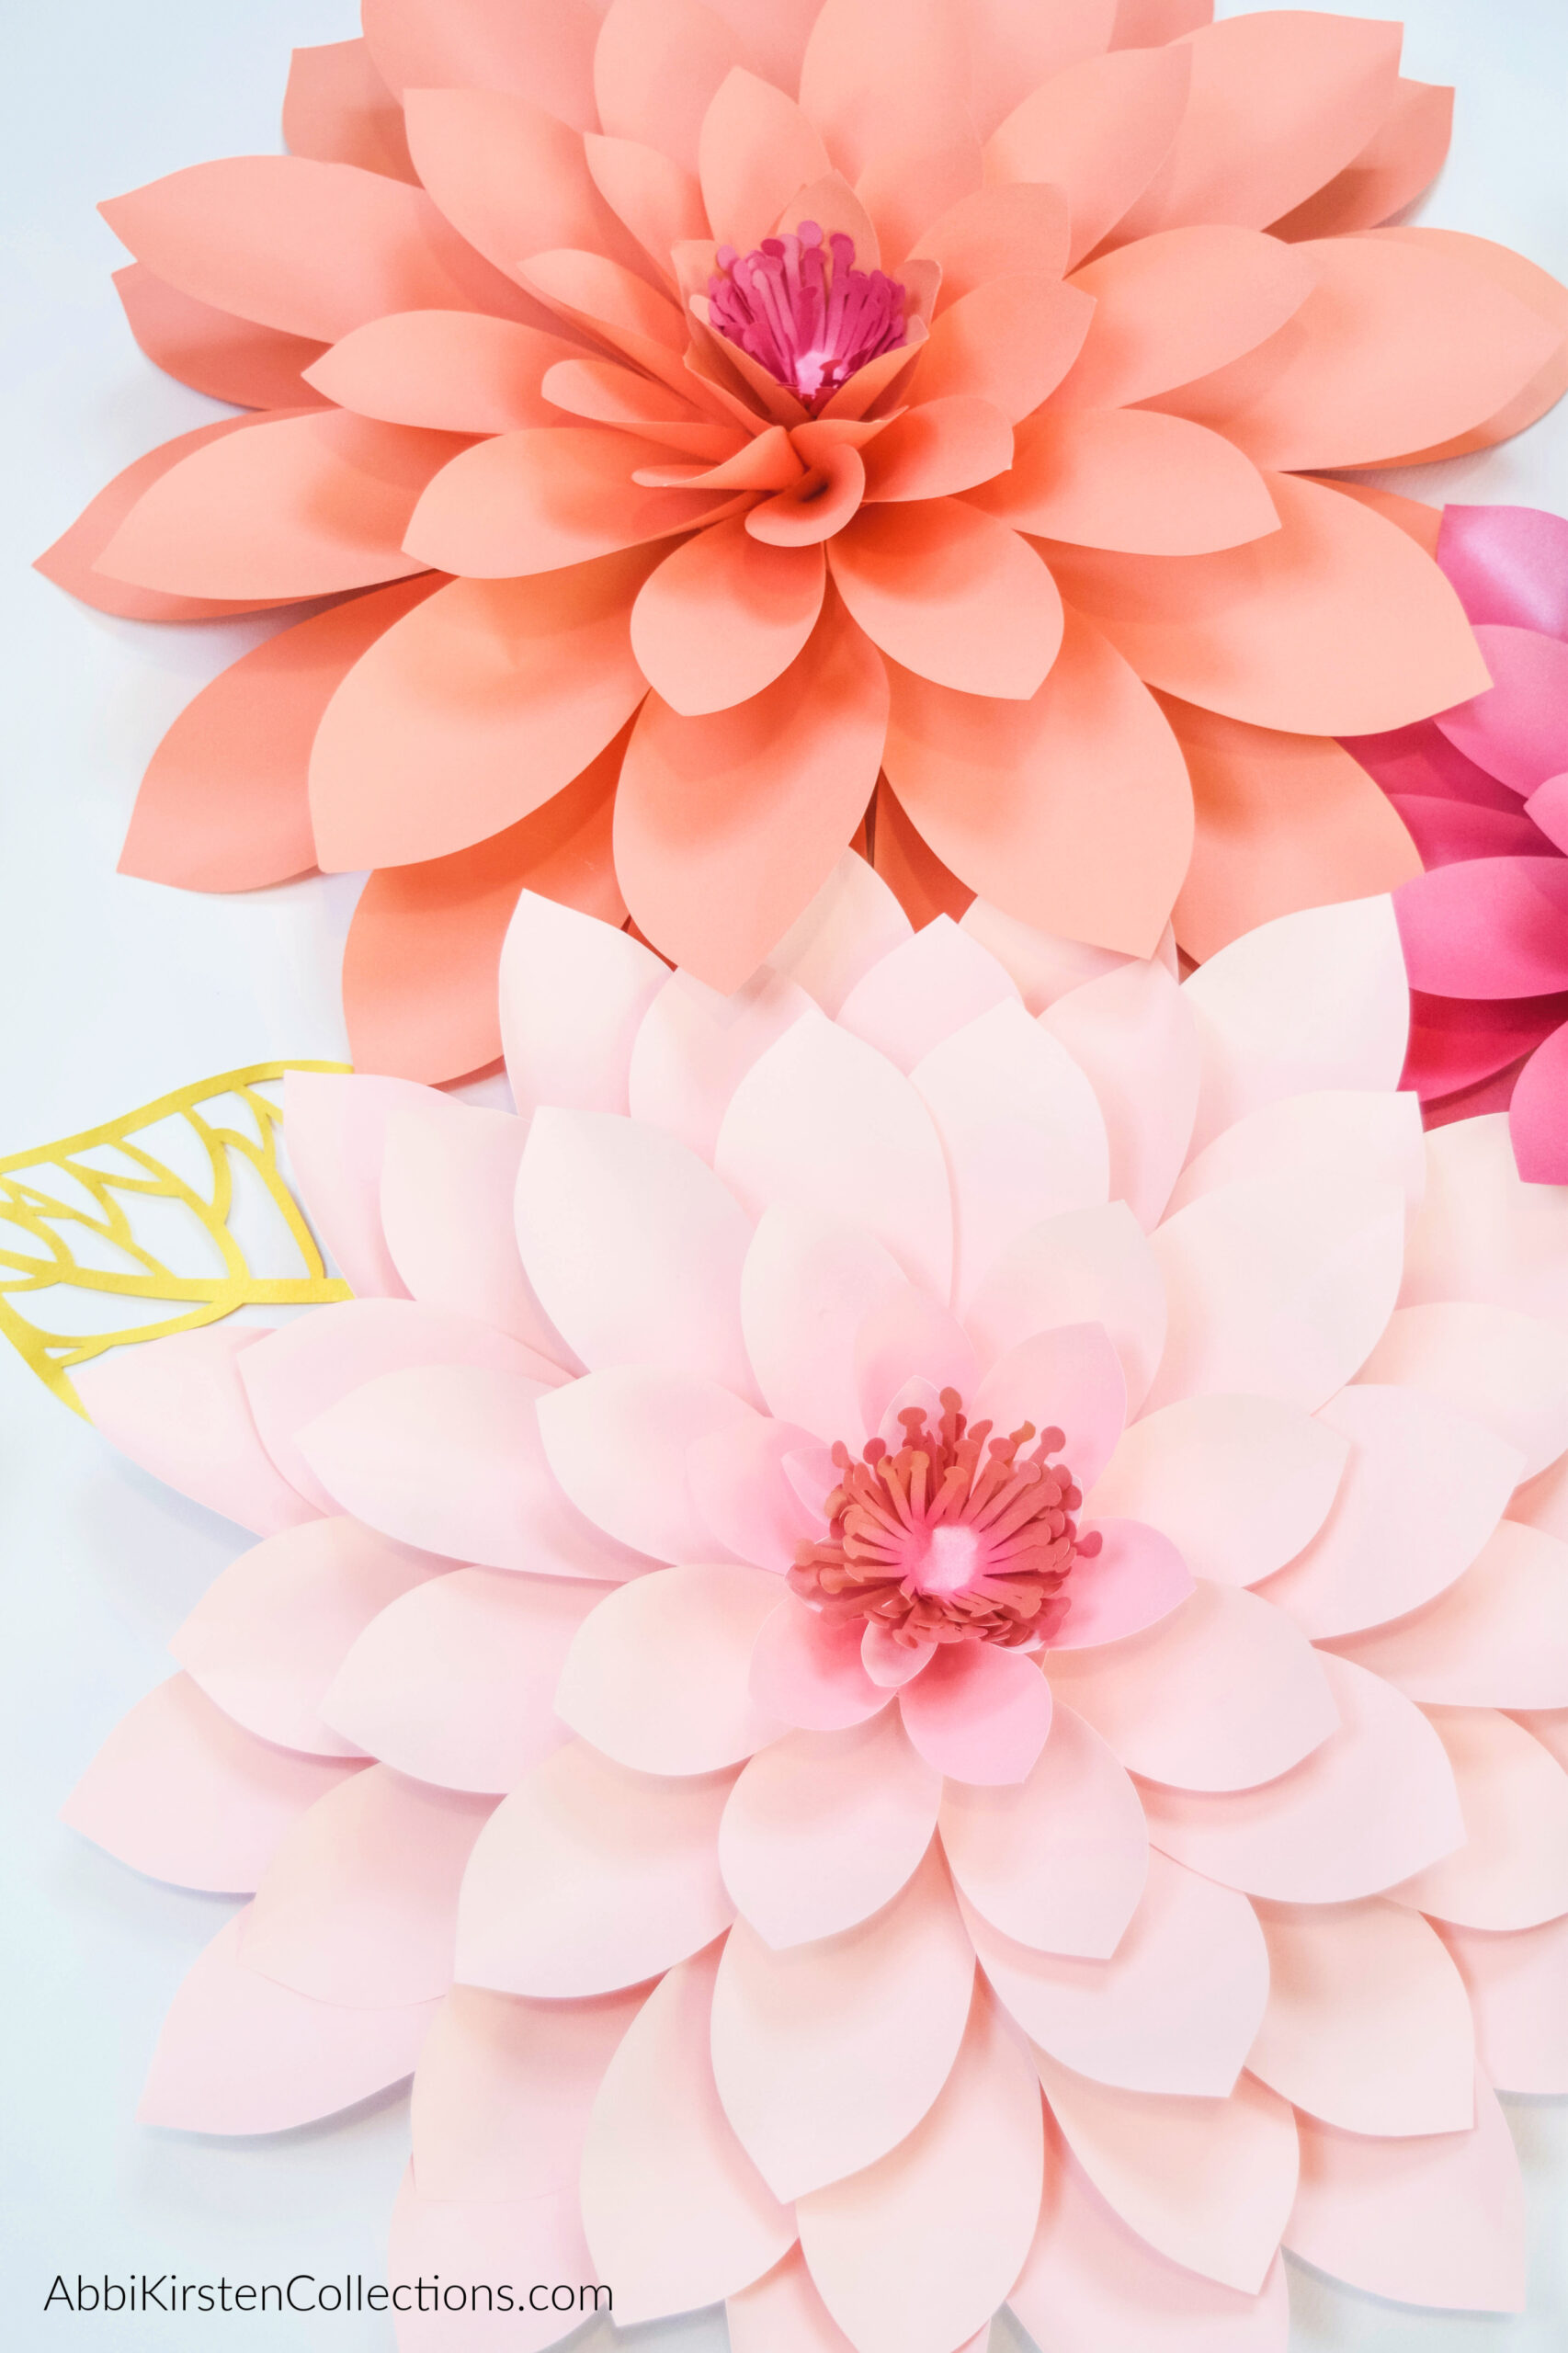
Let’s talk about paper first. The most common question I get in my line of work is: What kind of paper do you use? In general, I almost always stick with 65-pound weighted cardstock (176 grams). With these peonies specifically, I never go above 65 pounds usually. I occasionally go a little below 65. If it’s a pretty color paper, I can’t get in the 65-pound weight. Click here for the brand. I use 65-pound cardstock.
Next, let’s discuss cutting options. You can hand-cut these peonies or cut them with a machine. Hand-cutting will take more time, but it is possible! I do recommend machine use, especially with small flower designs because they are more intricate, and it saves time. Whether hand cutting or machine cutting, you can find the links to my scissors and the machine I use below.
Occasionally my readers and customers wonder if they can use glue other than hot melt glue. The answer is you can, but I don’t recommend it. The advantage to hot glue is that it not only holds well but dries within a minute, so you can complete each layer of your flower without needing to wait a longer amount of time for, say, Elmer’s glue to dry. In other words, it could get messy if you don’t opt for hot glue.
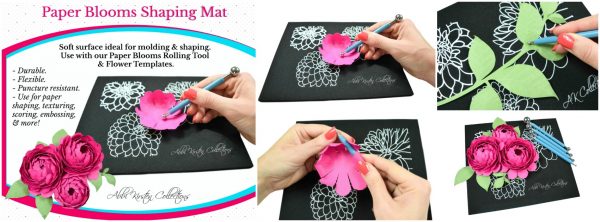
Paper Blooms Shaping Mat and Toolset by Abbi Kirsten
After my business started to grow, I decided it was time to take things to the next level and manufacture my own products beyond just digital templates.
Enter the Paper Blooms shaping mat and toolset.
This Paper Blooms Mat is ideal for molding and shaping paper petals. The material is durable, flexible, puncture resistant, and great for shaping, texturing, or even embossing. The set comes with 4 double-sided rolling ball tools. If you want to be able to cup your paper petals to perfection like a pro, this is a good set to have in your craft toolbox.
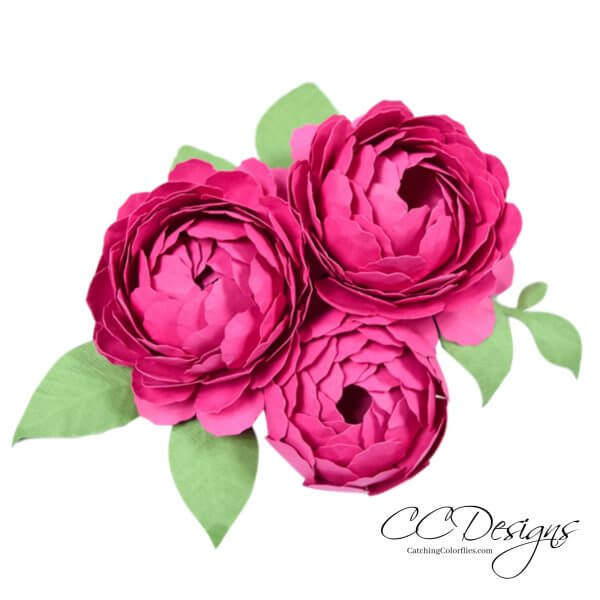
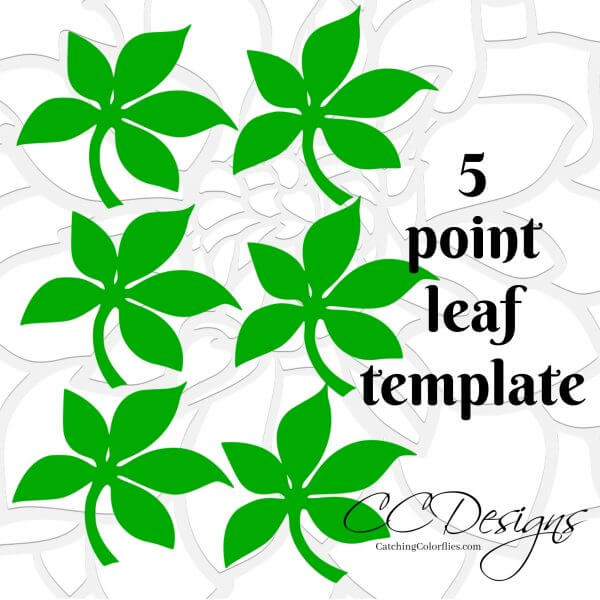
Lastly, let’s talk templates. I designed this classic peony template as my first ever small flower design. The templates are available as printable PDFs for hand cutting, and SVG cut files for the machine option. Our full video tutorial is available below, and I’ve also written a step-by-step peony tutorial!

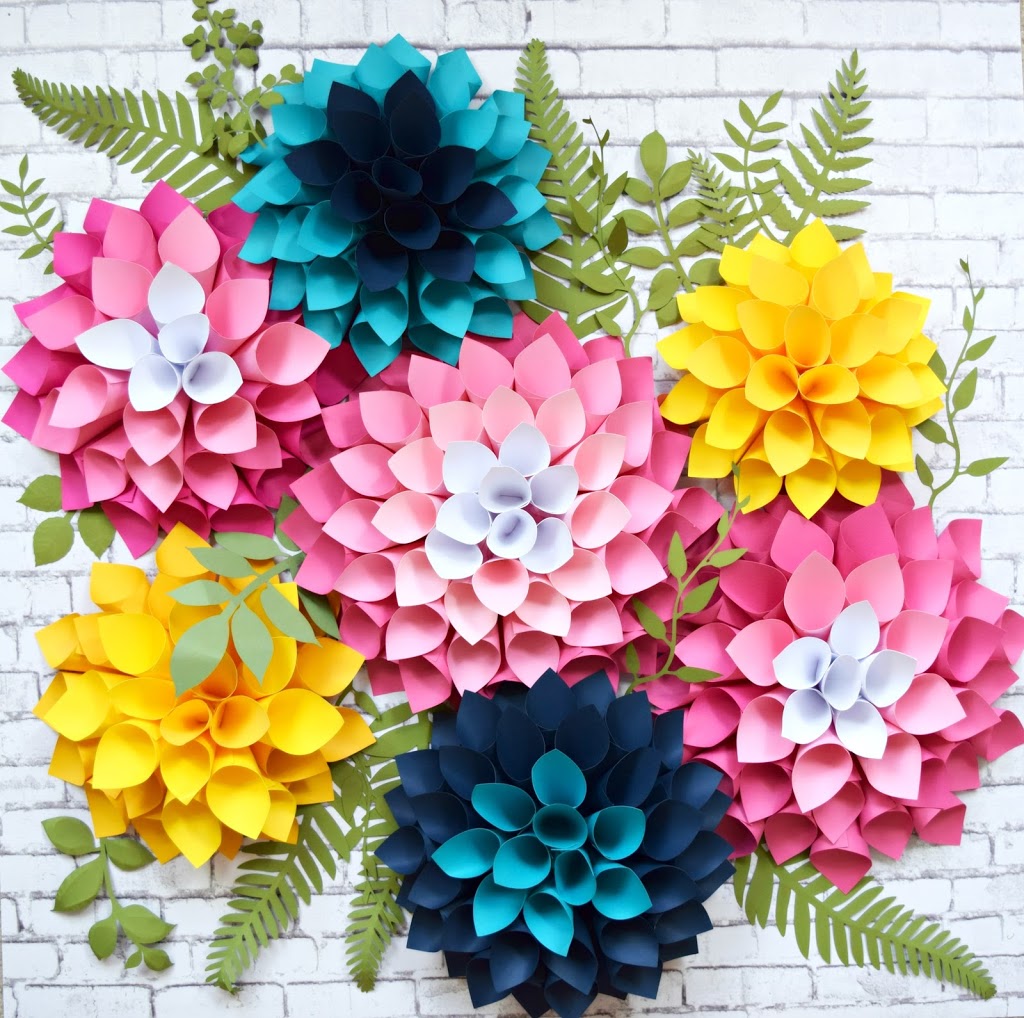
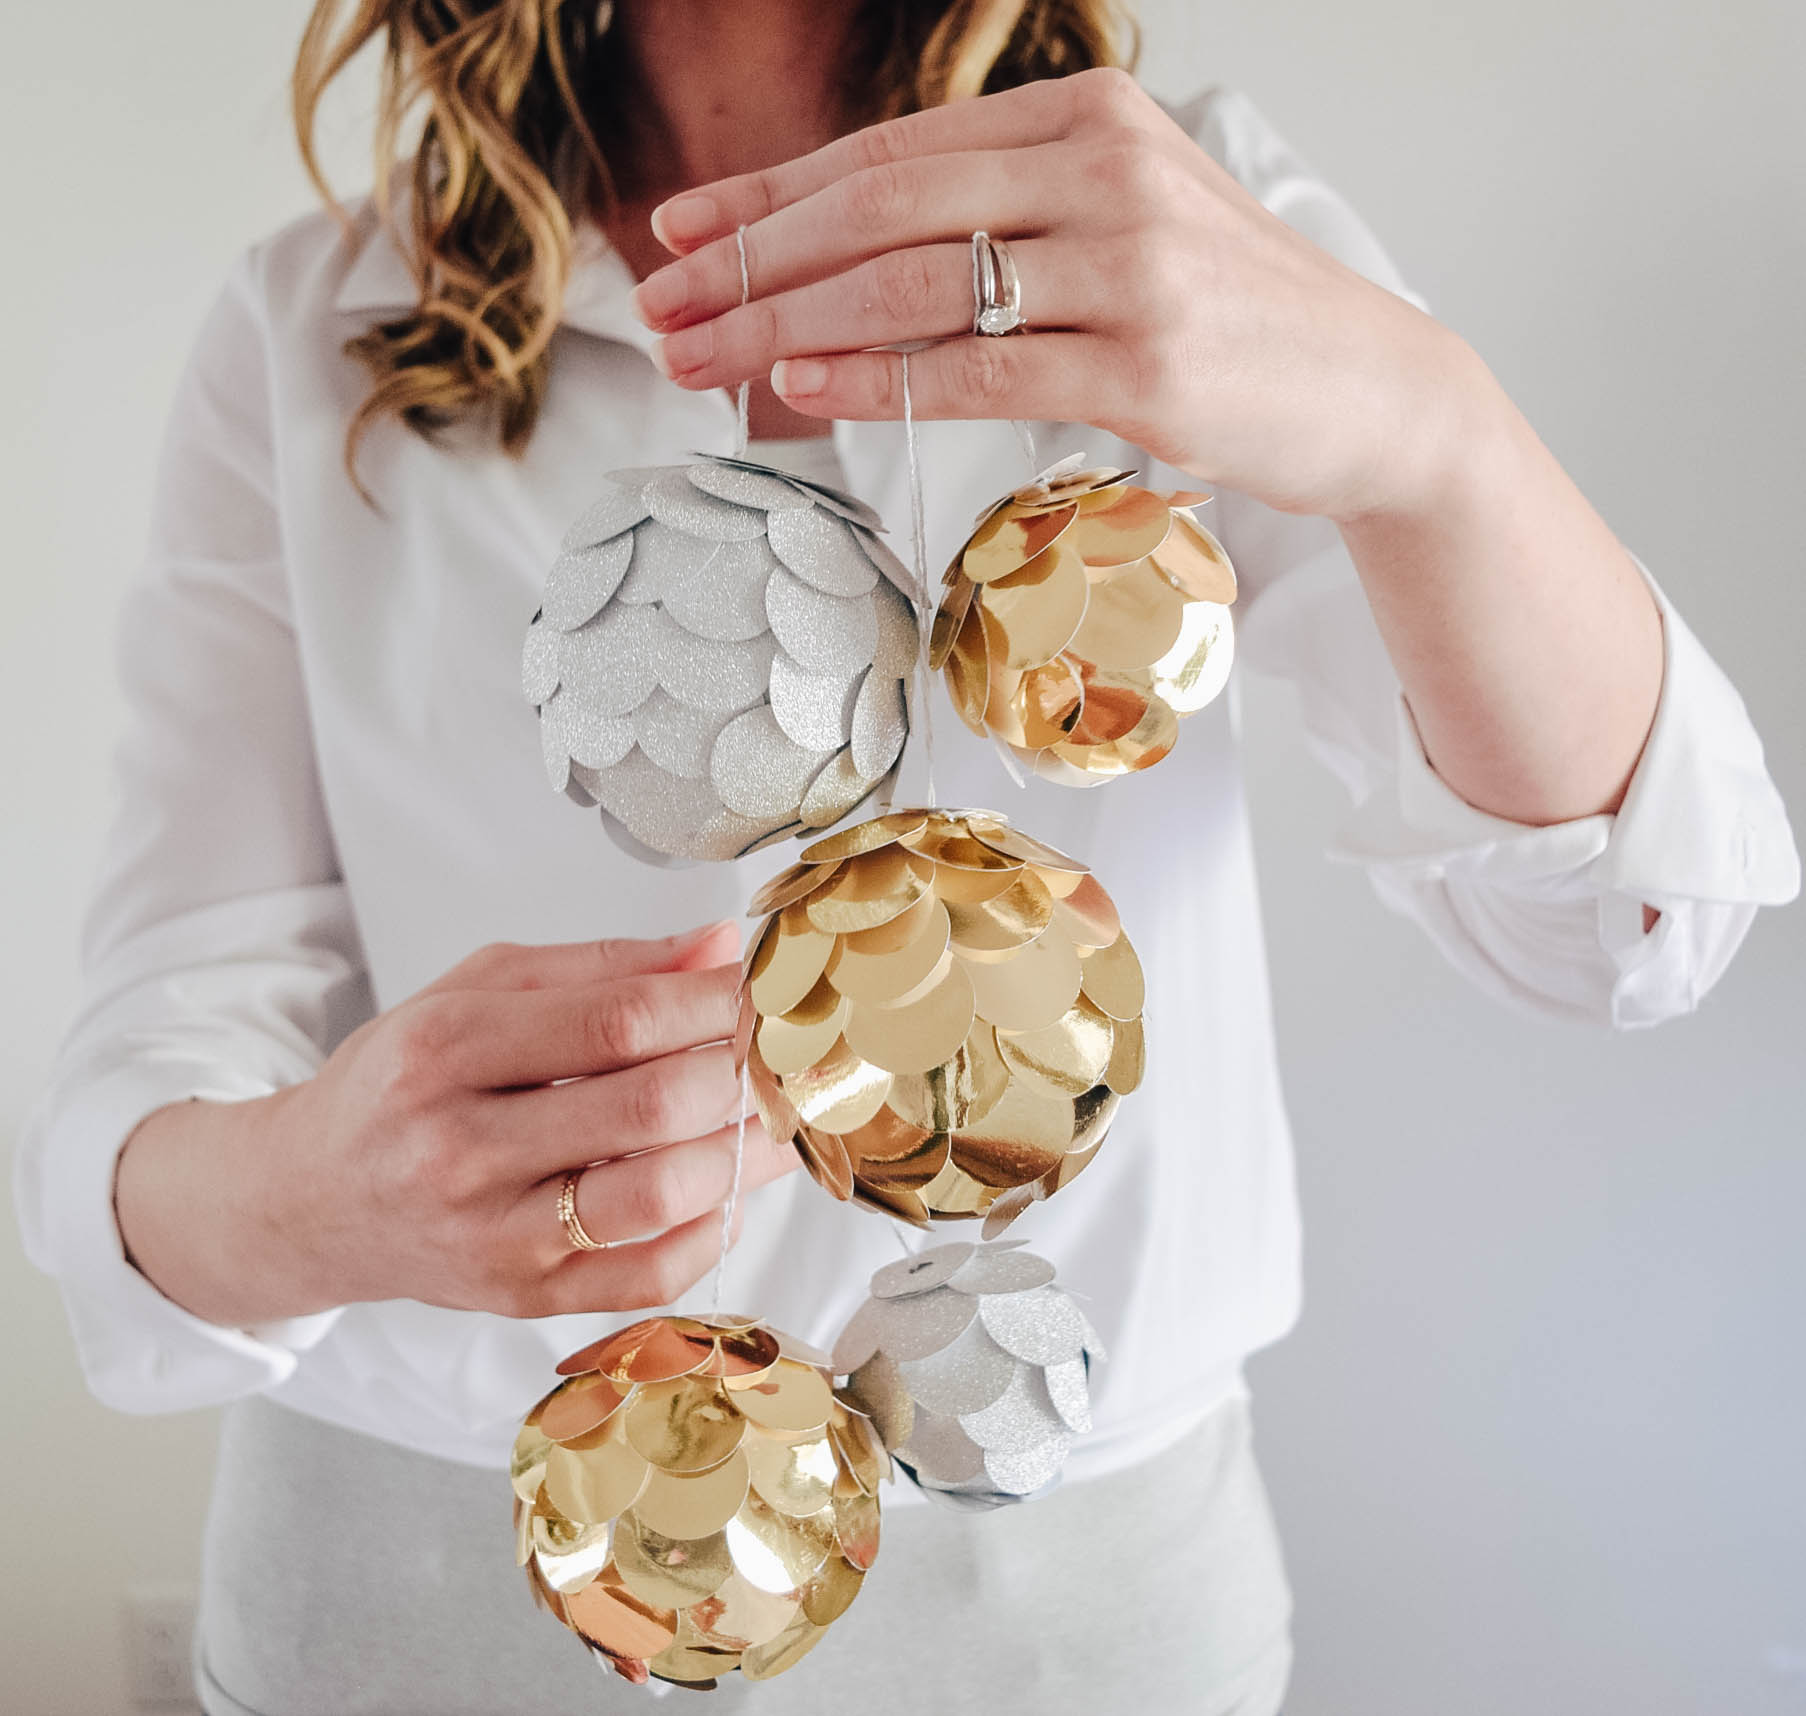
You will find that paper peonies take time to perfect, but like any great thing in life, this is often true. Once you get it down you will have so much fun finding ways to use your paper peonies! Wreathes, arrangements, bouquets, gift box decor, shadow boxes, the list never ends.
Tell me how you would use these peonies in the comments below!
Let your creativity blossom with more tutorials
Share what you’ve been up to by using #DIYwithAbbi. I would love to see your creativity in the works so flaunt your flower power magic! You are a huge source of my inspiration!
My mission is to inspire you to nurture the creative magic inside your soul – bringing you fun, easy-to-learn DIY projects, and quality template designs. I share a variety of projects but specifically love paper crafting and paper flowers. Interested in more flower tutorials?! I’ve created dozens of signature designs for you to enjoy – starting with my best seller, The Art of Giant Paper Flowers, the Giant Flower Library and my shop of endless paper designs and flower templates.
Feeling overwhelmed? Start with my tried and true Resource List!
Thanks for letting me pop into your day!

Pin for later!