Bella Rose DIY Paper Flower Tutorial
This post may contain affiliate links that won’t change your price but will share some commission.
DIY Paper Rose Tutorial
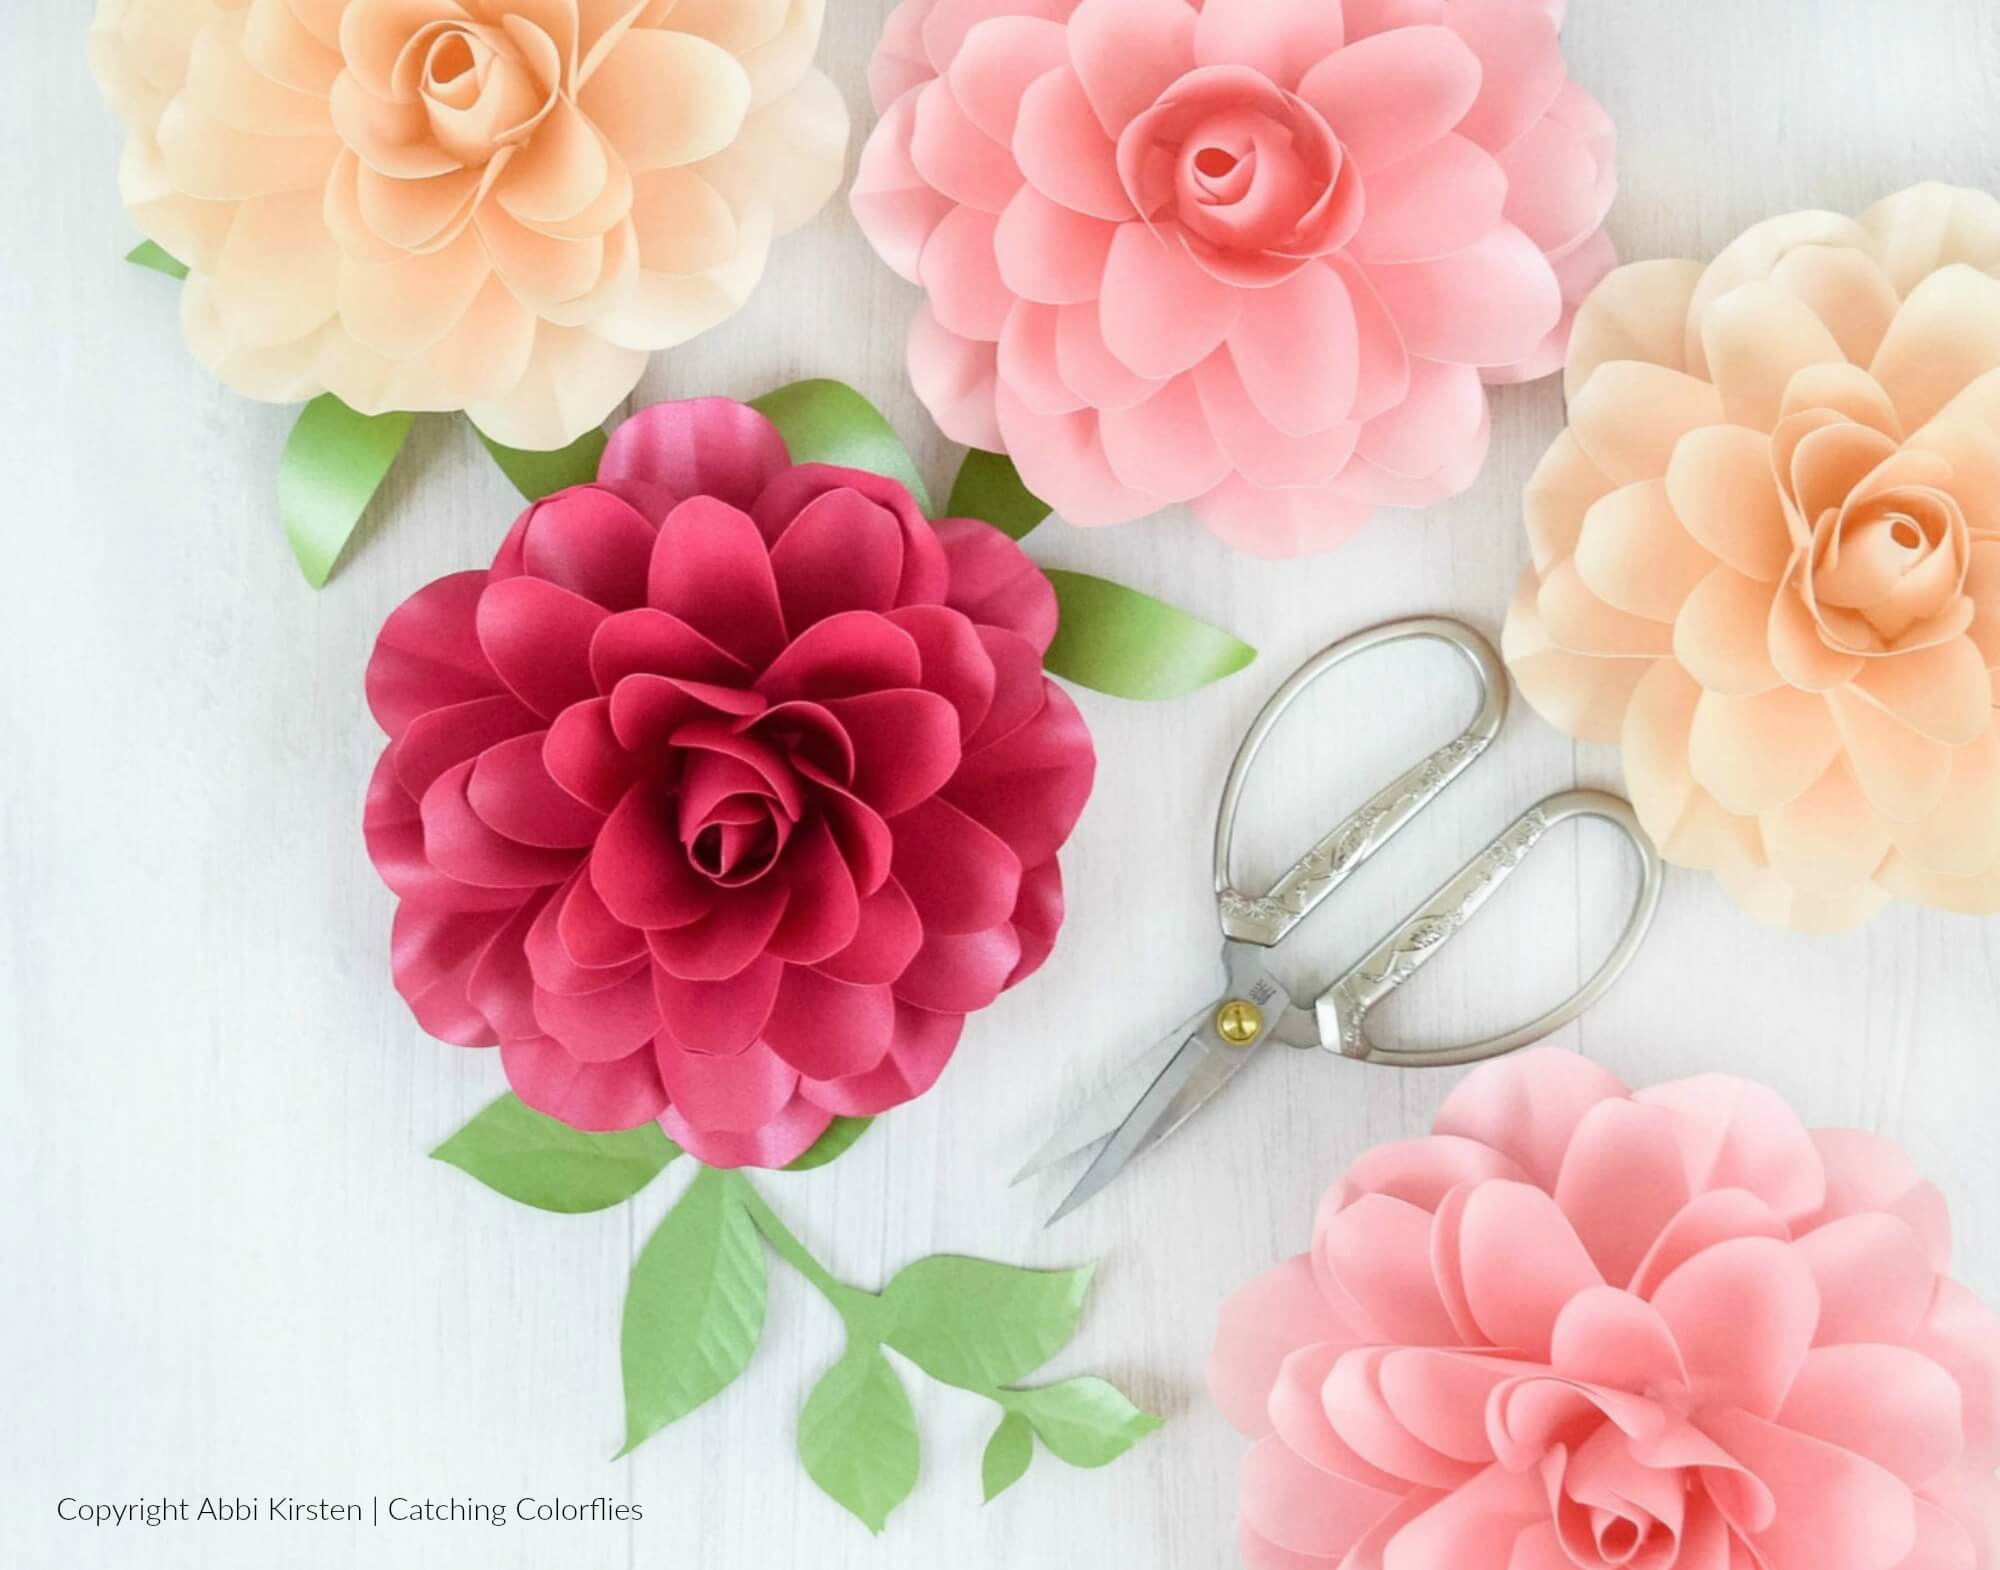
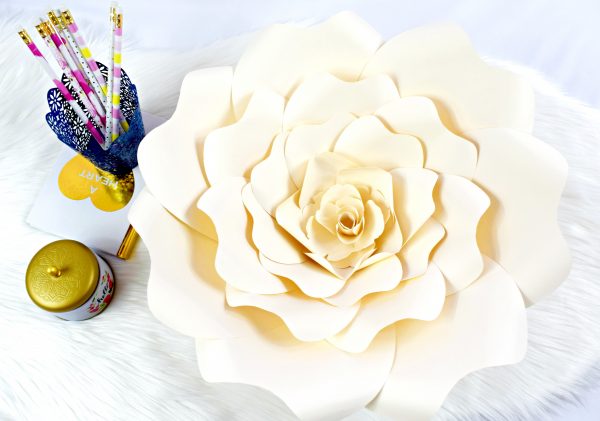
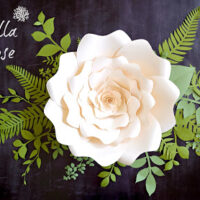
Just in time for the New Year is the Bella style rose (which can be found in my book The Art of Giant Paper Flowers). It’s elegant, timeless, and would be perfect for adding a touch of softness to your winter decor and parties. I can’t wait to share my new DIY Paper Rose Tutorial today.
This rose follows the basic method but adds in a Ruby Rose small flower design as its center. Ruby Rose can be used as a bouquet style flower but for this tutorial, it has been incorporated into the Bella style as the center.
Let’s get started, shall we? (FULL Video Tutorial Below)
Bella Rose DIY Paper Flower Tutorial
Supplies:
- Bella templates
- Glue Gun
- 65-pound cardstock
- Scissors and/or cutting machine (Cricut Explore Air 2 Machine)
- Thin wooden dowel for rolling
- 3-inch circle punch
- Pencil if you are hand cutting and tracing.
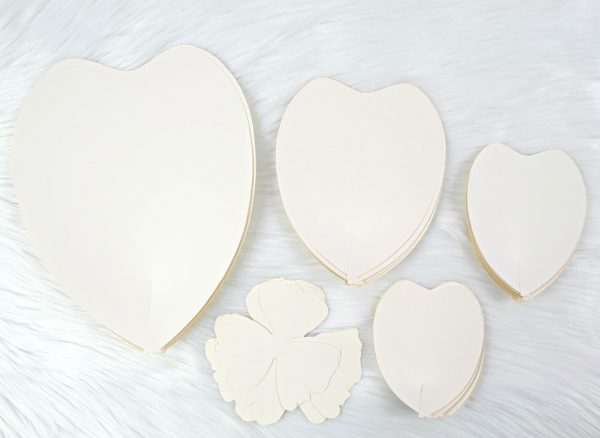
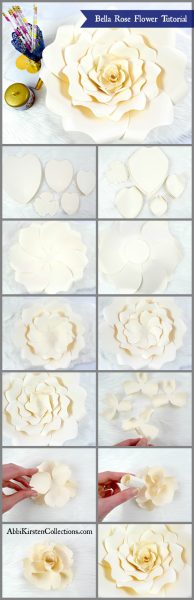
Step 1
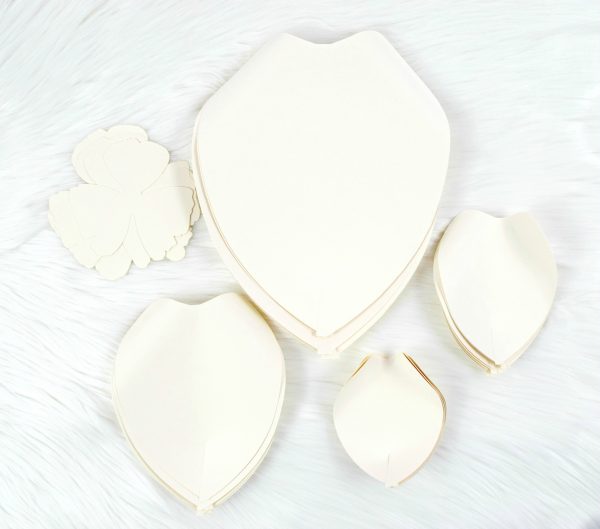
Cut the following number of petals.
- Extra large petal (first layer) – 7-8
- Large petal (second layer) – 7-8
- Medium petal (third layer) – 6-7
- Small petal (fourth layer) – 6-7
- Ruby Center – 4
- 1 3-4 inch circle
Step 2
To start on our DIY paper rose tutorial, cut 2 in slits at the bottom of all the petals and overlap slightly. Curl the extra large and large petals backward. Next, curl the medium petals one side backward and one side inwards and curl the small petals inwards.
Step 3
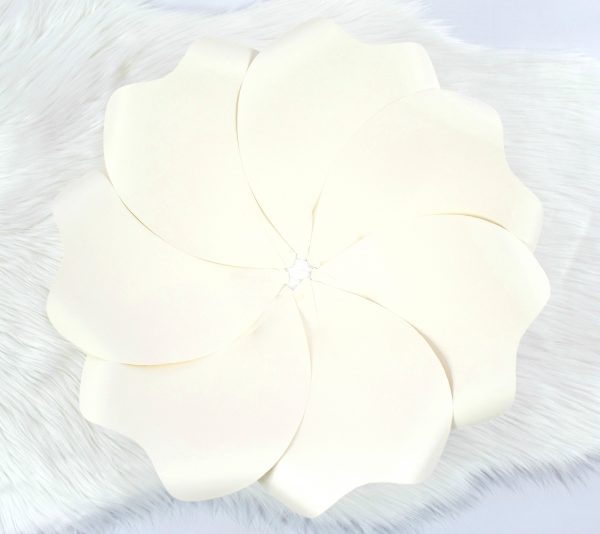
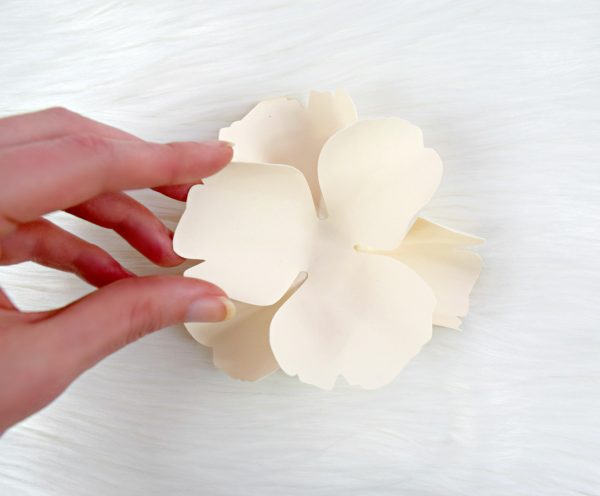
Build your first layer as in the basic method. Overlap each petal at a 45 degree angle until all 7 or 8 of your extra large petals meet together.

Step 4
Add your circle over the back. You can also cut a small square.
Step 5, 6 & 7
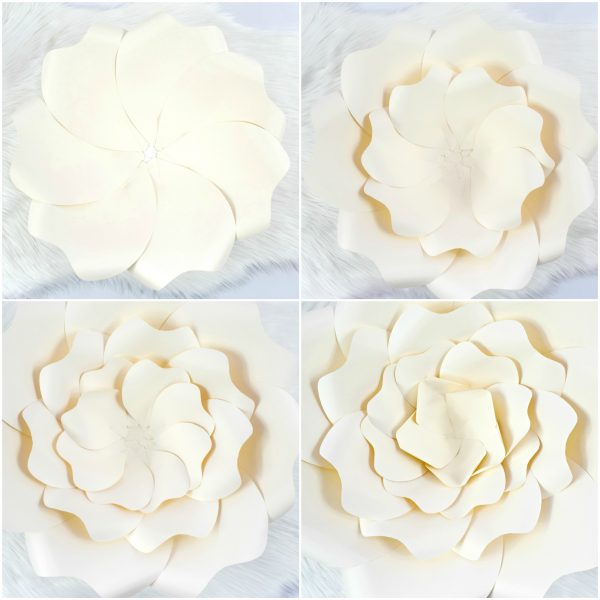
Add in the second, third and fourth layers of petals.
Related Posts
Step 8
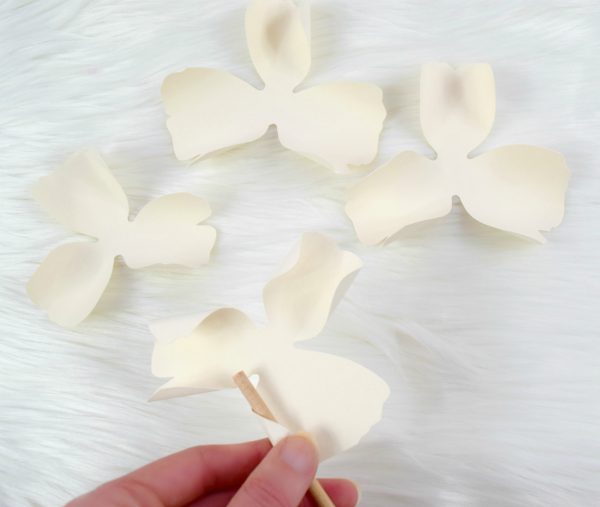
Using the thin wood dowel, curl each of the Ruby rose petals around the dowel, like you’re rolling up paper.
Step 9
Next, layer the Ruby petals together. Add your first two layers together, one on top of the other. Be sure to alternate the petals. Don’t directly stack them. Continue with the last two Ruby petal layers, curling the last two cuts tighter so the rose comes together as if blooming.
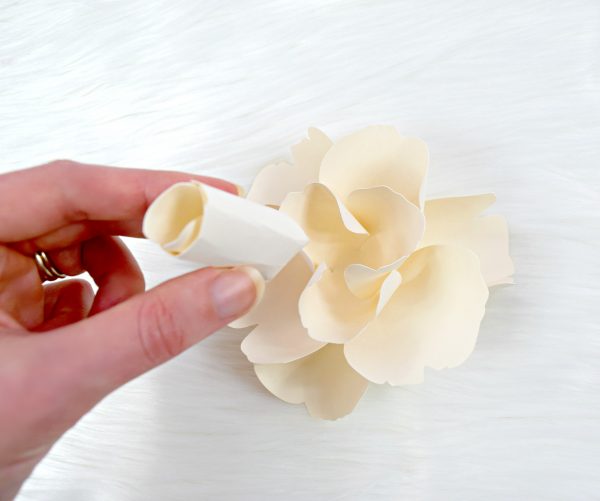
Pro Tip: If you do not have a thin wood dowel, a spare glue stick works perfect in a pinch when rolling these small flowers
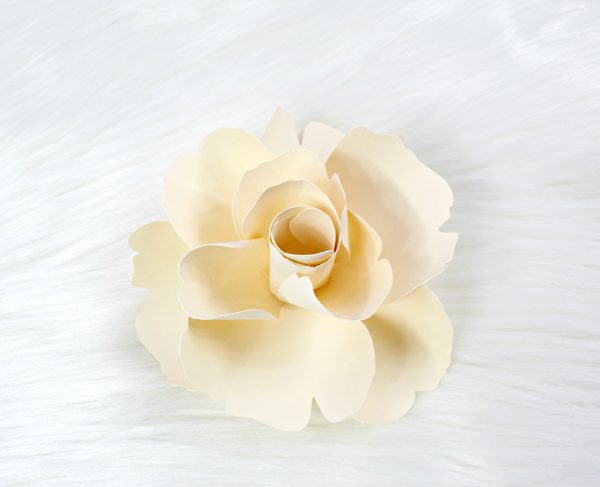
Step 10
You should have a Ruby rose center that looks something like this. Now just glue it into the center of the Bella rose, and you are finished!
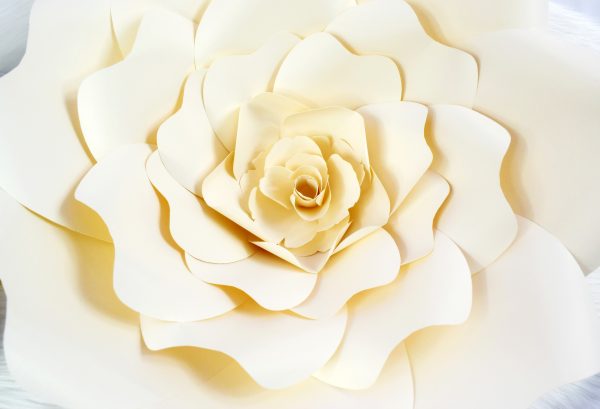
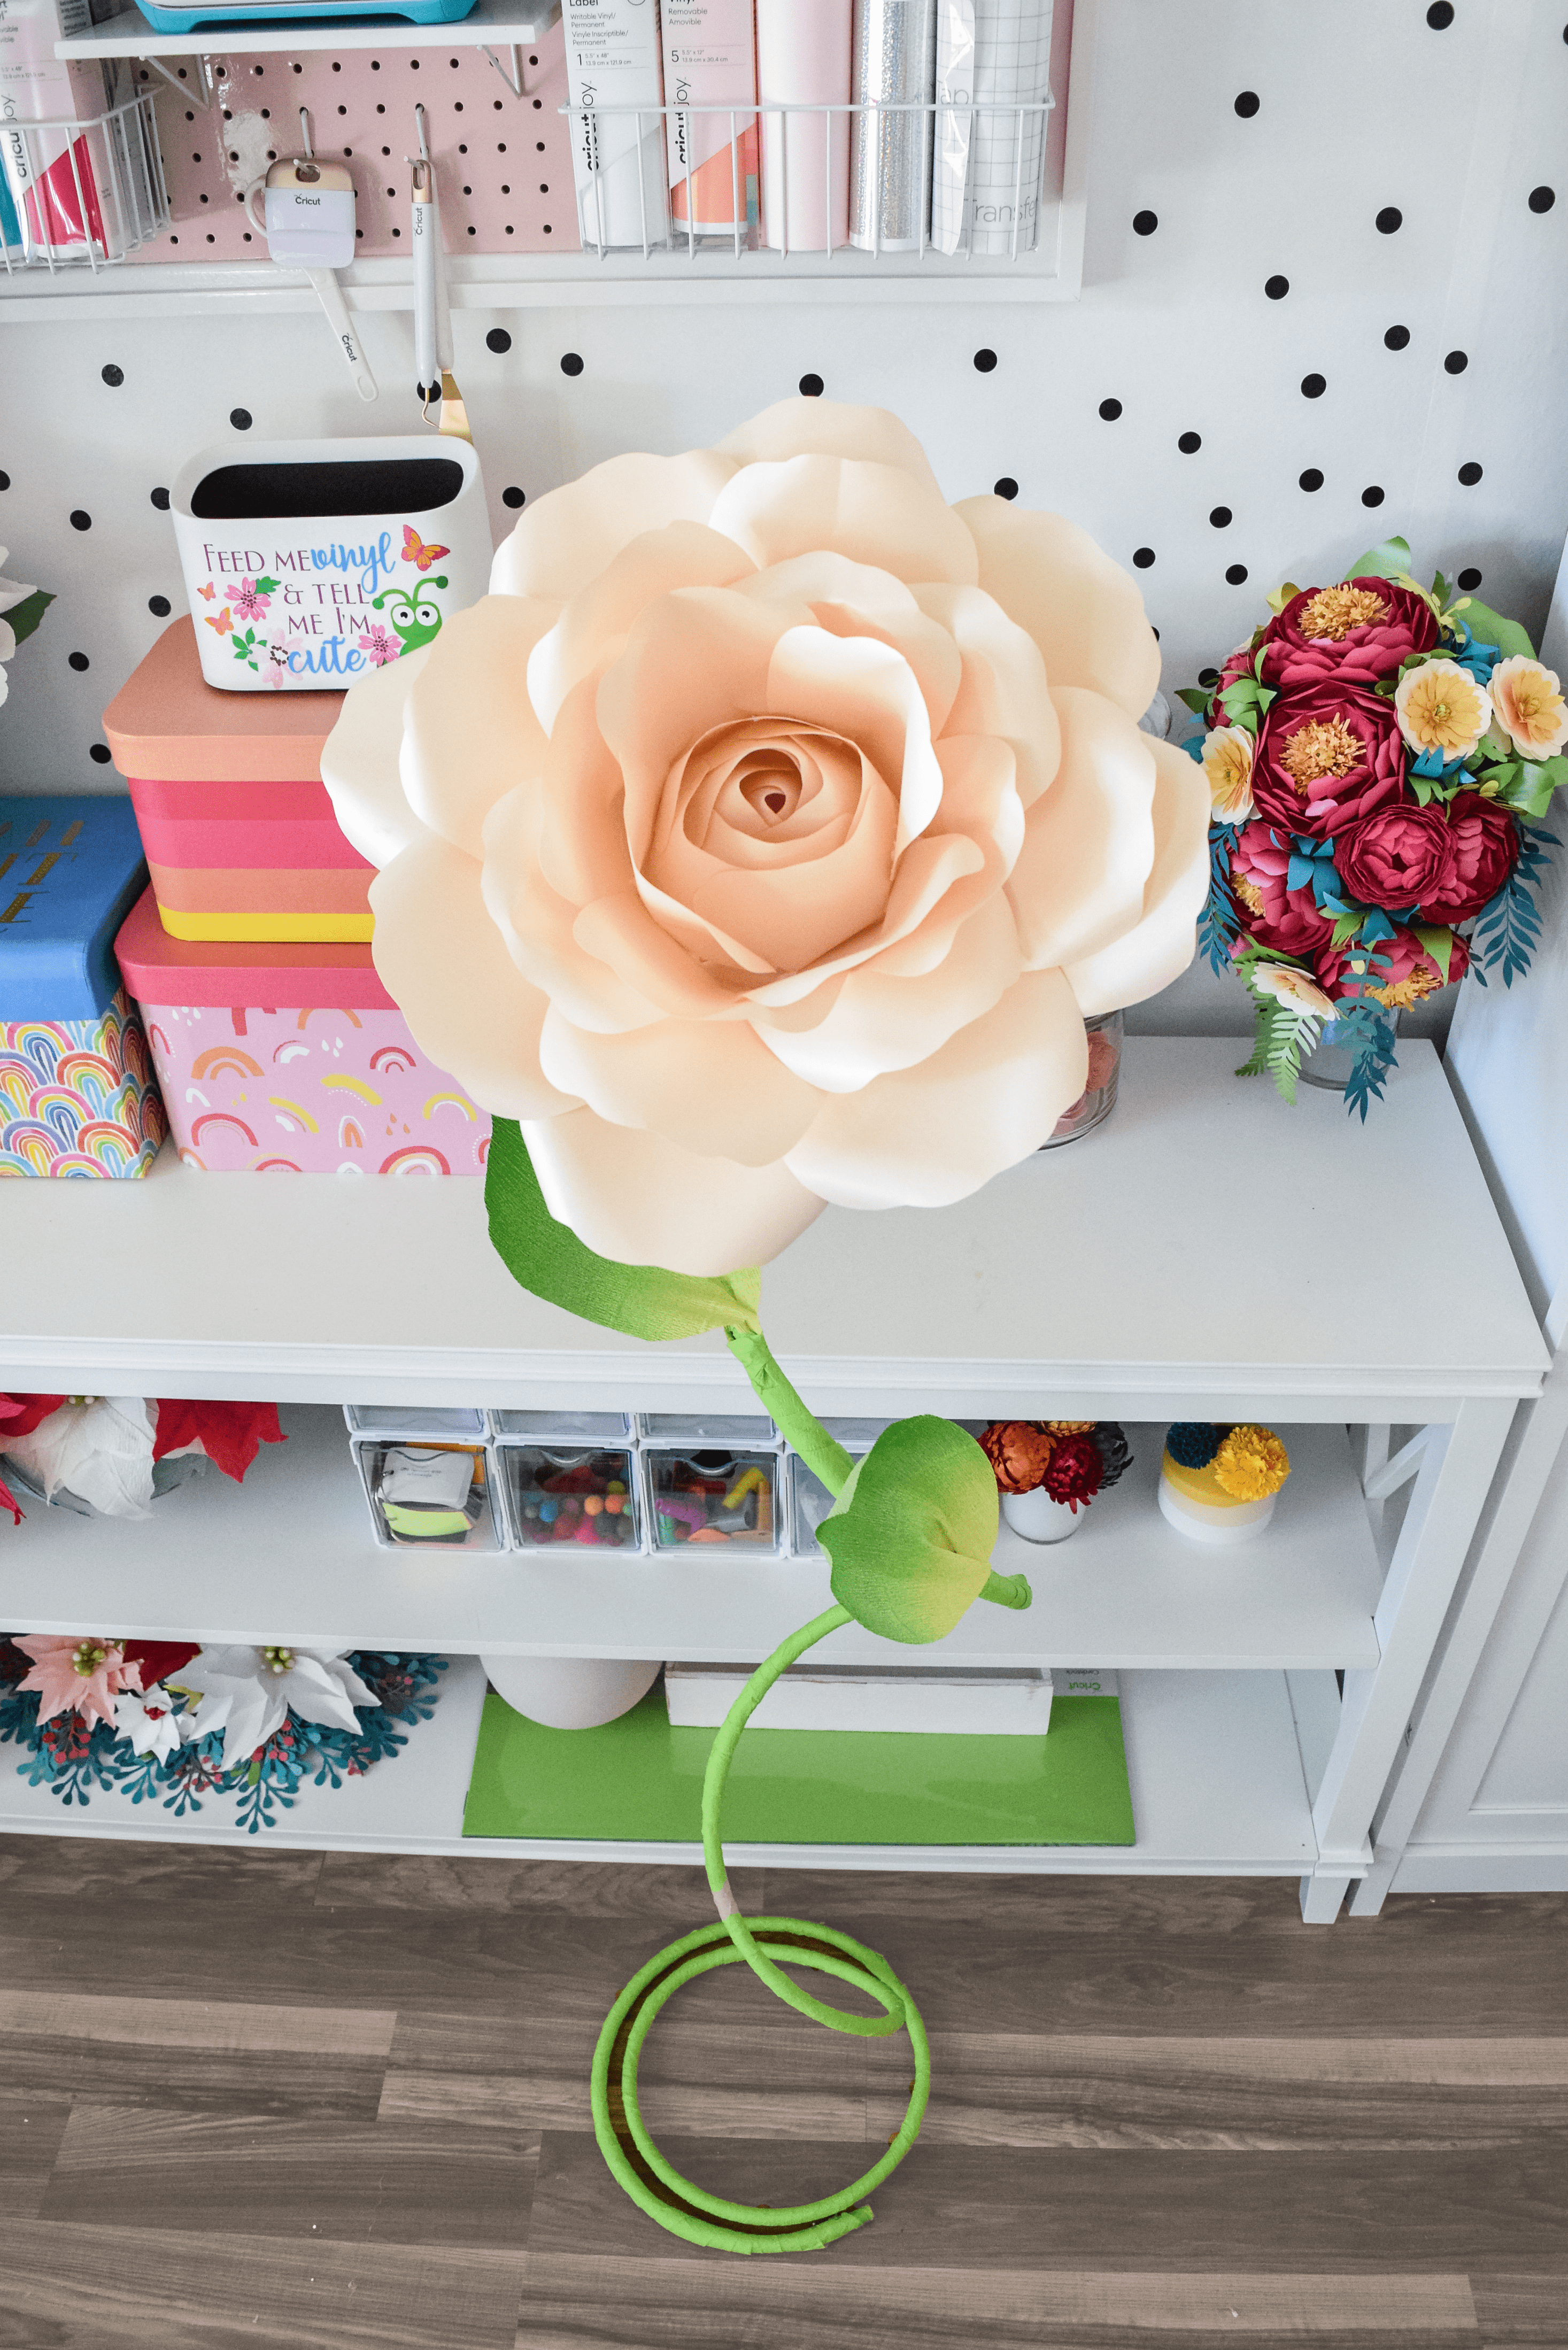
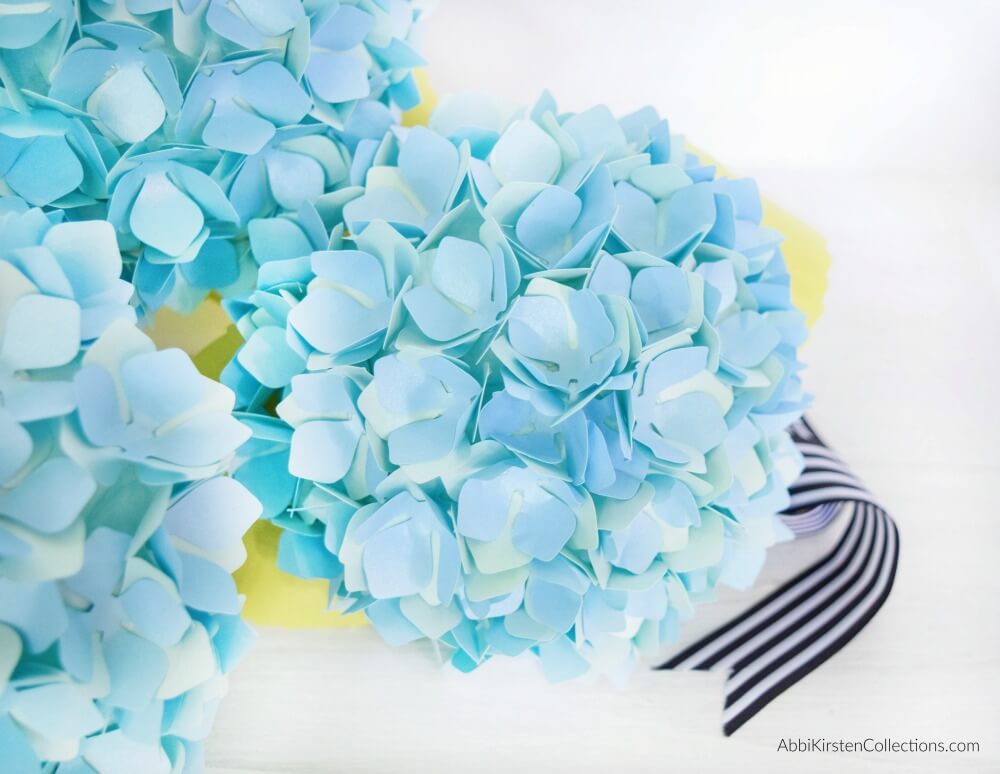
After the holidays, there is nothing more relaxing than sitting down and doing some DIY when there is no hustle & bustle required. These Bella Roses bring so much beauty and softness to any space. I can’t wait to hear how much joy it brings your way!
If you enjoyed this please share the love. Hover over the image to pin for later or select one of our social share buttons below! How would you use this DIY Paper Rose Tutorial? Tell me below!
Bella Rose DIY Paper Flower Tutorial
Looking for a timeless and elegant decoration option? Use this tutorial to make these large paper Bella roses. These easy and fun papercraft flowers can dress up any event.
Materials
Instructions
Prepare the Petals
Cut the following number of petals:
- (7 - 8) Extra large petals (first layer)
- (7 - 8) Large petal (second layer)
- (6 - 7) Medium petal (third layer)
- (6 - 7) Small petal (fourth layer)
- (4) Rose center petals
- (1) 3” - 4” circle
Cut Slits
- Cut 2-inch slits, starting at the bottom edge of the petals.
- Slightly overlap the left and right edges of the slit and glue them together.
Curl the Petals
- Extra large petals: curl the edges of the petal tops backward.
- Large petals: curl the edges of the petal tops backward.
- Medium petals: curl one petal top backward and the other petal top inward.
- Small petals: curl the petal tops inward.
Building the Flower Layers
- Glue each extra large petal to each other in a circle pattern. Overlap each petal at a 45° angle.
- Glue the circle over the back of this layer.
- Add in the second, third, and fourth layers of petals in the same manner as the first.
Assembling the Rose Center
- Curl the remaining 3-pointed petals inward using the dowel, like you are rolling up paper.
- Glue one petal into another petal. Be sure to rotate the second layer so the petals are alternating.
- Do the same with the last two 3-pointed petal layers, except curl the petals into a tighter cylinder.
- Glue the center into the base layers.
Congrats! You have created a large Bella Rose paper flower you can use for any event or holiday decor. Be sure to check out all my paper flower tutorials.
Discover More
Share what you’ve been up to by using #DIYwithAbbi. I would love to see your creativity in the works, so flaunt your flower power magic! You are a huge source of my inspiration!
My mission is to inspire you to nurture the creative magic inside your soul – bringing you fun, easy-to-learn DIY projects and quality template designs. I share a variety of projects but specifically love paper crafting and paper flowers. Interested in more flower tutorials?! I’ve created dozens of signature designs for you to enjoy – starting with my best seller, The Art of Giant Paper Flowers, the Giant Flower Library, and Catching Colorflies, my shop of endless paper designs and flower templates.
Feeling overwhelmed? Start here with my tried and true Resource List!
Thanks for letting me pop into your day!

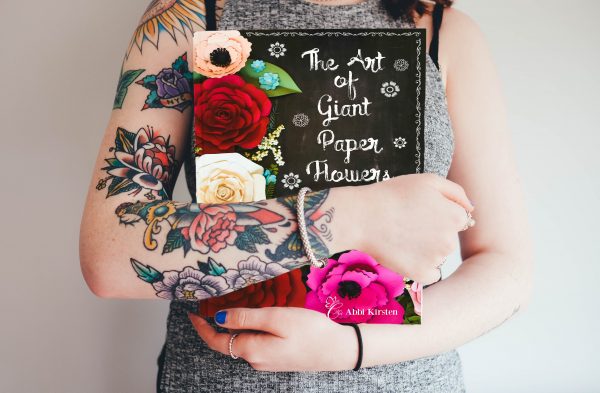
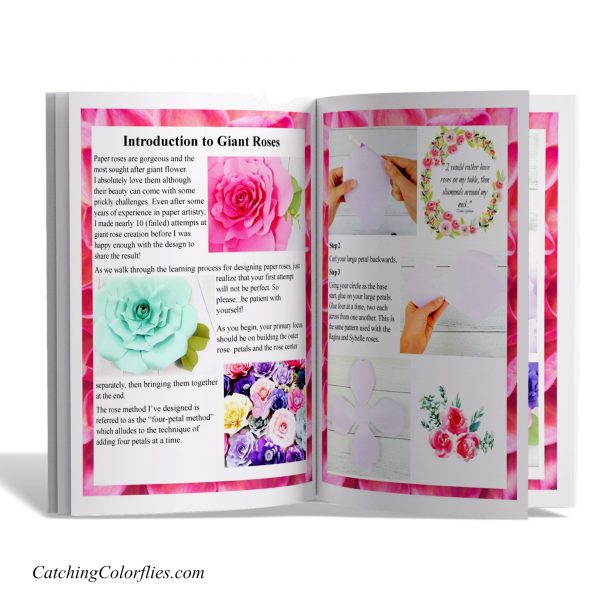
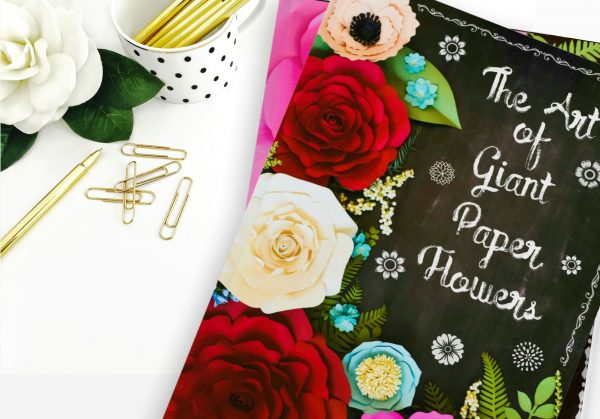
Check out some more amazing DIY Paper Flower Tutorials in my book, The Art of Giant Paper Flowers
Follow on Pinterest for more DIY Inspiration!