DIY Chrysanthemum Flower Tutorial Paper Craft Project
This post may contain affiliate links that won’t change your price but will share some commission.
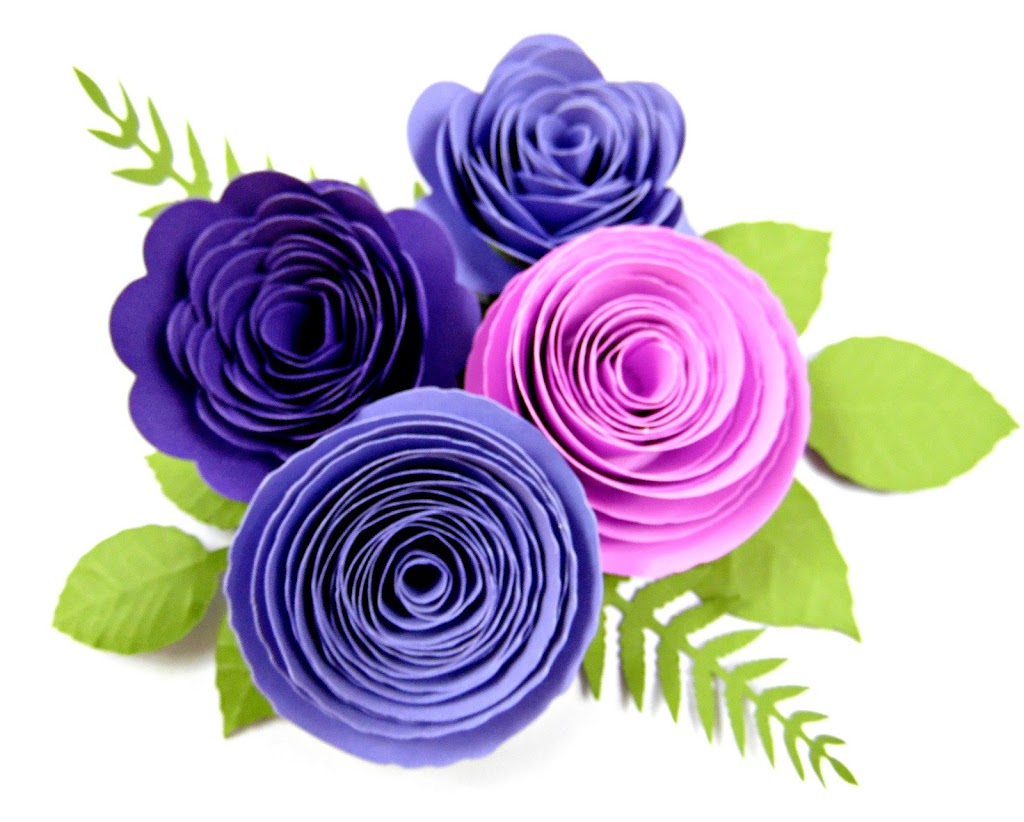
Today’s DIY Chrysanthemum Flower Tutorial Paper Craft Project is the perfect addition to any do-it-yourself kind of day! If you are anything like me, you love a good DIY project! Don’t you absolutely love chrysanthemums? Seriously, they are amazing small space fillers and can also be used as a unique center variation.
This project, like the Hibiscus Giant Paper Flower Tutorial, is laid out step by step in this tutorial. A tutorial video is also at the end of this post to make the process that much easier.
I have SUCH a love for paper crafts. No doubt you are going to enjoy this DIY Chrysanthemum Flower Tutorial Paper Craft Project! Seeing how you use it for your next party, event, or home decor project has me excited!
Let’s get this DIY Chrysanthemum Flower Tutorial Paper Craft Project party started, shall we?
Supplies Needed for Chrysanthemum Paper Flowers:
- 65-pound cardstock
- Glue gun
- Paper Blooms mat and toolset
- Chrysanthemum templates
- Rolling tool (dowel, marker etc..)
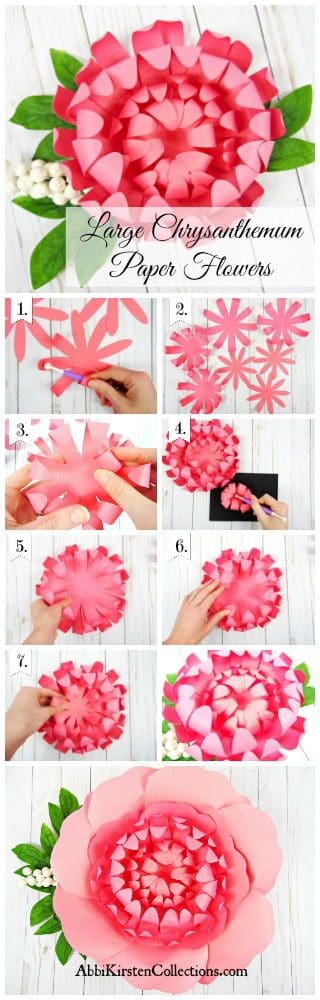
How to Make Chrysanthemum Paper Flowers Step-by-Step
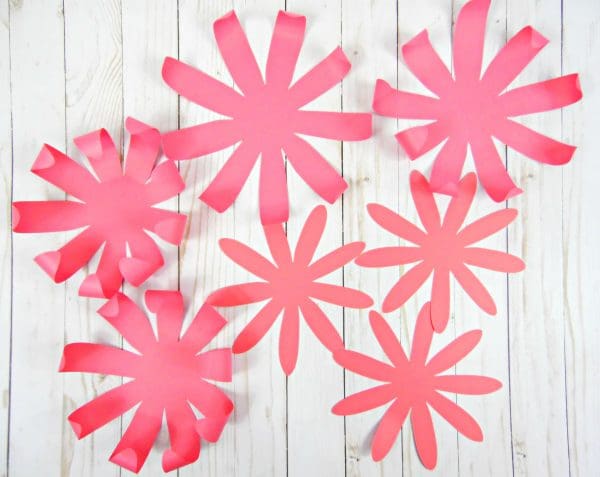
Step 1: Cut Chrysanthemum Layers
Cut out seven chrysanthemum layers. Three will be slightly smaller than the first four petals; they comprise the center of the flower.
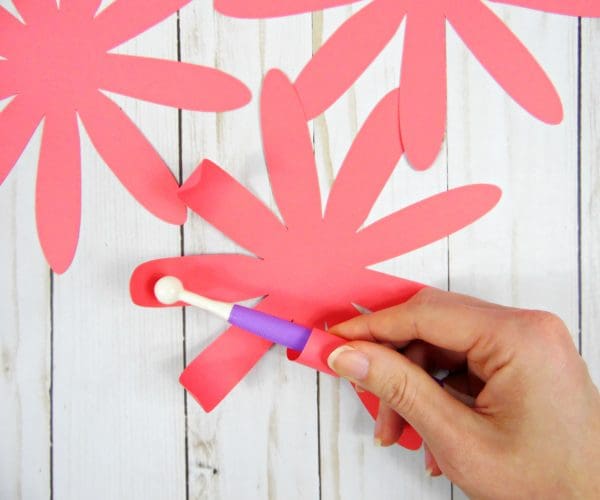
Step 2: Curl the Chrysanthemum Flower Petals
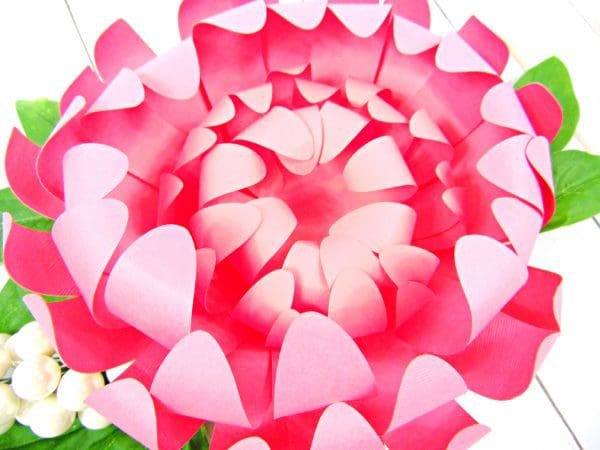
Curl all petals inward as if you’re rolling up a roll of paper. The larger four petals should be less curled and the smaller three petals should be progressively tighter curls. You can use your rolling tool or a wood dowel to curl the petals.
When you get down to the three smaller petals, especially the last one that will be the very center, give it some deep curls. Your fingers are probably going to work better at this point.
The photo above is what your “curl” progression should look like for the chrysanthemum.
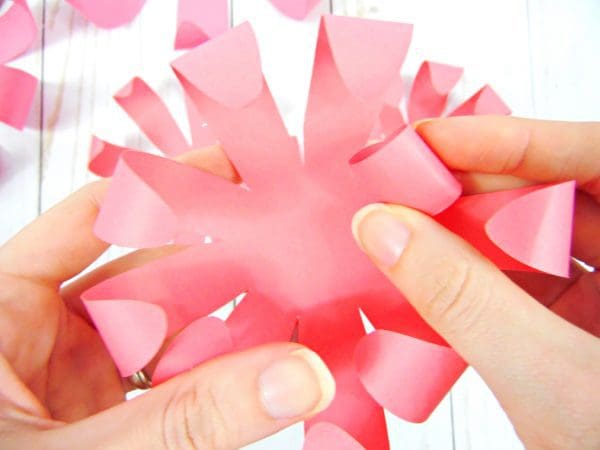
Step 3: Layer all Chrysanthemum Flower Petals
The next steps are to simply layer all 7 pieces together, starting with the 4 larger ones.

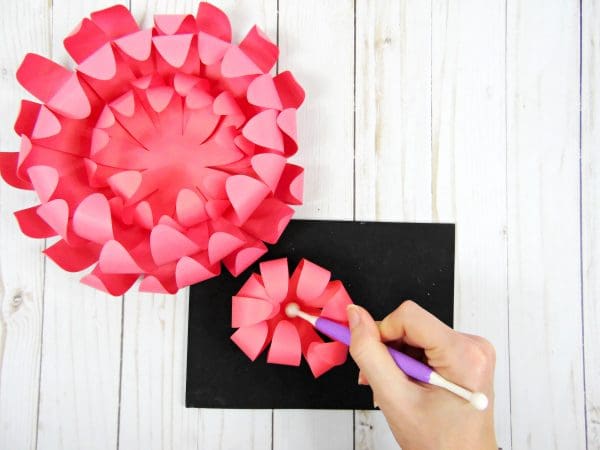
For the last 1-2 small chrysanthemum center layers, use the shaping mat and ball rolling tool to roll the center even tighter, creating a more seamless look.
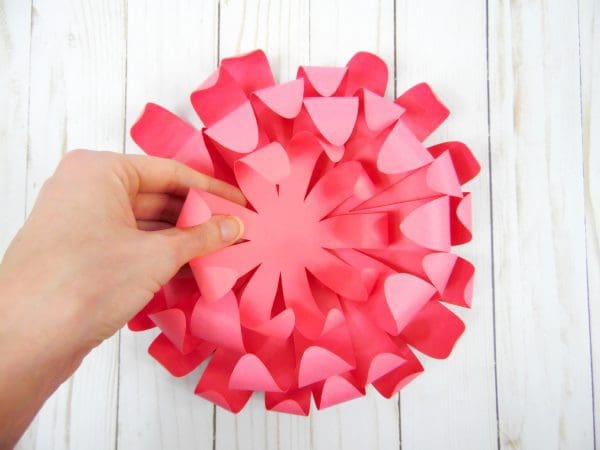
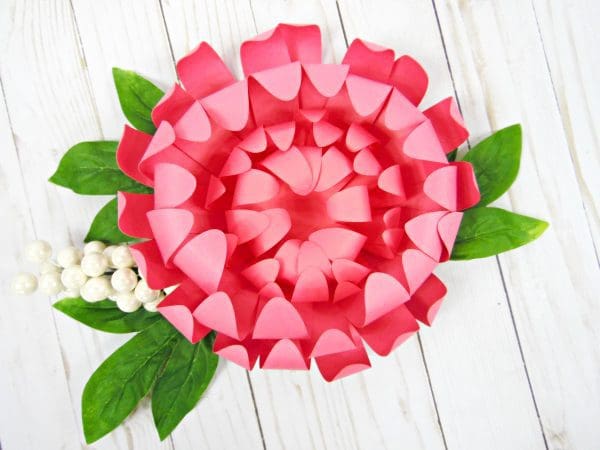
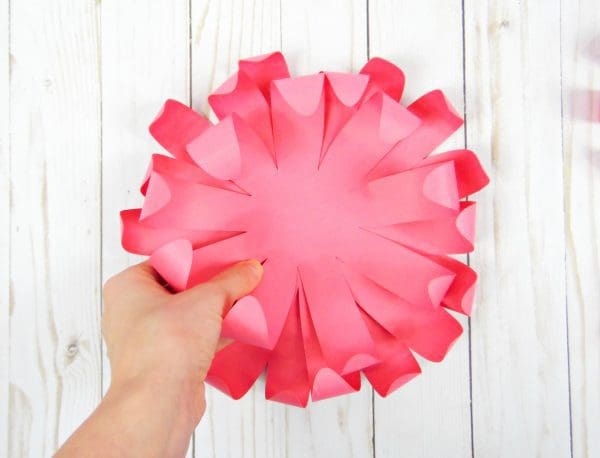
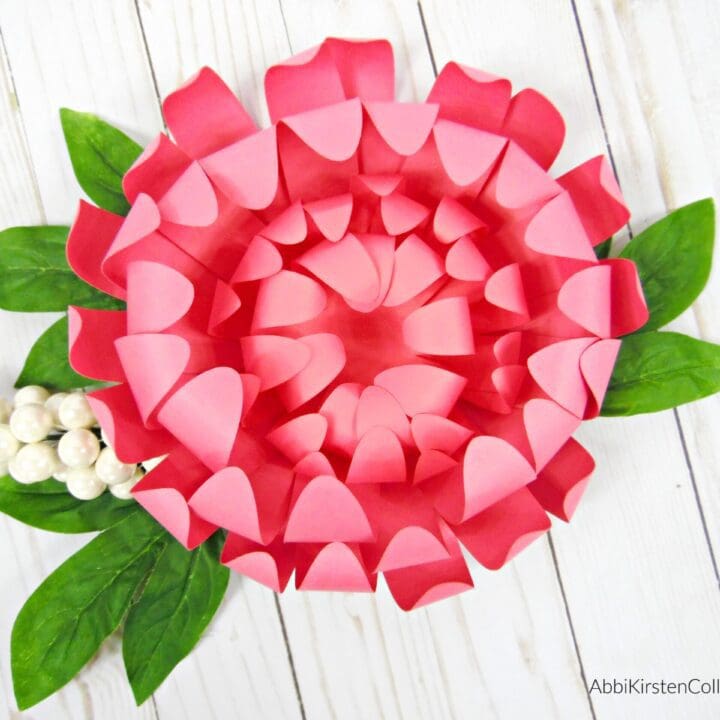
Step 4: Add the Final Chrysanthemum Layer
Add in final centerpieces. Adjust pieces as necessary by curling tighter.
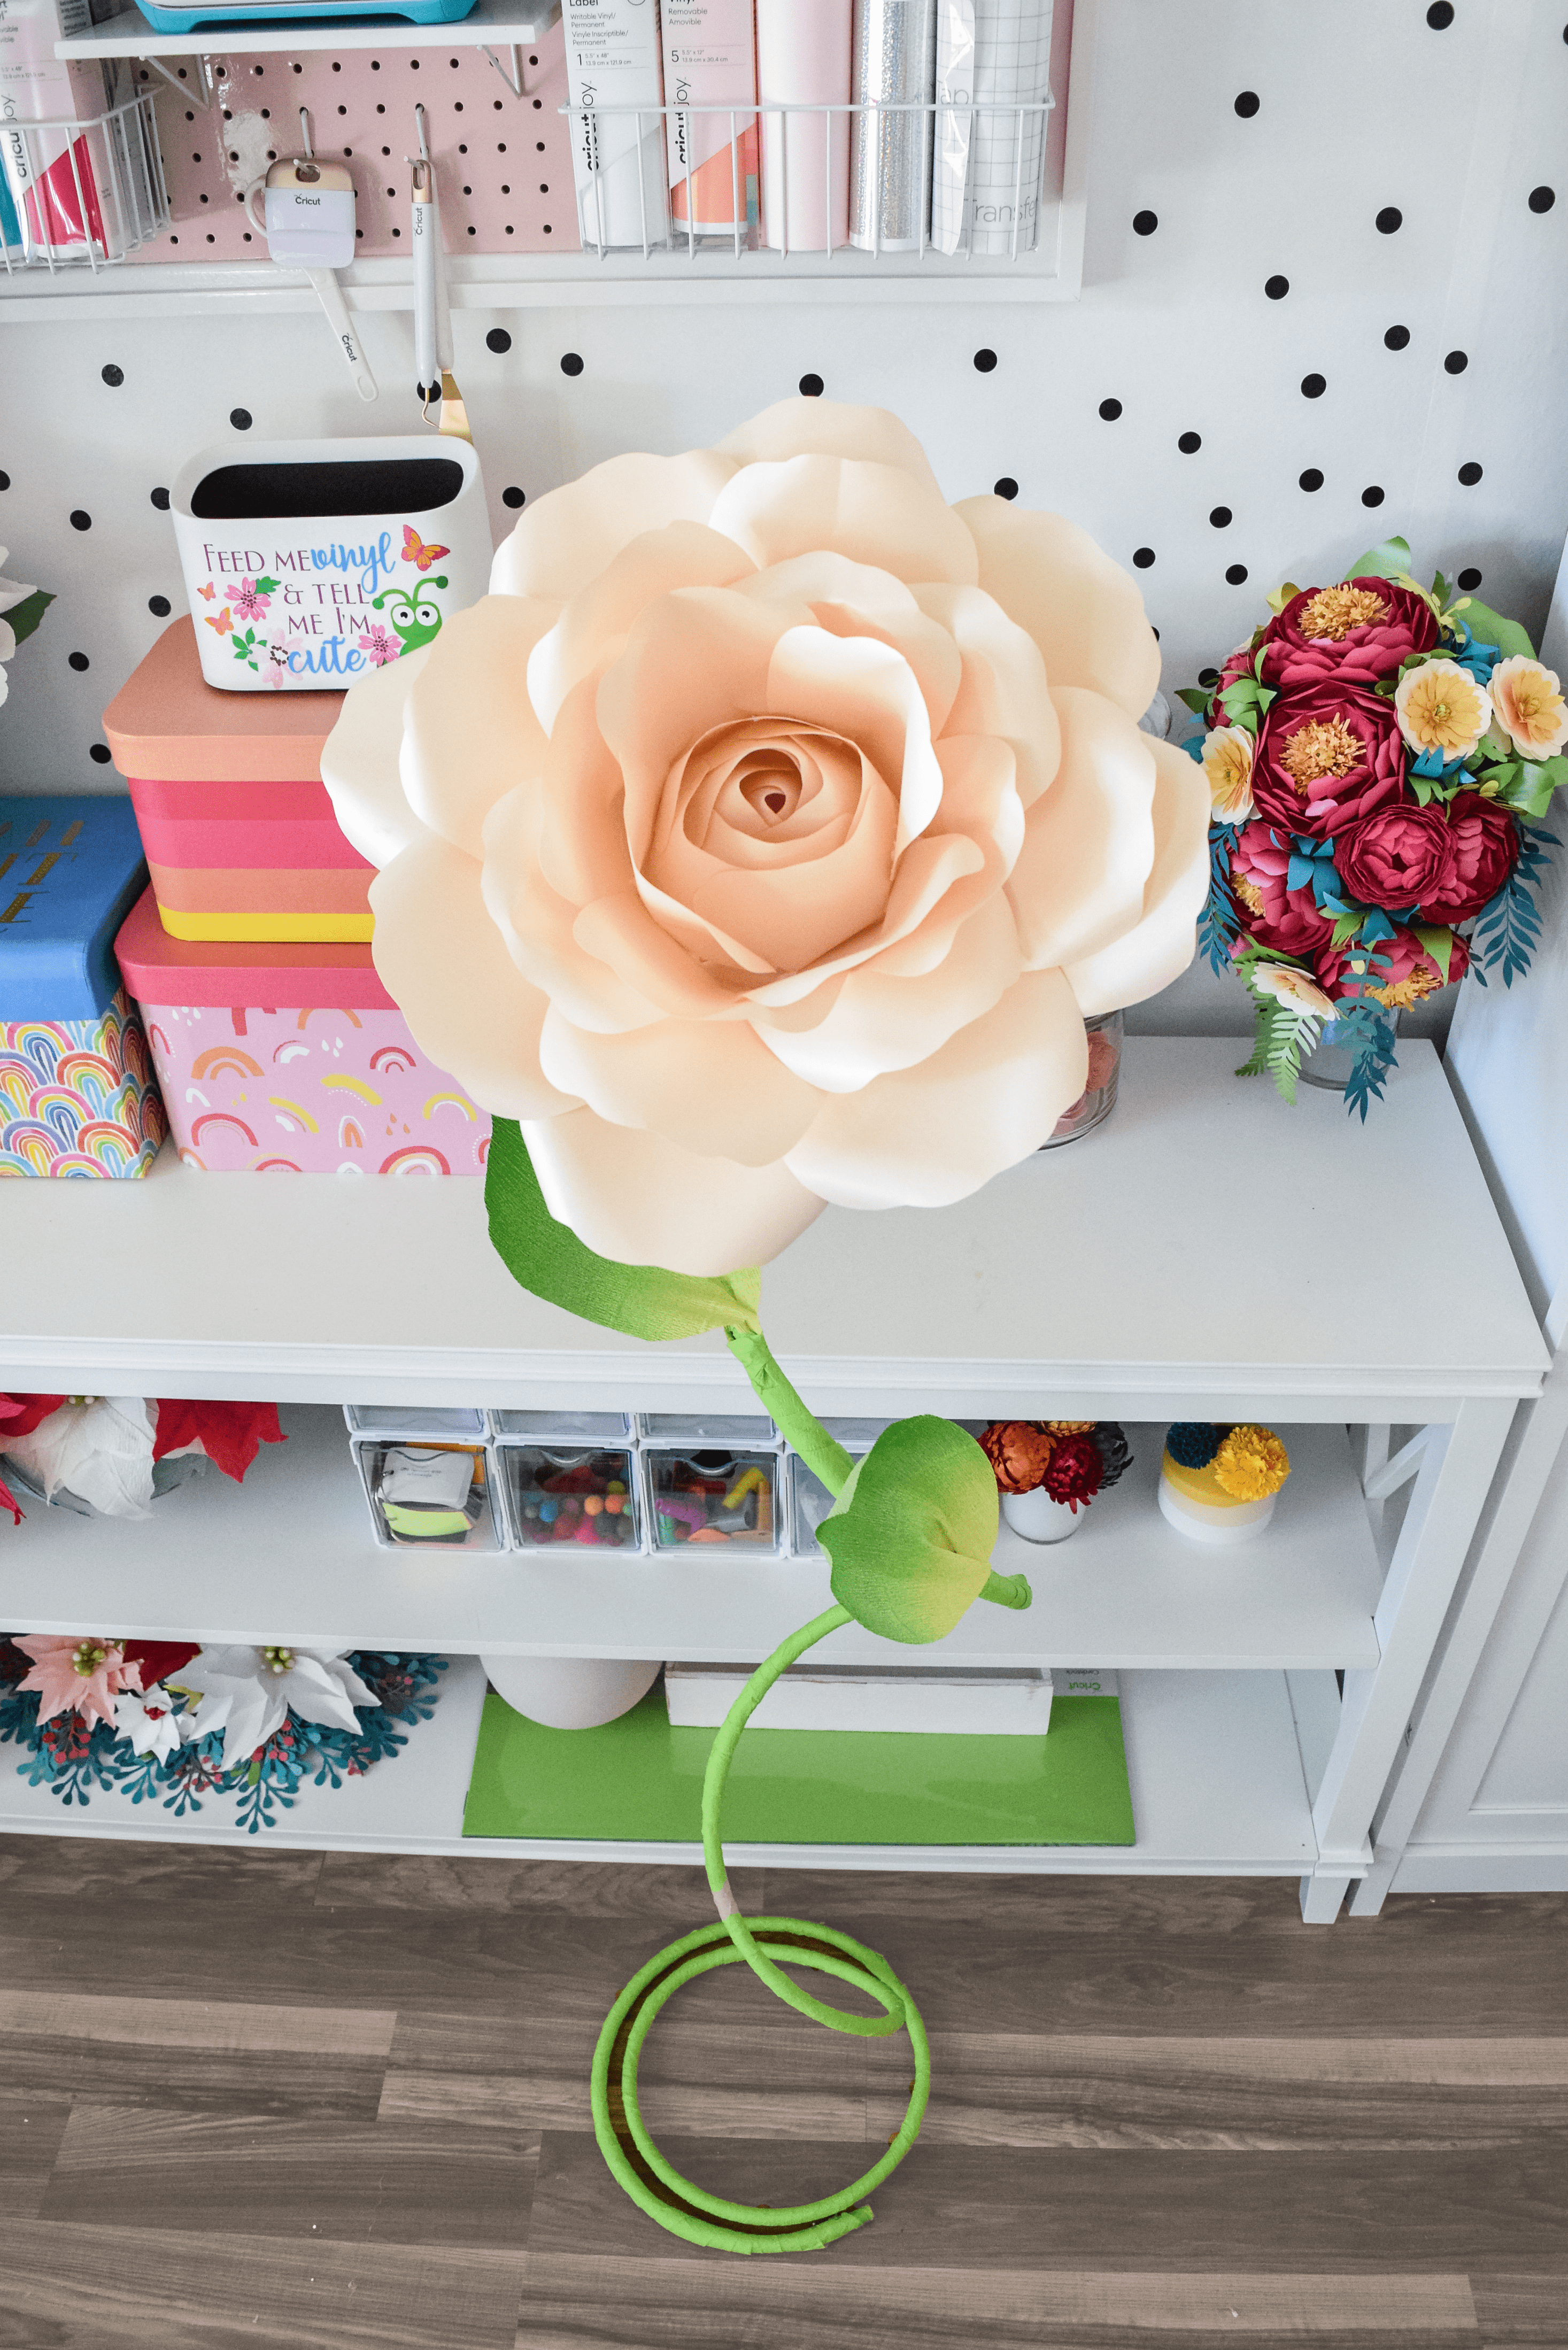
Large chrysanthemums like these make lovely giant flower centers. In the photo below I have combined Eden-style petals with a chrysanthemum center.

If you’re using the templates with a cutting machine, follow these same steps and downsize, as needed, for smaller centers.
Watch How to Make Chrysanthemum Paper Flowers with This Step-by-Step Video Tutorial!
Pin for later!
Large Paper Chrysanthemum Flower Tutorial
Chrysanthemum flowers are perfect for Spring! Bright and colorful, these large Chrysanthemum paper flowers are easy to make, either using a cutting machine or with scissors!
Materials
Tools
- Scissors
- Cutting Machine
- *You can use either tool for this paper flower craft!
Instructions
Step 1: Cut Chrysanthemum Layers
Cut out seven chrysanthemum layers. Three will be slightly smaller than the first four petals; they comprise the center of the flower.
Step 2: Curl the Chrysanthemum Flower Petals
Curl all petals inward as if you’re rolling up a roll of paper. The larger four petals should be less curled and the smaller three petals should be progressively tighter curls.
Step 3: Layer all Chrysanthemum Flower Petals
The next steps are to simply layer all 7 pieces together, starting with the 4 larger ones.
Step 4: Add the Final Crysanthemum Layer
Add in final centerpieces. Adjust pieces as necessary by curling tighter.