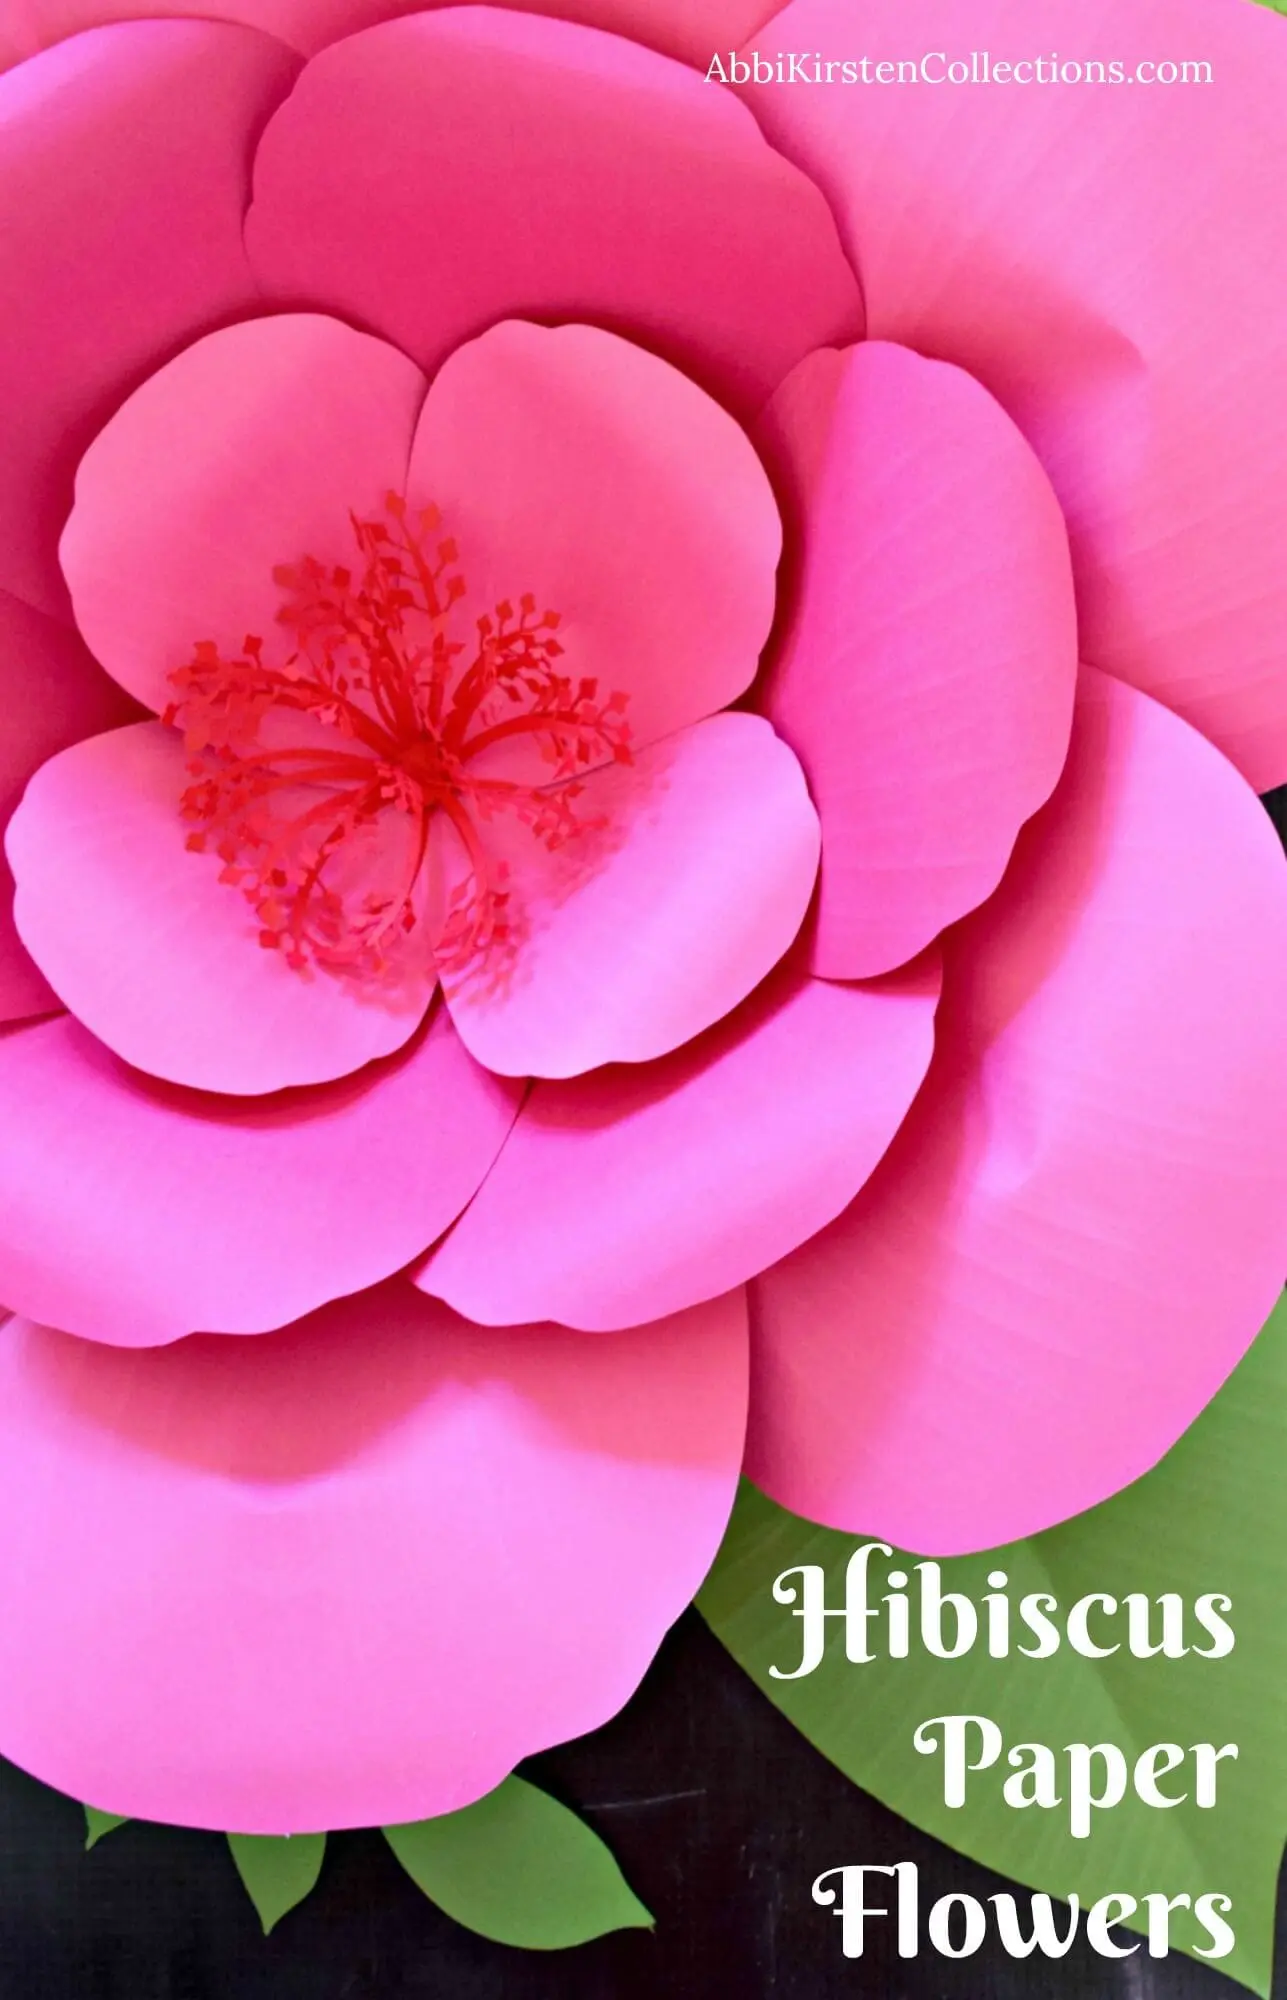
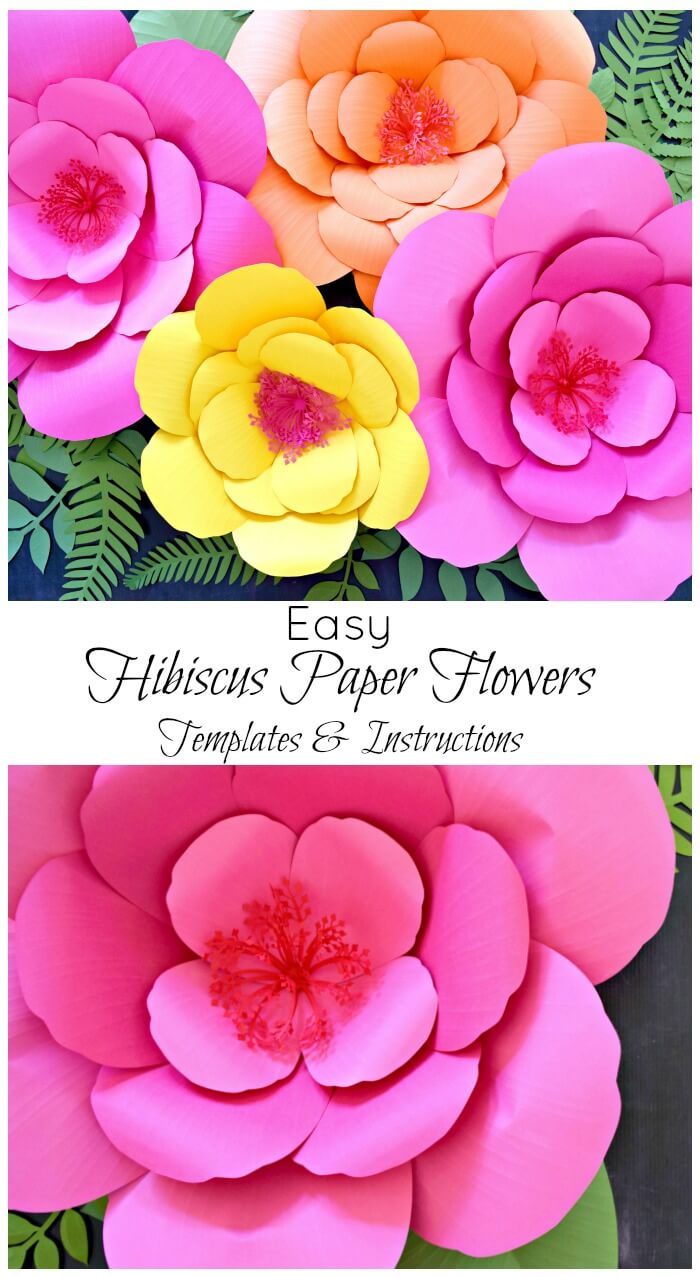
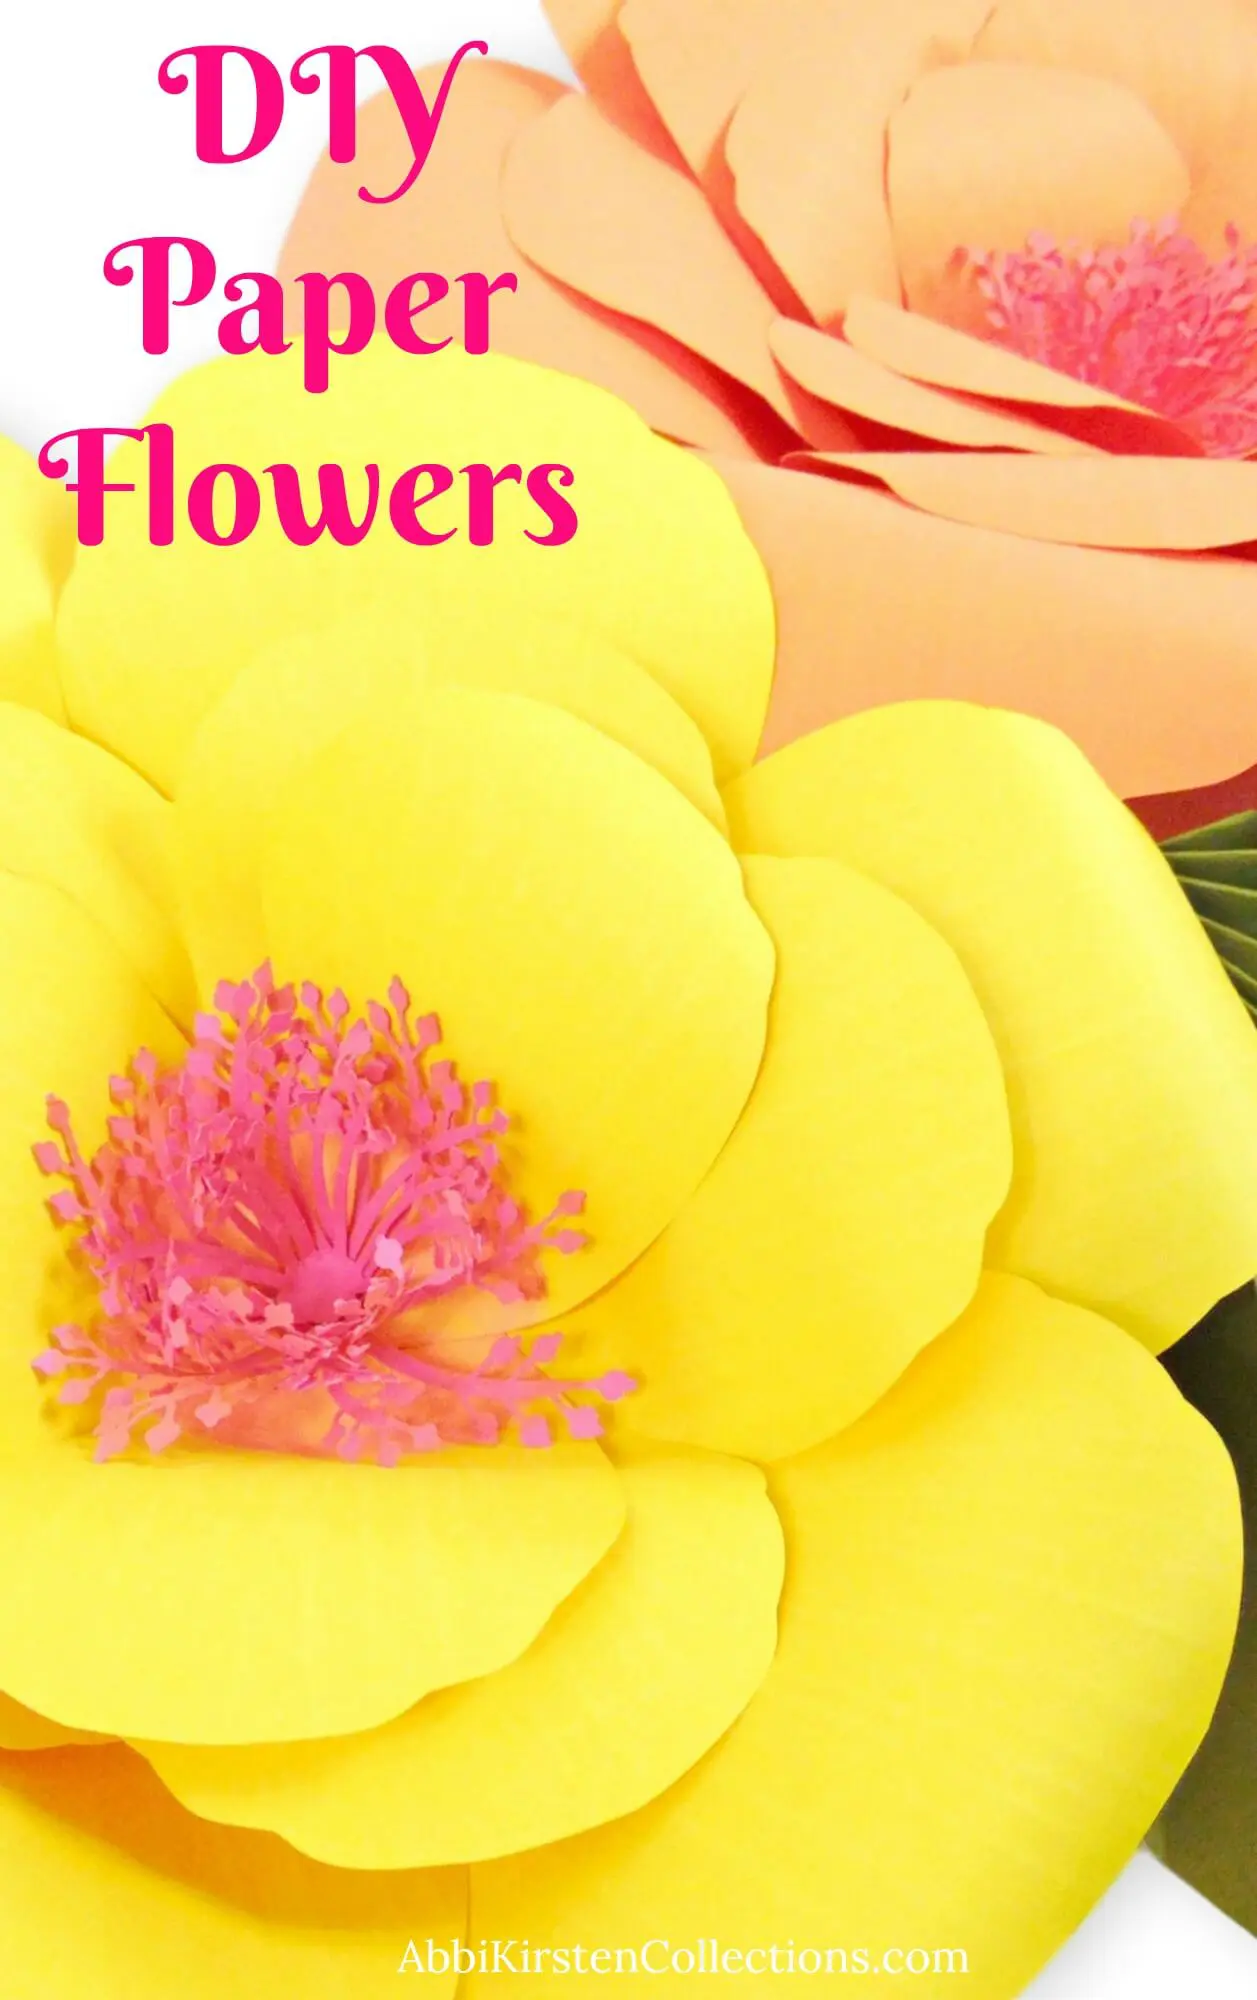
Giant Hibiscus Paper Flower Tutorial
This post may contain affiliate links that won’t change your price but will share some commission.

Are you ready for another one of my giant paper flower tutorials? Today we are going to create the national Hawaiian flower – the delightful hibiscus! To add a little flair to our project, I thought it would be fun to make a giant hibiscus paper flower since its beauty is larger than life. The Hawaiian hibiscus is bright, fun, and perfect for a special party, get-together, or simply as a festive summer-time decoration around the house.
As we get ready to start, it’s important to remember that we want to do our best to make our paper flowers as realistic as possible. This will create a more aesthetically pleasing and well-crafted flower. Because a hibiscus has very few petal layers, we will mimic that in our design.
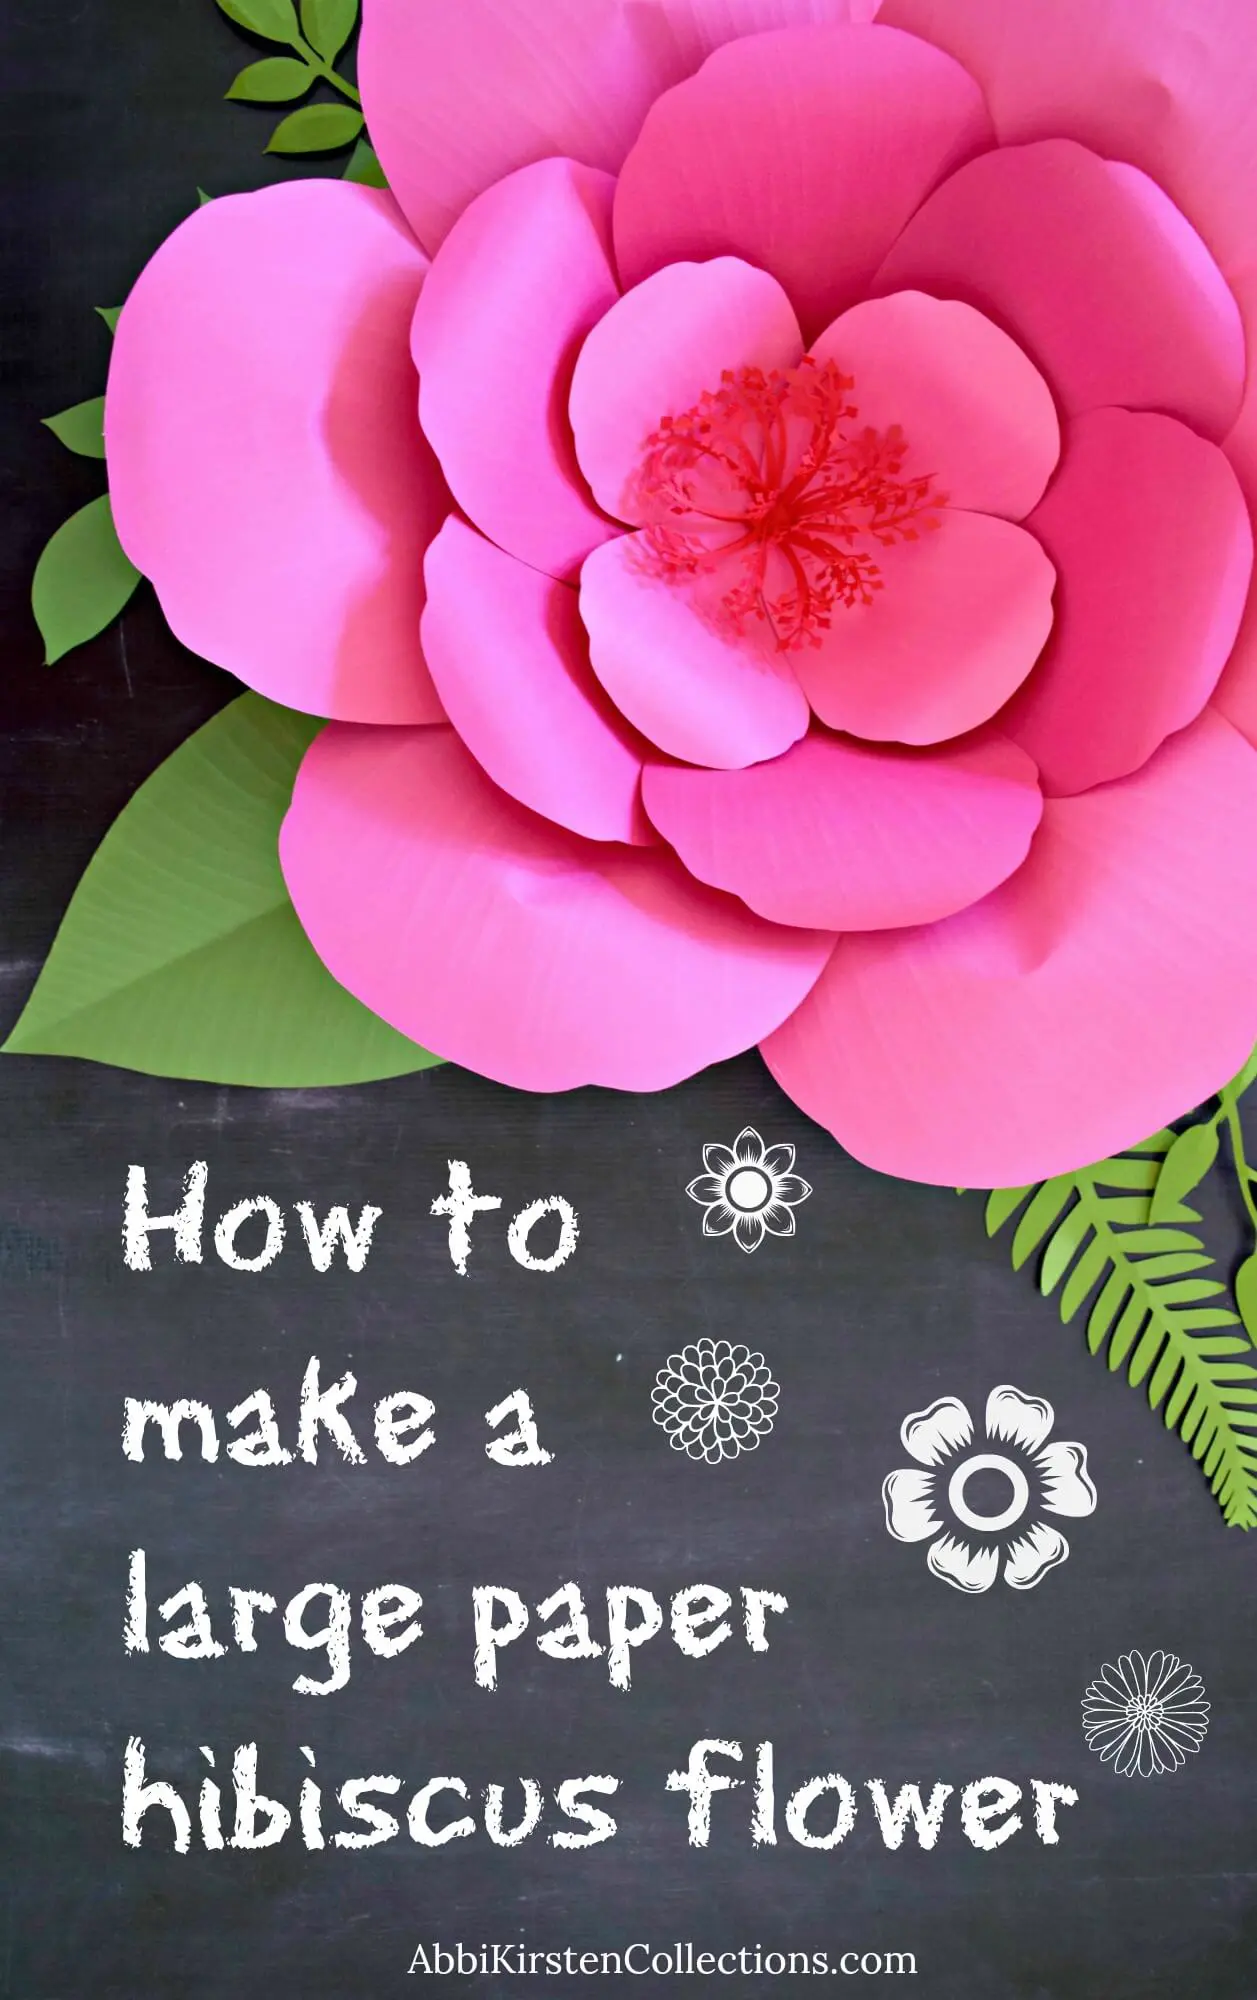
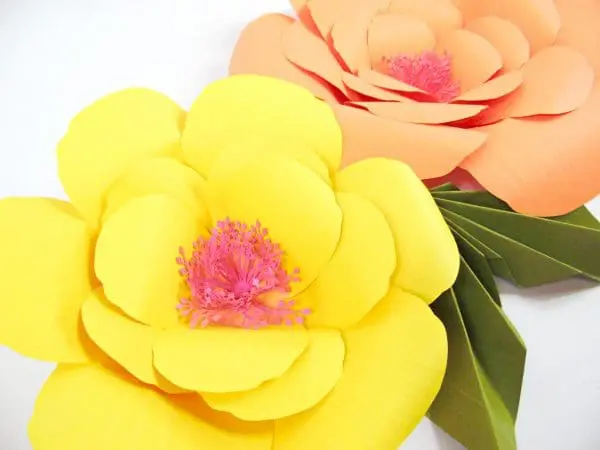
For most of my giant paper flower tutorials, I use 4-5 layers of petals, but we will only have four layers of three petal shapes for the giant hibiscus flowers. (If you were making a large one like the yellow hibiscus, you would only use two petal sizes.)
This DIY giant hibiscus paper flower tutorial includes a supply list, step-by-step instructions with pictures, a complete video tutorial on my YouTube channel, and a link to purchase my giant hibiscus paper flower template.
Let’s start crafting!
Giant Hibiscus Paper Flower Supply List
Here is a rundown of supplies you will need to make these large paper hibiscus flowers. If it’s your first time here, be sure to view my supply page for a complete list of all my favorite paper flower craft supplies!
- Glue Gun
- 65-pound cardstock
- Scissors and/or cutting machine (I recommend the Cricut Explore Air 2 Machine)
- 3-inch circle punch
- Hibiscus templates
- Rolling tool like a wood dowel
- Shaping Mat and tools
Download The Large Paper Hibiscus Flower Templates
Download these giant hibiscus flower templates as a premium member by logging into the AKC Craft Vault. Once in the Vault, use the keyword “hibiscus” at the top of the search bar to find this template. If you already have an account, just log in and download the hibiscus flower templates here. Not a member yet? Join the premium experience!
How To Make Giant Paper Hibiscus Flowers
Before you begin, be sure you have all the supplies you need and a clear, clean area to craft. These DIY giant paper hibiscus flowers are great for beginners, and creating them doesn’t take much time at all.
Step 1: Creating the Petals
Cut the following number of hibiscus petals using either scissors and my printable PDF file, or a cutting machine and my SVG file:
- 6 to 7 extra-large petals (the first layer)
- 6 to 7 large petals (the second layer)
- 8 medium petals (third and fourth layer)
- 3 hibiscus centers
- 1 3/4-inch circle for the backside
Pro-Tip: If you are just making large hibiscus paper flowers, eliminate the extra-large petals and start with the large petals. The large petals will become your first layer.
Step 2: Creating Petal Veins (Optional)
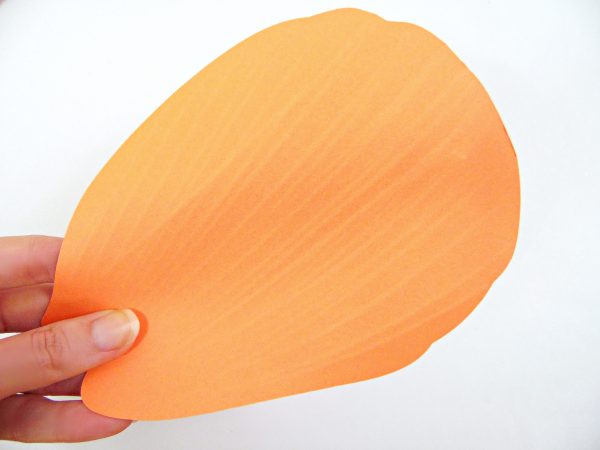
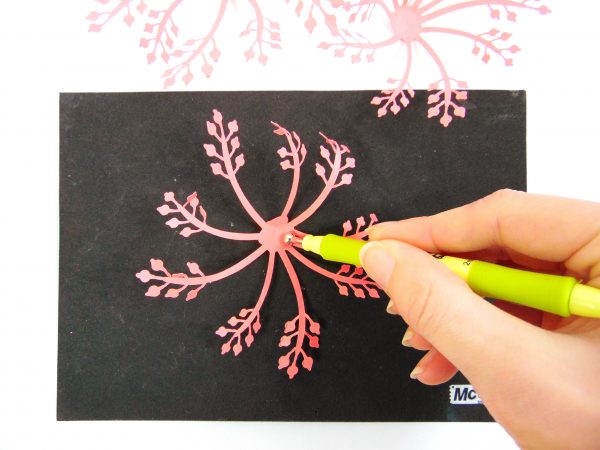
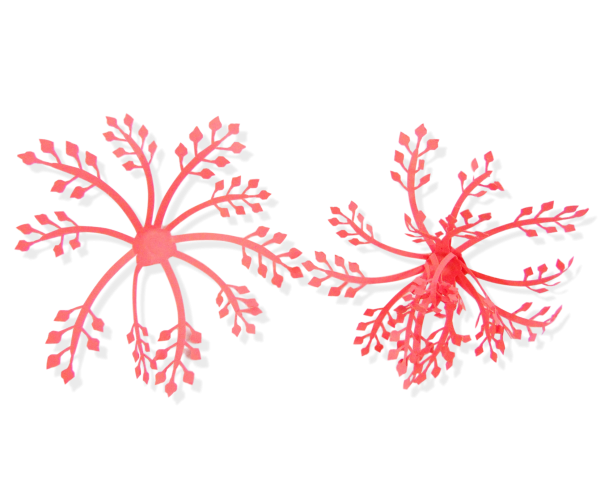
With the giant hibiscus or any paper flower, adding vein details on the petals creates a nice finish to the flower petal and is relatively easy. Using a shaping mat and embossing tools or similar items, lay your petal on the mat and draw lines from the bottom to the top. Give firm pressure but try not to puncture the paper.
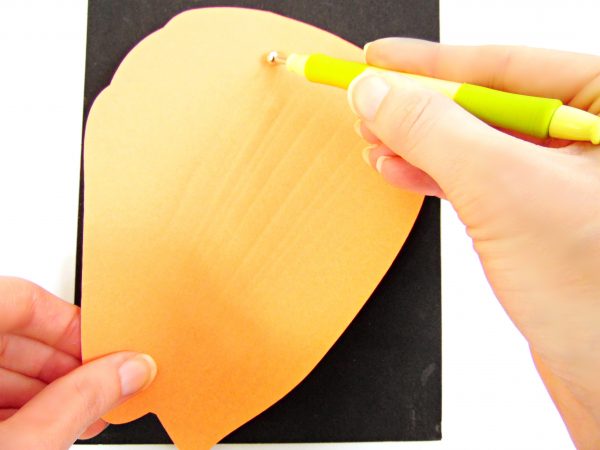
Your petal should resemble my petal below. Don’t be afraid to be generous with the veins. Likewise, don’t get worried about them being perfectly straight either.
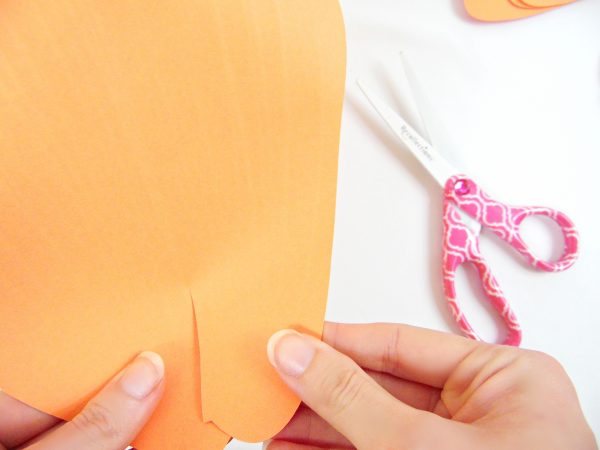
Step 3: Petal Slits and Edge Curling
After you’ve finished drawing the veins, you can cut your bottom petal slits and overlap the cut edges. Most hibiscus flowers in nature are very open blooms, so I recommend cutting the slits on the deeper side for a more open flower.
Once you have overlapped the edges, give all your petals a gentle curl backward.

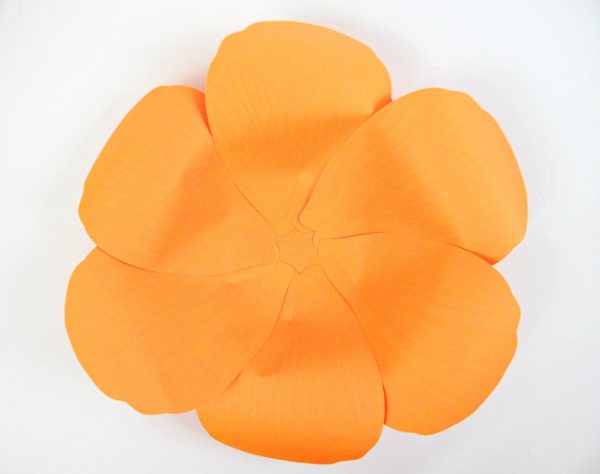
Step 4: Building the First Petal Layer
Start building your first layer. Take one of your extra-large giant hibiscus petals and glue most of the bottom of the petal to another extra-large petal, slightly overlapping the bottom of the second petal. Repeat this process until you have a ring of glued together extra-large petals.
Step 5: Attach the Circle Backing
Finish your first layer then use your circle punch to cover the back and create a base.
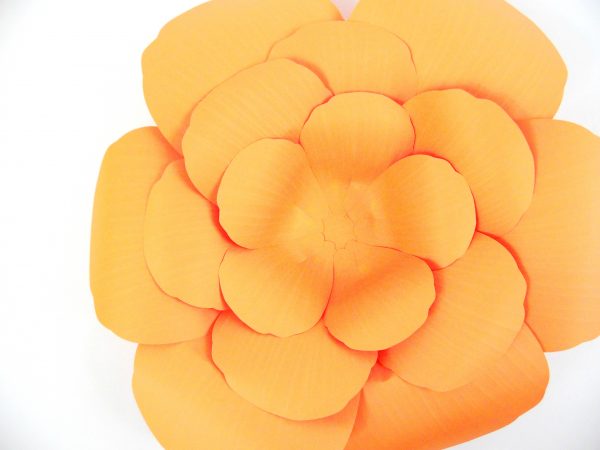
Step 6: Building the Second Petal Layer
Your second layer of six large petals comes next. Begin by gluing most of one side of a large petal to the extra-large layer. Be sure to place your hibiscus petal over the break line of two extra-large petals as seen in the picture below. Repeat gluing and overlapping the large petal layer.
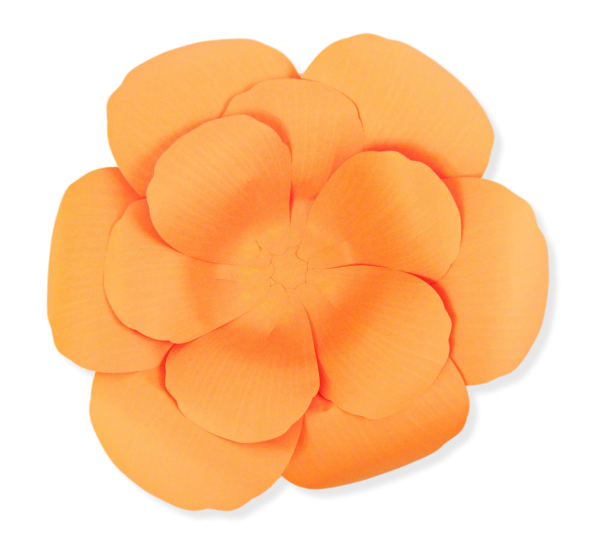
Step 7: Building the Third Petal Layer
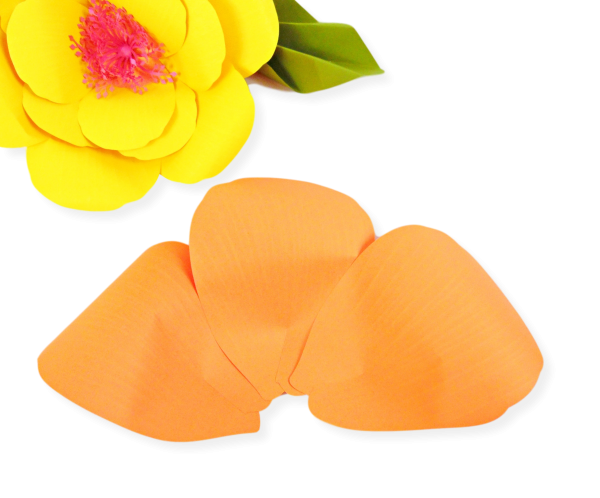
For the third layer, use only five of the eight medium petals. Glue the first medium petal to the second layer, placing the petal over the break line of the second layer. Add the next four petals in the same manner as the rest of the layers. Remember to put aside 3 medium petals for the final layer.
Pro-Tip: Feeling overwhelmed? Start here with my tried and true Resource List!
Step 8: Building the Final Petal Layer
Create the final layer with the remaining 3 medium petals as you have done for the rest of the giant hibiscus paper flower. See the image below to get a sense of how the petals overlap.
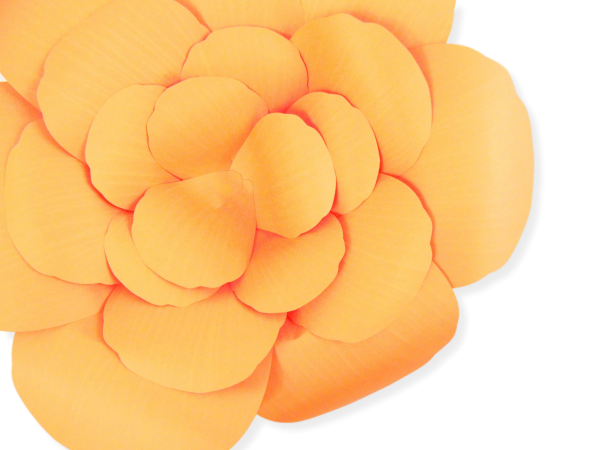
Step 9: Create and Add the Hibiscus Center
To complete the hibiscus, we’re going to add a center that resembles the hibiscus stamen.
- Using your shaping mat, roll the center to make each of the paper stamens stand up.
- Glue the three hibiscus stamen pieces together at the circle center, then glue the stamen group into the center of the hibiscus.
Pro-Tip: This hibiscus center with the traditional stamen is best created using a cutting machine. If you do not have a cutting machine, you can create the basic pompom center which still makes a great final look!

Giant Hibiscus Paper Flower Video Tutorial
Find the full hibiscus video tutorial below.
I hope you’ve enjoyed this giant hibiscus flowers tutorial as much as I enjoyed making it! You can find more free giant paper flower tutorials here.
How would you use these tropical beauties? Tell me in the comments!
Discover More
Share what you’ve been up to by using #DIYwithAbbi. I would love to see your creativity in the works so flaunt your flower power magic! You are a huge source of my inspiration!
My mission is to inspire you to nurture the creative magic inside your soul – bringing you fun, easy-to-learn DIY projects, and quality template designs. I share a variety of projects but specifically love paper crafting and paper flowers. Interested in more flower tutorials?! I’ve created dozens of signature designs for you to enjoy – starting with my best seller, The Art of Giant Paper Flowers, the Giant Flower Library, and my shop of endless paper designs and flower templates.
Feeling overwhelmed? Start here with my tried and true Resource List!
Thanks for letting me pop into your day!
Love paper flowers? Don’t miss our newly released Ebook, ‘The Art of Giant Paper Flowers.‘

I am trying to make these, are able to make them with two layers
Yes, you can just use 2 petal layers if you’d like to downsize.
Beautiful!!!
Thank you!