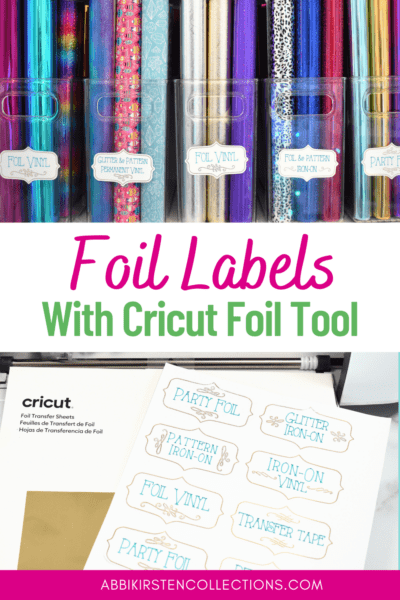
Cricut Foil Transfer Tool Tutorial – How to Create Foil Labels With Cricut
This post may contain affiliate links that won’t change your price but will share some commission.
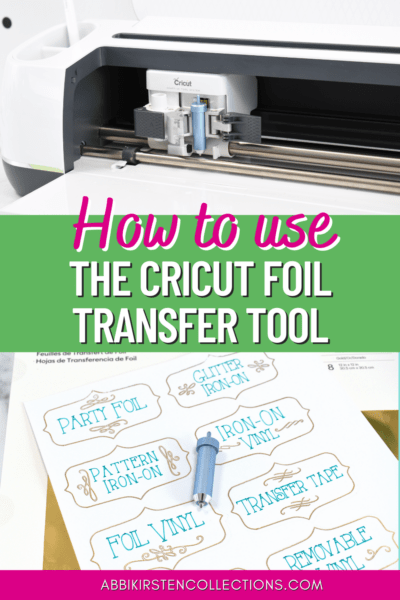
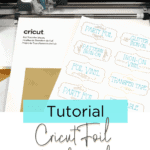
Recently Cricut released an exciting new foil tool. This new Cricut foil transfer tool allows you to add shimmering etchings onto things like cardstock, sticker paper, printable vinyl, and faux leather. I am delighted to share my step-by-step tutorial on using the Cricut foil tool in collaboration with Michaels Craft Stores.
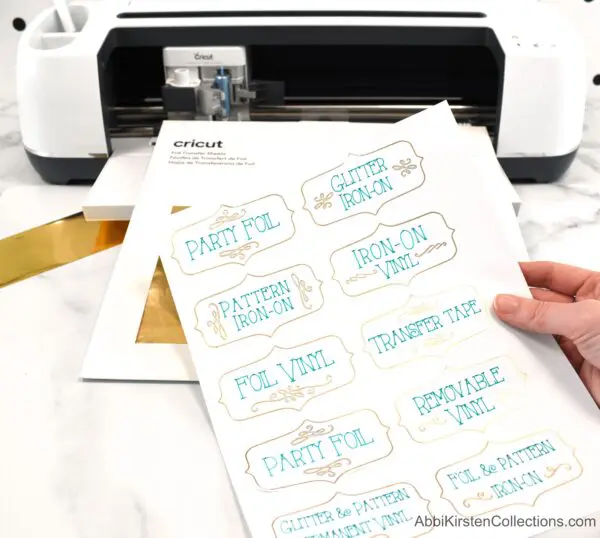
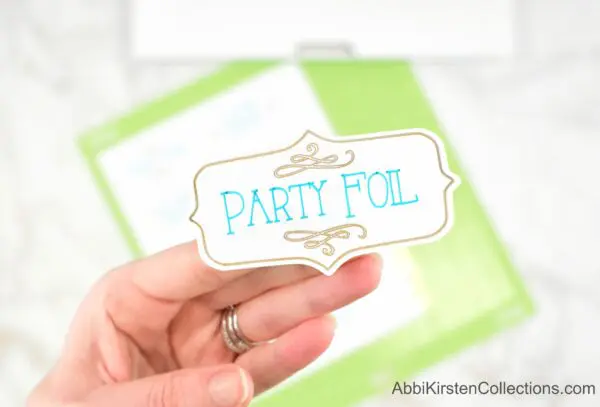
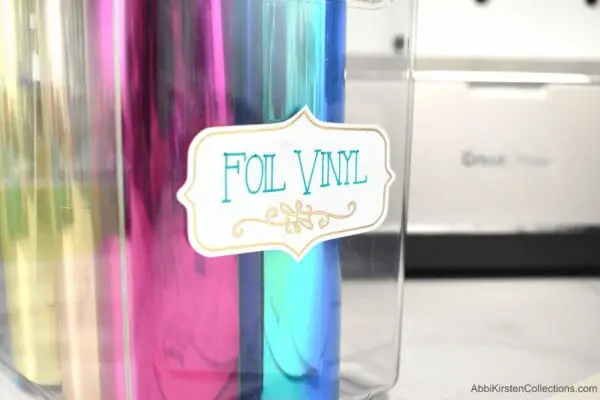
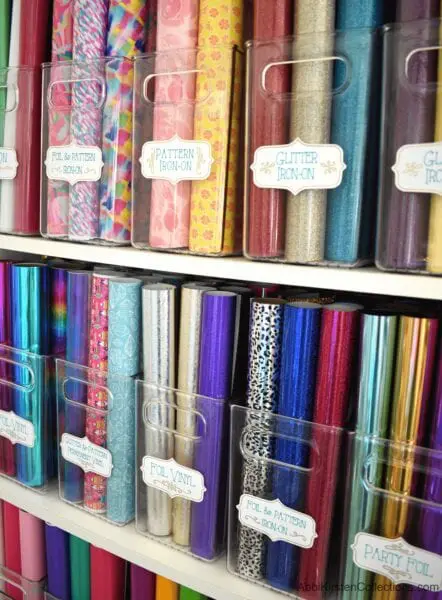
While there are many exciting ways to use the foil tool, I decided to create some organizational labels for my craft room to keep all my vinyl easily recognized in my creative space.
Organizational Labels with Cricut Foil Tool
Once the buzz of the holidays subsides and January dawns, I feel the need to get organized every year. Cricut helps with organization in many ways, and if you haven’t picked up a Cricut for yourself yet, you need to this year! Michaels Craft Store is my favorite place to shop for supplies, and their stores are full of great organizing containers too!
If you don’t have a Michaels near you or do not wish to go out, then just use the links below to ship the supplies right to you! Michaels also offers convenient curbside pickup!
Go ahead and click play on the video to see how I make these labels, and don’t forget to scroll down to access the FREE label templates below plus, learn how to prep your templates in Design Space!
Cricut Foil Transfer Tool Tutorial – How to Create Foil Labels With Cricut
The supplies are very straightforward for this project, and these labels can be created in less than an hour!
Supplies
- Cricut Maker or Cricut Explore
- Printable vinyl
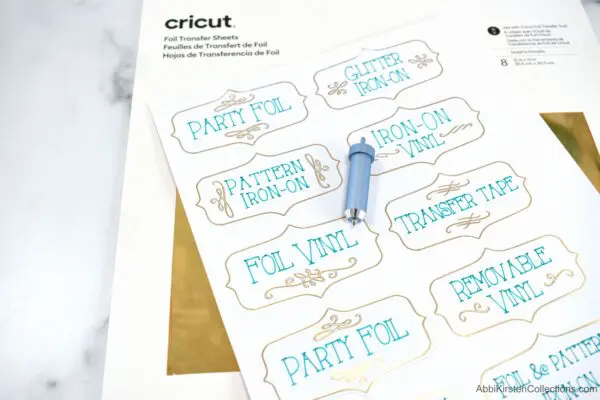
- Foil transfer sheets
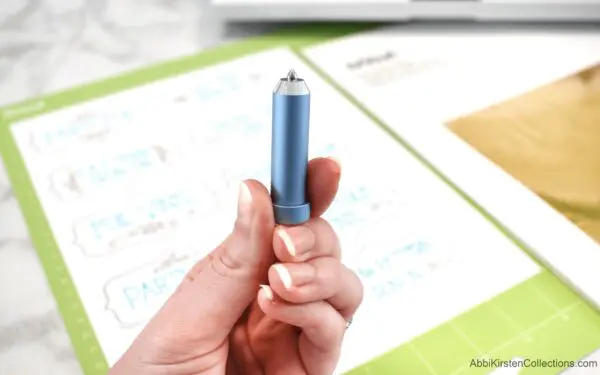
- Cricut foil tool
- Cricut pens
- Foil label templates (download below!)
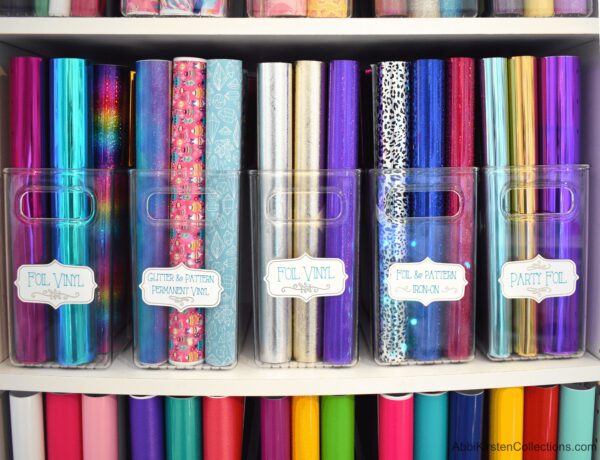
Where did you get those containers for your bookshelf?!
If you are loving my bookshelf container set up for my vinyl, I used these deep containers here and purchased my bookshelf here.
DOWNLOAD FOIL LABEL TEMPLATES
Download these free vinyl label templates by entering your email below via the form below! If you are already a subscriber, then login right here and search Design #95
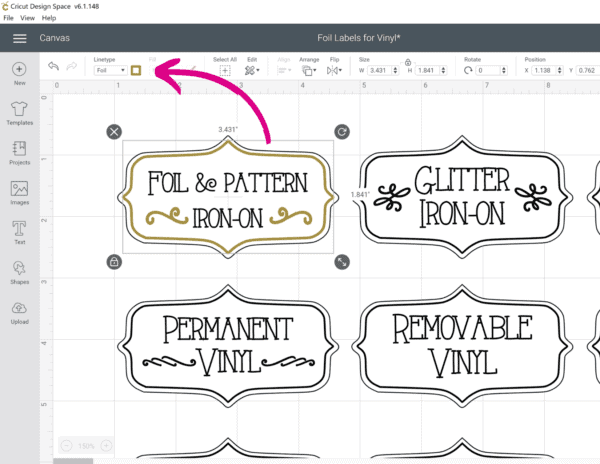
IMPORTANT NOTES FOR DESIGN SPACE SETUP
In the video above, I cover how to set up your templates on Design Space by changing the line-type, so your machine knows to foil the labels. The most important part is once you change your line-type for the borders to foil and the text to draw lines, make sure to use your ATTACH tool for each label so they stay exactly where they need to when you go to your cut screen.
FOIL TOOL TROUBLESHOOTING TIPS
After playing with the foil tool quite a bit, I found a few things that can solve some common issues when getting used to this new tool.
FOIL WON’T TRANSFER ALL THE WAY
Experiencing issues with the foil not transitioning well usually means you do not have your foil taut enough. It is crucial that the foil be as smooth as possible.
FOIL SHIFTS DURING TRANSFER
Shifting foil is frustrating. Cricut provides handy little strips to tape your foil down. My first tip with this is to be very generous with the strips. Make sure all 4 sides are taped down. However, if you still experience trouble, try replacing the Cricut foil strips with some washi tape. I have had better success with washi tape – especially wider rolls.
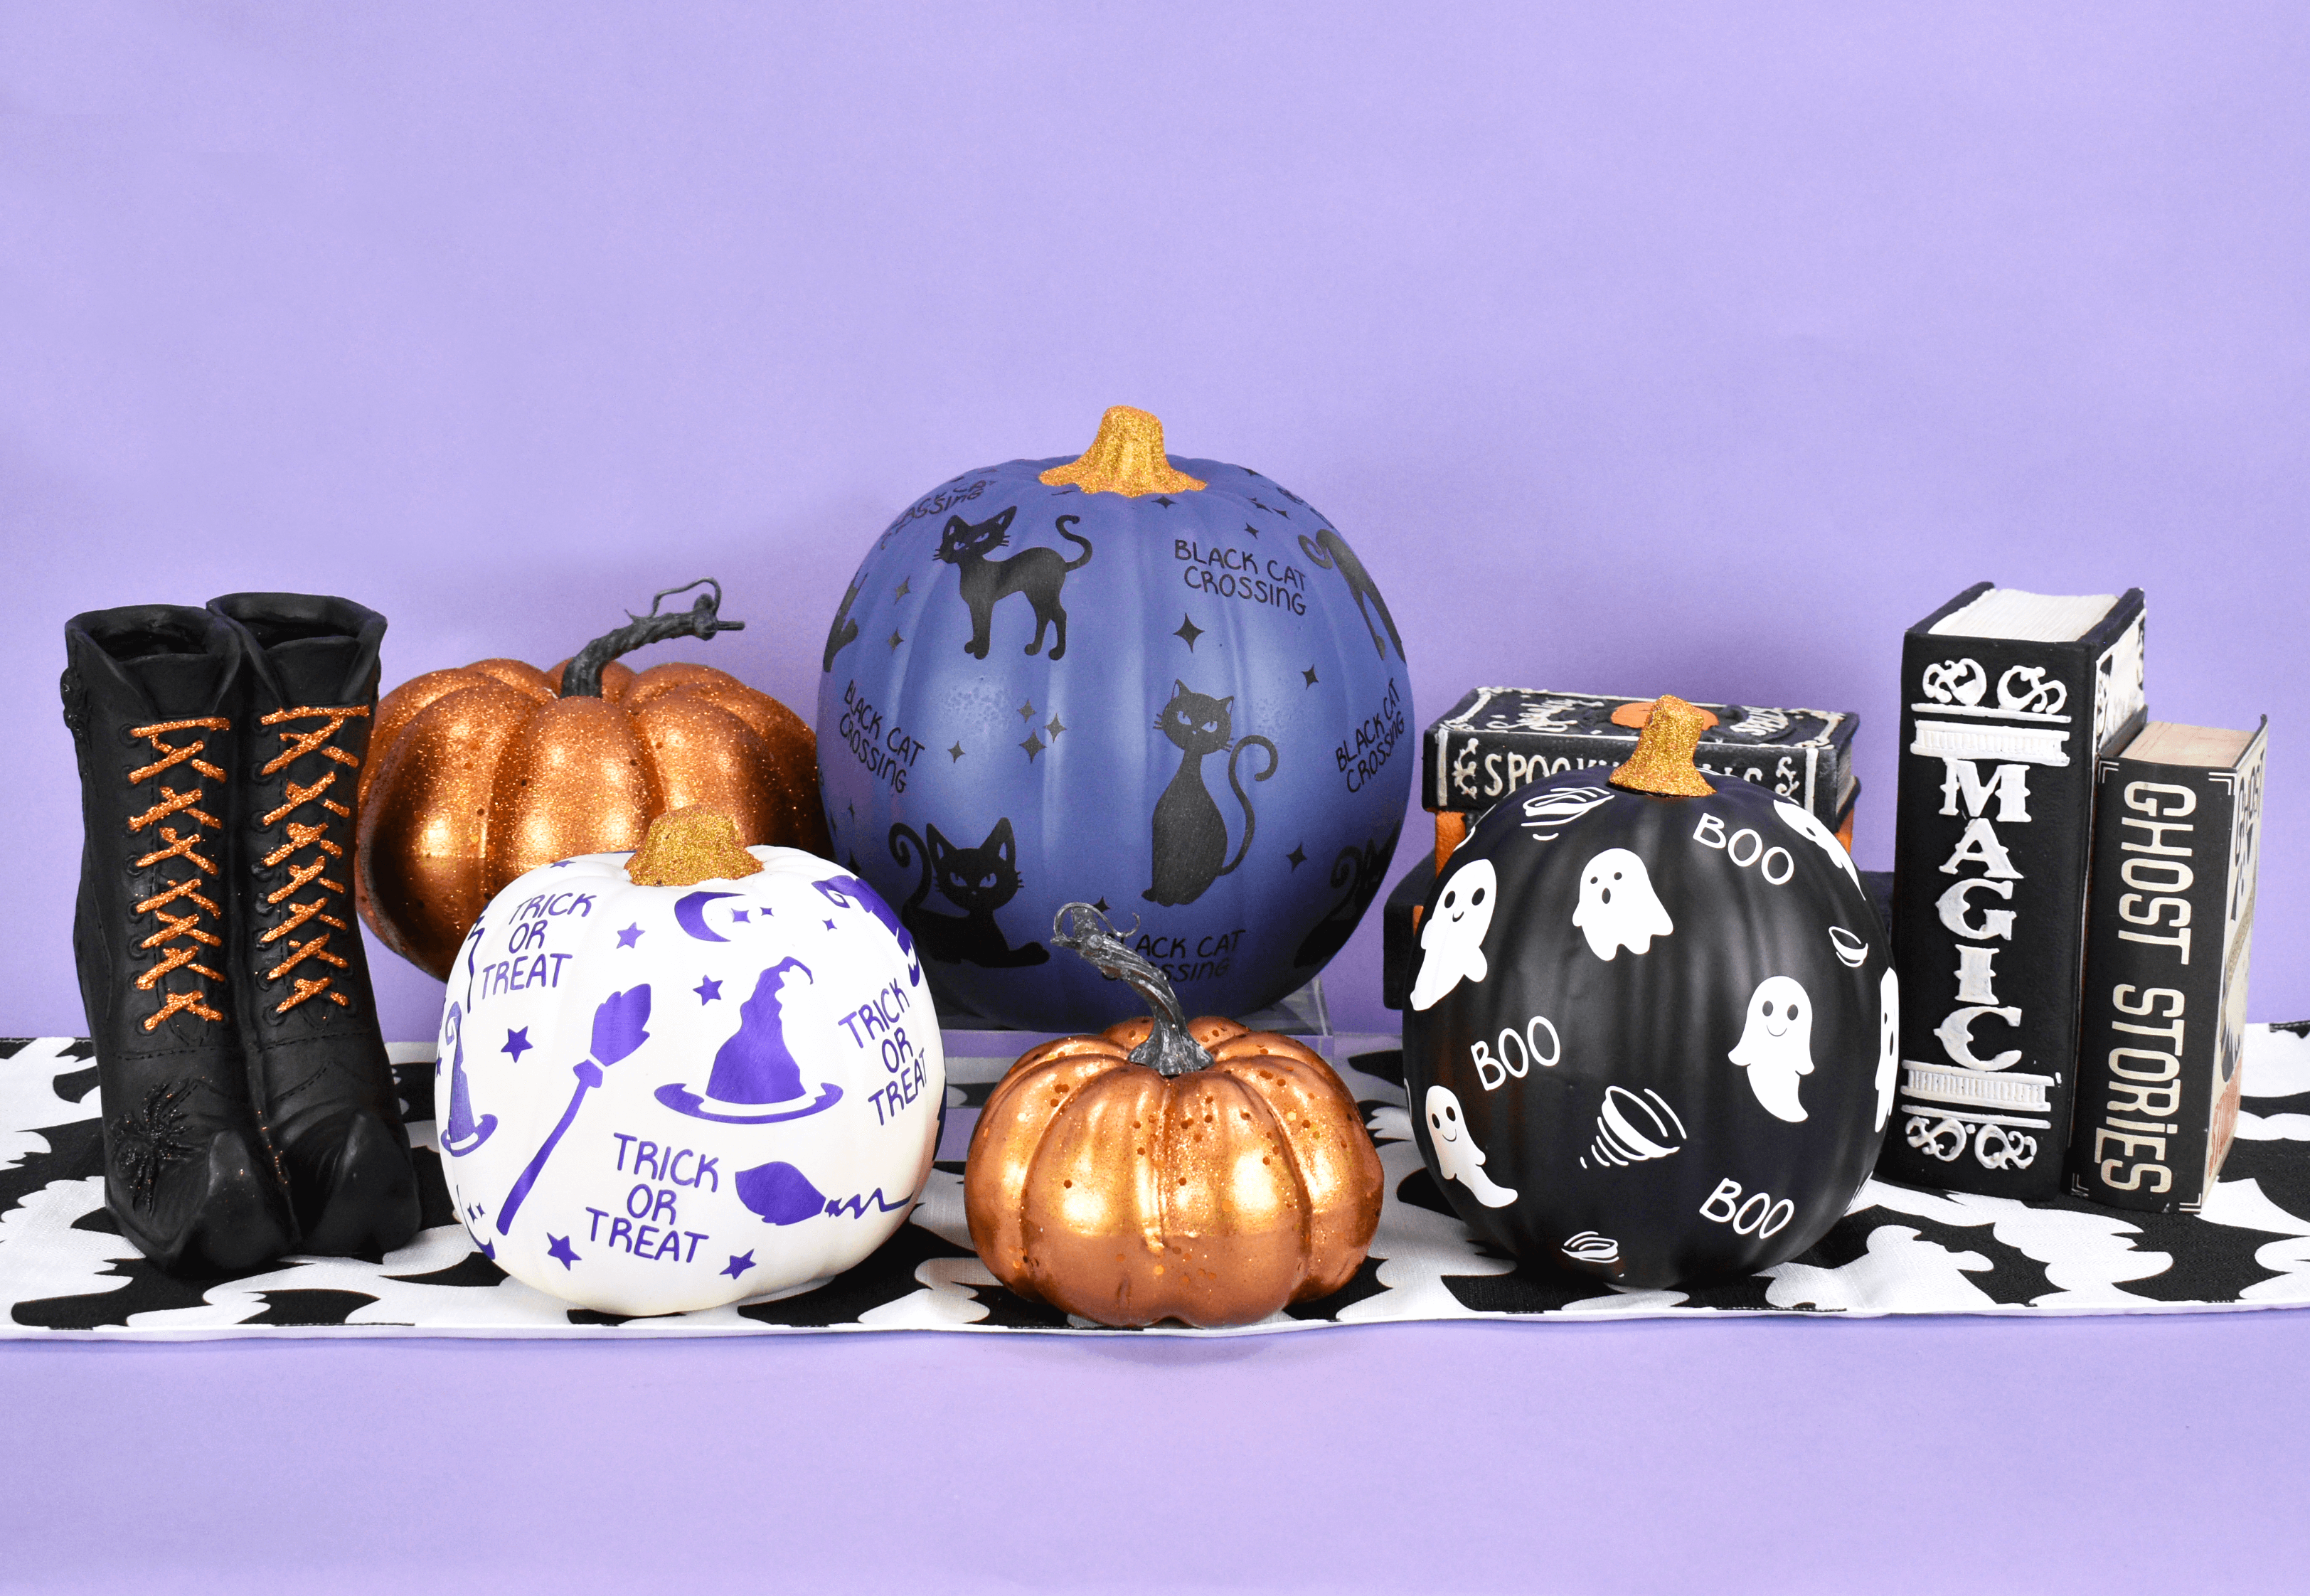
More Crafts to Love
- How To Make DIY Crepe Paper Succulents
- How to Make A Paper Cactus: Prickly Pear, Aloe Vera, and Ferocactus
- DIY Cali Poppy Paper Flowers
- Make Fruit Pop-Up Cards With Cricut
- Butterfly and Bug Shadow Boxes
About Abbi Kirsten Collections
I have spent the last 10+ years building my creative skills and sharing them with others. My flower designs are created with simplicity, color, and crafty fun in mind. If you haven’t yet, be sure to join the subscriber community to gain access to all my freebies or visit my signature design shop here!
Want to join my Facebook community to share your crafts and learn from the best? Click here to request access to my group, Crafters and Cricut Lovers.
For more color crafts and inspiration, join me on Instagram & Facebook.


How can I use your templates but changing some of the words?
If you wish to customize you will need to type out your own text. 🙂