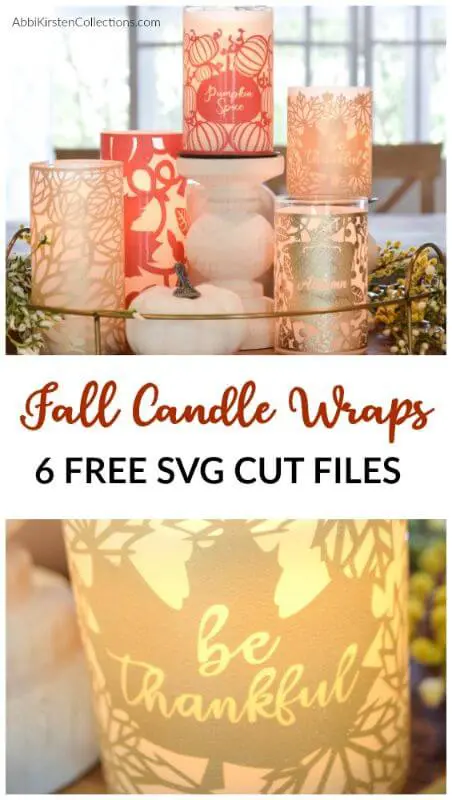
DIY Fall Candle Wraps: Autumn & Thanksgiving Table Decorations with Cricut
This post may contain affiliate links that won’t change your price but will share some commission.
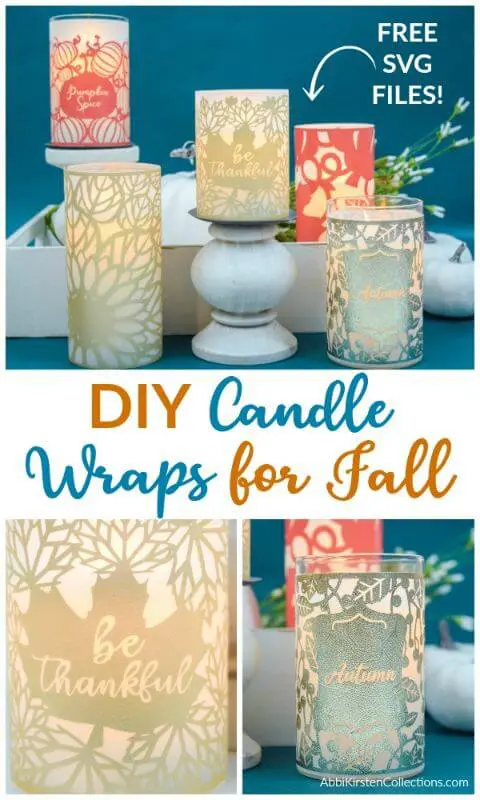
Learn how to create fall candle wraps for your home decor and bring elegance to your Thanksgiving table with warm themes of autumn. To complete this quick DIY project:
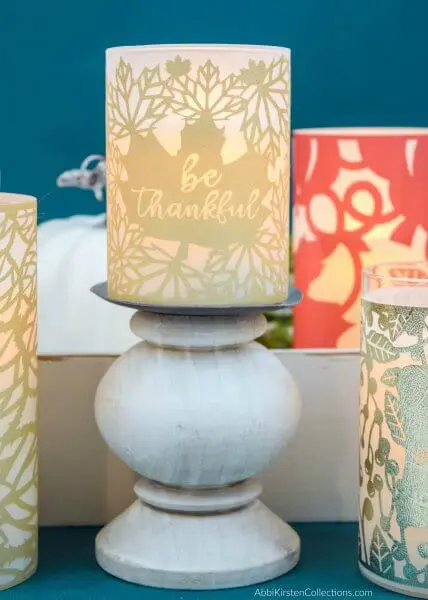
Holiday Table Decor with Fall Candles
The fall season brings warm blankets, apple orchard visits, and brightly colored leaves. Autumn creates a desire to be cozy, and candles are a great way to make your home feel snug and comfy. However, candle styles and choices can be limited and often do not match our current fall decor.
The good news is, with candle wraps, you can change the outside of some candles to fit your style, and they’re an easy way to add custom elegance to your table or home for the holidays.
You can also apply this concept to other seasonal themes like Christmas, Halloween, or other holidays. This is a simple craft for beginners and comes with six free fall candle wrap SVG files.
The Best Kinds of Candles and Materials for Candle Wraps
Before we begin, let’s review the best types of candles and materials to use and tips to consider before creating the candle wraps.
Can You Light Real Candles with Adhesive Wraps?
It is generally not recommended to light a candle that has an adhesive wrap on it. Most candle wraps are meant for decorative purposes only. The safest approach is to use candle wraps on candles that are purely for decoration or on flameless LED candles. If you are using a real candle, the wrap should be treated as a temporary decoration that is removed before the candle is lit.
Can You Use Cricut Vinyl on Candles?
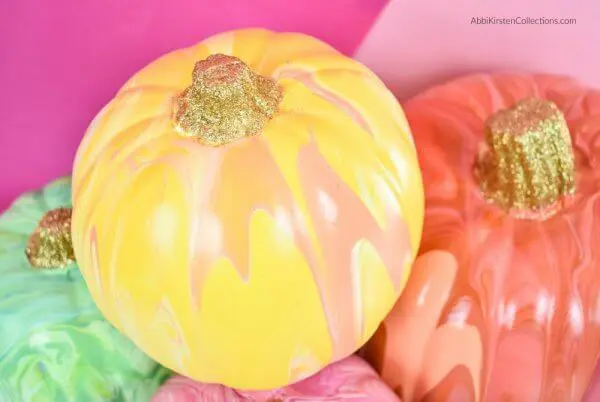
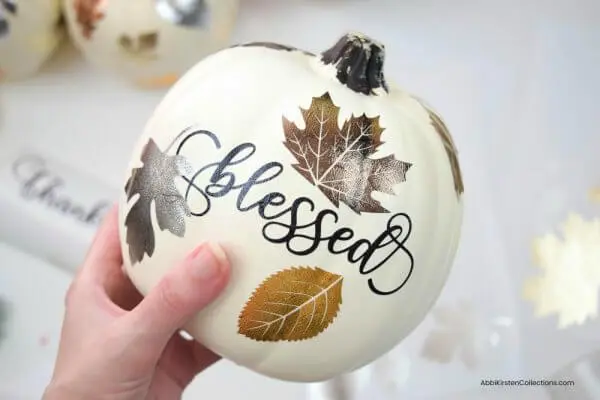
The answer is yes! In fact, I recently shared an easy way to dress up your faux pumpkins for autumn and Thanksgiving home decorating and fell in love with a textured metallic vinyl by Cricut used in that craft. It inspired me to create more fall crafts, and I came up with these stylish DIY vinyl candle wraps.
What Are Candle Options for Making Candle Wraps?
When it comes to choosing candles for wraps, you want to choose a type that provides a smooth, solid surface for the wrap to adhere to and looks good as a decorative piece. The best options are typically pillar candles that you wrap directly or container candles with a smooth, glass or ceramic, cylindrical shape.
Pillar candles: These are free-standing candles that hold their shape. With a smooth, solid surface, they’re perfect for applying adhesive wraps. Remember, you can use candle wraps on actual pillar candles if you do not light the candles and use them only as decoration and not as a light source. Lighting wrapped candles is a fire hazard.
I recommend using LED pillar candles, sized either in 4”, 5”, or 6” glass pillars like the ones linked in my supply list.
Container candles: Some container options are hurricane glass or mason jars for placing LED tea light candles or other appropriately sized candles inside. Tealight candles are smaller in size, quite affordable, and easy to replace. Most craft stores carry an abundance of tea lights in various colors.
Supplies for Making Fall Candle Wraps
- Cricut Explore Air 2, Cricut Maker, or the Cricut Joy machine. My Cricut Buyer’s Guide can help you decide which cutting machine is best for you.
- Cricut mats
- Adhesive vinyl (I love textured metallic vinyl and gold glitter vinyl)
- Weeding tools
- Transfer tape
- White vellum
- Double-sided clear scrapbook tape
- LED candles (flickering, flameless candles in glass holders, perfect for applying candle wraps)
- Cricut Scraper (optional)
- Fall candle wrap templates. Find the fall candle wrap SVG files for FREE here in the Abbi Kirsten Craft Vault.
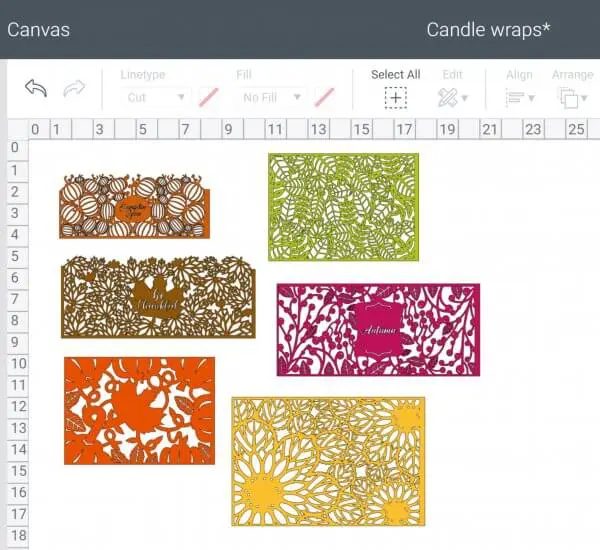
Download Your FREE SVG Files
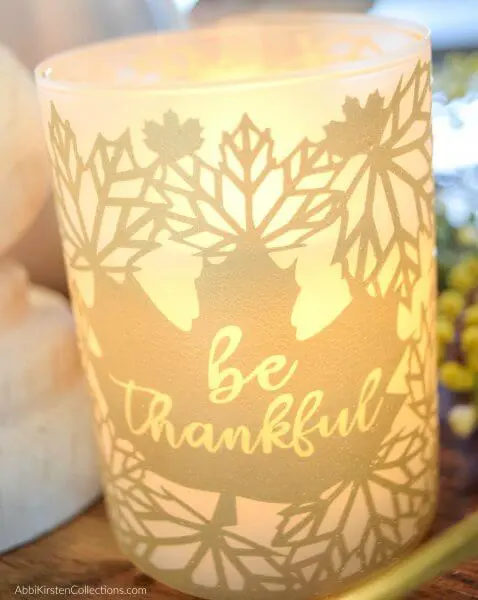
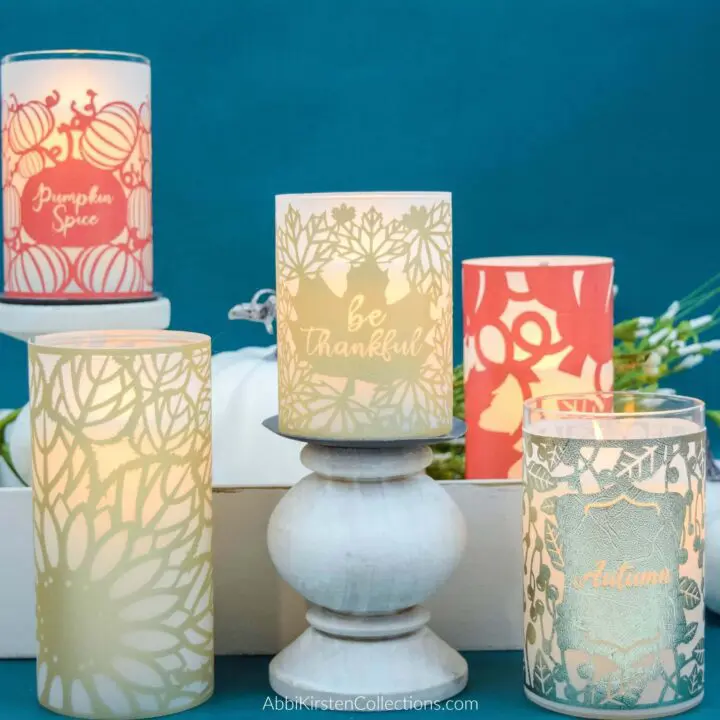
These six FREE SVG cut files load quickly and easily in Design Space. I chose to design a couple of fall leaf wraps, pumpkin wraps, a berry vine wrap, and my favorite, a sunflower design candle wrap.
If you are already a member, log into the Craft Vault and search the keyword “candle” at the top to download these designs!
These take a little patience to weed, but they’re worth it. All in all, these designs only took me about 3 hours to weed. Not too bad, and you can use them year after year!

DIY Fall Candle Wraps Tutorial
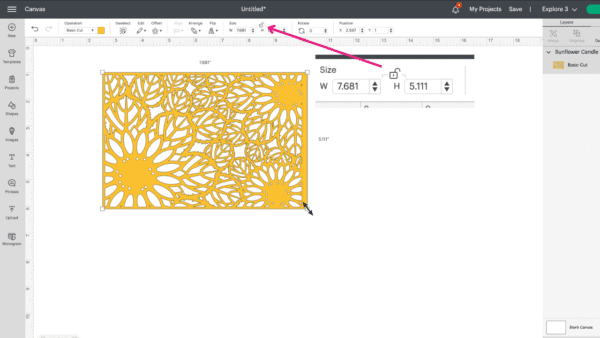
1. Measure your candle circumference.
First, remember to use the handy unlock button at the top center of Design Space to scale and stretch as necessary to adjust your candle wrap SVG file to the correct size.
2. Cut Your Design Out In Vinyl.
Use the appropriate custom setting. For example, I used the textured metallic vinyl setting and changed the default pressure to more for a cleaner cut.
3. Cut a Piece of White Vellum to Match the Size of The Candle Wrap.
Next, overlay the vinyl onto the vellum. Use the Shapes tool in Design Space to create a rectangle cut out of vellum. Use that unlock button to change proportions.
4. Weed Your Design.
Now, you’re ready to weed the wraps. Weeding is the most time-consuming part of the whole process. Each candle wrap took me about 30 solid minutes to weed.
5. Burnish the vinyl onto the tape.
Once each design has been weeded, cut a piece of transfer tape and burnish the vinyl onto the tape. (I use the Cricut scraper for burnishing.) Lift the design carefully.
Pro Tip: Burnishing is when you press the scraper over the transfer tape and vinyl to remove any air bubbles and activate the adhesive so the vinyl bonds properly.
6. Lay the Vinyl On The Tape.
With the vinyl design on the transfer tape, lay it sticky side up.
7. Line Up the Vellum.
Line up your vellum rectangle cut-out on top of the vinyl design.
8. Turn Over and Burnish.
Turn the whole thing over (non-sticky side up) and burnish well.
9. Remove Vinyl and Vellum.
Carefully remove the vinyl and vellum wrap from your transfer tape.
10. Wrap and Secure Candle Wraps.
Finally, wrap the candles in your finished design and secure them with double-sided tape.
I was delighted with the way these DIY fall candle wraps turned out! I’d love to hear your thoughts below. What other candle wrap designs do you want to see? Tell me below in the comments.


Other Candle Wrap Designs
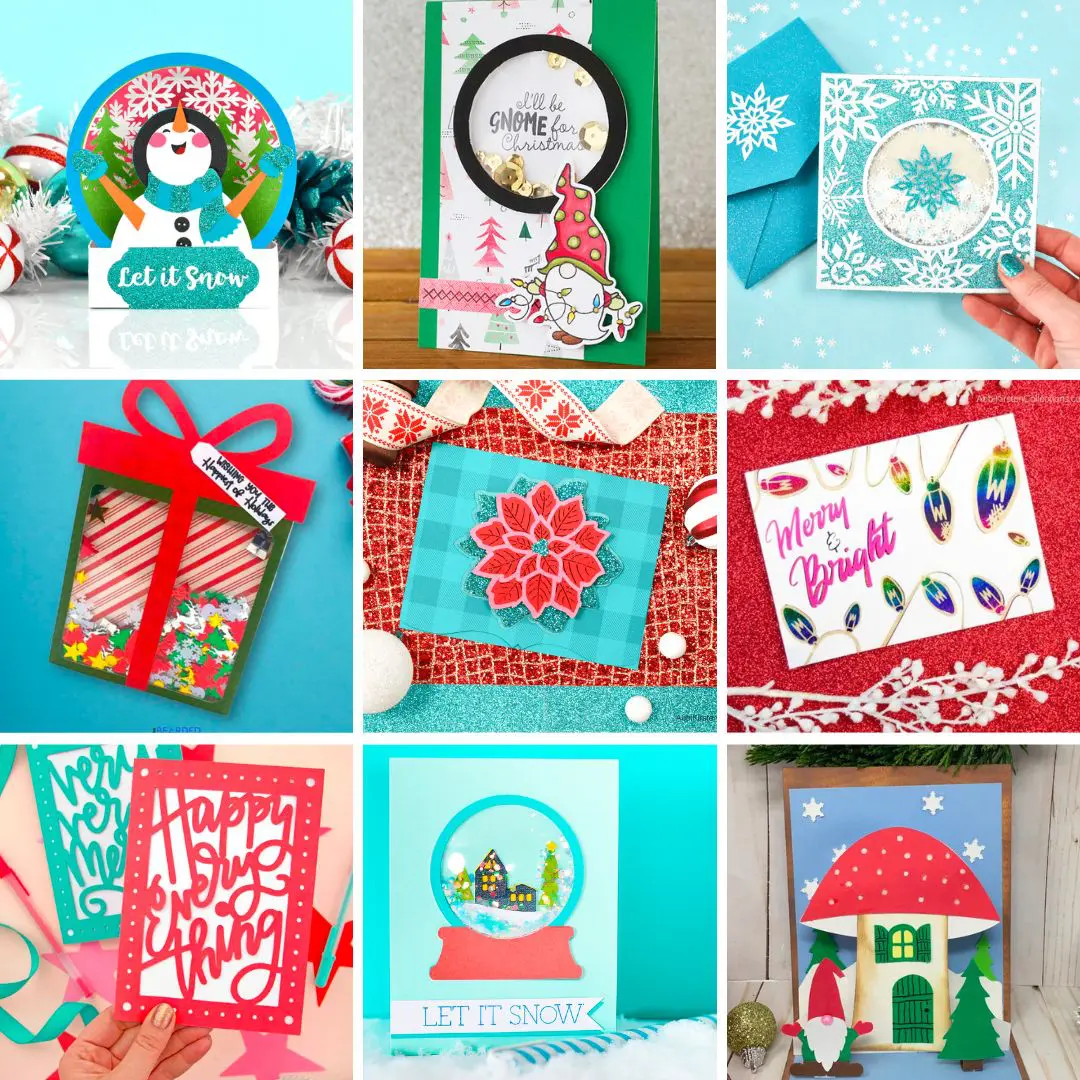
Besides these fall candle wraps, check out my Christmas Candle Wraps Collection which includes a free Christmas poinsettia candle wrap design with video tutorial. And, get a nativity, Santa, and snowflake candle wrap as part of this collection when you become an A-Star Crafter!

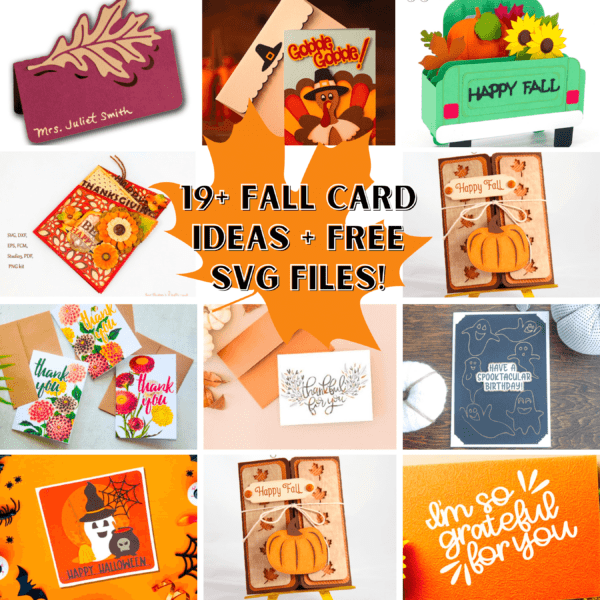
Discover More Fall Crafts
Find more pumpkin decor, custom fall cards, woodland animals, and other DIY fall projects to inspire your autumn creativity.
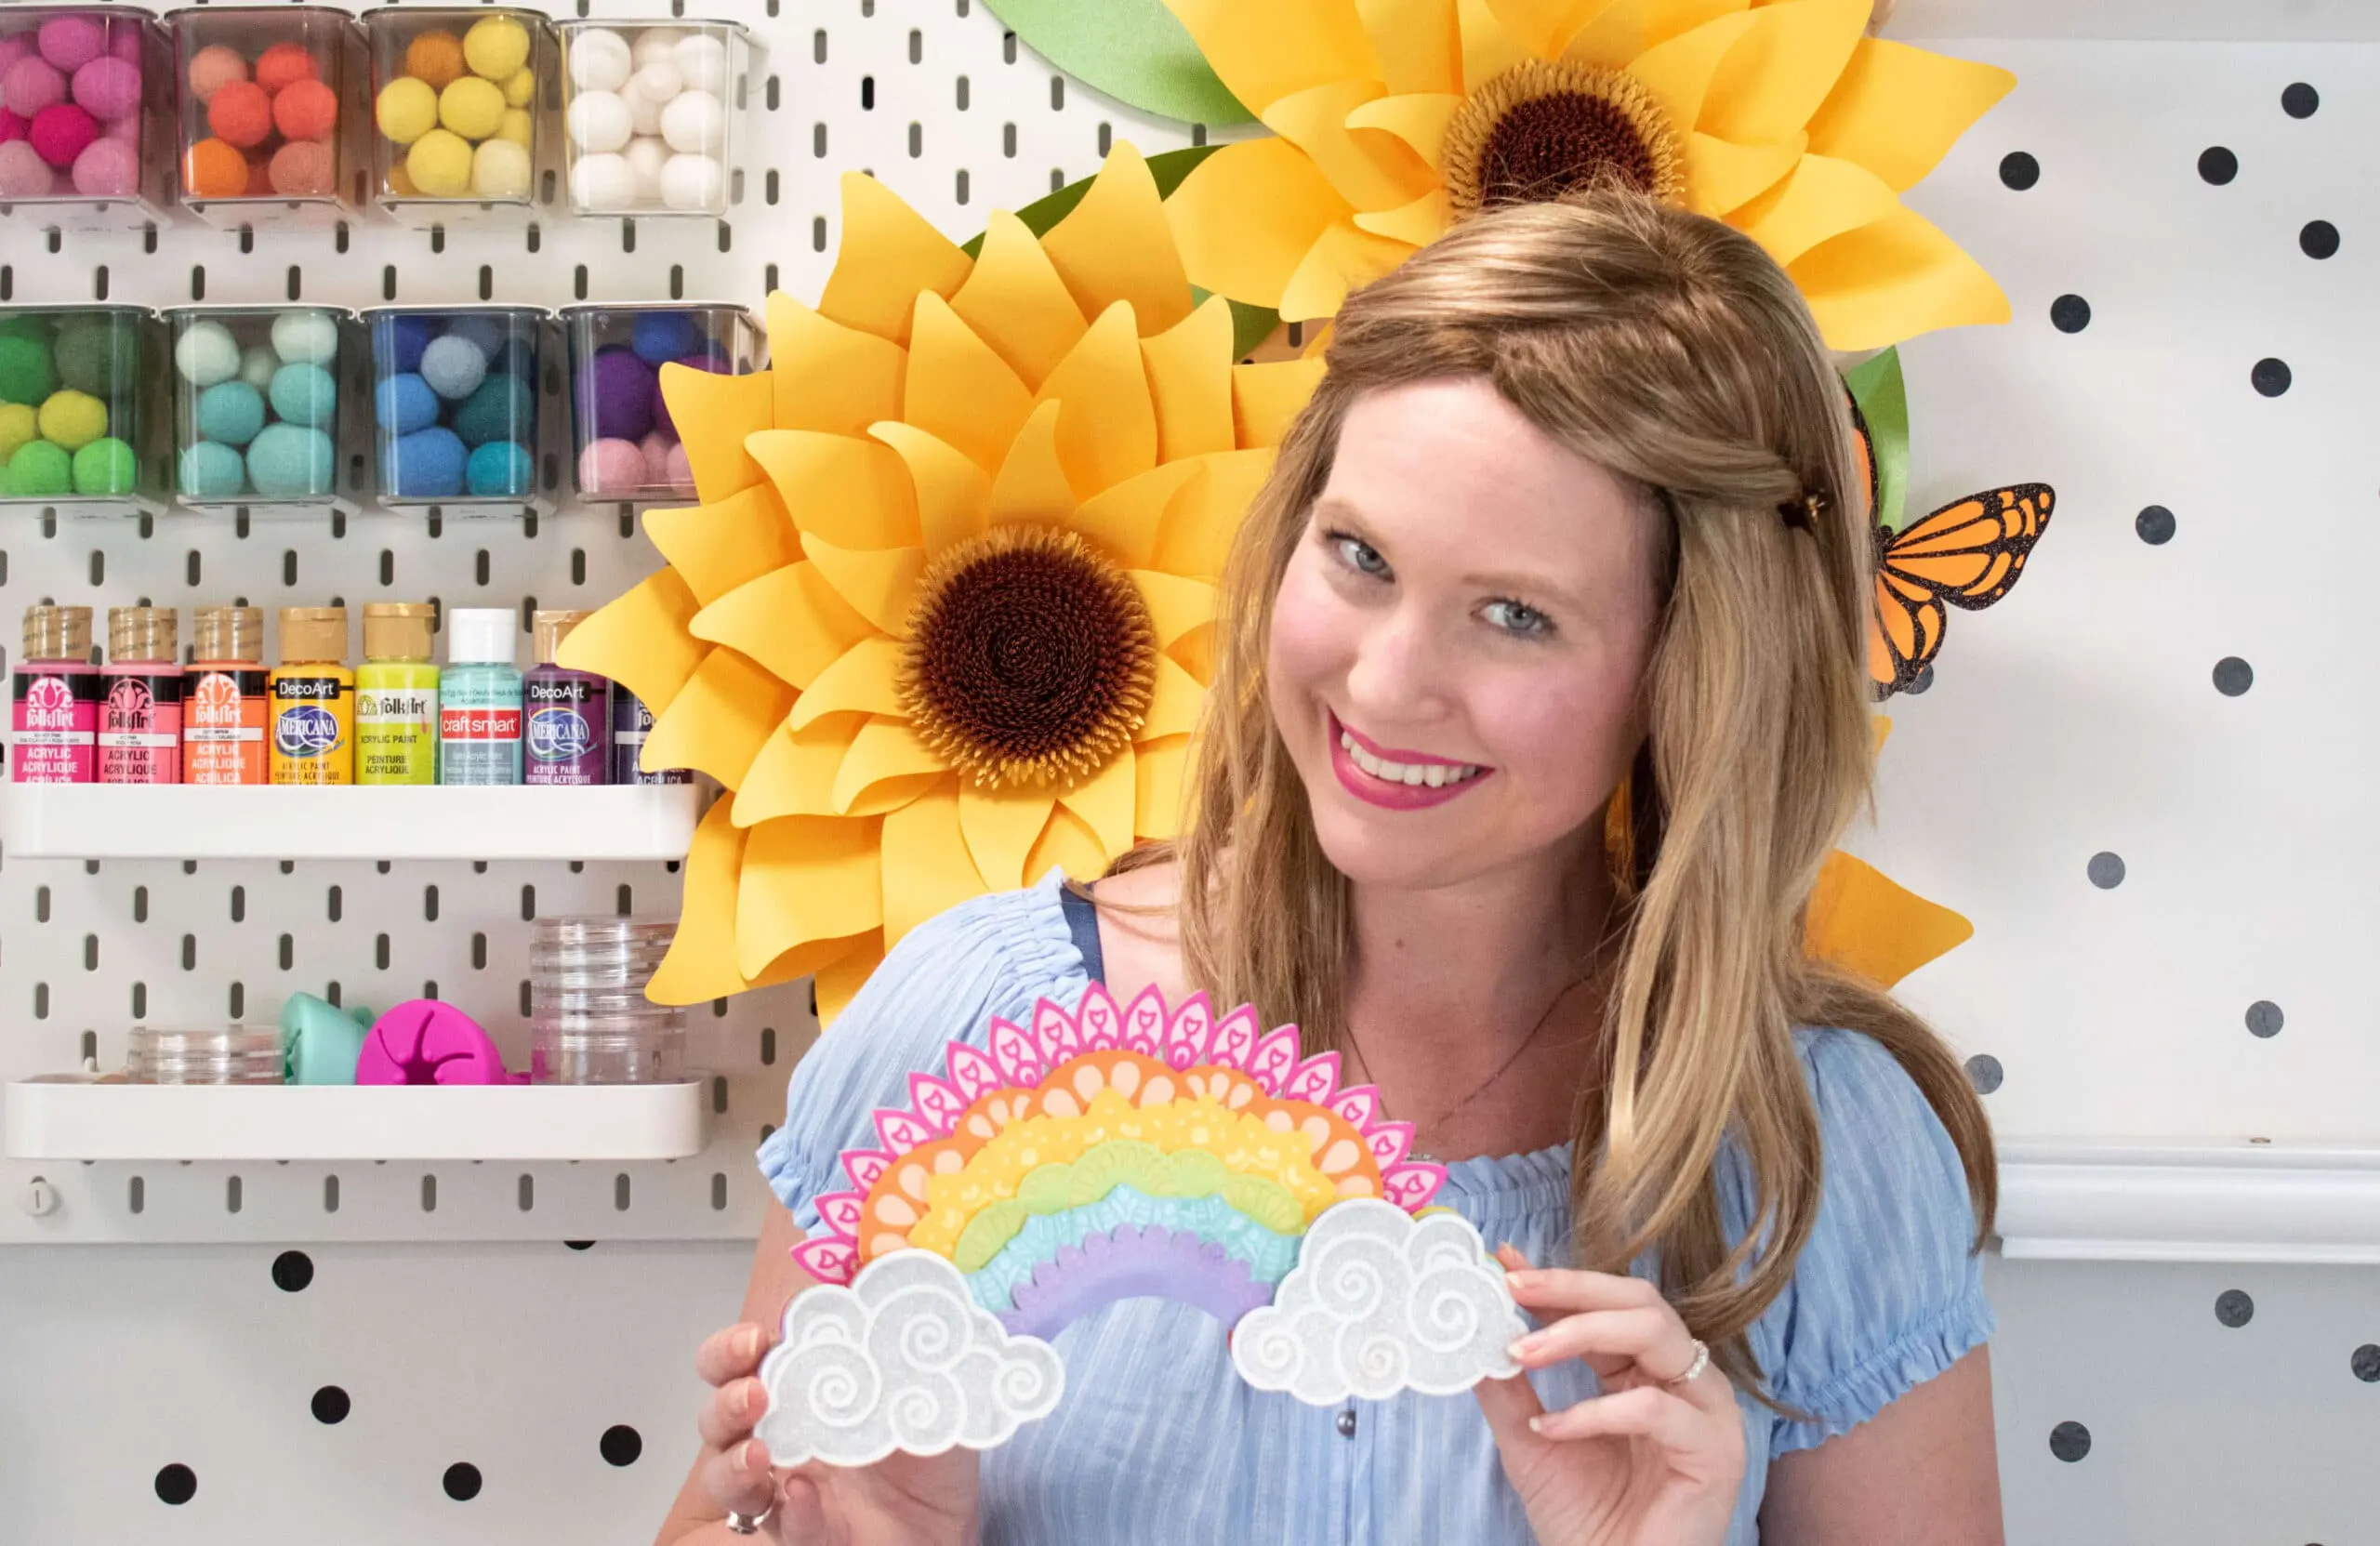
About Abbi Kirsten
Welcome to my colorful corner of the internet, where we play with vibrant crafts and unlock your creative magic! Hang out with me and get lost in a fun array of projects, tutorials, and products, from stunning papercraft ideas to flower templates, Cricut help for beginners, and endless crafter’s hacks.
Join A-Star Crafters and participate in monthly Craft-Alongs in our community Facebook group!

DIY Fall Candle Wraps
Celebrate autumn with these DIY fall candle wraps. Using your Cricut machine, learn how to make candle wraps with vinyl and paper as fall decor!
Materials
- Cricut Machine
- Cricut mats
- Adhesive Vinyl in Fall colors
- Weeding tools
- Transfer tape
- White vellum
- Double-sided clear scrapbook tape
- LED candles
- Cricut Scraper (optional)
- Fall candle wrap templates from my Freebie Vault
Instructions
- First, you need to measure your candle circumference. Remember to use that handy unlock button at the top center of Design Space to scale and stretch as necessary to adjust your candle wrap SVG file to the correct size.
- Cut your design out in vinyl. Use the appropriate custom setting. For example, I used the textured metallic vinyl setting and changed the default pressure to 'more' for a cleaner cut.
- Cut a piece of white vellum to match the size of your candle wrap. You will be overlaying the vinyl onto the vellum. Use the shapes tool in Design Space to create a rectangle cut out of vellum. Use that unlock button to change proportions.
- Weed your design. Weeding is the longest part of the whole process. Each candle wrap took me about 30 solid minutes to weed.
- Once your design has been weeded, cut a piece of transfer tape and burnish the vinyl onto the tape (I use the Cricut scraper for burnishing). Lift the design carefully.
- With the vinyl design on the transfer tape, lay it sticky side up.
- Line up your vellum rectangle cut-out on top of the vinyl design.
- Turn the whole thing over (non-sticky side up) and burnish well.
- Carefully remove the vinyl and vellum wrap from your transfer tape.
- Wrap your candles in your finished design and secure them with double-sided tape.


I absolutely loved the candle wraps! Easy to make, I’m sure my daughter and daughter in laws will love them! I’m sure I’ll be making them some as well.Thank you very much! Love all your hard work!
You are so welcome!
Oh, Abbi! Your designs and the project are beautiful. I can’t wait to try it. How about adding some angels?
Great idea! Taking notes!
Is the vinyl on the inside of the vellum, so it goes vellum, vinyl then candle?
The vinyl is on top of the vellum. 🙂
I love this idea! I will making some soon. I would love some Christmas wraps:)
Great idea! Noted!
I don’t know what vellum is so I’m trying to figure out the purpose for using it. I don’t want that to sound rude because I definetly don’t mean it that way!! These are amazingly adorable and I want to make them I just need to know who, what, why about the vellum lol. Please and thank you!
Vellum is a type of paper that is translucent. You can find it here or at craft stores. 🙂
https://amzn.to/3g8nR1p
These are gorgeous
and I would love for
you to create some
for Christmas!
Carla from Arizona
Thank you for these beautiful designs. I would also love to see some winter/Christmas wraps!